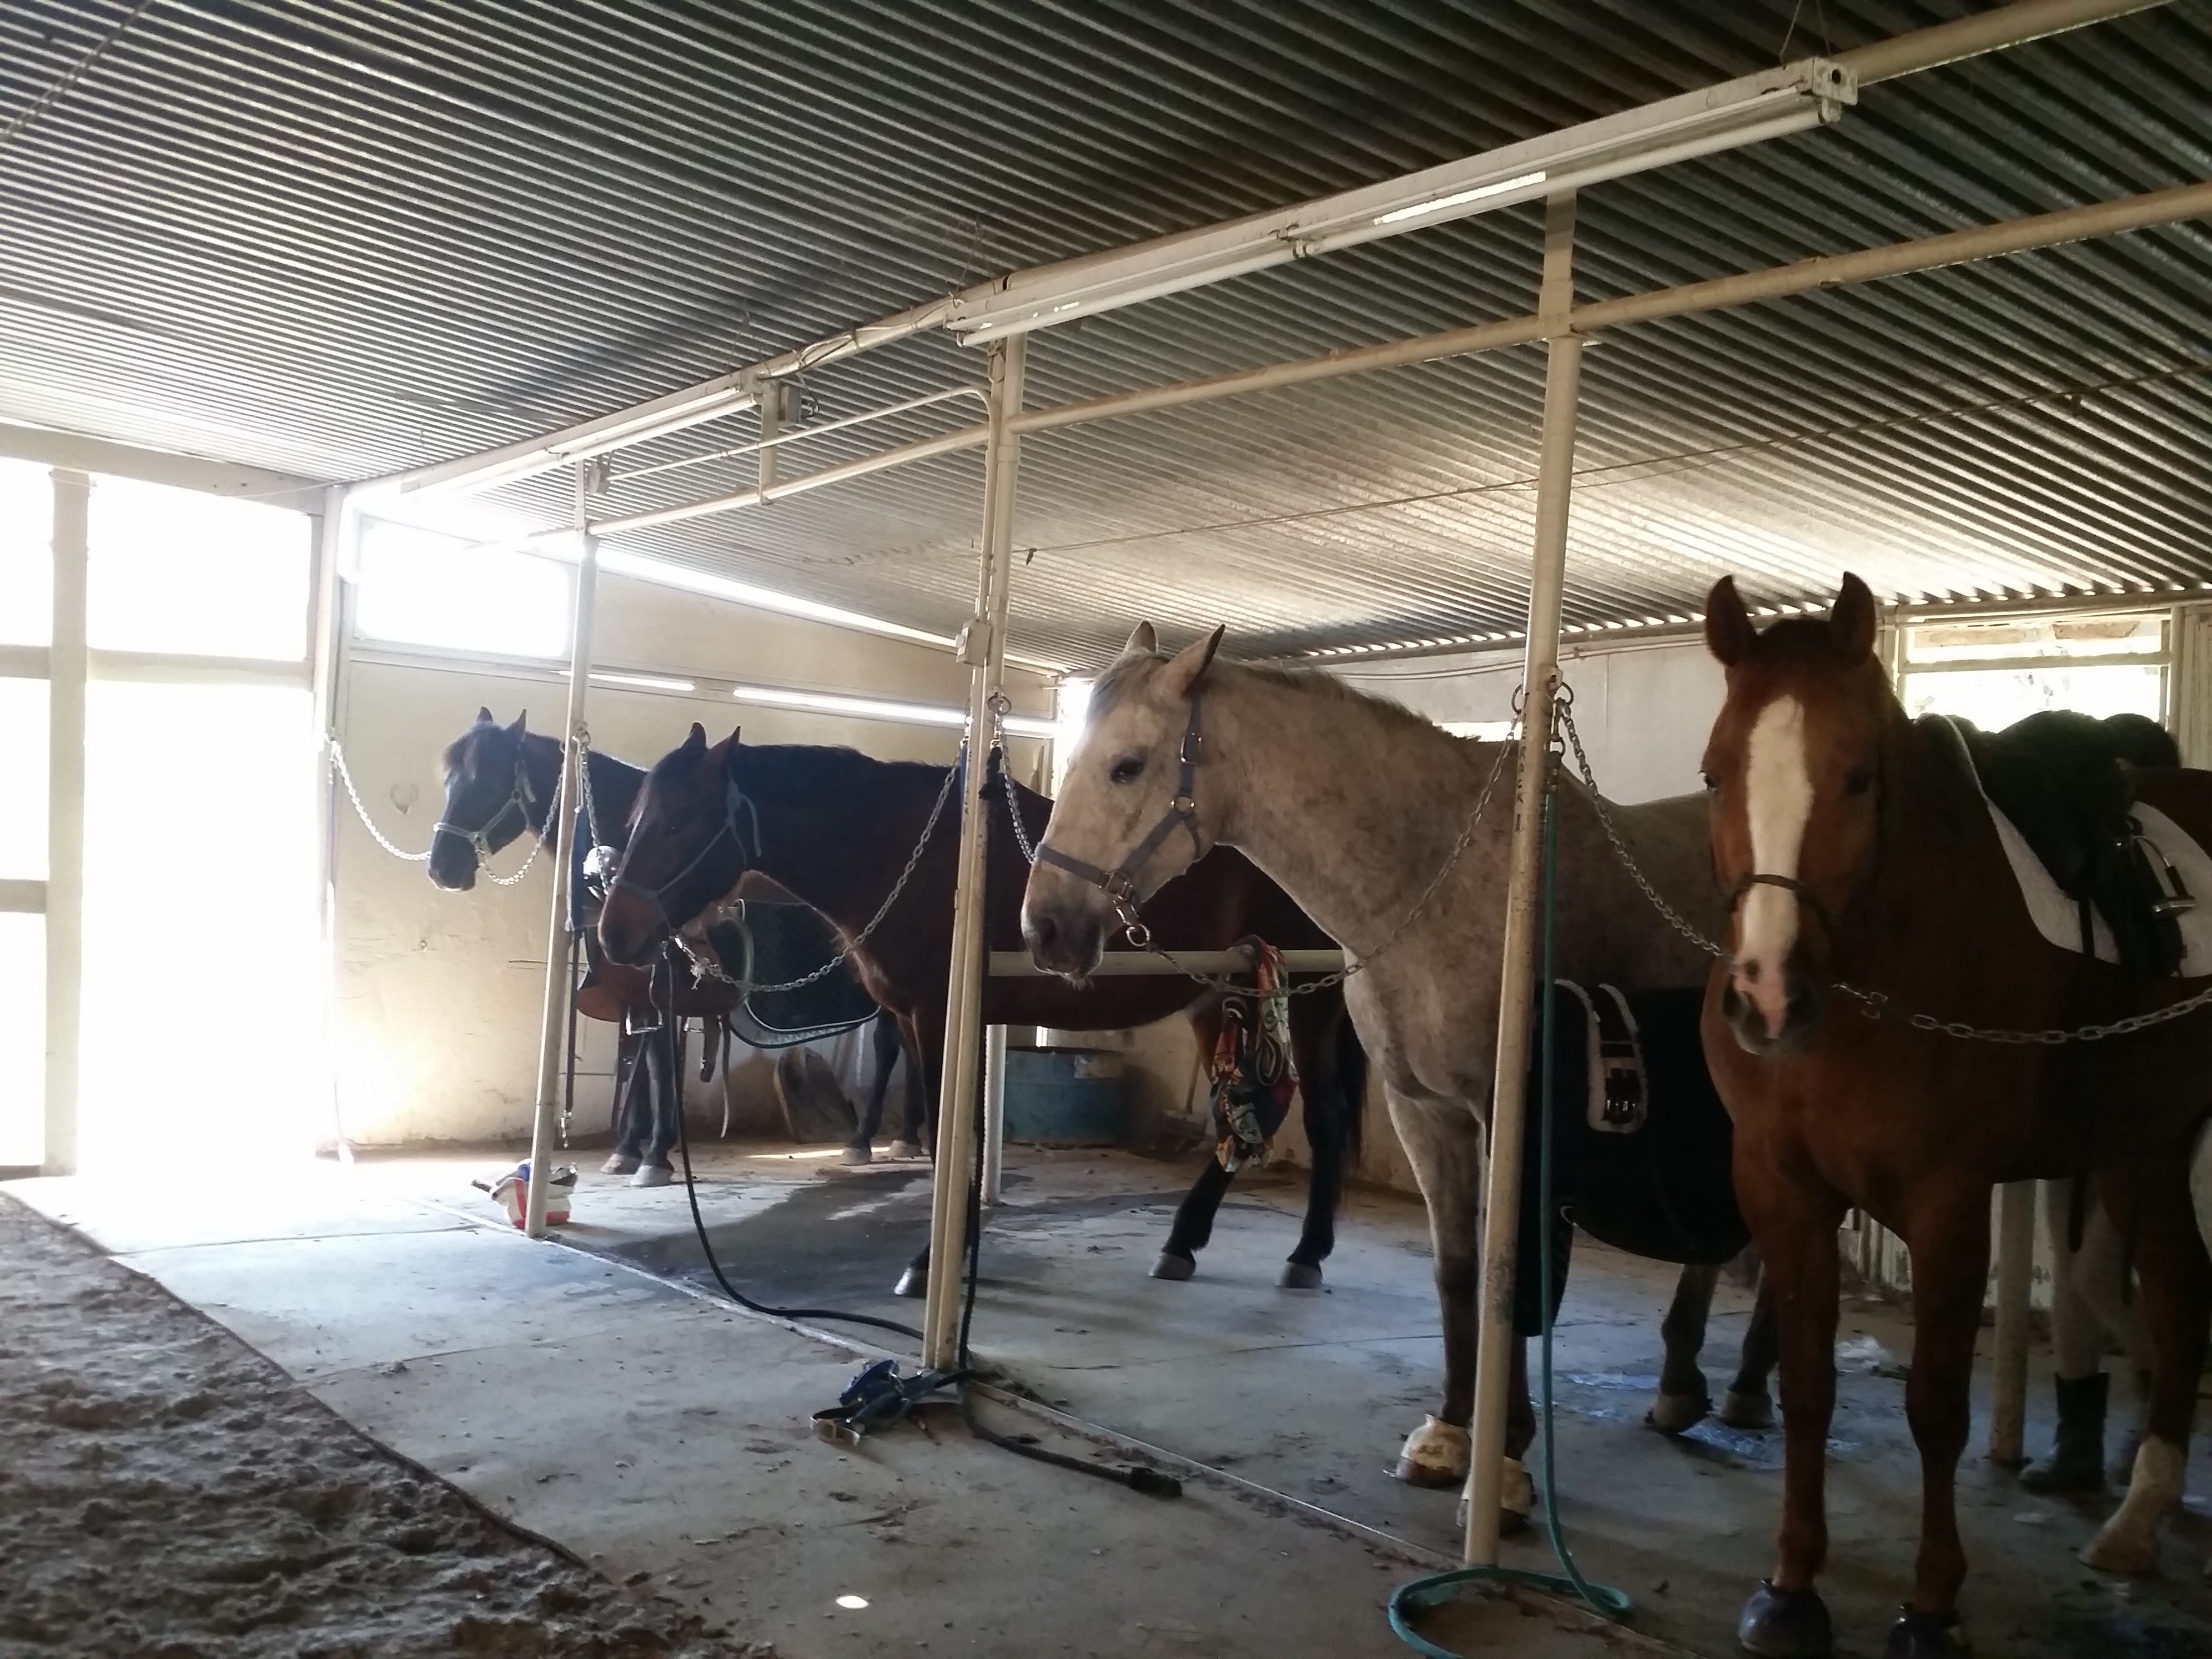
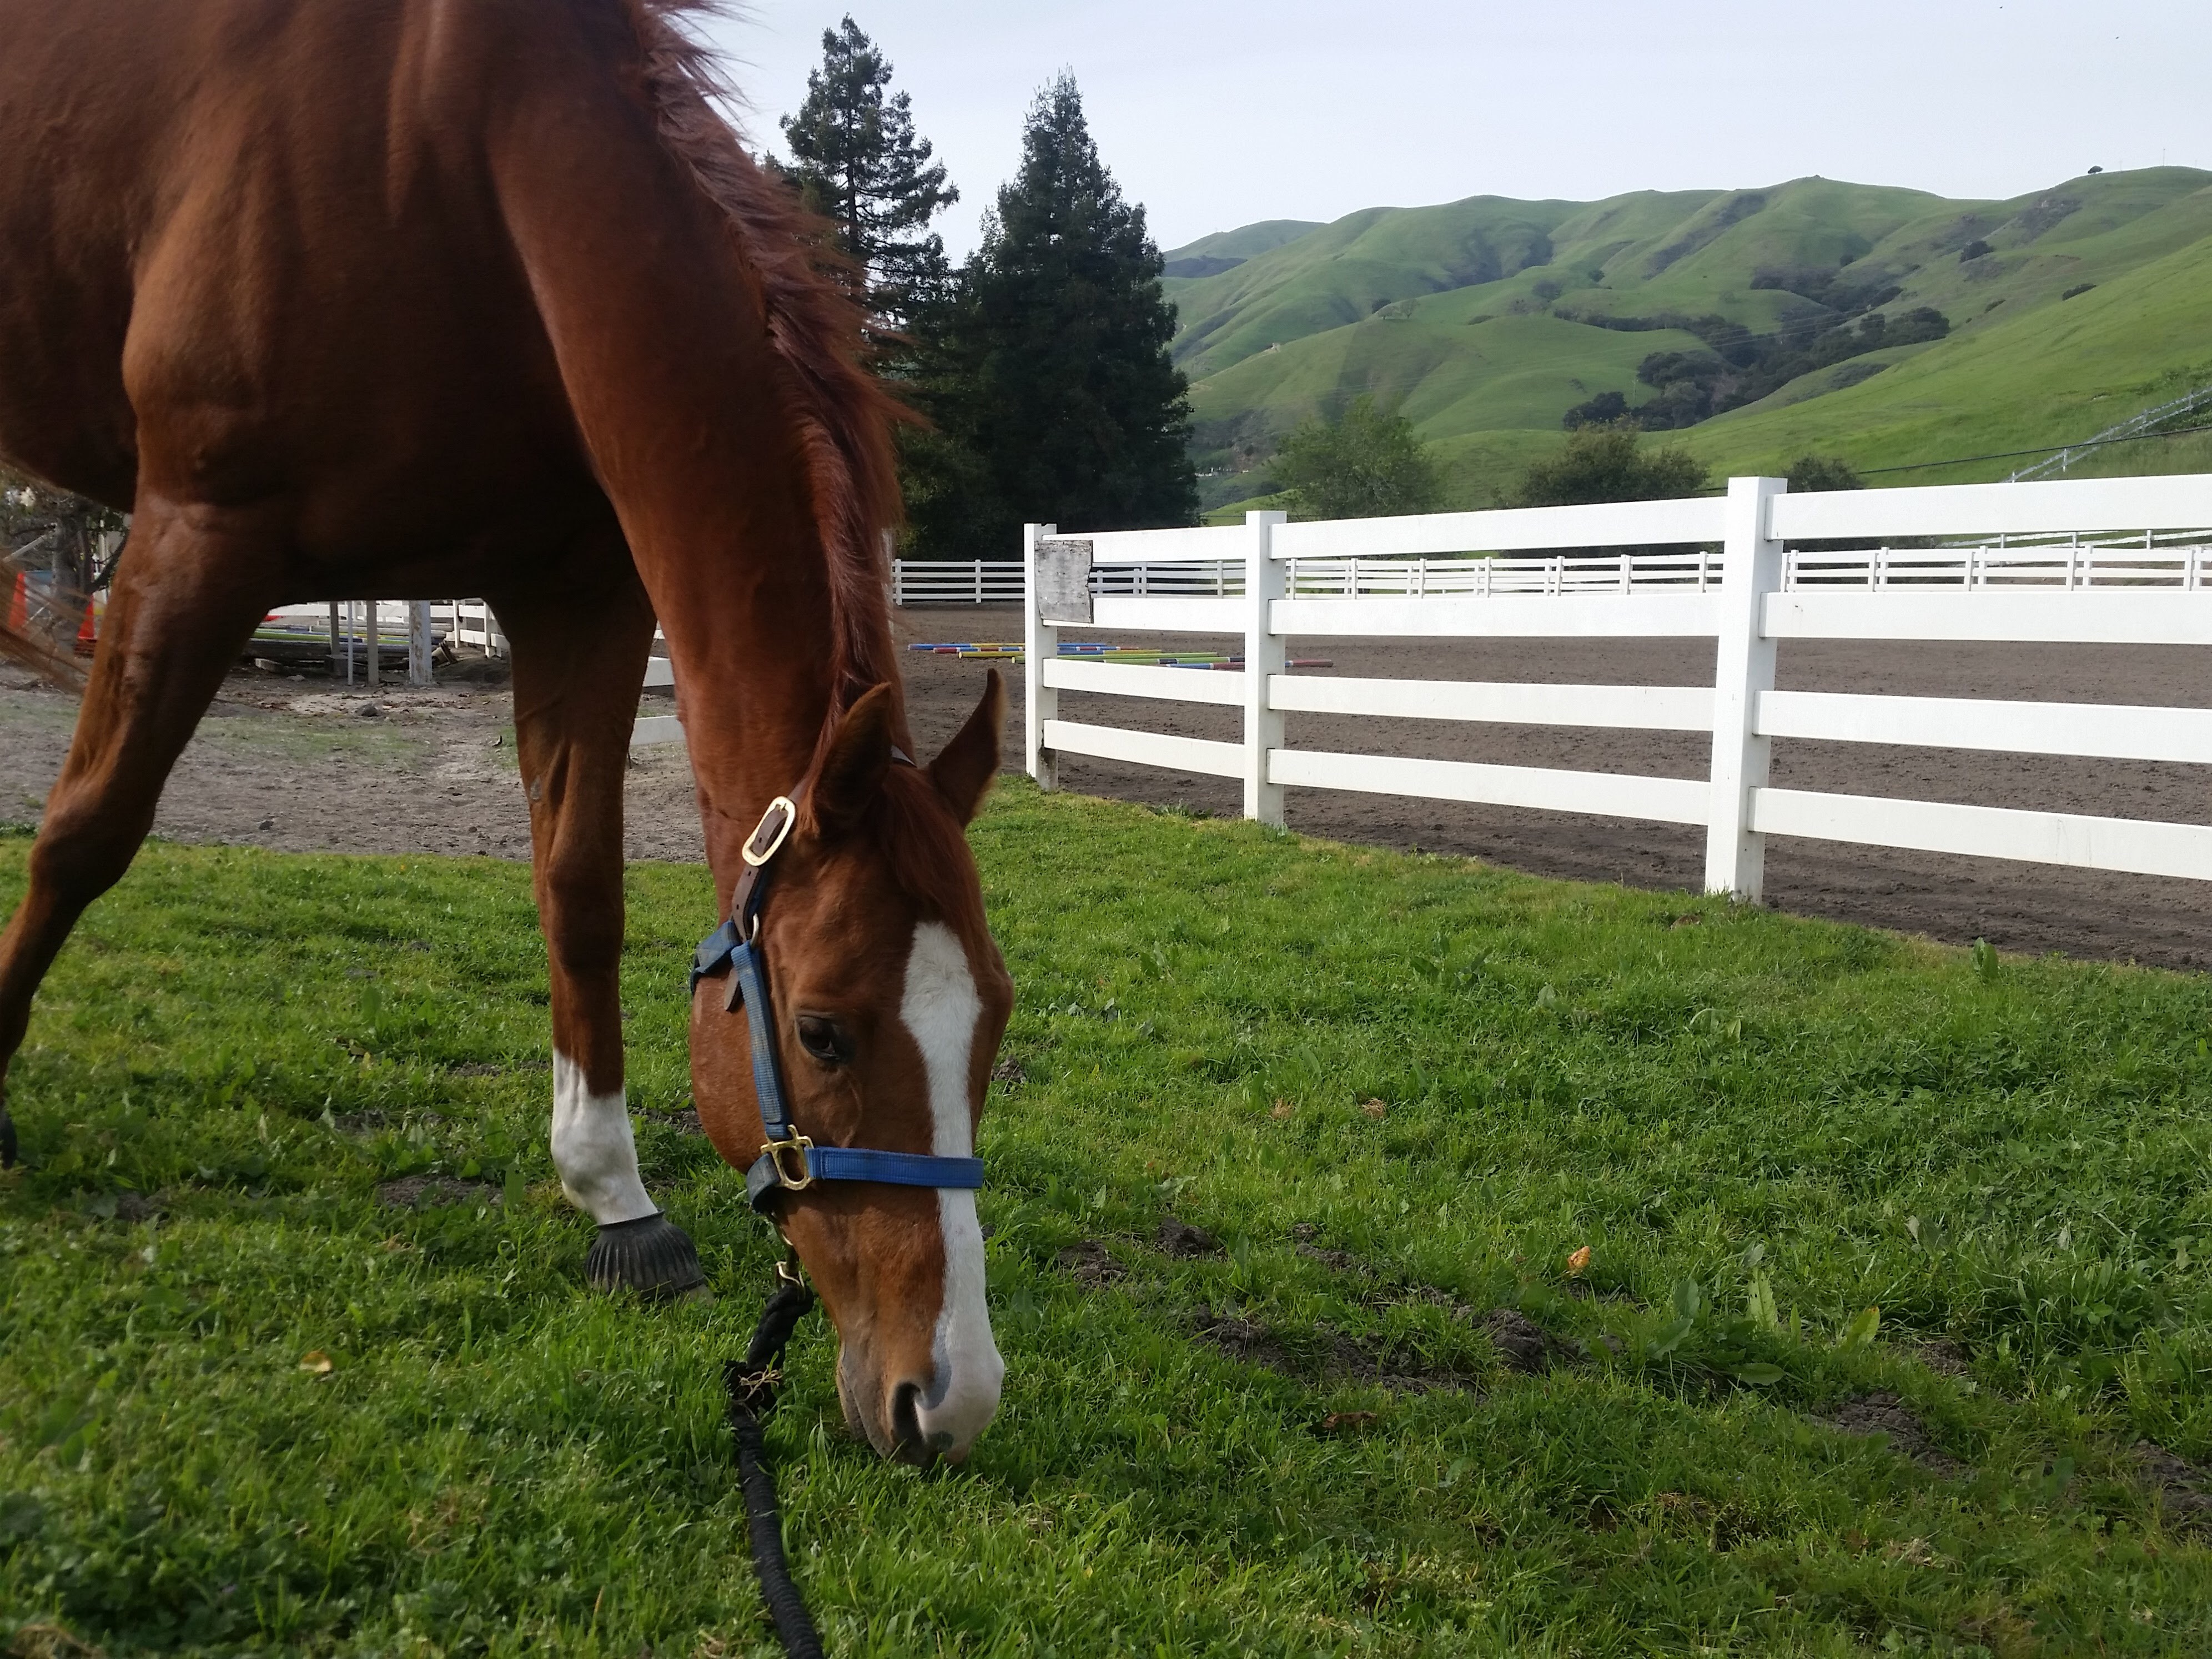
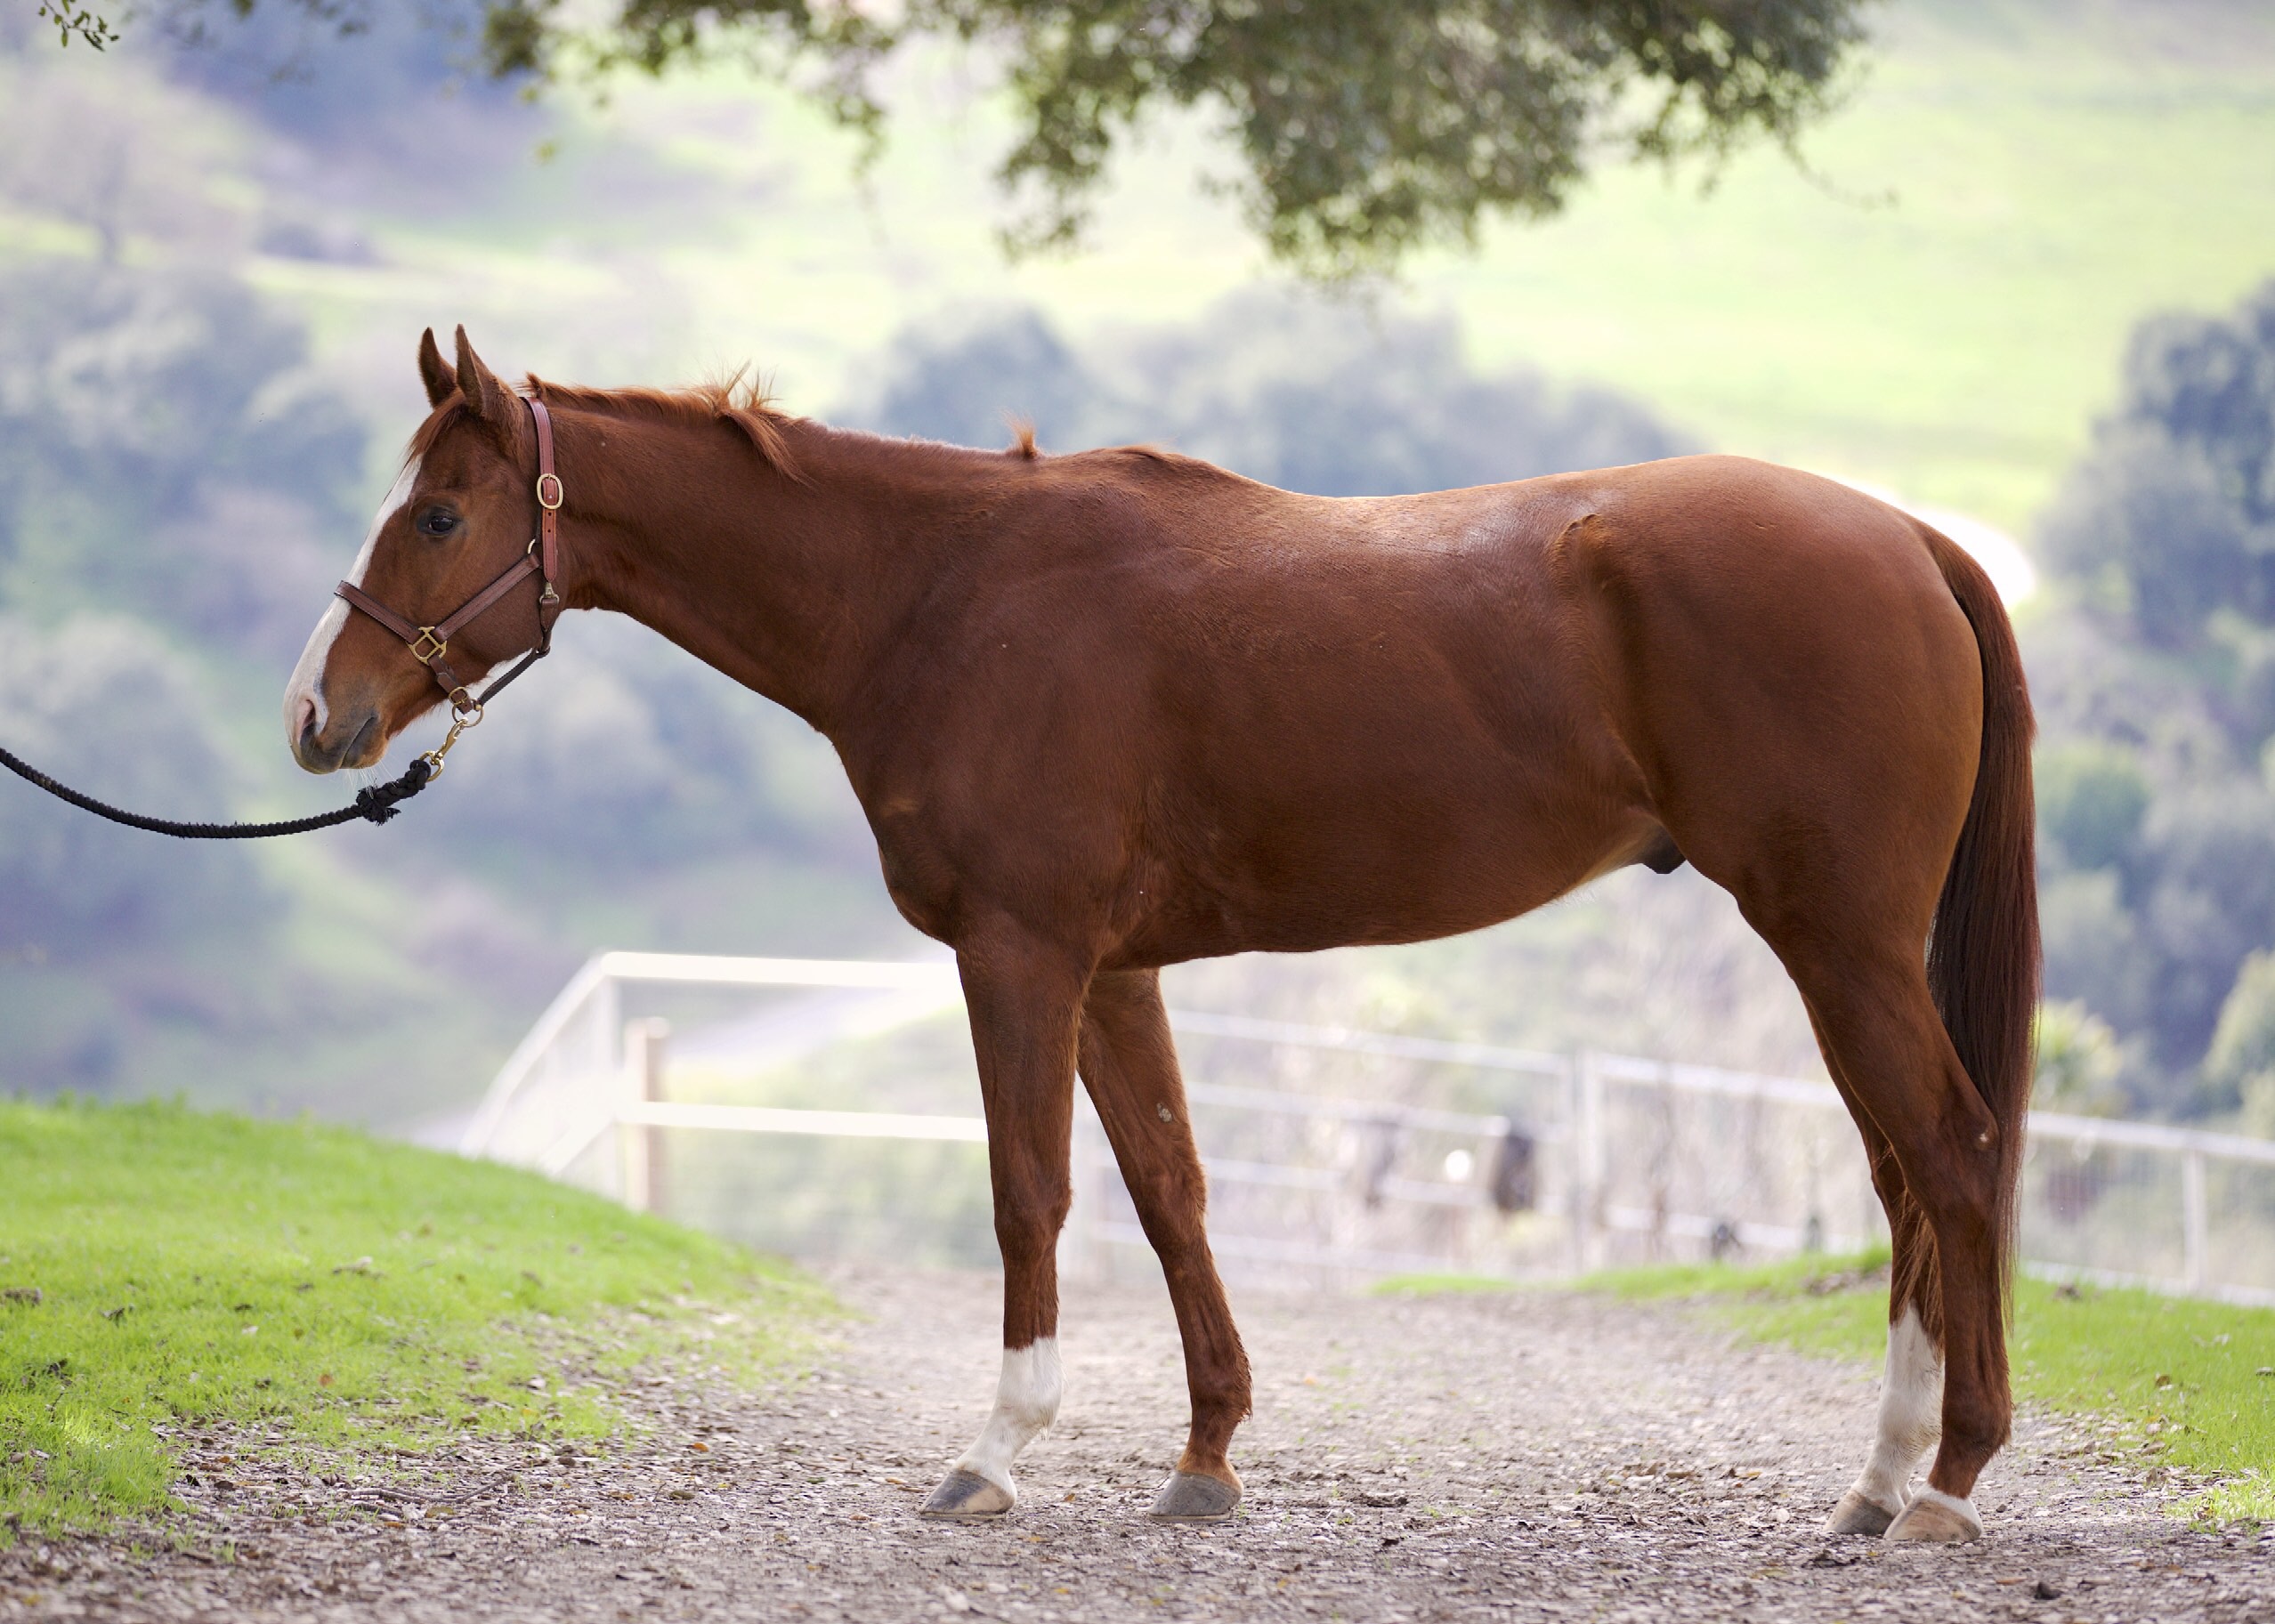
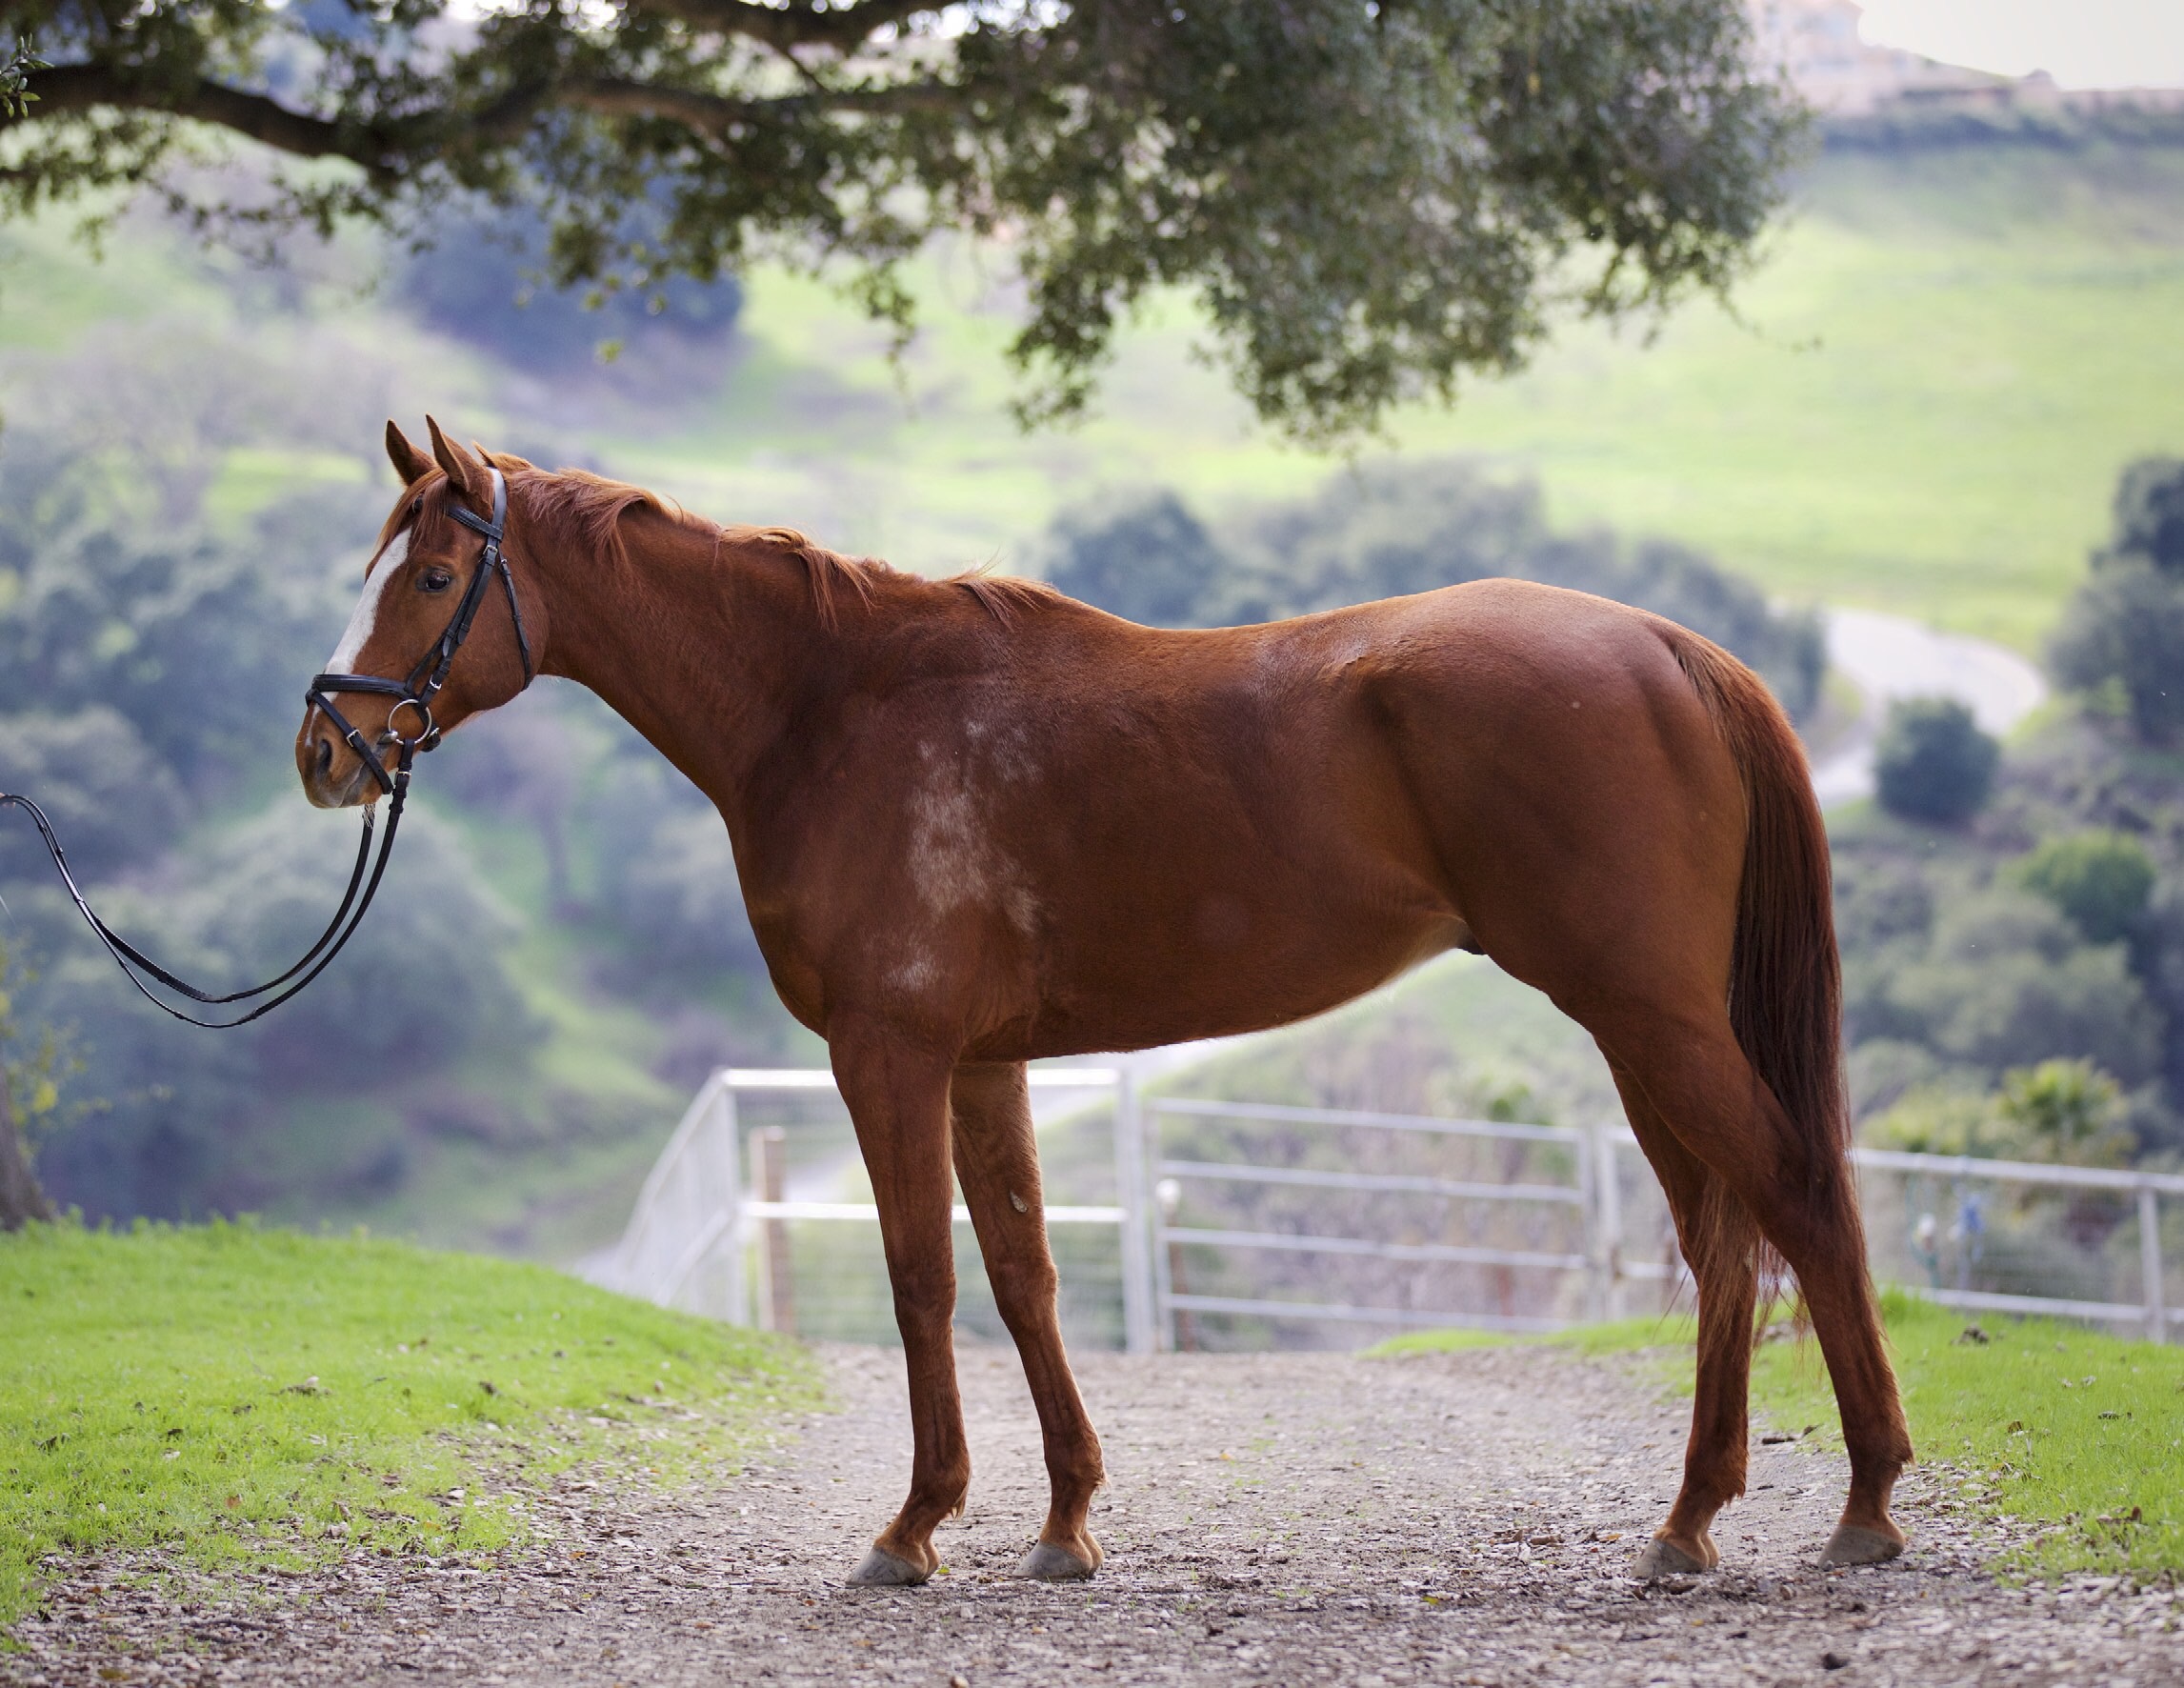
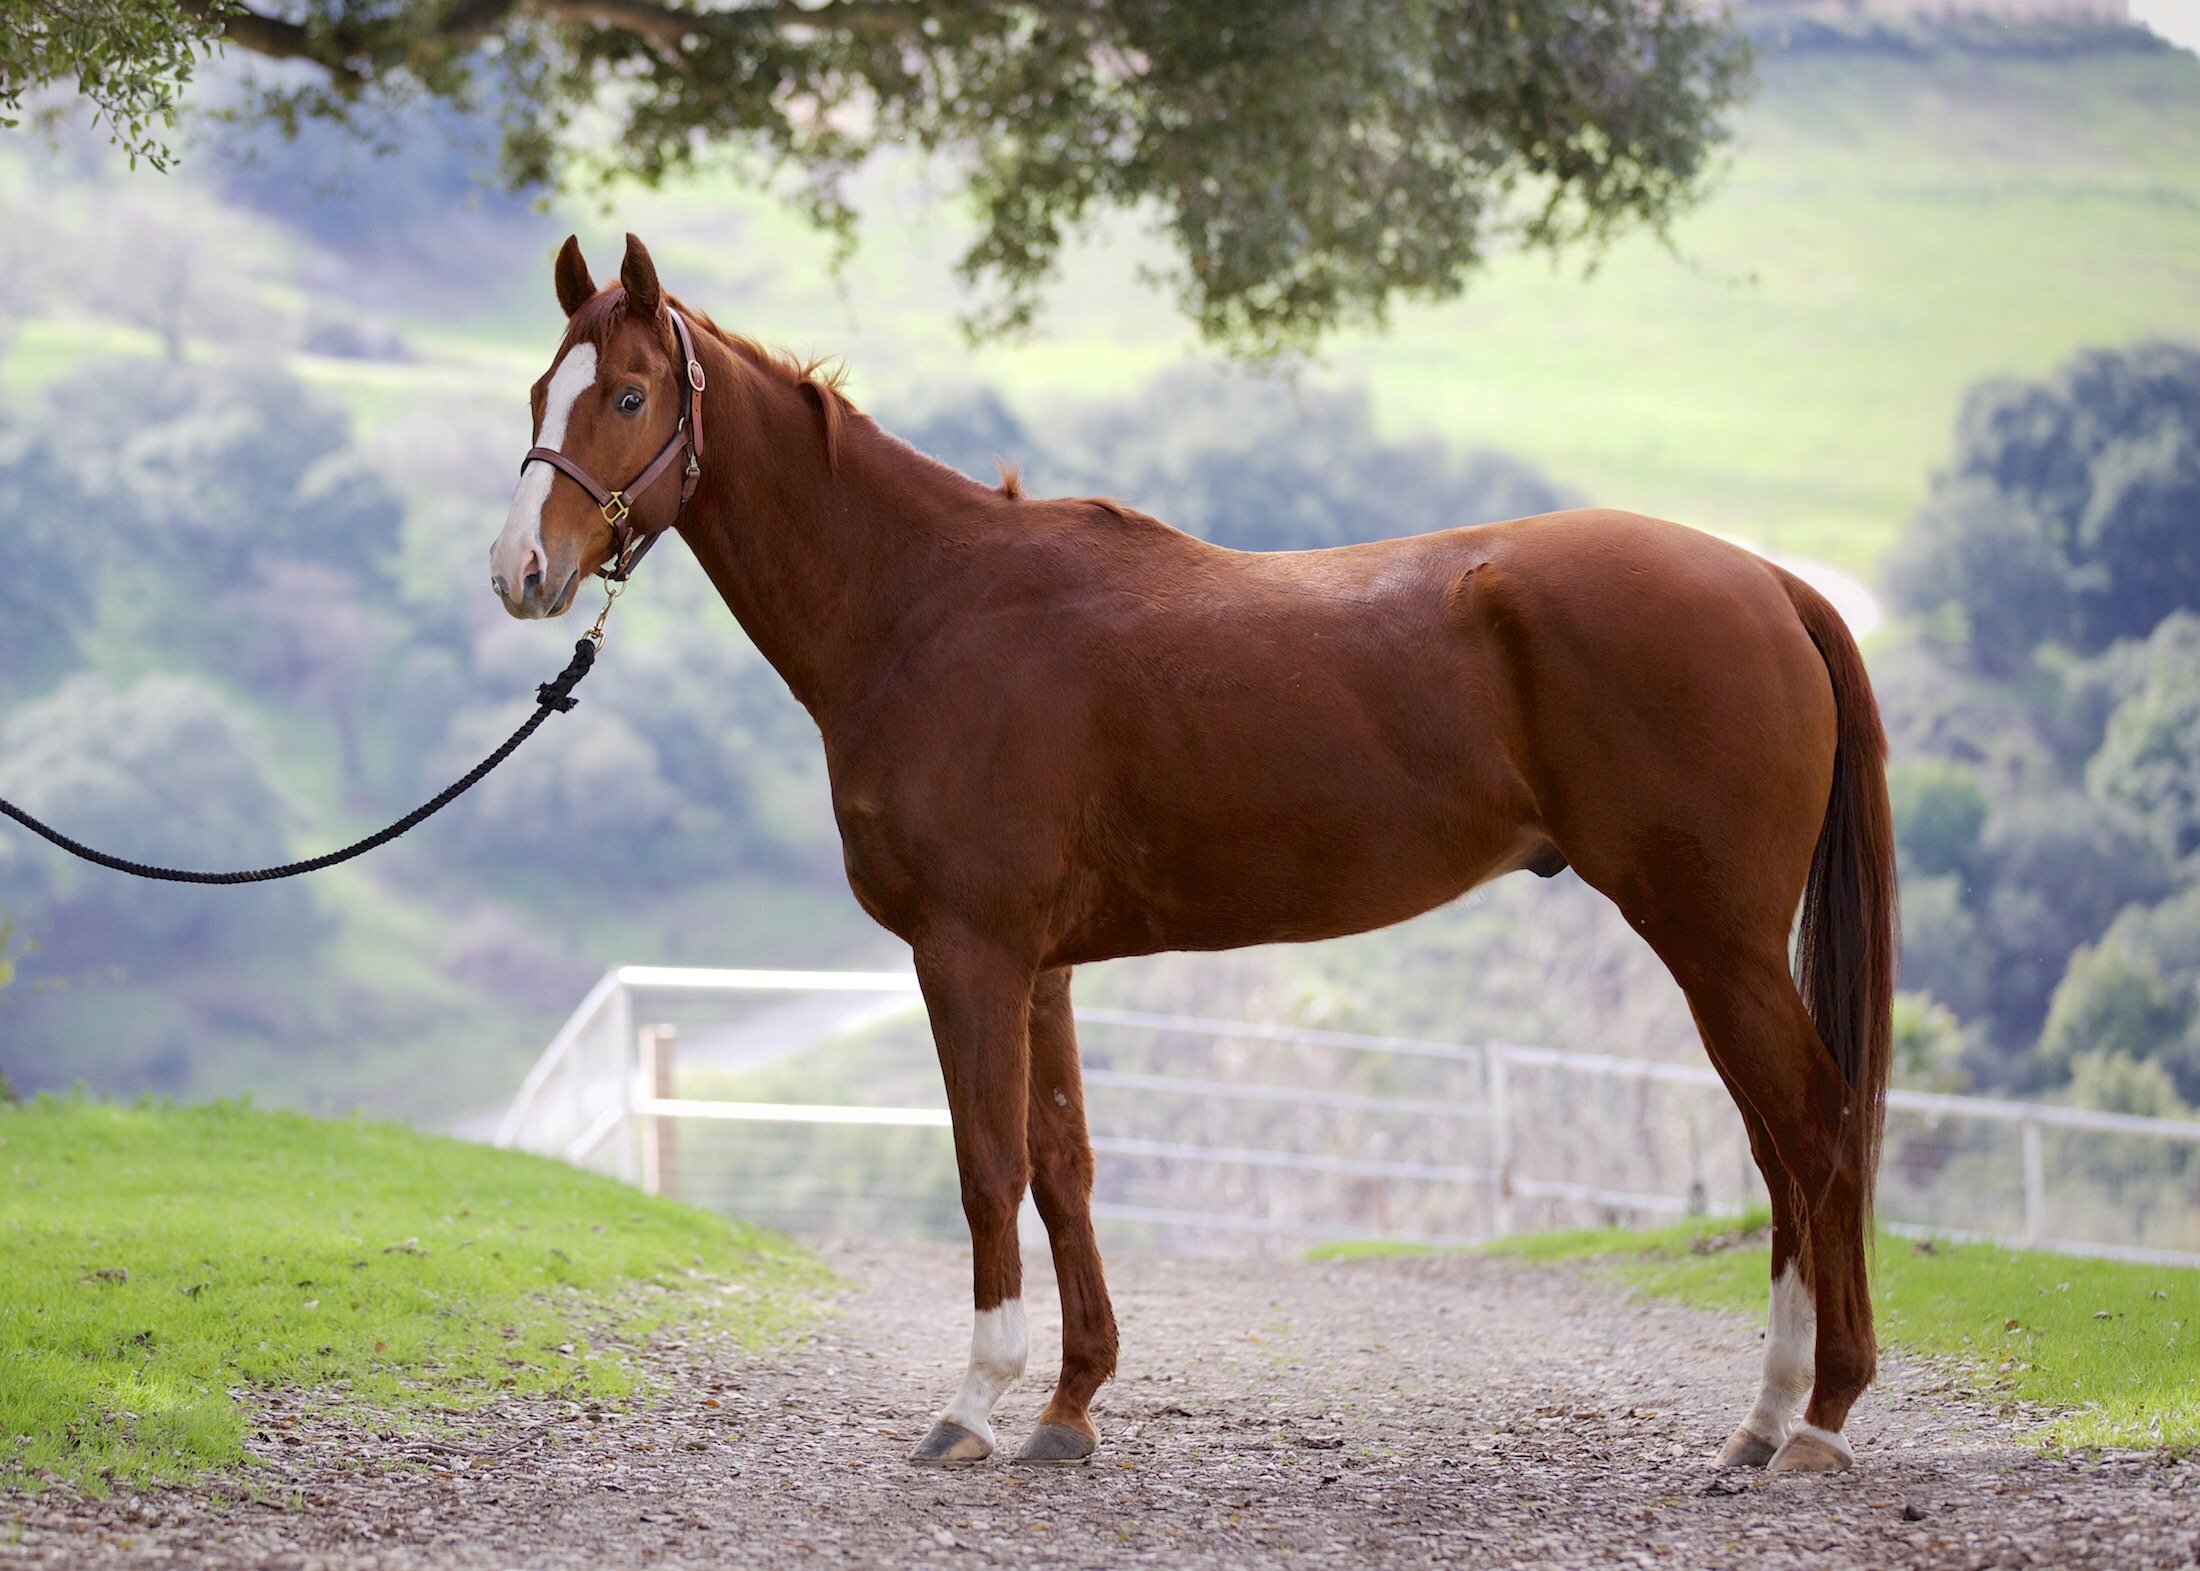
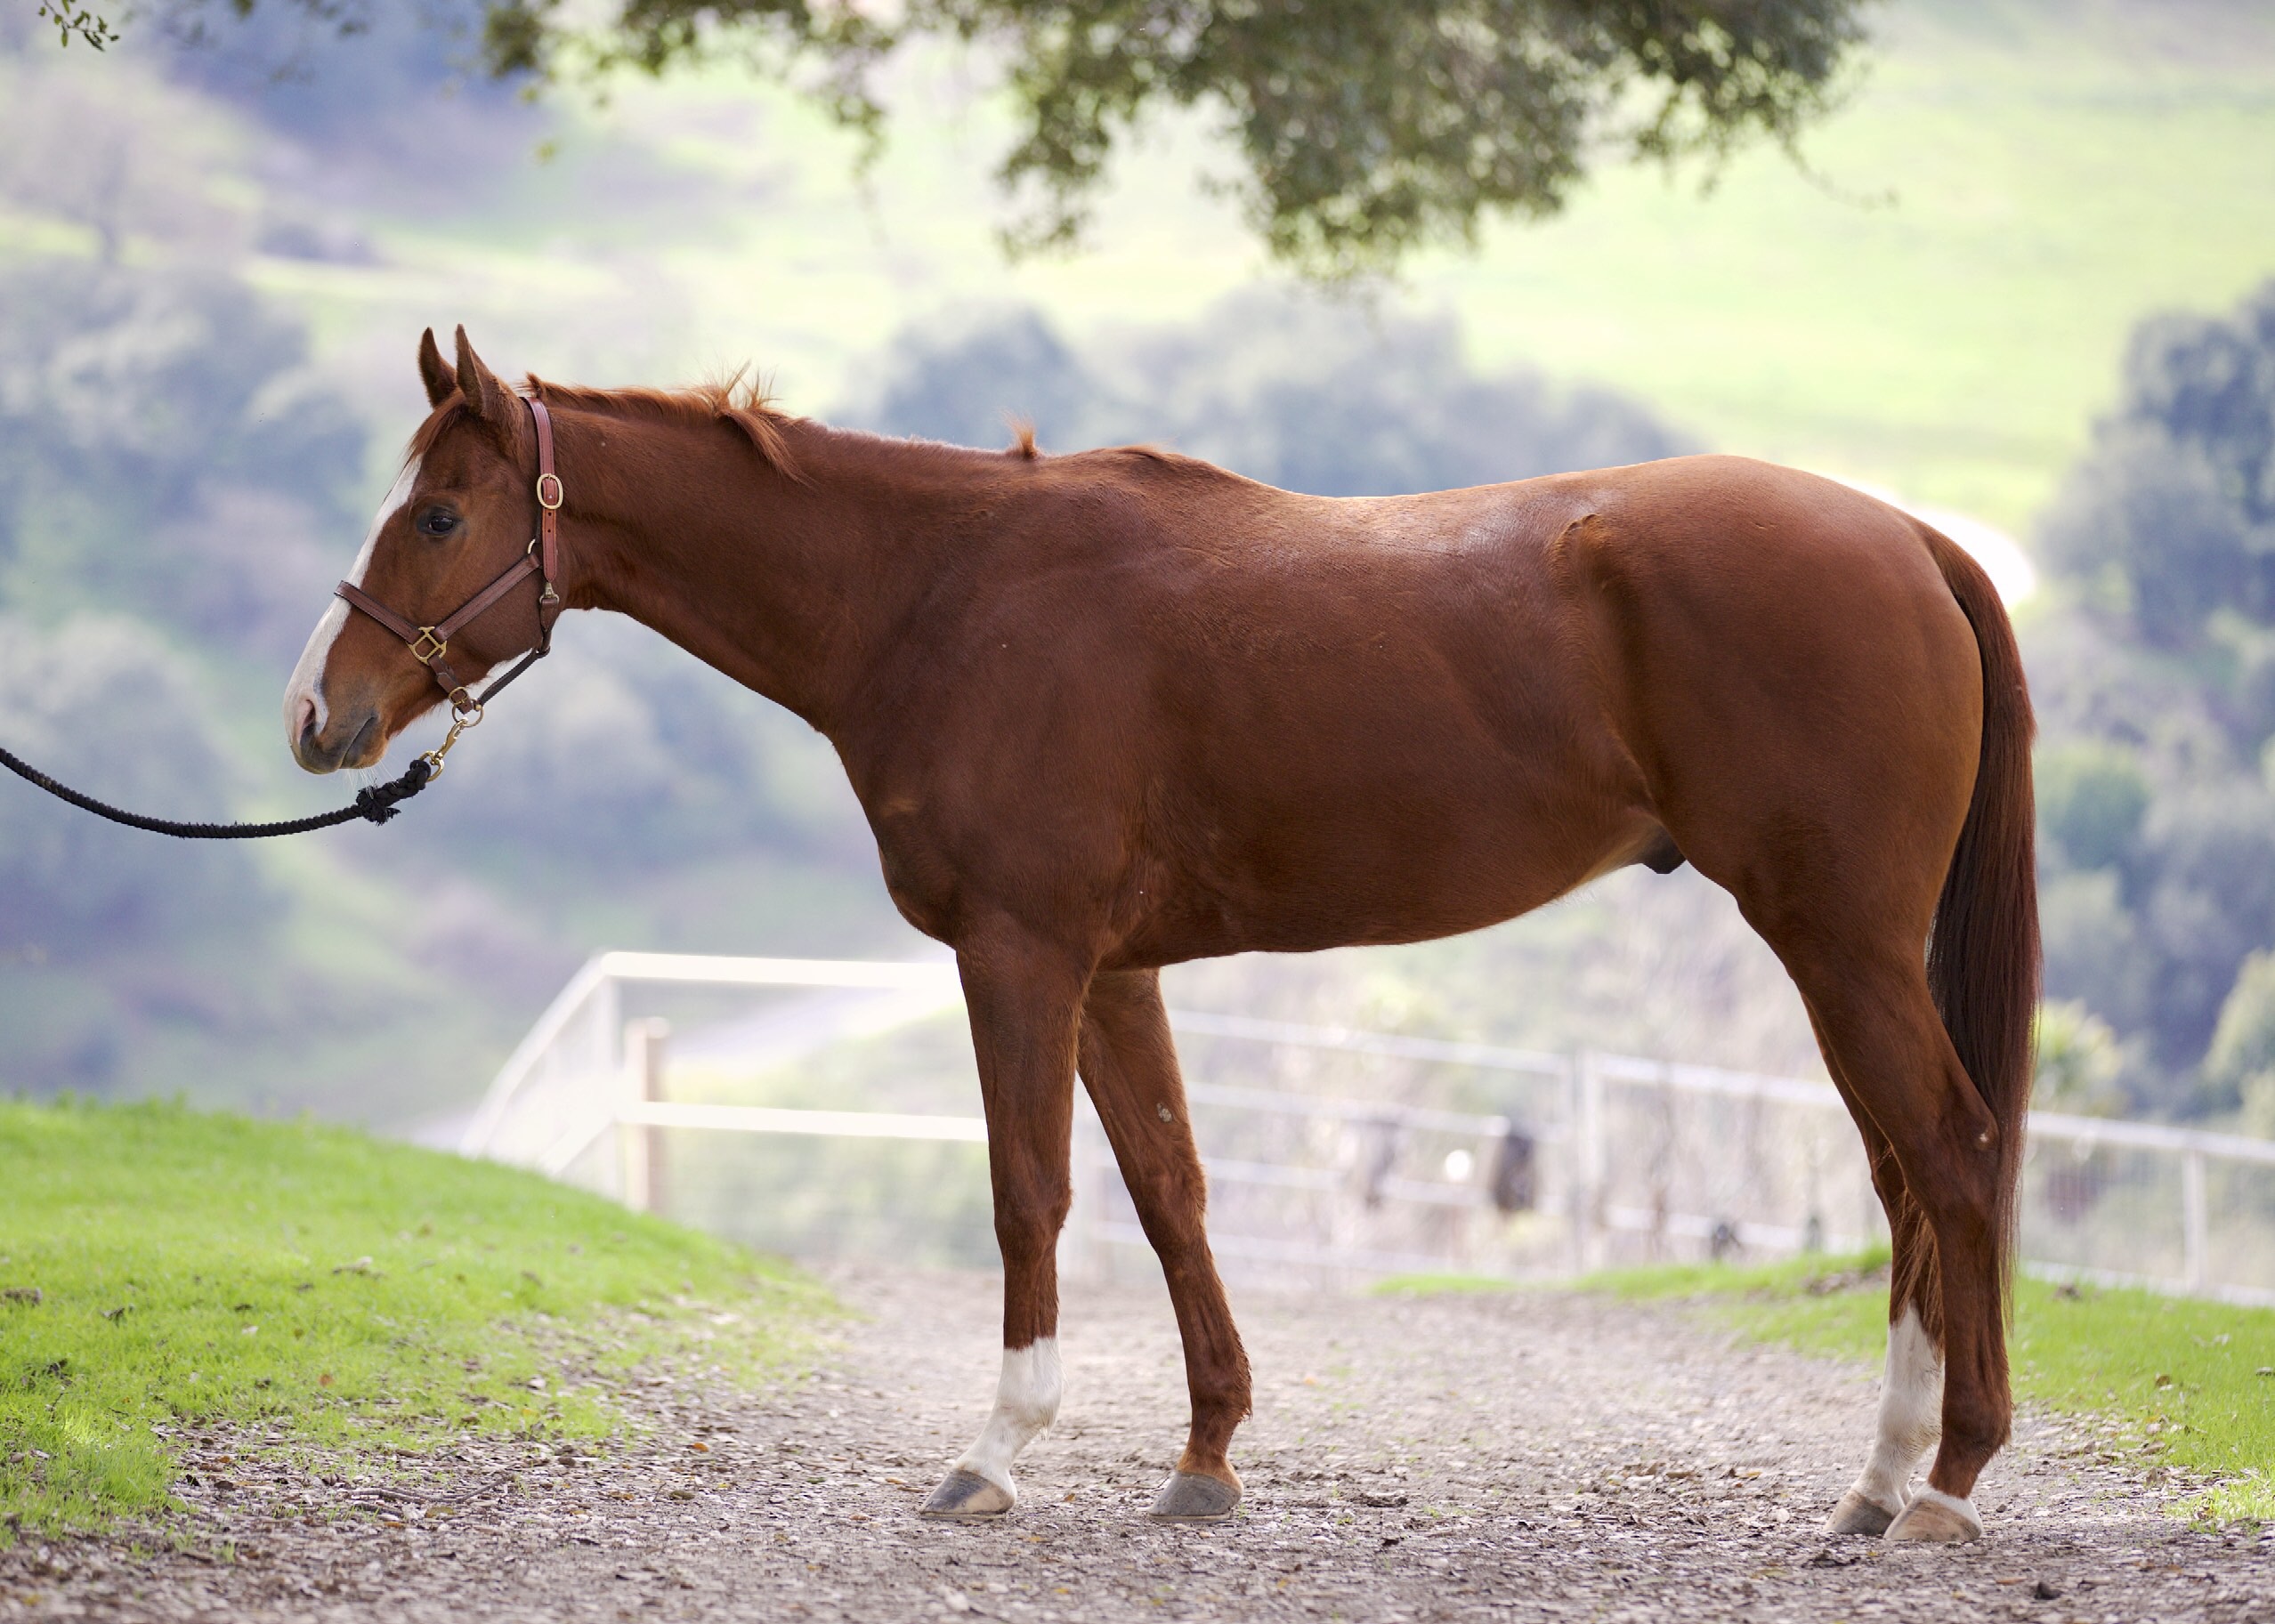
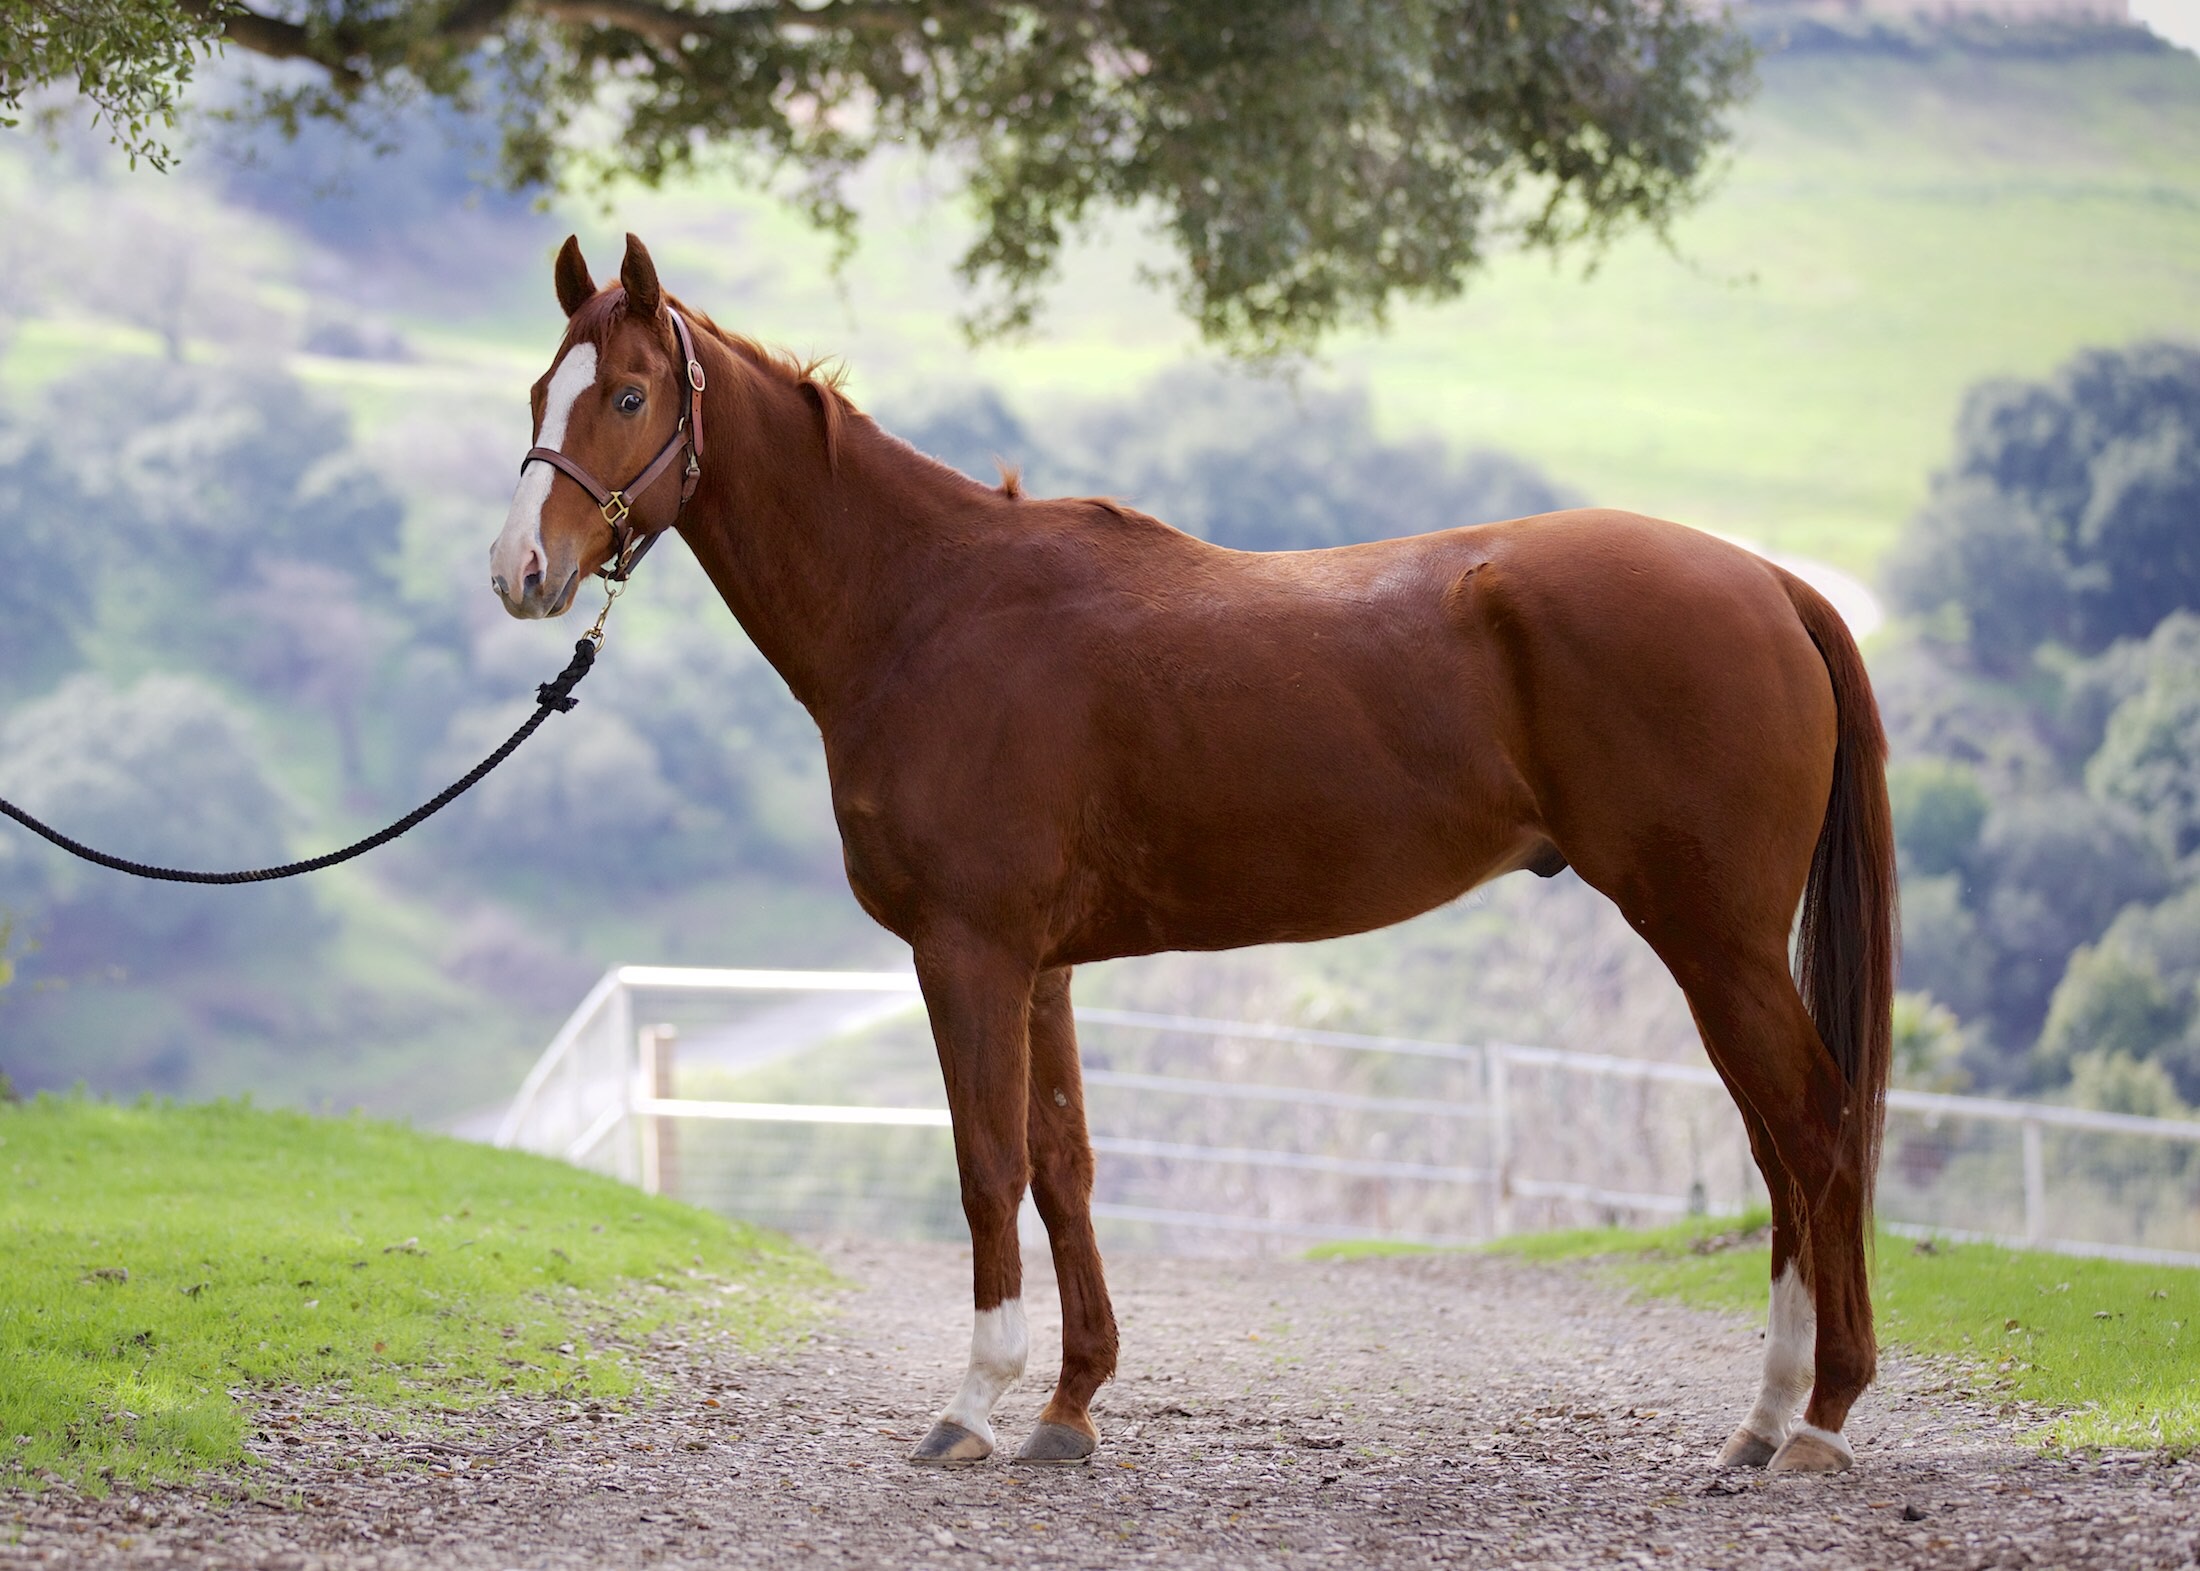
Testing our training with gates, Brio part 4

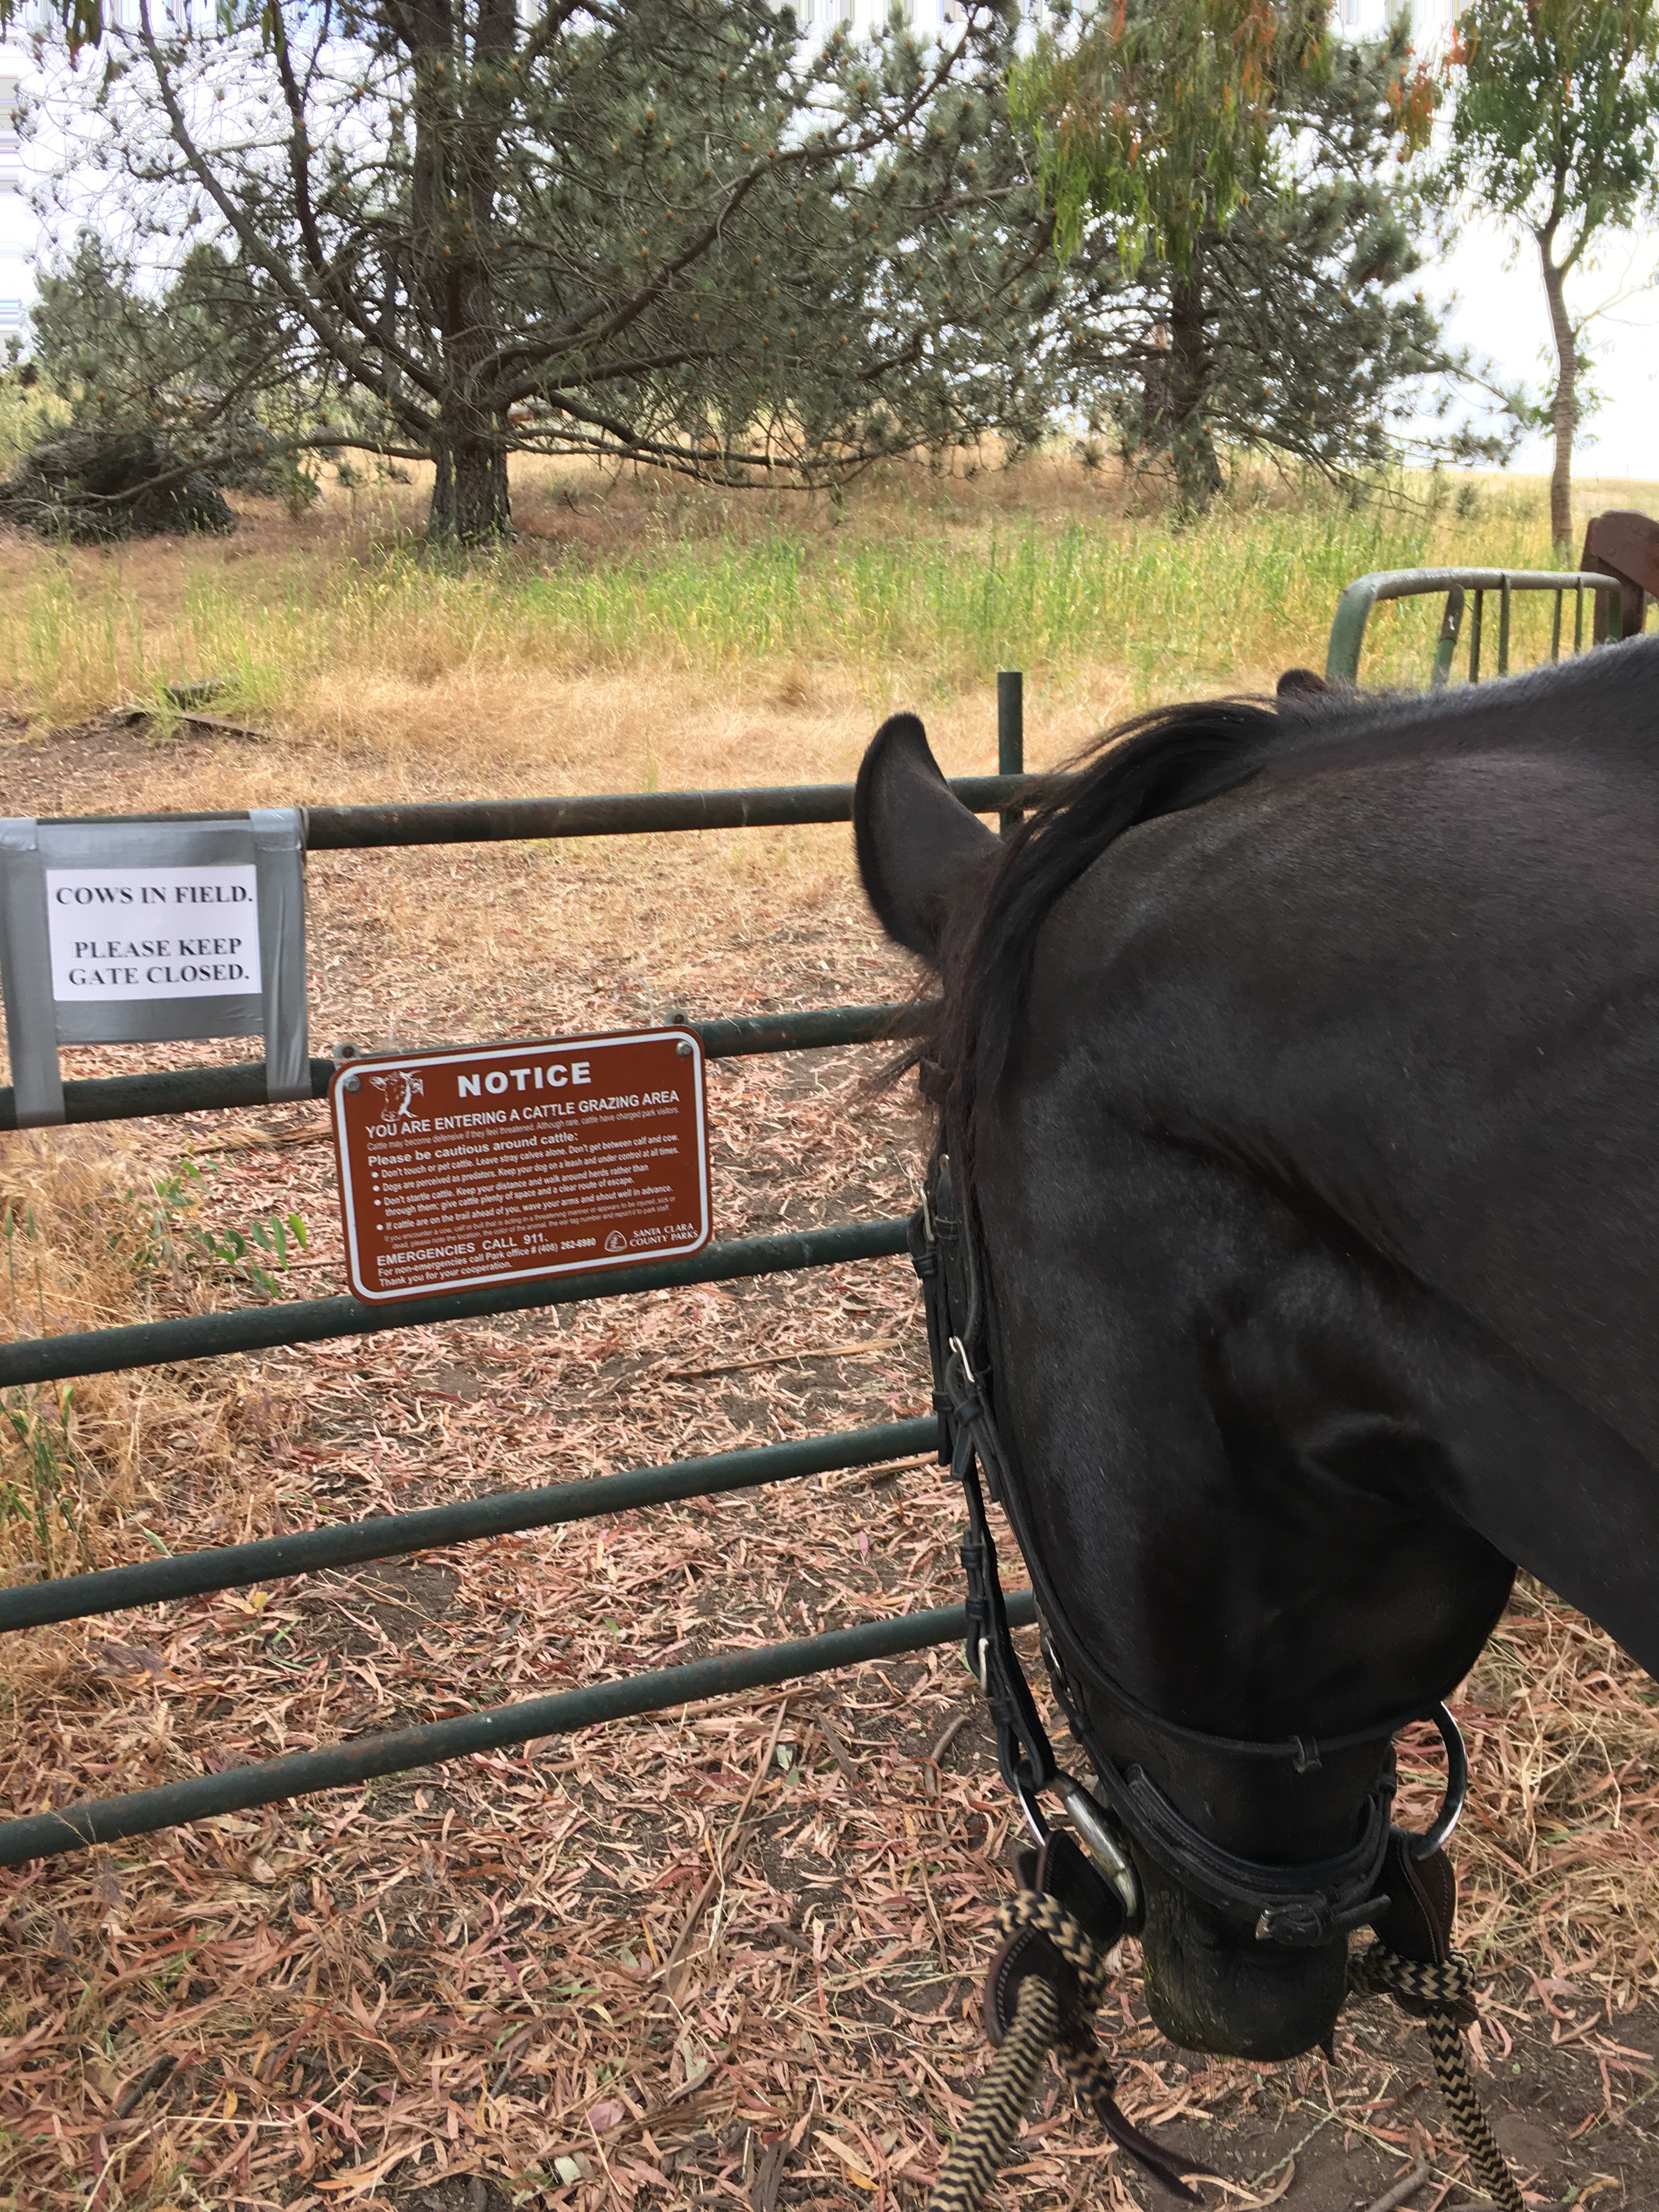
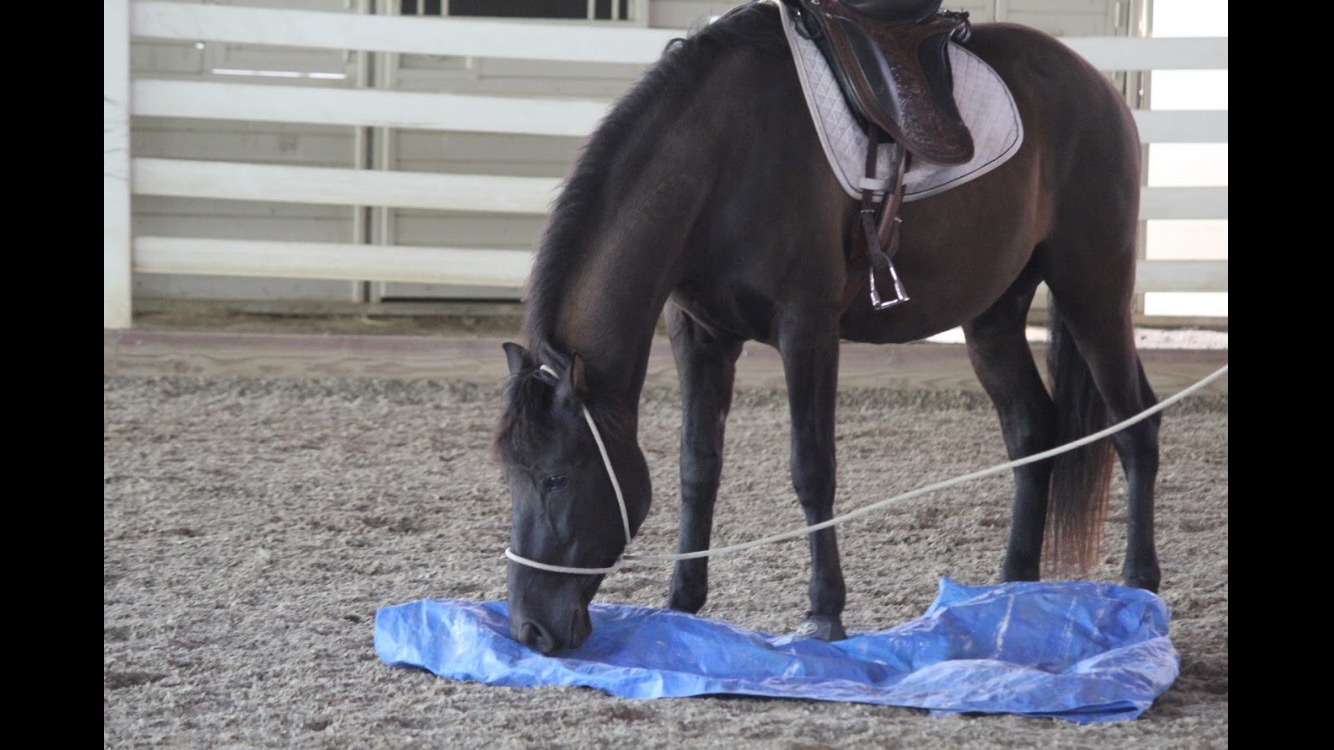
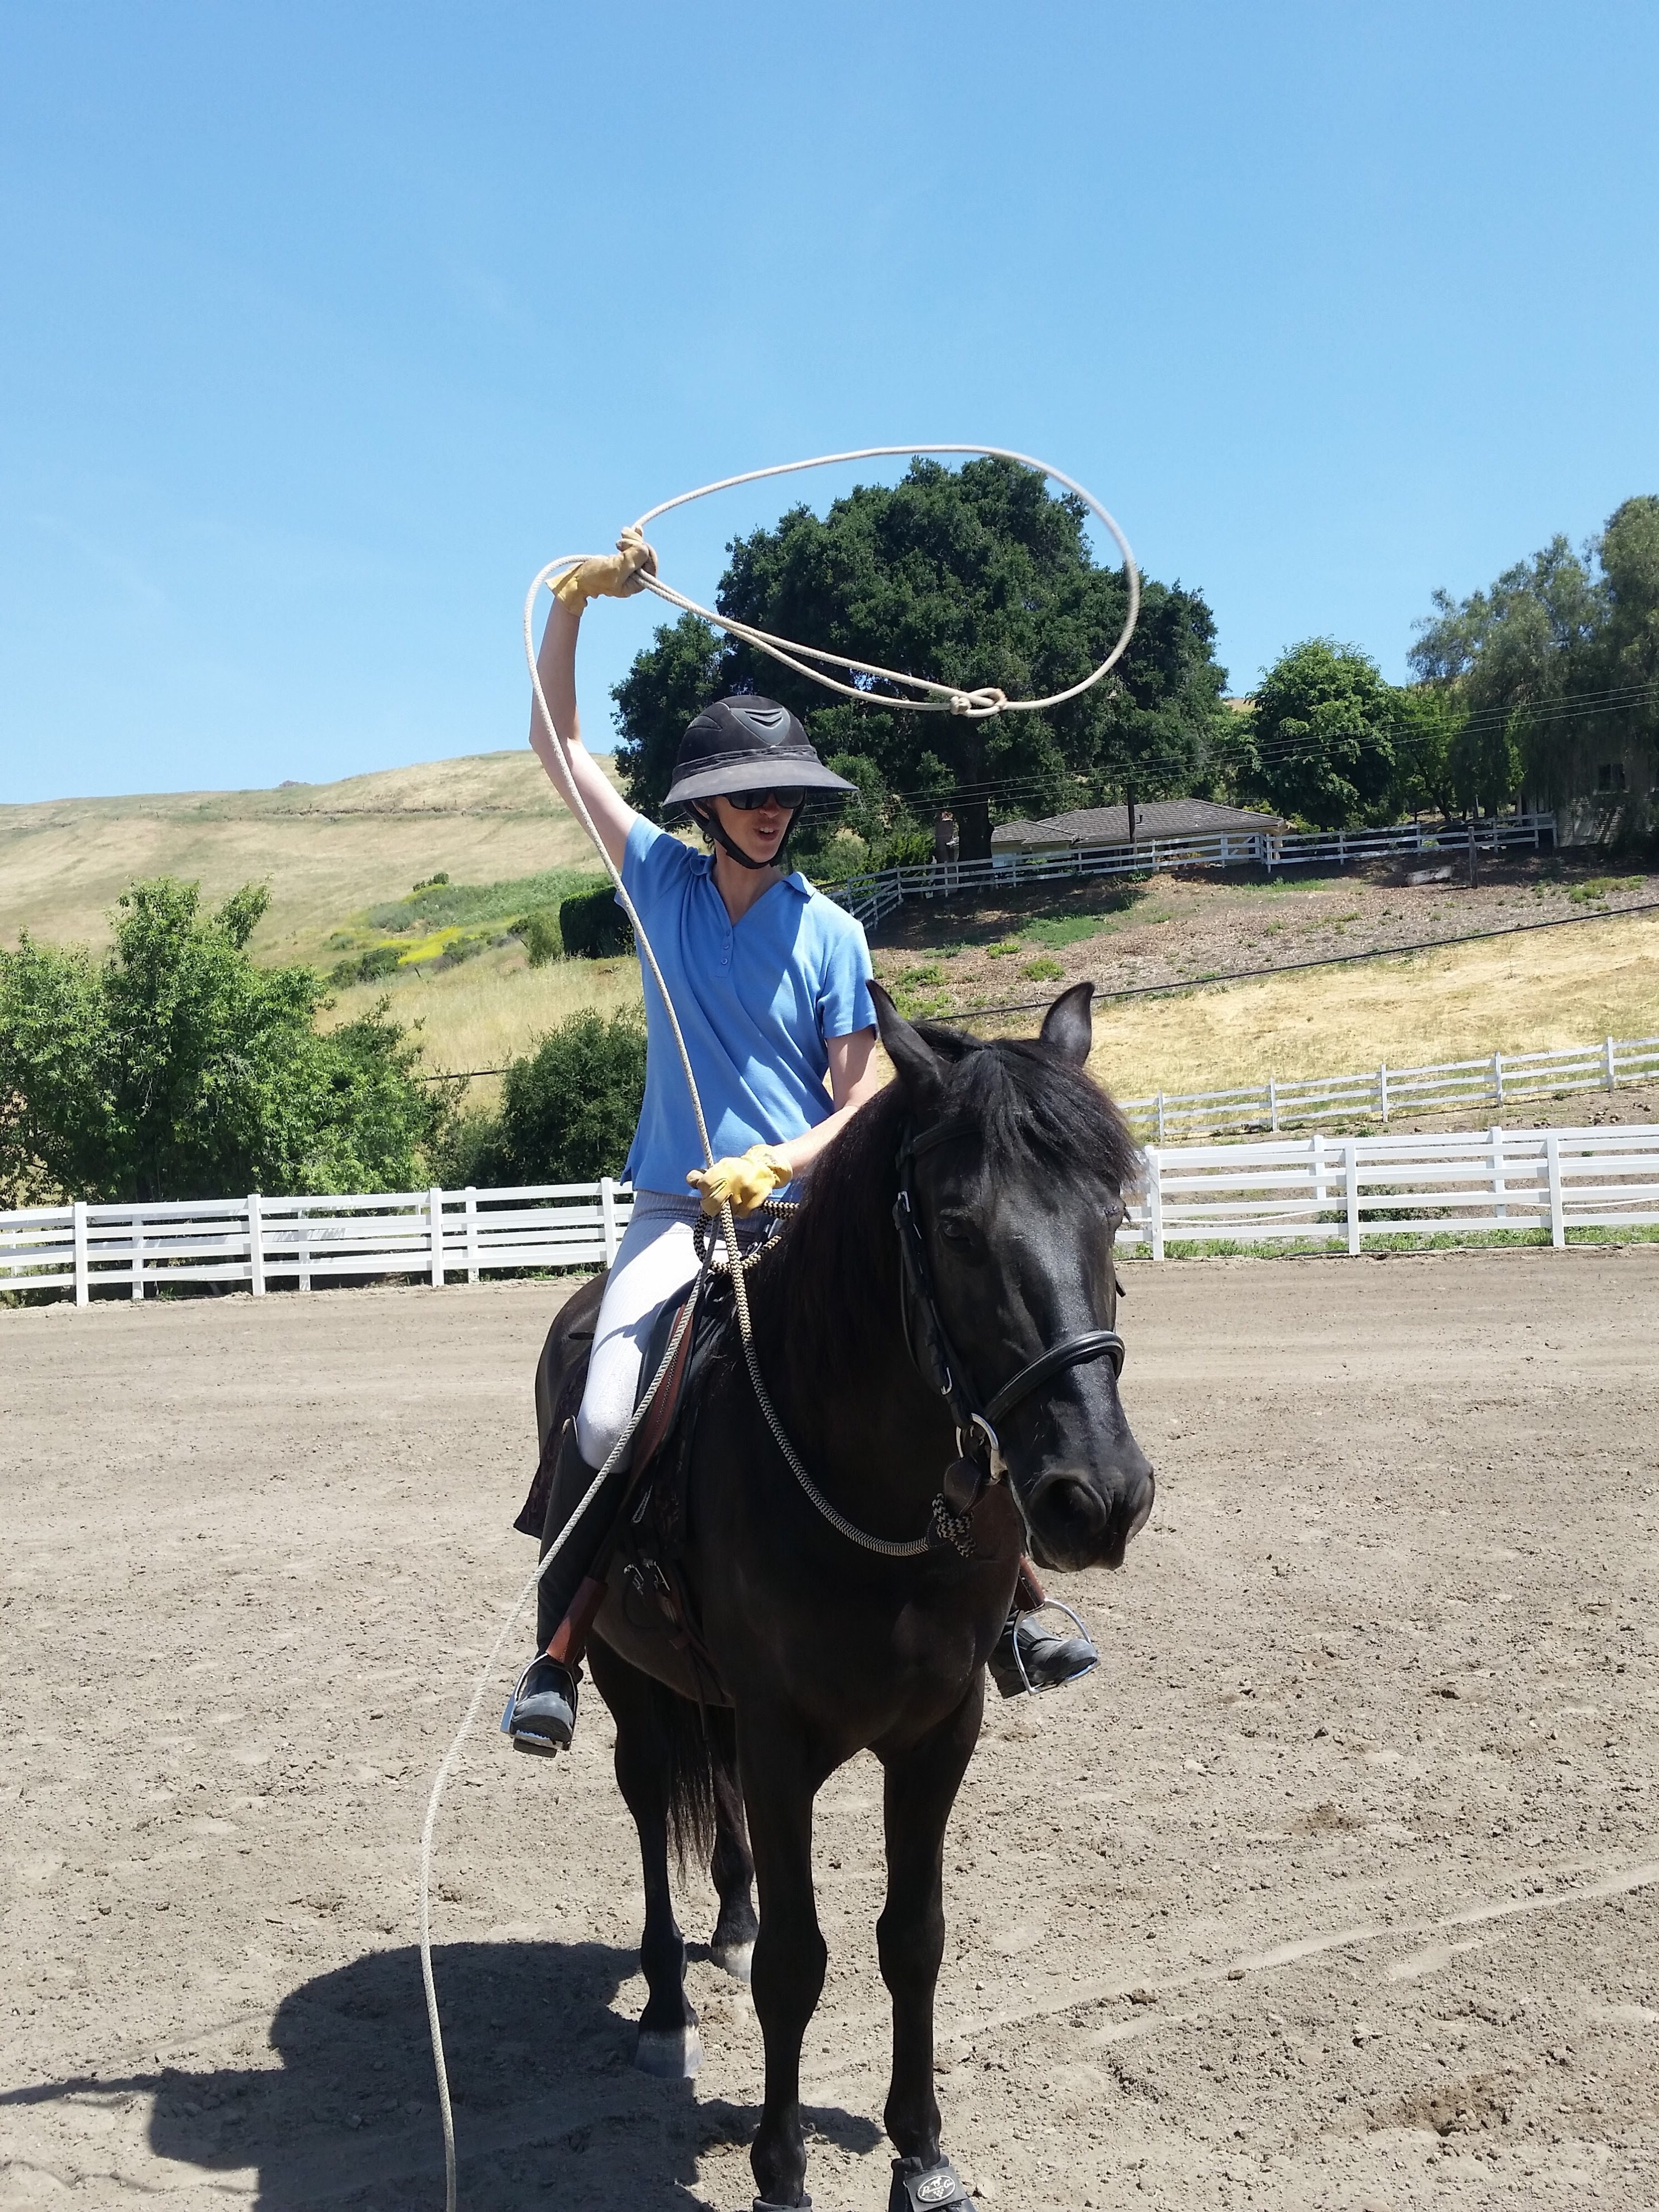
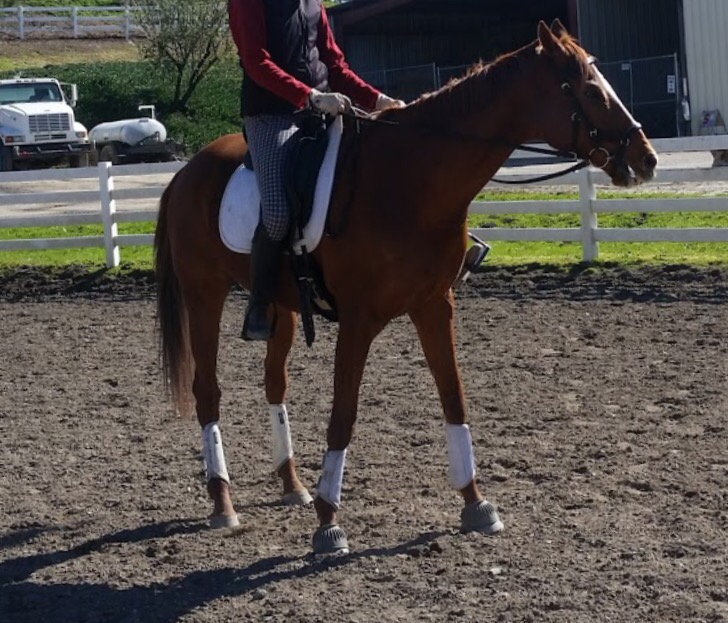
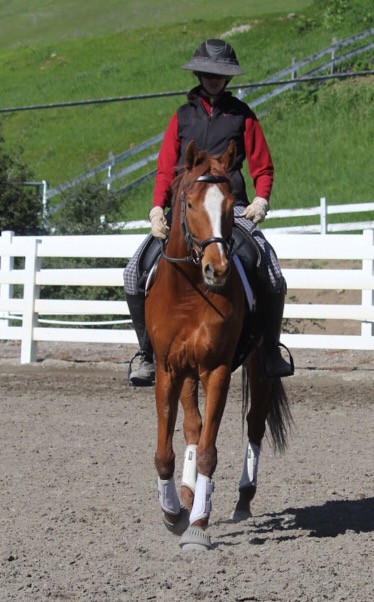
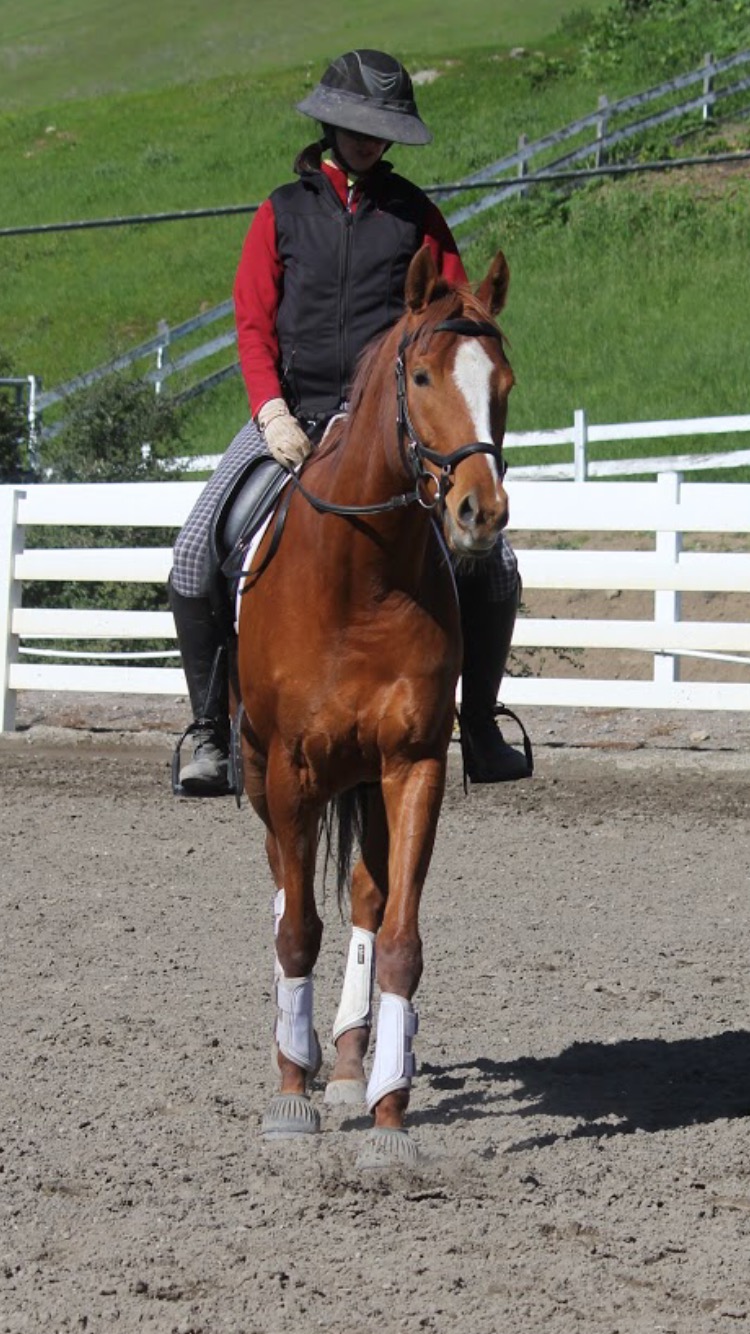
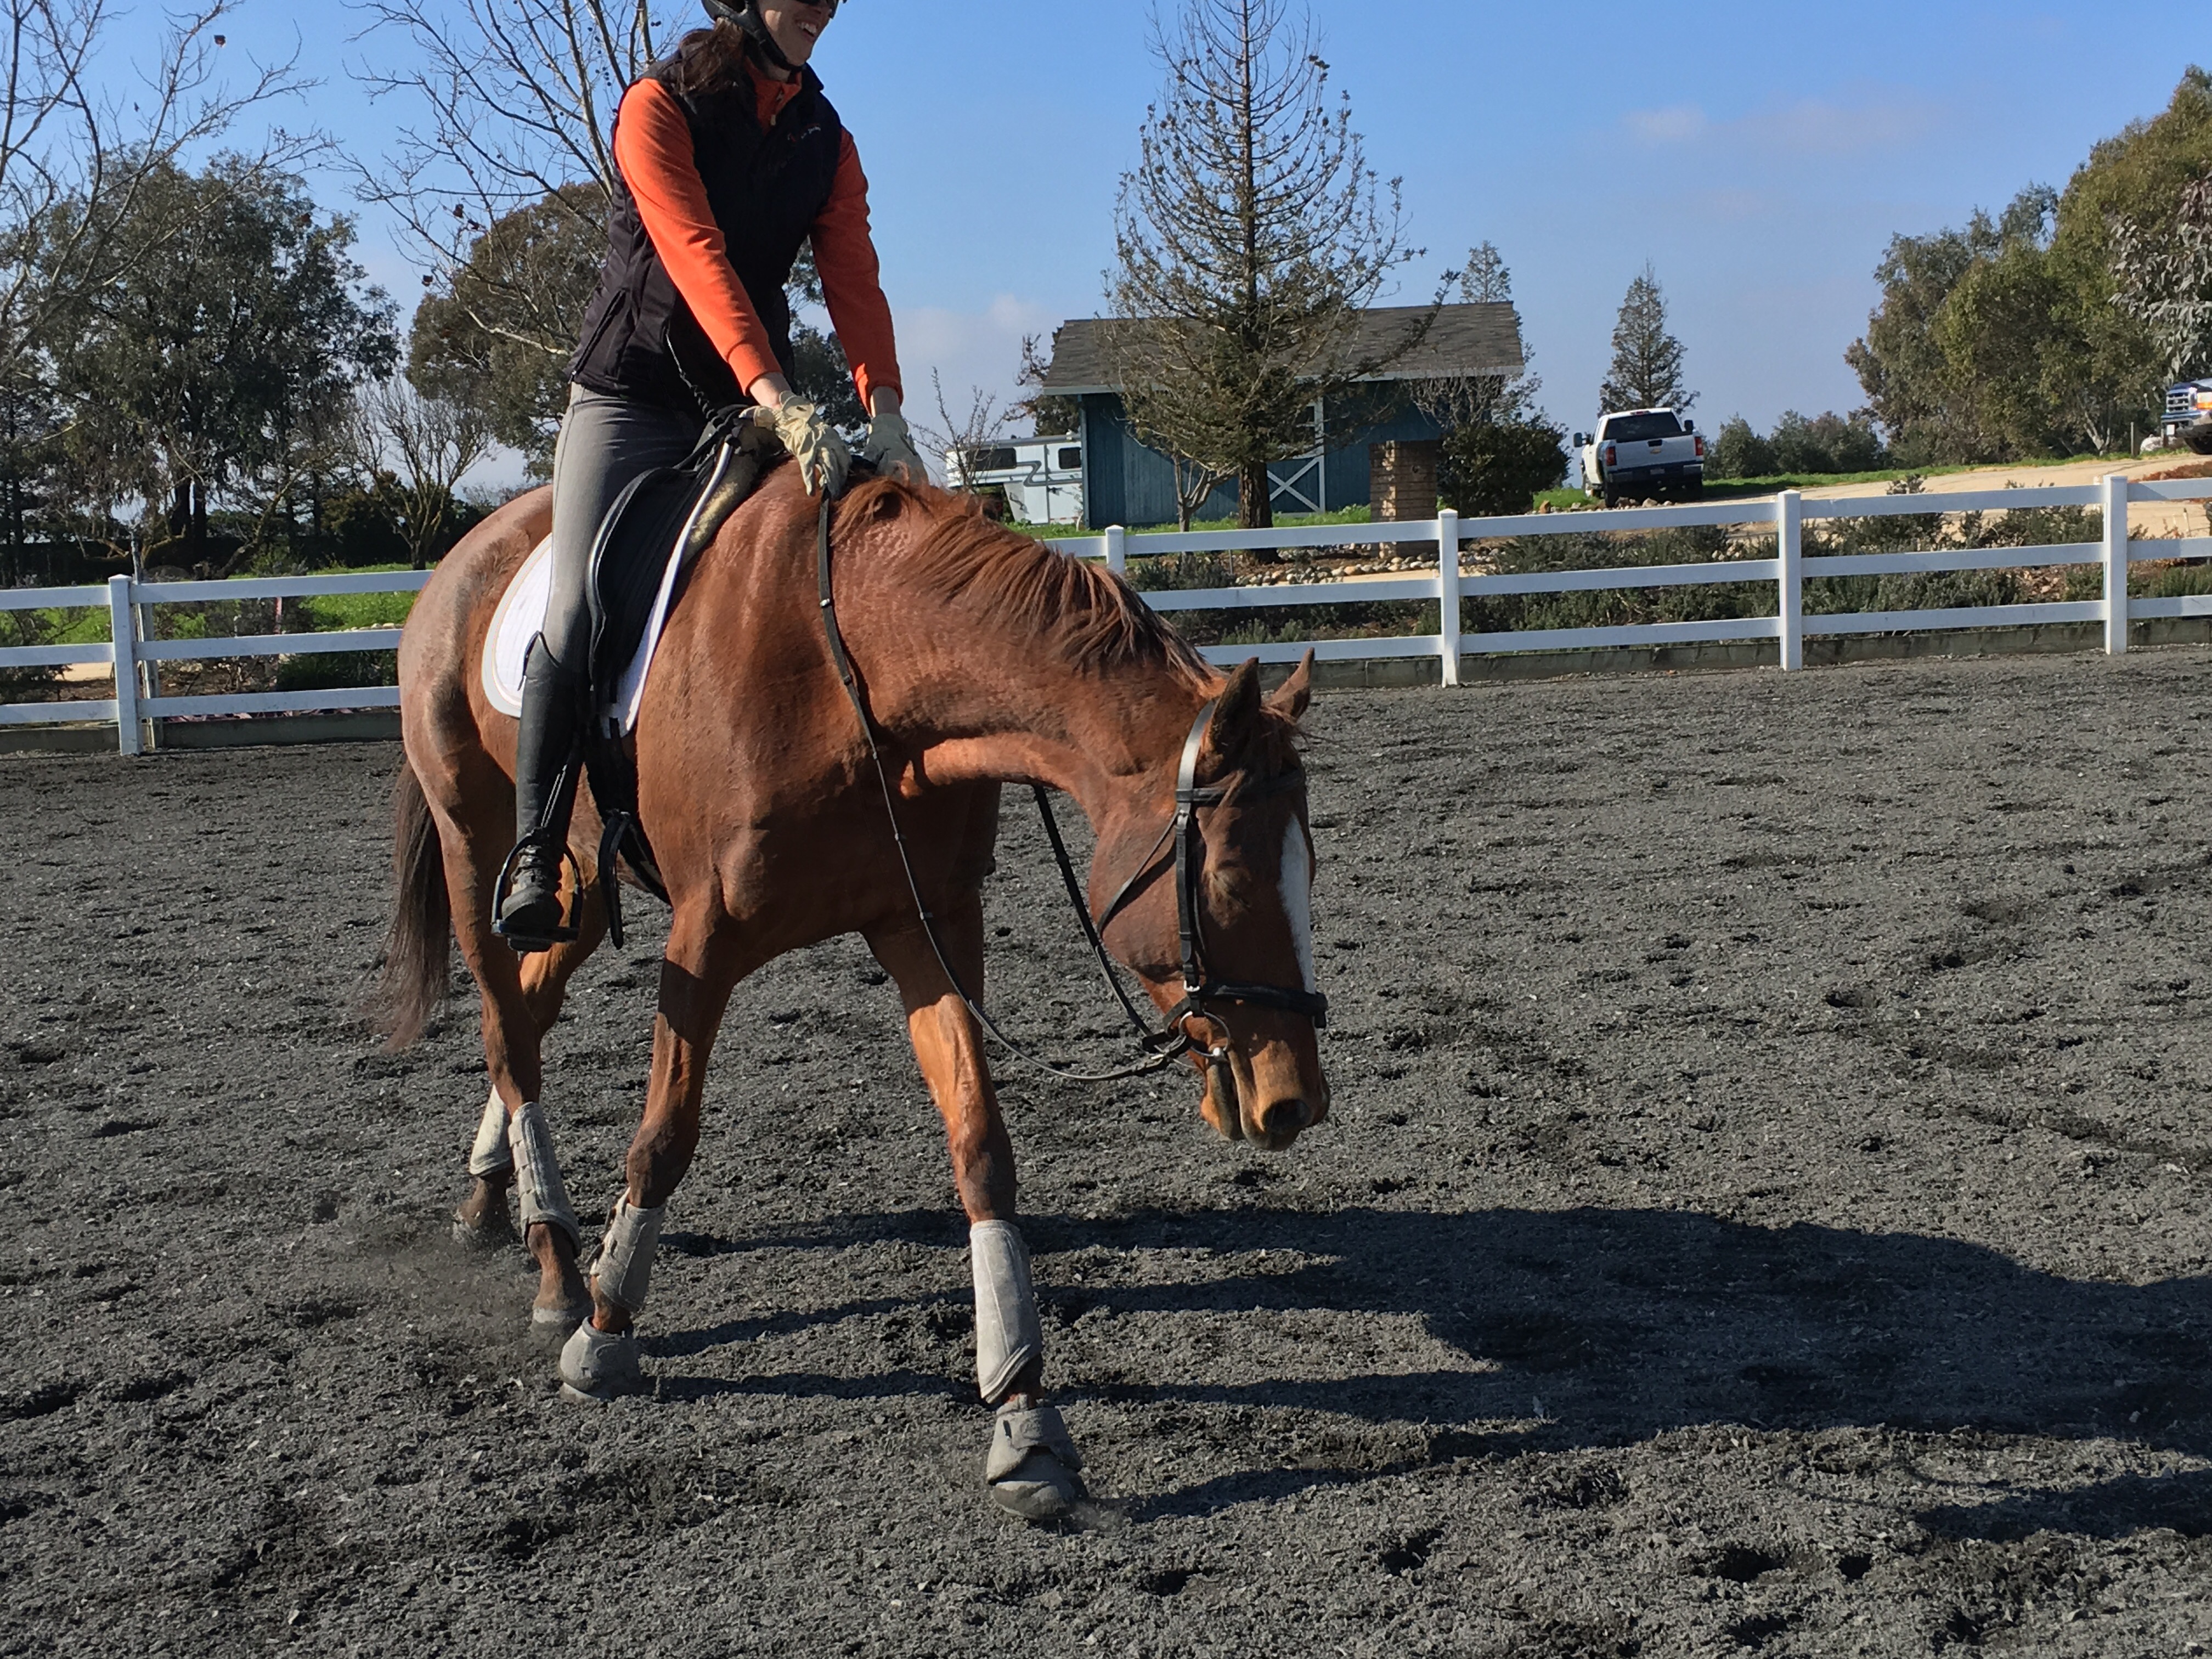
In addition to spending heaps of time with our favorite metaphor, the tarp, I’ve also spent lots of time working on gates with Brio.
I’m a firm believer that a good horse should let his feet become his riders feet. When I ride a horse through a gate, I want to open the gate, and keep my hand on the gate when I go through it, and close the gate without removing my hand.
Brio has an opinion that differs from mine on every single aspect of how I want to operate a gate. If he had his druthers, the most cooperative he would be about a gate is to do a Hollywood stop by the latch, let the rider fling the gate open on the move, pass through the gate, and never look back.

Brio doesn’t like to stand close to the gate, be near the gate when it is moving, stand in the gap of an open gate, back through a gap, step towards the gate as I close it, and stand by the gate while I latch it. Rather than continually work with a gate to achieve my goal, I addressed each aspect of his distaste individually.

To help with his lateral movement, I worked on his joystick control, and his rein yields.

I worked on his patience training to help his stand quietly as I operate the latch.

I worked on backing between cones, then through gaps in the gate and other narrow places.

I used this set up to have control over the narrowness of the space I wanted Brio to get comfortable in
I worked on having him stand by the gate as it swings away from him and towards him. This is fun to do with a partner, playing “catch” with the gate with riders mounted on either side. This was a particularly difficult task for him. ( There was a point where he got fed up with the game, jumped onto a plastic lawn chair and got loose…twice in one day)

I worked on him standing while I shifted in the saddle or did something else with my hands.
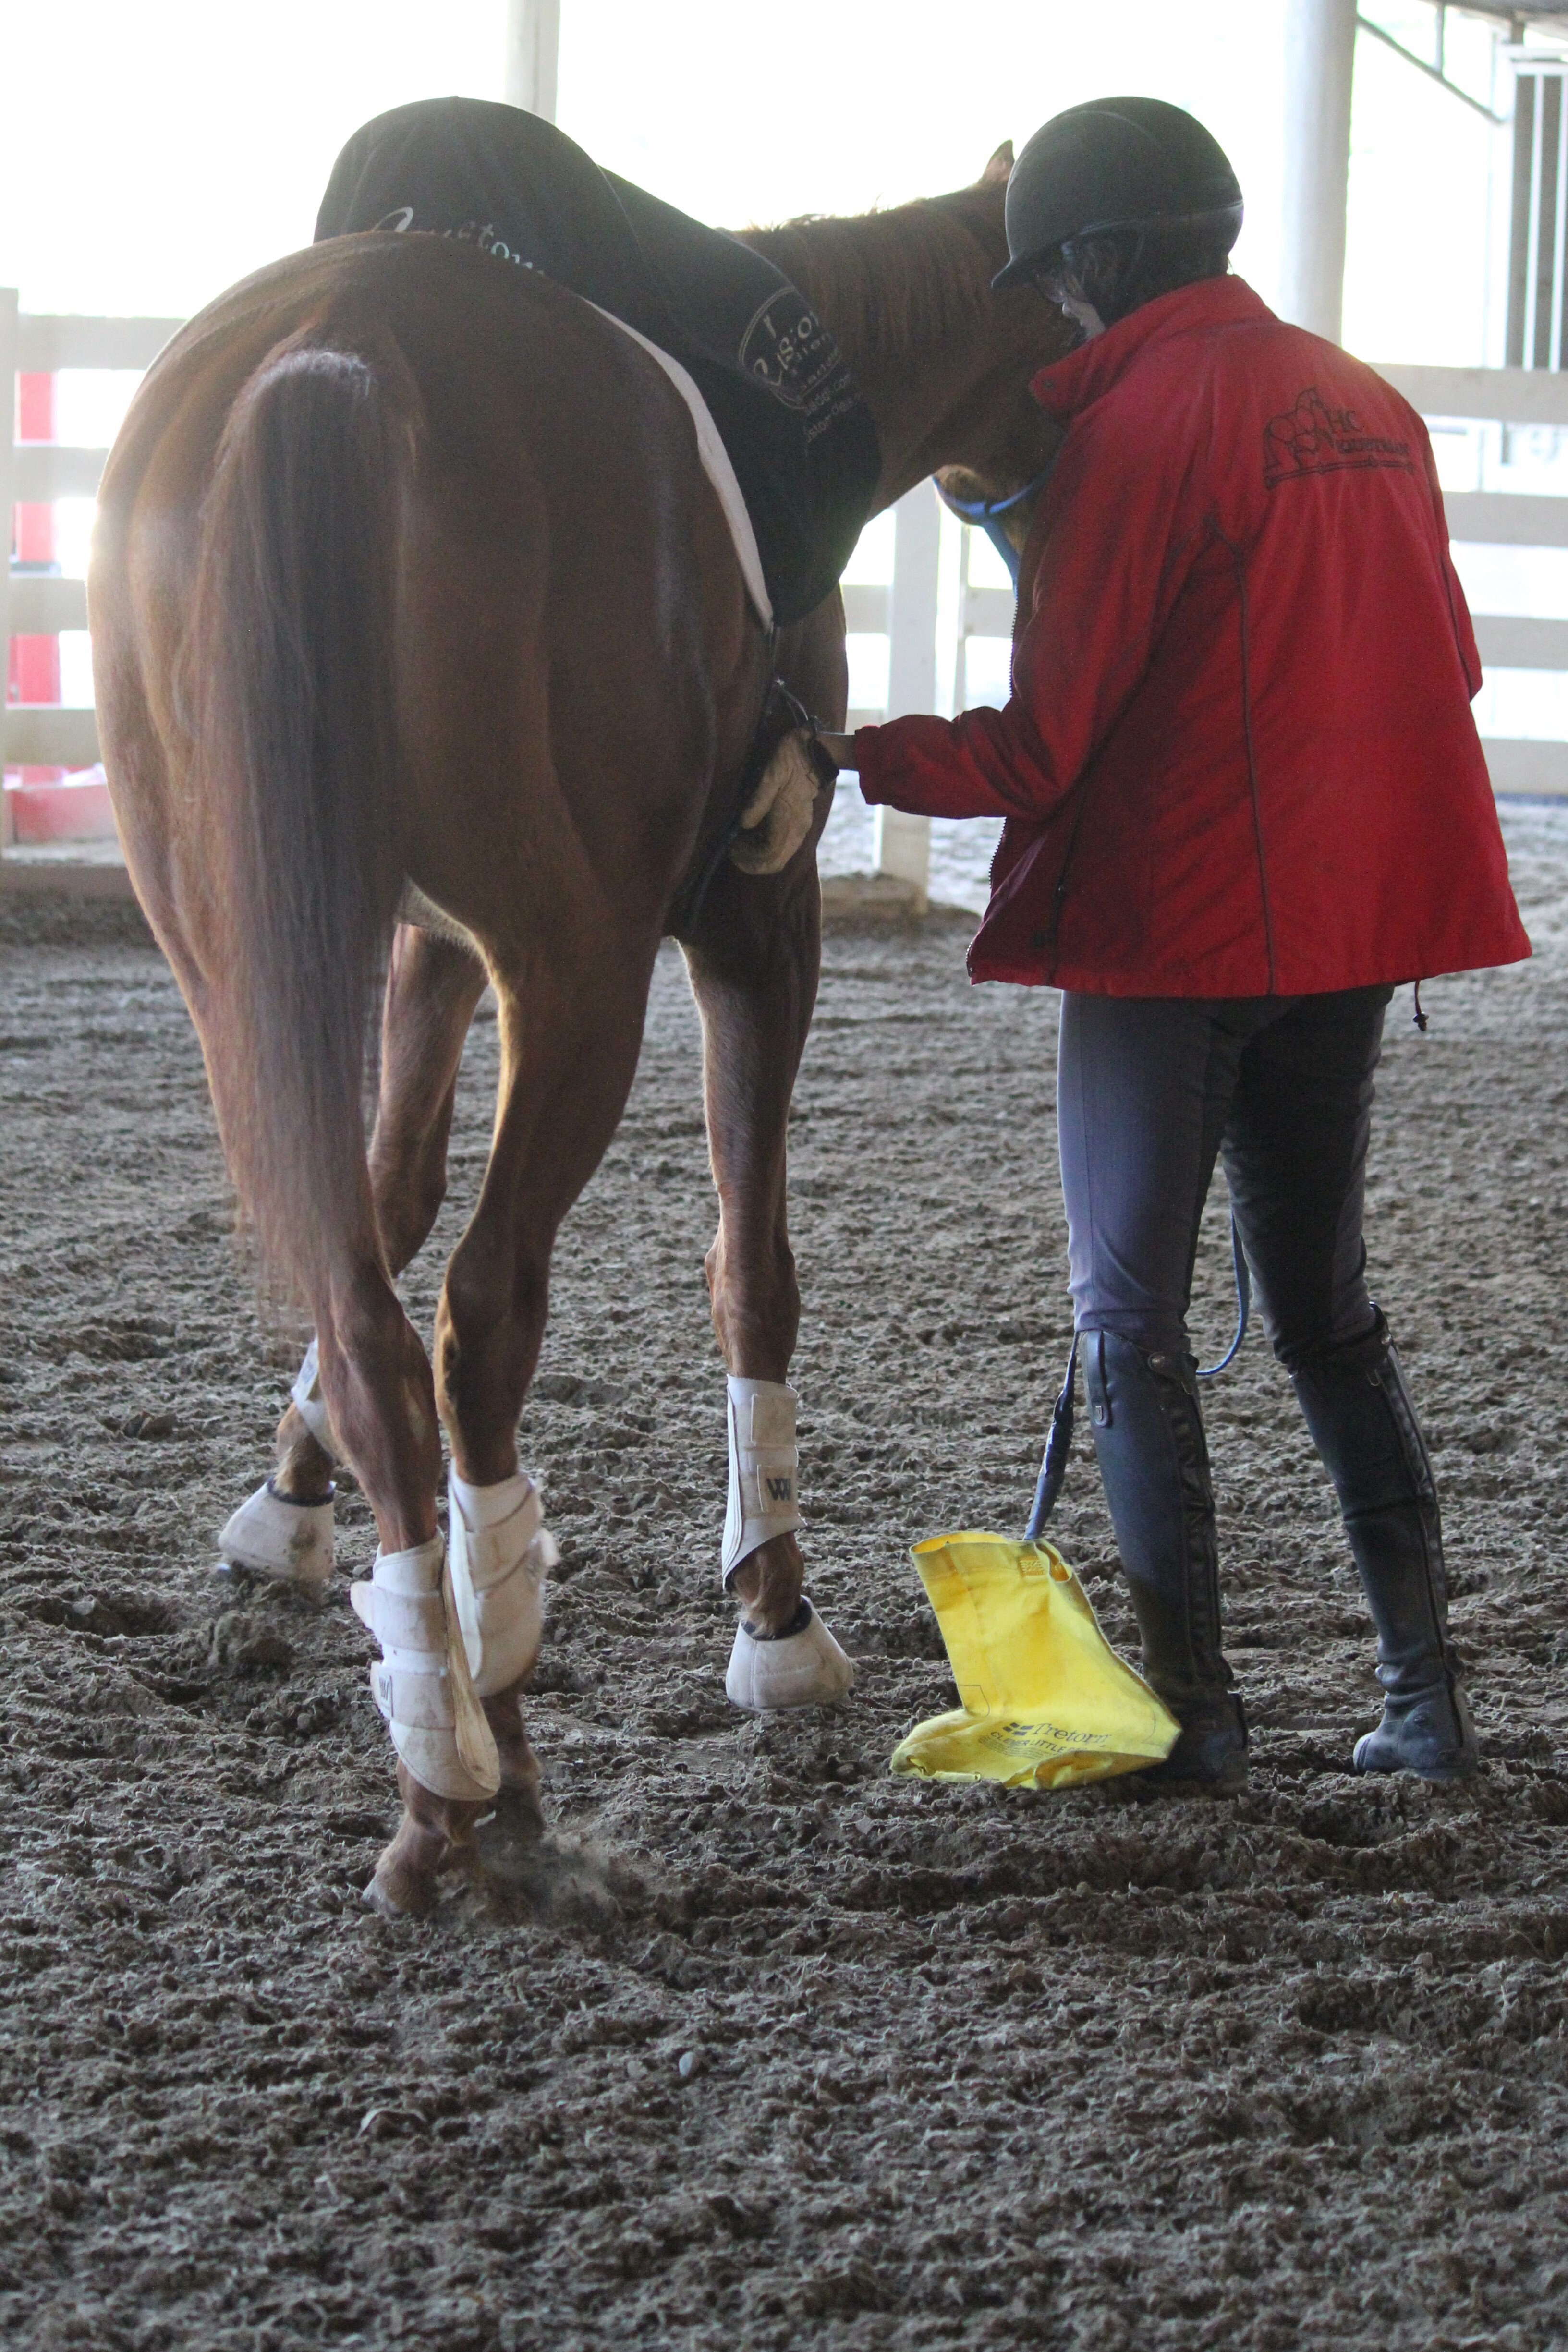
Again, the gate wasn’t so much of an issue as the aspects of his training that were lacking in his response to a gate. We worked on all of these training aspects on the ground prior to doing them mounted. The gate was a test of his skills and training and he failed. Rather than take the test again with no additional preparation, we went back to study the curriculum that he wasn’t understanding.

The process took quite some time, and isn’t perfect yet. As a result, Brio is much better at opening a gate and we can do it the way I like now. While it has taken me months of training to get to this point with the gate, the journey has given me a better riding horse with more malleability. These days we are getting about a B- on our gate test. Breaking down the skill into parts makes it much easier for horse and rider to understand.

Building confidence, not desensitizing.  Brio part 3

Brio is working on his low grade anxiety and confidence. To help with his anxiety, I’m giving him consistency. He is getting a routine in how he gets caught, tacked, and worked. Along with it, he is getting love and praise. He is now content to stand in the cross ties, comes to be caught instead of hiding in his paddock, and showing more of his personality. Everyone who handles him has a quiet and confident energy. As a result, he is starting to let go of his tension and relax.
To help with his confidence we are spending lots of time working on things that upset him. Things like traffic noise, tarps, crossing water, anything going over his back. This aspect of horse training is often referred to as sacking out, or desensitizing. Both terms elude to over exposure of a stimulus until the subject is no longer reactive to it. That isn’t quite the goal I’m looking to achieve with Brio.


For example, we’ve spent quite a bit of time getting him to cross a tarp. This isn’t something that really comes up that often when riding, so why spend so much time on it? The motivation is not to desensitize him to crossing a tarp, but to give him confidence to try something new. To get him to have enough trust in his handler to try something that he hasn’t done before.

The first time I tried to get Brio to cross a tarp, he spent much of his time on his hind legs, flinging me about the arena. With time and patience he will cross a tarp when he’s free in the round pen, and I can ride him over a tarp with no hesitation. This has led to him having confidence to cross bridges and water. Going past a blowing tarp on a rail has given him more confidence to trust his handler when traffic blows by him, ropes come at him, and carrying items.


So really the tarp isn’t there just for desensitization, the tarp is a metaphor for new things that he’s unsure of. It’s not just about getting used to the tarp, it’s about trusting his handler when he’s asked to do something that scares him a little.

Anthropomorphism in Horse Training, Brio part 2

Brioso del Amor , or Brio, is Liz’s unicorn-in-training. I don’t know too much about his history, except that he’s been passed around a lot in the past year. His breeder had him at a sale barn that sold him to a dressage home with an amateur. It didn’t work out there for Brio, he reportedly started rearing, so he was back at the sale barn within 3 months. Then Liz and Brio seemed to be a good match for each other. He did well at his pre-purchase exam, and arrived home in time for Liz’s birthday/Christmas.
Liz immediately picked up where she and Sawyer left off. While Brio was a good boy, he didn’t quite have the life experience that leads to the kind of confidence that Sawyer had. A loud motorcycle speeding by him led to Liz’s first fall in three decades. Between that and the discovery that Brio had a habit of breaking loose on the longe line and trying to mount the other horses in the arena led to Brio and Liz going in training with me.

We figured out a solution to the longing issue, and Liz learned some good things in her lessons. Then she got diagnosed with an issue with her spine, which required surgery and recuperation. I became Brio’s sole rider and had the opportunity to work on his confidence three days a week.

I began to really get to know Brio. My impressions of him was that he was upset with changing homes and owners so much. He seemed stressed out that he wasn’t sure what was going to happen to him next and what kind of rules his next handler would have. He would try to hide in his paddock when we tried to catch him, and he would flinch really hard when putting on his blanket or saddle. He just seemed to have a low grade worried expression all the time.

The longing issues and general disrespect of the halter seemed to stem from an issue of trying to posture himself at the top of his new herd. His herd consists of his stable mates, his handlers, and whatever random horse happened to be walking by or working in the arena with him. He was always looking for a way to express himself as being a cool and confident guy, while really harboring some self esteem issues.

I’ve often heard that it is not good, and even dangerous, to anthropomorphize horses when attempting to understand their behavior. I fully agree that horses are different than people in the way they interact with each other, humans, and their view of the world. However, my job isn’t just to train horses, it is also to help other people learn to understand horses. It is in that role that I find anthropomorphizing to be a very useful tool. Not because the horses are doing human-like things, but because it is easier to teach a human about something if you can relate it to something they already have experience with.
Most people have far more experience with humans than they do with people. If I can relate a horse’s actions, to a known trope of human interactions, I can be much more effective in helping a person understand a horse’s behavior.
To this end, I can relate Brio’s behavior to that of a kid who is a bully because his home life sucks. Or maybe the guy who has road rage on his way home from a day of getting pushed around at work. These are things that are easy for people to understand. Bridging the gap between anthropomorphism and equine behavior is the crucial step between evaluation/understanding and execution/correction.


When I interact with Brio, I’m going to treat him like a horse, and not a person. To address his low level anxiety, I am going to give him consistency. To address his issues with his confidence, I’m going to work on things that make horses more confident.

A groom’s responsibility

The Happy Canterer is branching out.  Groom extrodinaire Nel Sanchez is joining our team of bloggers! This is her first submission:
What do I do?In everyday life, when meeting new people or talking to friends and family, the question is often raised – What do you do? And I usually find myself giving one of two answers, either “I work with horses” or “I am a horse groom”. But unless you have spent some degree of time around horses yourself, that doesn’t really give you too much insight into what it is I actually do.  

In a busy program, horse trainers and instructors are pressed for time, working to deadlines coordinating horse exercise, riding, education, feeding, veterinary and farrier appointments, riding lessons, maintenance, competitions, trailering to events etc that to try to do it all would likely result in fatigue, burn out and in-turn compromise safety. As I groom I help to bridge the gap between horse and trainer, ensuring that the trainer is able to get their job done safely, efficiently and to the best interest of the horse itself.


When I first go to collect the horses, I look at their eyes, look them all over and read their body language. Each horse is an individual and they are all different in there relaxed state. If present, mood changes, illness or injury can often be detected at this first greeting. I put halters on the horses and as I walk them out of their stalls I listen to their footfalls. If I haven’t noticed a missing shoe or lameness, nine times out of ten you will hear it as soon as they start walking. Of course this is harder when the footing is soft, but generally I have a good record by following these methods. It’s the same when brushing and saddling the horses. You are not only removing dirt and debris from the horse’s feet and body, you are removing anything foreign from where saddlery will fit, checking saddlery itself for fit and maintenance issues, and checking the horse’s body by feel for any non-obvious bumps, injuries or soreness. You want everything to be comfortable, non-constricting and of course safe for both horse and rider. By learning each and every horse like this I am able to communicate with trainer/rider how the horse is that day. To me, it is just as important to mention if a horse is particularly tense or jumpy that day as it is to mention swellings or lameness. When you have a 140 pound rider getting on an 1100 pound equine communication becomes a very powerful tool. 


After being worked, horses need to cool down, be checked over for any obvious strains/injuries, have sweat removed, any treatments needed applied and then return to the comfort of their stalls or pastures. It’s my goal to have them return in as good as or better condition than when they came out. And this doesn’t necessarily mean looking pretty. A horse is a horse, and the most natural thing for a horse to do is graze and roll. Allowing horses to have a quick pick at the grass and/or a roll in the sand can do wonders for their mental health. And it helps build the good relationships I have with the horses I work with.


So what is it I do you ask? I am a part of a very important team effort. I am a groom, cleaner, nurse, confidence builder, safety advisor, strapper, teacher, communicator, helper and friend to horse and trainer. And I have the best job in the world.

About the author:  Nel Sanchez is an Australian horse lover living in the San Francisco Bay Area. Her first job out of school as a 17 year old was on a Thoroughbred property in the Wollondilly Shire of NSW. It was here that Nel learnt the fundamentals of really ‘knowing the horses’ from a tough, but fair manager, that she continues to build on to this day. 


Elbow to bit

I wanted to write an article about the importance of keeping a straight line from the rider’s elbow, through the forearm, hand, and rein, to the bit.  You know, my usual sanctimonious stuff.  I started taking photos of my students in four  different positions: hands at the correct height, hands too low, hands too high, and hands where the rider naturally puts them without direction. 

 My goal was to illustrate the need to take in to account riders’ conformation when determining the proper height of the hands.  Riders are often taught to keep their hands just above the horse’s withers.  For riders with short arms or long waists, that position might be too low to keep a proper alignment from the elbow to the bit.  Long armed or short waisted riders might have the opposite problem.

However, as I began to study the photos, I started to notice other factors at play in the relationship between the rider’s arms and the bit.  Let’s take a look.
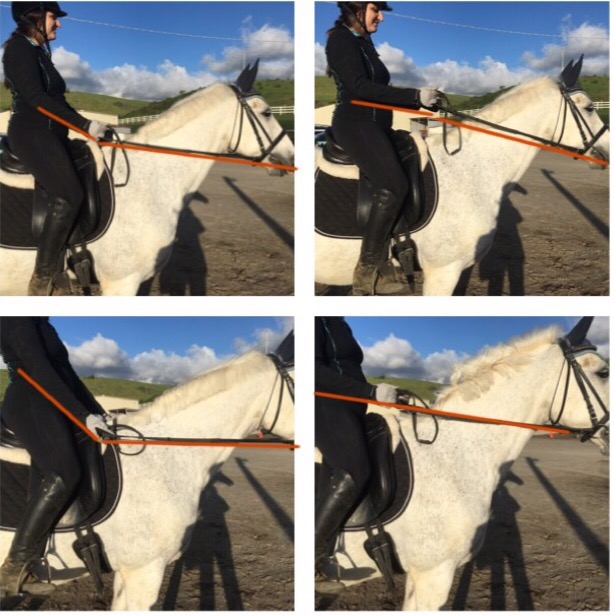
Top left: I’ve added a red line to Diana’s photos so the line from elbow to bit is apparent.  Diana’s hand position is too low.

Top right: Diana’s hands are a little bit too high, but not among the clouds as she thinks they are

Bottom left: hands too low, which is where Diana’s hand ends up incorrectly migrating when she’s working to get Pacifico the Iberian warmblood to come round

Bottom right: I put Diana’s hands where they belong. The challenge for Diana is to keep her hands on this plane while she is using them.  

The upper arm also plays a part in the ability of the rider to follow the horse’s mouth properly.  Check out Elaine and her morgan, Fancy:Top left: this is where Elaine naturally carries her hands she does have a straight line from elbow to bit, but no bend in her elbow, which will limit her ability to follow Fancy’s motion
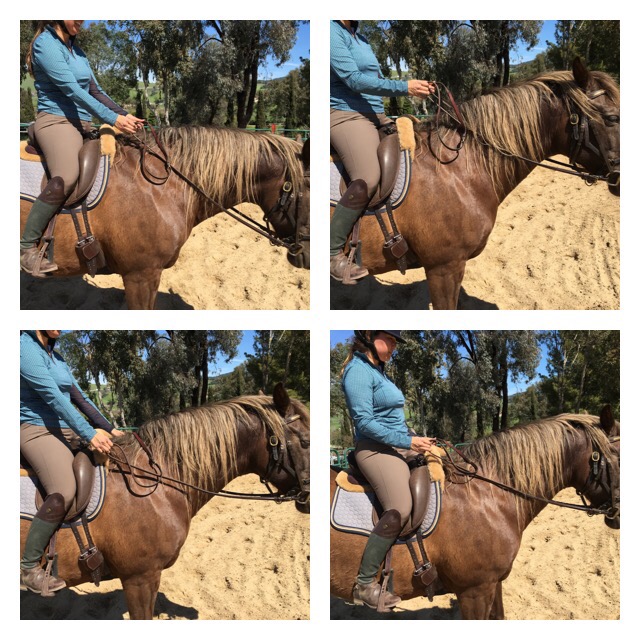
Top Right: Elaine’s hands too high, disrupting the straight line from elbow to bit

Bottom left: Elaine’s hands are too low,  again disrupting the line from elbow to bit

Bottom right:. This is where I put Elaine’s hands.  Just like her natural hand position, she still has a straight line from elbow to bit, however now she has a bend in her elbow, which will allow her hand to follow Fancy’s motion. This position also allows her to obtain a deeper seat and a more draped leg.

​When arms are in the correct position, and moving in the correct trajectory, the motion is similar using a hand saw.  In the trot and canter the hand moves towards the elbow, and the elbow moves towards the hand.

In addition to limiting the ability to follow, hands that are too low can be quite irksome to the horse.  Let’s see what happens when Rachael brings her hands too low on her connemara, Crispin:Top left: Rachael naturally carries her hands a little higher than the straight line from elbow to bit.
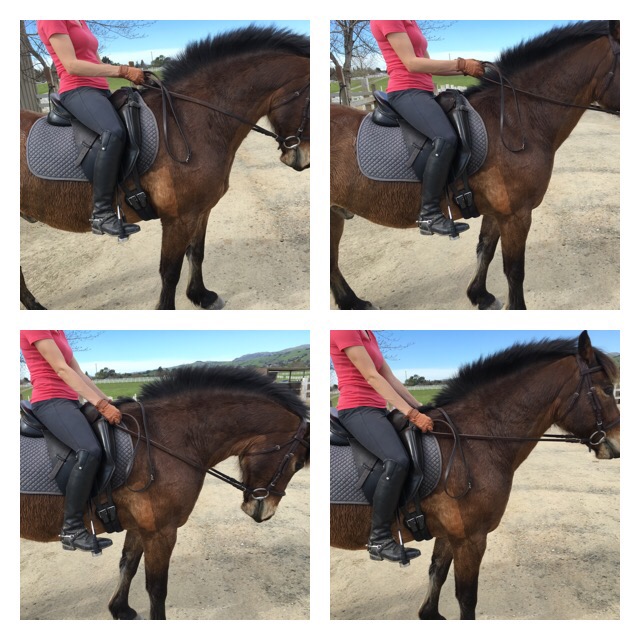
Top right: Rachael raising her hands a little too high. Crispin responds by bringing his head up.

Bottom left: Rachael’s hands are too low, they still appear to have a straight line from elbow to bit because Crispin is trying his best to follow the connection. However….

Bottom right: when riders put their hands too low, almost every horse will tuck in his head, then after a moment jerk the reins violently forward.

Horses don’t like the rider’s hands getting too low is because of their mouth anatomy. When the rider has proper alignment from elbow to bit, the bit will work on the horse’s lips and tongue. When hands are too low, the bit works on the bars of the horse’s mouth. The lips and tongue are squishy, while the bars are rigid and hard. It is uncomfortable for the horse to take pressure on the bars of his mouth, so he will usually try to duck his head to avoid the pressure, then jerk forward to try to release the pressure.
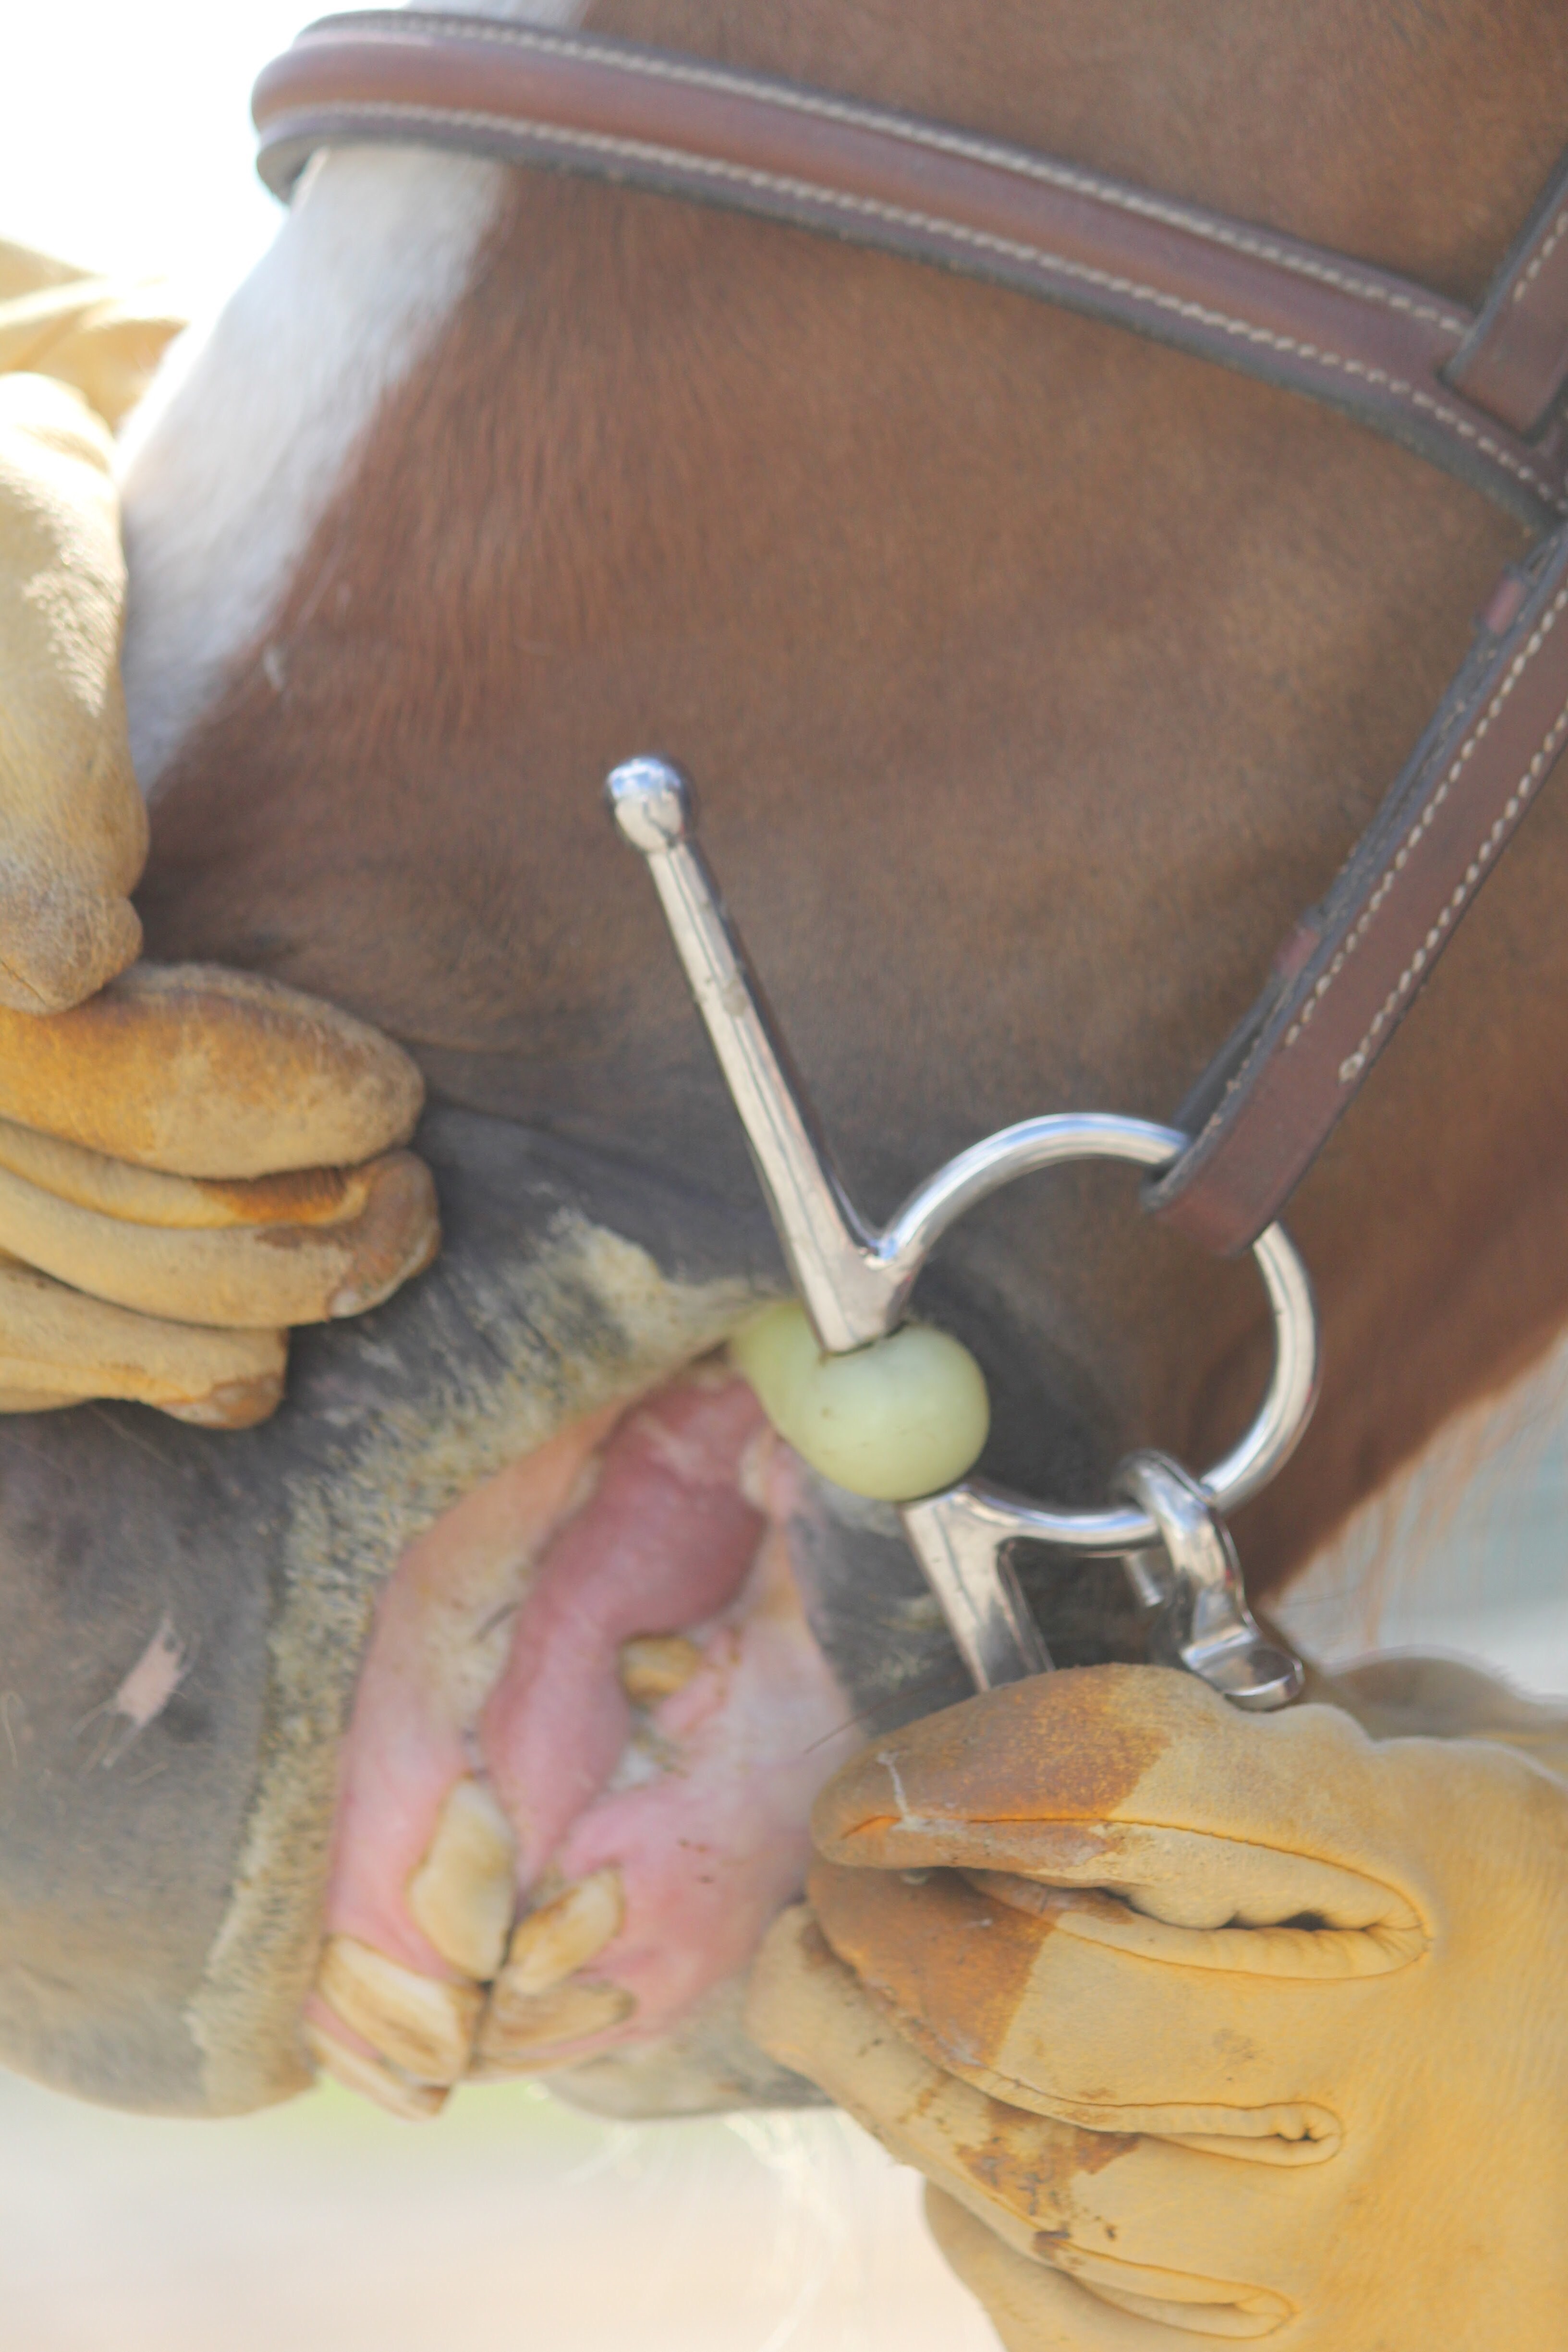
The structures of the mouth that a Mullen mouth or double jointed snaffle bit acts upon are the lips, tongue, and sometimes the bars. The bars are the lower jaw between the incisors, canines, and molars.

Alair’s andalusian, Corie, reacts similarly to Crispin:Top left: Alair’s natural hand position is spot on.  Her andalusian, Corie, shows a lovely stretch to the bit.
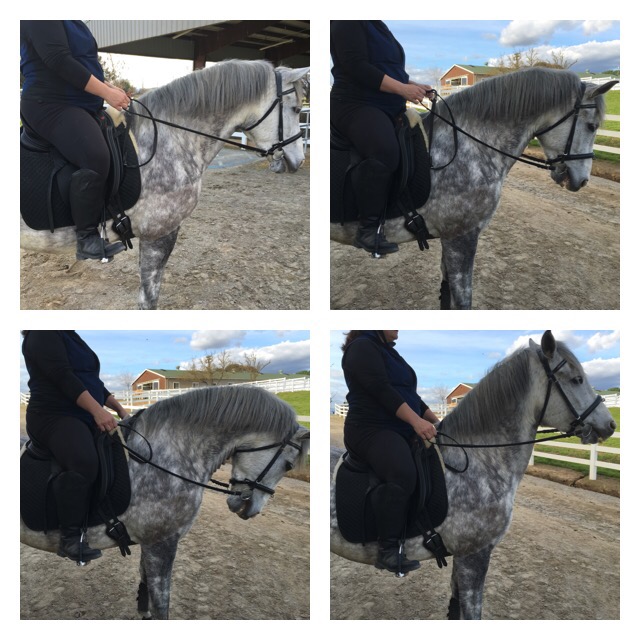
Top right: Alair’s hands are too high

Bottom left: hands to low, in an effort to alleviate the discomfort of the bit in the bars, Corie ducks behind the vertical…

Bottom right: and then he jerks his head forward to alleviate the discomfort of hands too low.

I got a little bit stumped looking at Alair’s pictures.  I thought Alair would be the perfect example of hands in the correct alignment that appear too high in relation to the withers.  But that is not the case here, she presents a classic  picture!  Then I realized, I’m used to seeing Alair on her other horse, Kaveat, an Arabian with different confirmation than her current mount.  Kaveat’s back was higher, and Alair was using a different pad which set her up higher still.  As a result, her hands appeared to be hovering high above the withers when she rode her arabian. But here on Corie, her hands are closer to the withers.  I figured out that the difference in appearance is due to Corie’s back being more dipped than Kaveat’s, and his andalusian neck is set higher on his shoulders than the arabian’s.

Alair still has proportionality shortish arms, where I have proportionally long arms.  Here’s what I look like on an a variety of horses, the first of which is somewhat similar in build to Alair’s Andalusian.


Top:  hands just about right.  Your can see how my hands are alongside Brio’s withers when they are in the correct position.  In Alair’s correct photo you can see her hands are a little above the withers.

Middle: Hands are about right.  They are slightly above Corny’s withers.  He is a thoroughbred with a lower set neck and flatter back than Brio.

Bottom: hands about right on Buddy, a Standardbred x Appaloosa 

We’ve checked out there same rider on differently built horses, now let’s check out the same horse with differently built riders:Above: Rae’s hands are correct at Poni’s withers and she has a nice vertical upper arm.

Below: Kristin’s arms are proportionally shorter.  They are placed well above Poni’s withers. Even though Kristin’s hands are at the right height, they’d be even better if her elbows were further back allowing for greater following potential. At 13.3h, Poni is well suited to Kristin’s proportions, but Kristin may have biomechanical challenges riding big moving horses.

Lastly, when considering hand position and its relationship to the horse’s mouths, the hands should not be closer together than the width of the bit.  If hands are too close, the horse may feel the rings of the bit against his cheeks.  If you are using a single joined bit, close together hands or hands that cross the wither will push the center joint of the bit into the roof of the horse’s mouth, or pinch his tongue. Riders’ hands should also not stay wider than their shoulders, though they may travel wide on occasion without injuring the horse’s mouth.

Having a ground person, instructor, or even a mirror is great for perfecting the position of your arms.  An even better way is to develop a feel for what different parts of the horse’s mouth feel like.  Try this while riding to develop your feel: take a contact on the reins, then move your hands slowly up high and down low.  You will feel the horse’s spongy tongue and elastic lips, especially if he is moving them.  When your hands travel too low and place the bit on the bars of the horse’s mouth, you will feel a distinct rigidity.  This is not where you want to be!  As you ride forward, make your goal to keep the bit feeling the same to the horse  in every moment of every stride.  This is the basis of a harmonious connection with your horse.  Enjoy the ride!

About the author:  Ali Kermeen has her training business, HC Equestrian, in the hills east of the Silicon Valley.  She’s a USDF silver medalist and L graduate, as well as a USEA certified instructor and CHA master instructor.  Ali loves working with all types of horses across many disciplines.  She hopes to take two thoroughbreds to Kentucky this Fall to compete in for the Thoroughbred Makeover.
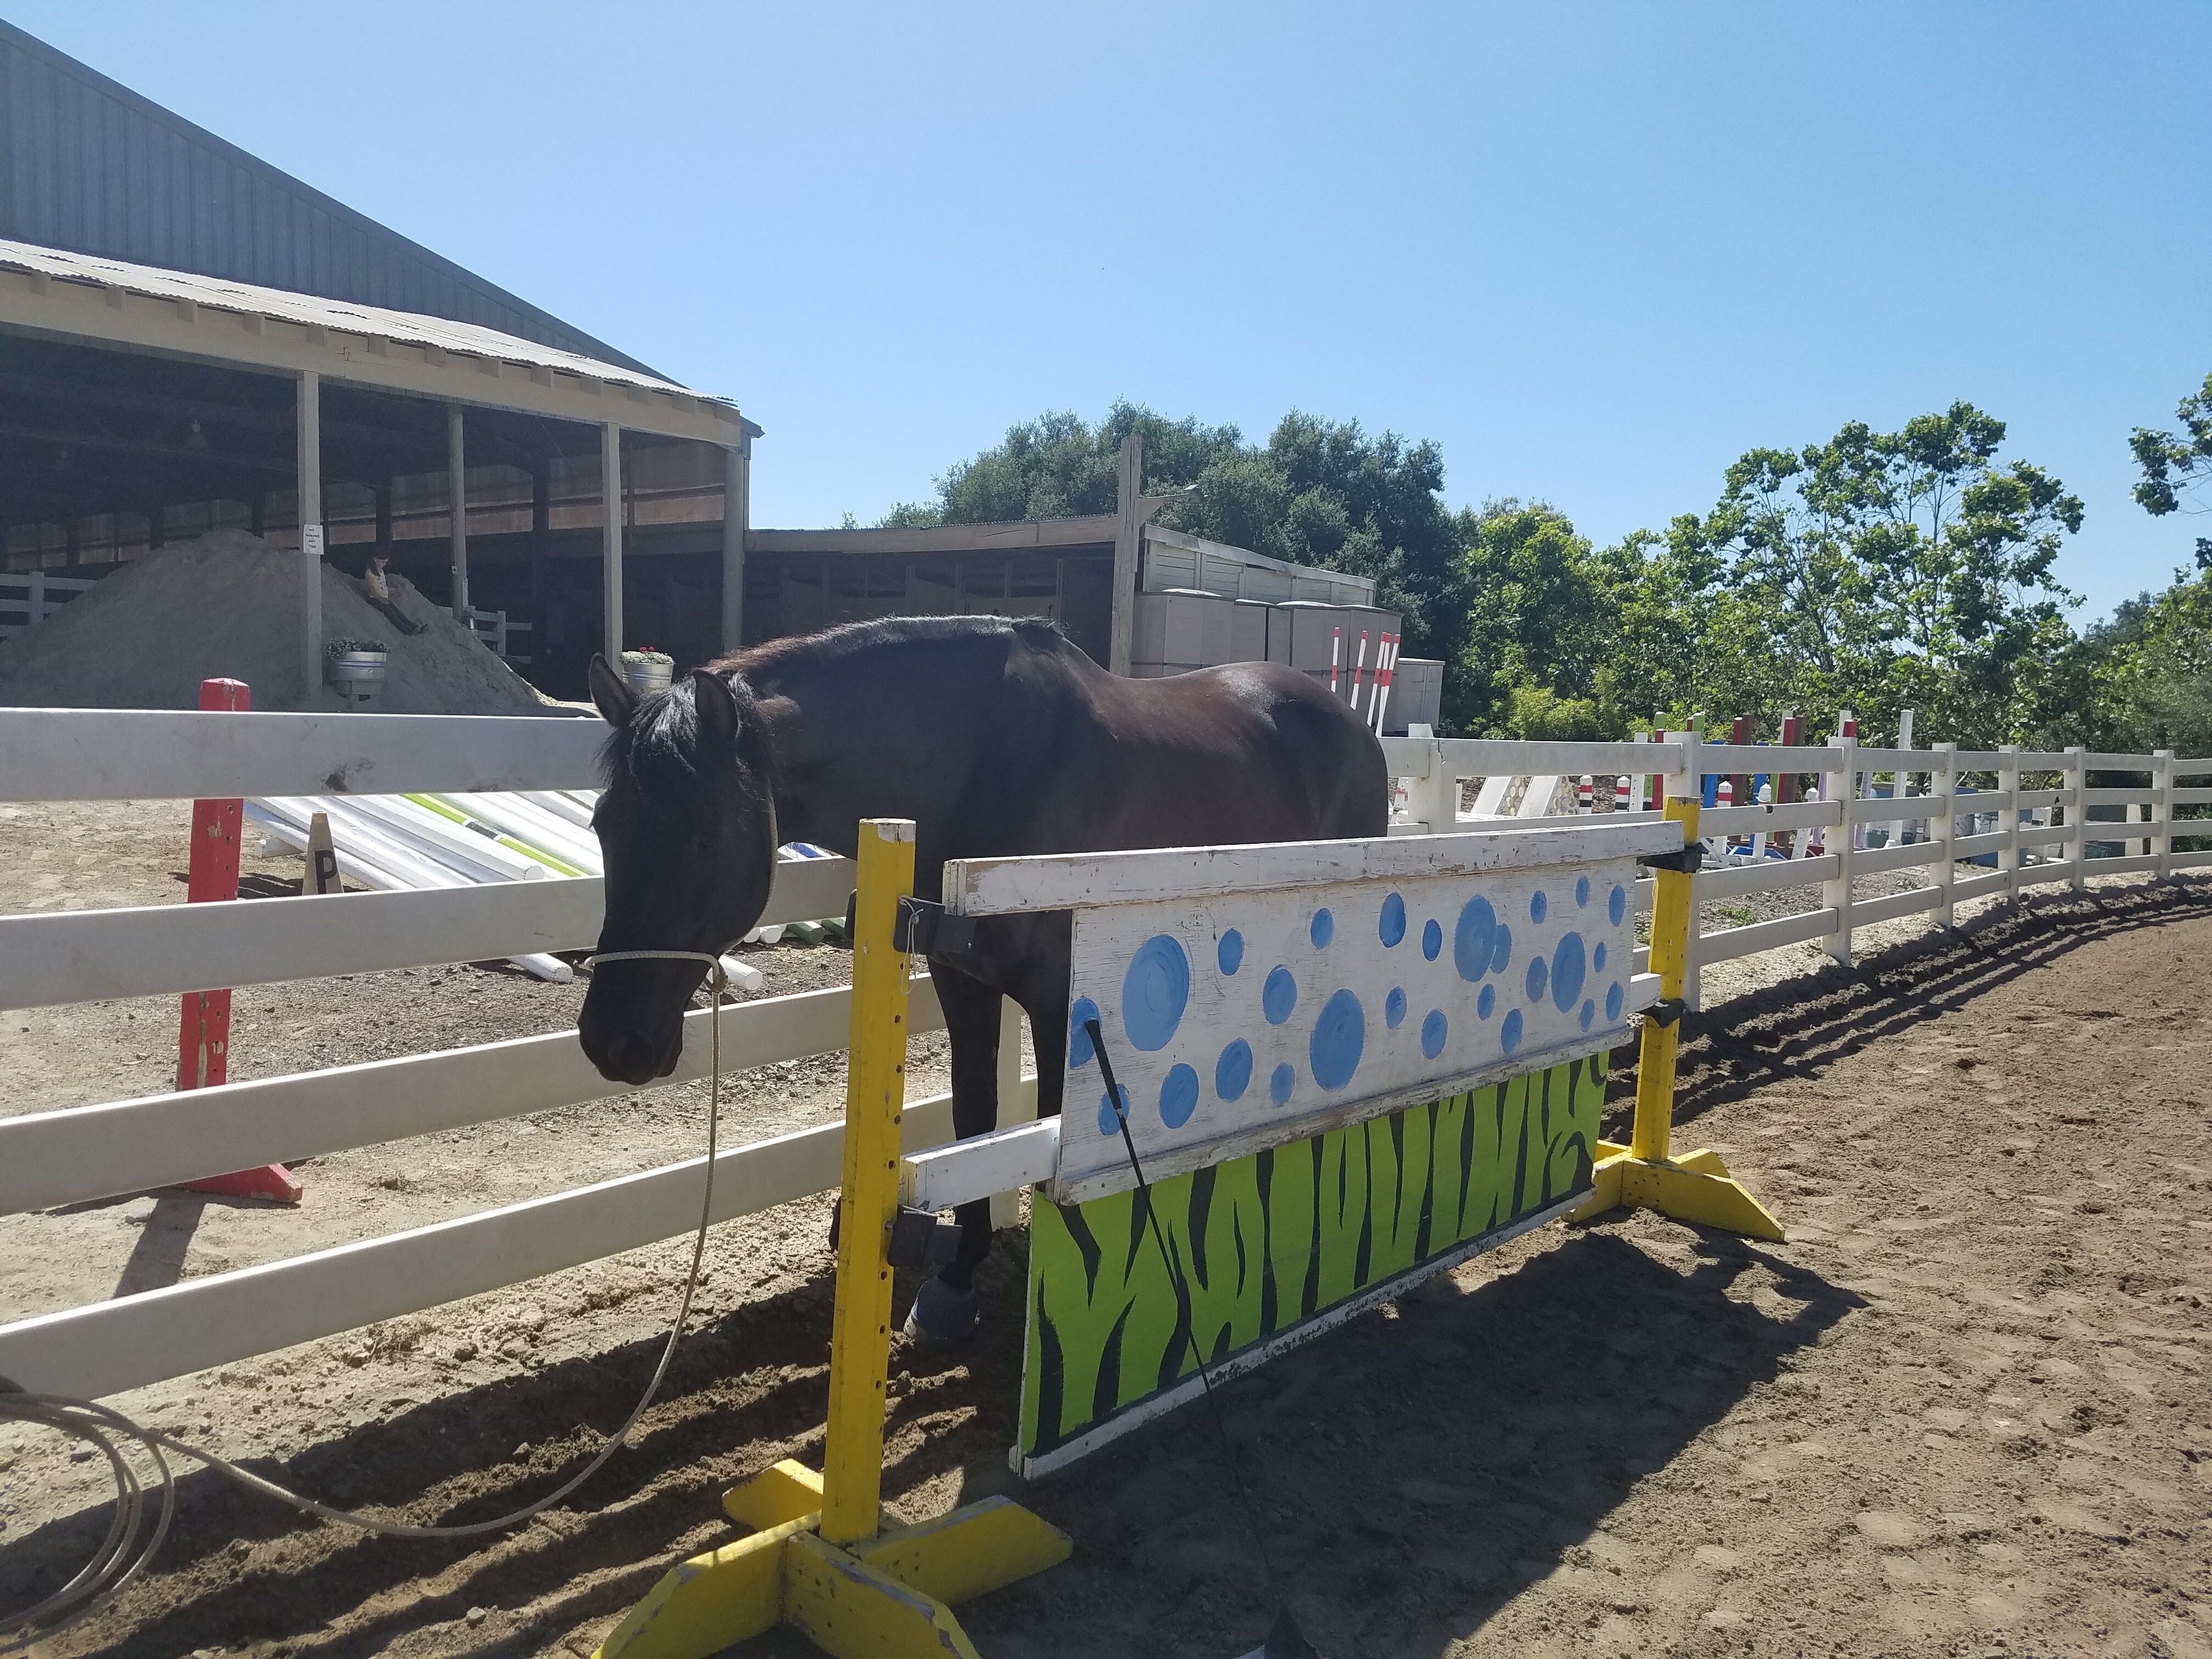
Conformation and Posture


Corny above, Blue below

Kathy Colman Photography came to take some pictures of us for the Thoroughbred Makeover’s website.  (You can check out Blue’s profile and Corny’s profile at these links.)

To me, the brothers look very different.  But reviewing the photos, and really looking hard at them, their conformation is extremely similar.  The slight differences I see are:

  • The underside of Blue’s  neck is a bit shorter than Corny’s
  • Blue’s neck ties in a bit higher than Corny’s
  • Blue’s shoulder is more sloping than Corny’s and his front legs are set a bit more forward
  • Blue’s teeny muzzle is slightly larger than Corny’s weeny muzzle

I really had to look hard to come up with these differences, so why do these horses move very differently from one another?  The answer lies in their posture.  When we were setting Corny up for his photo, we had to work hard to get him to obtain the same stance as Blue.

Corny’s usual stance above, and his contrived stance below
I think these pictures of Corny look more dissimilar than the pictures of Corny and Blue at the beginning of the article (aside from their markings).  Posture makes a big difference!  You can see in the above picture that Corny has a slight ewe neck, you can see the bottom of his neck bulges slightly forward.  This causes his back to drop a little.  When a horse raises their neck and drops their back, that is called hollowing.  It is not the best way for a horse to bare weight, or the most efficient way for the horse to travel.


Ultimately, we don’t want our horses to travel with a hollow outline.  Proper training will teach a horse to bring his back up and stretch his neck longer.  This helps the horse rely more on his large muscles and less on his joints when traveling.  This change can help the horse stay sounder, move better, and be a more comfortable ride.  

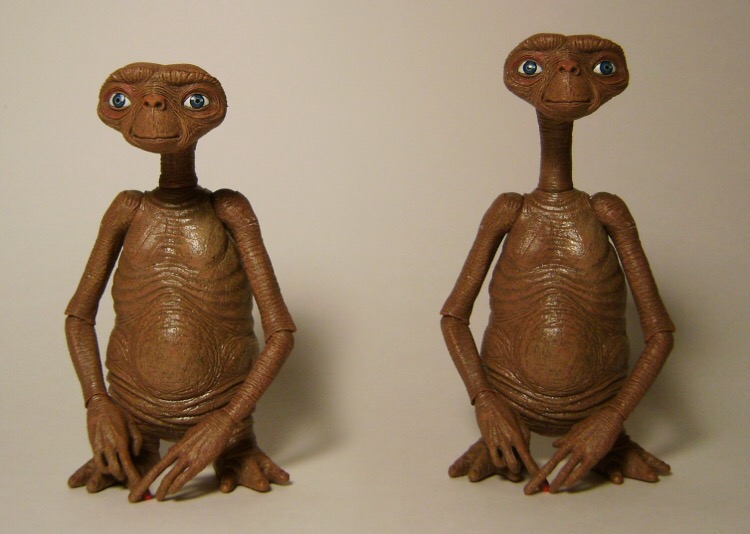
Above Corny shows neck constriction, Below he stretches like brother Blue.  My favorite image of neck constriction is E.T.

E.T. and his neck

In the four months that Corny has been with us, we’ve been working in showing him that he doesn’t need to thrust the bottom of his neck forward and constrict it in order to move faster.  He’s starting to get it, and I am excited to see the changes he makes in his posture over the next several months.

About the Author: Ali Kermeen runs her training business in the hills above Silicon Valley.  She loves horses, movies, and raptors. Oh and her family too.  Ali is aiming to take full brothers Olympic Blue and Olympic Maize to the 2017 Thoroughbred Makeover held in October in Kentucky.

The haunch turn to improve lateral balance

When thinking about improving balance, riders typically imagine their horses traveling with an”uphill”balance.  The outline of the horse will appear as if he is traveling uphill when he lowers his haunches and allows his withers to raise higher than his croup.  The result is a horse who bears more weight on his hind legs than his front legs. This desired longitudinal balance is a great thing to strive for, but it is not the only dimension of balance necessary for prime performance.  

A horse must also be balanced laterally.  A horse who is balanced laterally will bear equal weight between his left and right feet.  Many horses are resistant because they lack the secure feeling of being laterally balanced.  Without lateral balance, the horse will feel vulnerable to falling.  As a result, he will try to preserve himself by:

  • going too slow… Imagine you are scared of falling on ice; you will walk slowly to maintain your balance.
  • rushing faster… Imagine you’ve tripped while walking down the sidewalk; you will run a few strides to catch yourself.
  • bracing against the rider’s aids… Imagine you’ve stepped in some mud, to avoid falling you brace yourself by grabbing the person next to you

To solve the most common lateral balance issues, you must first learn to abduct your horse’s inside front leg at will.  I teach this starting with a haunch turn.

A haunch turn is when the front legs revolve around a stationary hind end.  Begin by having your horse step back a step and then immediately cue for the forehand to move around.  To turn left, you would:

  • Weight your left stirrup 
  • Position your right leg slightly back to prevent the haunches from slipping right
  • Open your left rein and add a little pressure to your left rein to get your horse to abduct his left front leg.
  • Remember to sit deeply throughout

Initiating the haunch turn with left flexion, an opening left rein, and weight in the left stirrup.

Showing good abduction of the left front leg, this is the motion I care most about right now.

I was happy with the previous step, so I released the pressure and pasted Blue.  He hasn’t stopped the maneuver yet and is showing good adduction of the right front.

You don’t need to do a 360 degree turn right off the bat.  90 degrees is sufficient for your first attempts, then you can add 90 more degrees at a time.  Don’t do too many of these turns in a row, especially if this is the first time your horse has done these turns.  He may get sore or frustrated.  

Now that we’ve taught the horse the cue to abduct his inside front leg at the halt, we can take this cue into motion to help the horse achieve straightness and better balance in motion.

Blue’s left front leg is striking the ground under the center of his chest.  This is a common effect of being crooked/having too much bend.  The horse is not laterally balanced if he is doing this.  He’s carrying the majority of his weight on the left front leg.   I’m beginning to use an opening inside rein to encourage him to land with his left front leg more to his left.

Blue has responded well to the opening rein.  In this next step placed his left front leg more to the left.  This has both straightened him, and given him better lateral balance, his weight is much more equal over his front legs.

As horses gain lateral balance, they become more confident and less resistant.  The result is a horse who is happier, more fun to ride, and in a better position to advance in his training.
Ali Kermeen loves horses.  She loves all kinds of horses, and doing all sorts of different stuff with them.  Dressage, eventing, gymkhana, hunters, trail, cowboy dressage, jumpers, reining, and working equitation are all really fun!  Ali is currently training two retired race horses to compete in the Thoroughbred  Makeover  in Kentucky.


Joystick Control

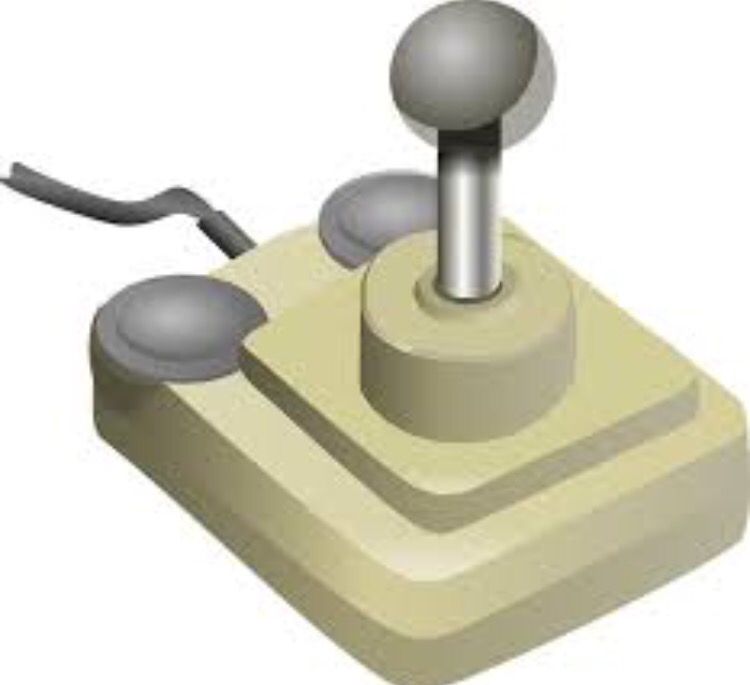
Hopefully you know what a joystick is.  But sometimes I have to explain it to the younger crowd, so behold a joystick!

A joystick is a way to control your video game character or maybe your drone

Just like a video game character, or my drone, I want to be able to move my horse in any direction I want.  Once my horse understands the concepts of leg yield and rein yield, it’s time to get joystick control on him.

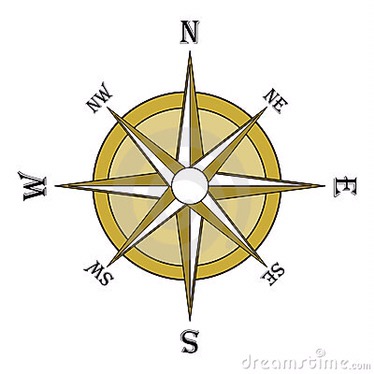
At the halt, imagine that you and your horse are standing in the center of a compass diagram.  Your  horse’s head will always point north, no matter what direction his feet are going.


Can you move your horse straight forward towards north?  Dear lord, I hope so.  Can you move your horse straight back towards south?  Can you move your horse sideways towards west and east?  

Once you can move in these directions smoothly, try going forward and sideways towards northeast and northwest.  Then try backwards and sideways towards southeast and southwest.

Chances are you’ve found a direction that it is difficult.  As part of your horse’s basic training, you need to work on it and improve his response.  If you are getting stuck, get off and work the response on the ground.  Once the response has improved, get back on and try again.  Your horse might benefit from someone cueing  him like you did on the ground while you are cueing him from the saddle to bridge the gap between rider cues and groundwork cues.

Above all, listen to your horse.  Since he doesn’t know the objective of this exercise, he might get frustrated quickly. To avoid this frustration:

  1. Release the pressure after a weight shift in the right direction.  Then release the pressure after a single step.
  2. Once your horse has done the right thing, praise him and take a few moments break before asking him to move again.
  3. If your horse was accepting the directional cues, but then started to brace, fuss with his mouth, swish his tail, or show stress in some other way, it’s time to take a break from the exercise.  That break might be moving around the arena, or it might be time to call it quits for the day.  
  4. Remember to take your time, you might be able to achieve all directions smoothly in one day, or it might take you a month.  
  5. Quality over quantity.  Remember that you want to train your horse to be a calm and willing partner. You aren’t done with this exercise until your horse moves quietly in the direction of your choosing without any head or tail theatrics.

Why is all of this important?  You want your horse to be as connected to you  as your own legs are.  He should be able to easily move in all the directions that your legs can.  This will help you with trail obstacles, like opening gates.  It will also help you with your dressage.  Your horse will be better equipped to understand bend.  He will be better equipped to make an effective half halt.  He will generally have a better understanding about your rein and leg aids.  A horse who is willing is a horse who understands what is being asked of him.

While rain has prevented me from getting good photos of real horses performing joystick control, check out this video for inspiration.

Teaching a response – leg yield

Along with its cousin, the rein yield, the leg yield is an essential tool I teach my horses.  Before I go over how I teach it, let’s learn some vocabulary.  

When a leg is moved away from the body, that is abduction.  Just like child abduction, when a child is taken away from its parent.  

When a leg is moved inwards underneath the body, it is adduction.  Just like people add to a crowd by getting closer to it.

The horse should be able to adduct and abduct each leg.  You may find your horse has a leg, or legs, that are difficult to adduct or abduct.  Your horse may never have been taught to do that motion and he might lack the strength and flexibility to do it.  Teaching him to abduct and adduct each leg will help him balance his body better.  It’s also a great way to build strength.

I begin by standing at the horse’s side and putting my palm on his barrel at roughly the height my calf would be while I’m mounted.  I’m the beginning, I’d place my other hand on the horse’s  shoulder to help him understand that I don’t want him to only move his haunches.  I apply pressure until I see the horse move away from me.  The horse may step forward or back before he goes sideways, and your job is to move with him.  Watch his feet and as soon as the horse takes a step away from you, release your pressure by ceasing to touch your horse.  Praise, wait a few moments, then repeat.

After the horse understands the two handed cue for leg yield, leave out the shoulder cue and only use pressure on his barrel. After that, you can start to keep the pressure on until you see abduction and adduction from each pair of legs.

Blue respond to the pressure on his barrel and abducts his outside (left) front leg
The release of pressure becomes more clear in the next moment as Blue adducts his inside (right) hind.  You will notice that I did not move at all from one picture to the next, Blue simply steps away from my hand, and my hand does not follow him.
Keep in mind the amount of pressure you apply to the horse, and quantify it in your mind.  We want to build a response to a light cue.  One way to quantify the pressure is if you are touching the air near the horse, the horse’s hair only, the skin, then even harder is pushing against the muscle, and then pushing on the bone.  You want your horse to respond to hair/skin level pressure, but you may have to get tougher at times and use muscle/bone pressure.  Tougher horses sometimes begin with harder pressure, but with correct application of release, praise, and repetition they usually learn to respond to a lighter touch happily.  This is good news for me, since I don’t want to have to expand unnecessary energy when I ride.

You want to be sure to work both sides of the horse, but don’t expect the horse to connect what you did on one side of his body to the other side.  You will essentially have to train each side of the horse separately using the same techniques of gradual progression, release, and patience.
Once the horse has an understanding of how to move sideways from the halt, you can try the cue while he is walking.  Be sure to keep a hold on your line so that you can pull your horse’s head toward you if he tries to kick you.  He may never have had constant  pressure applied to his side while in motion and take offense.
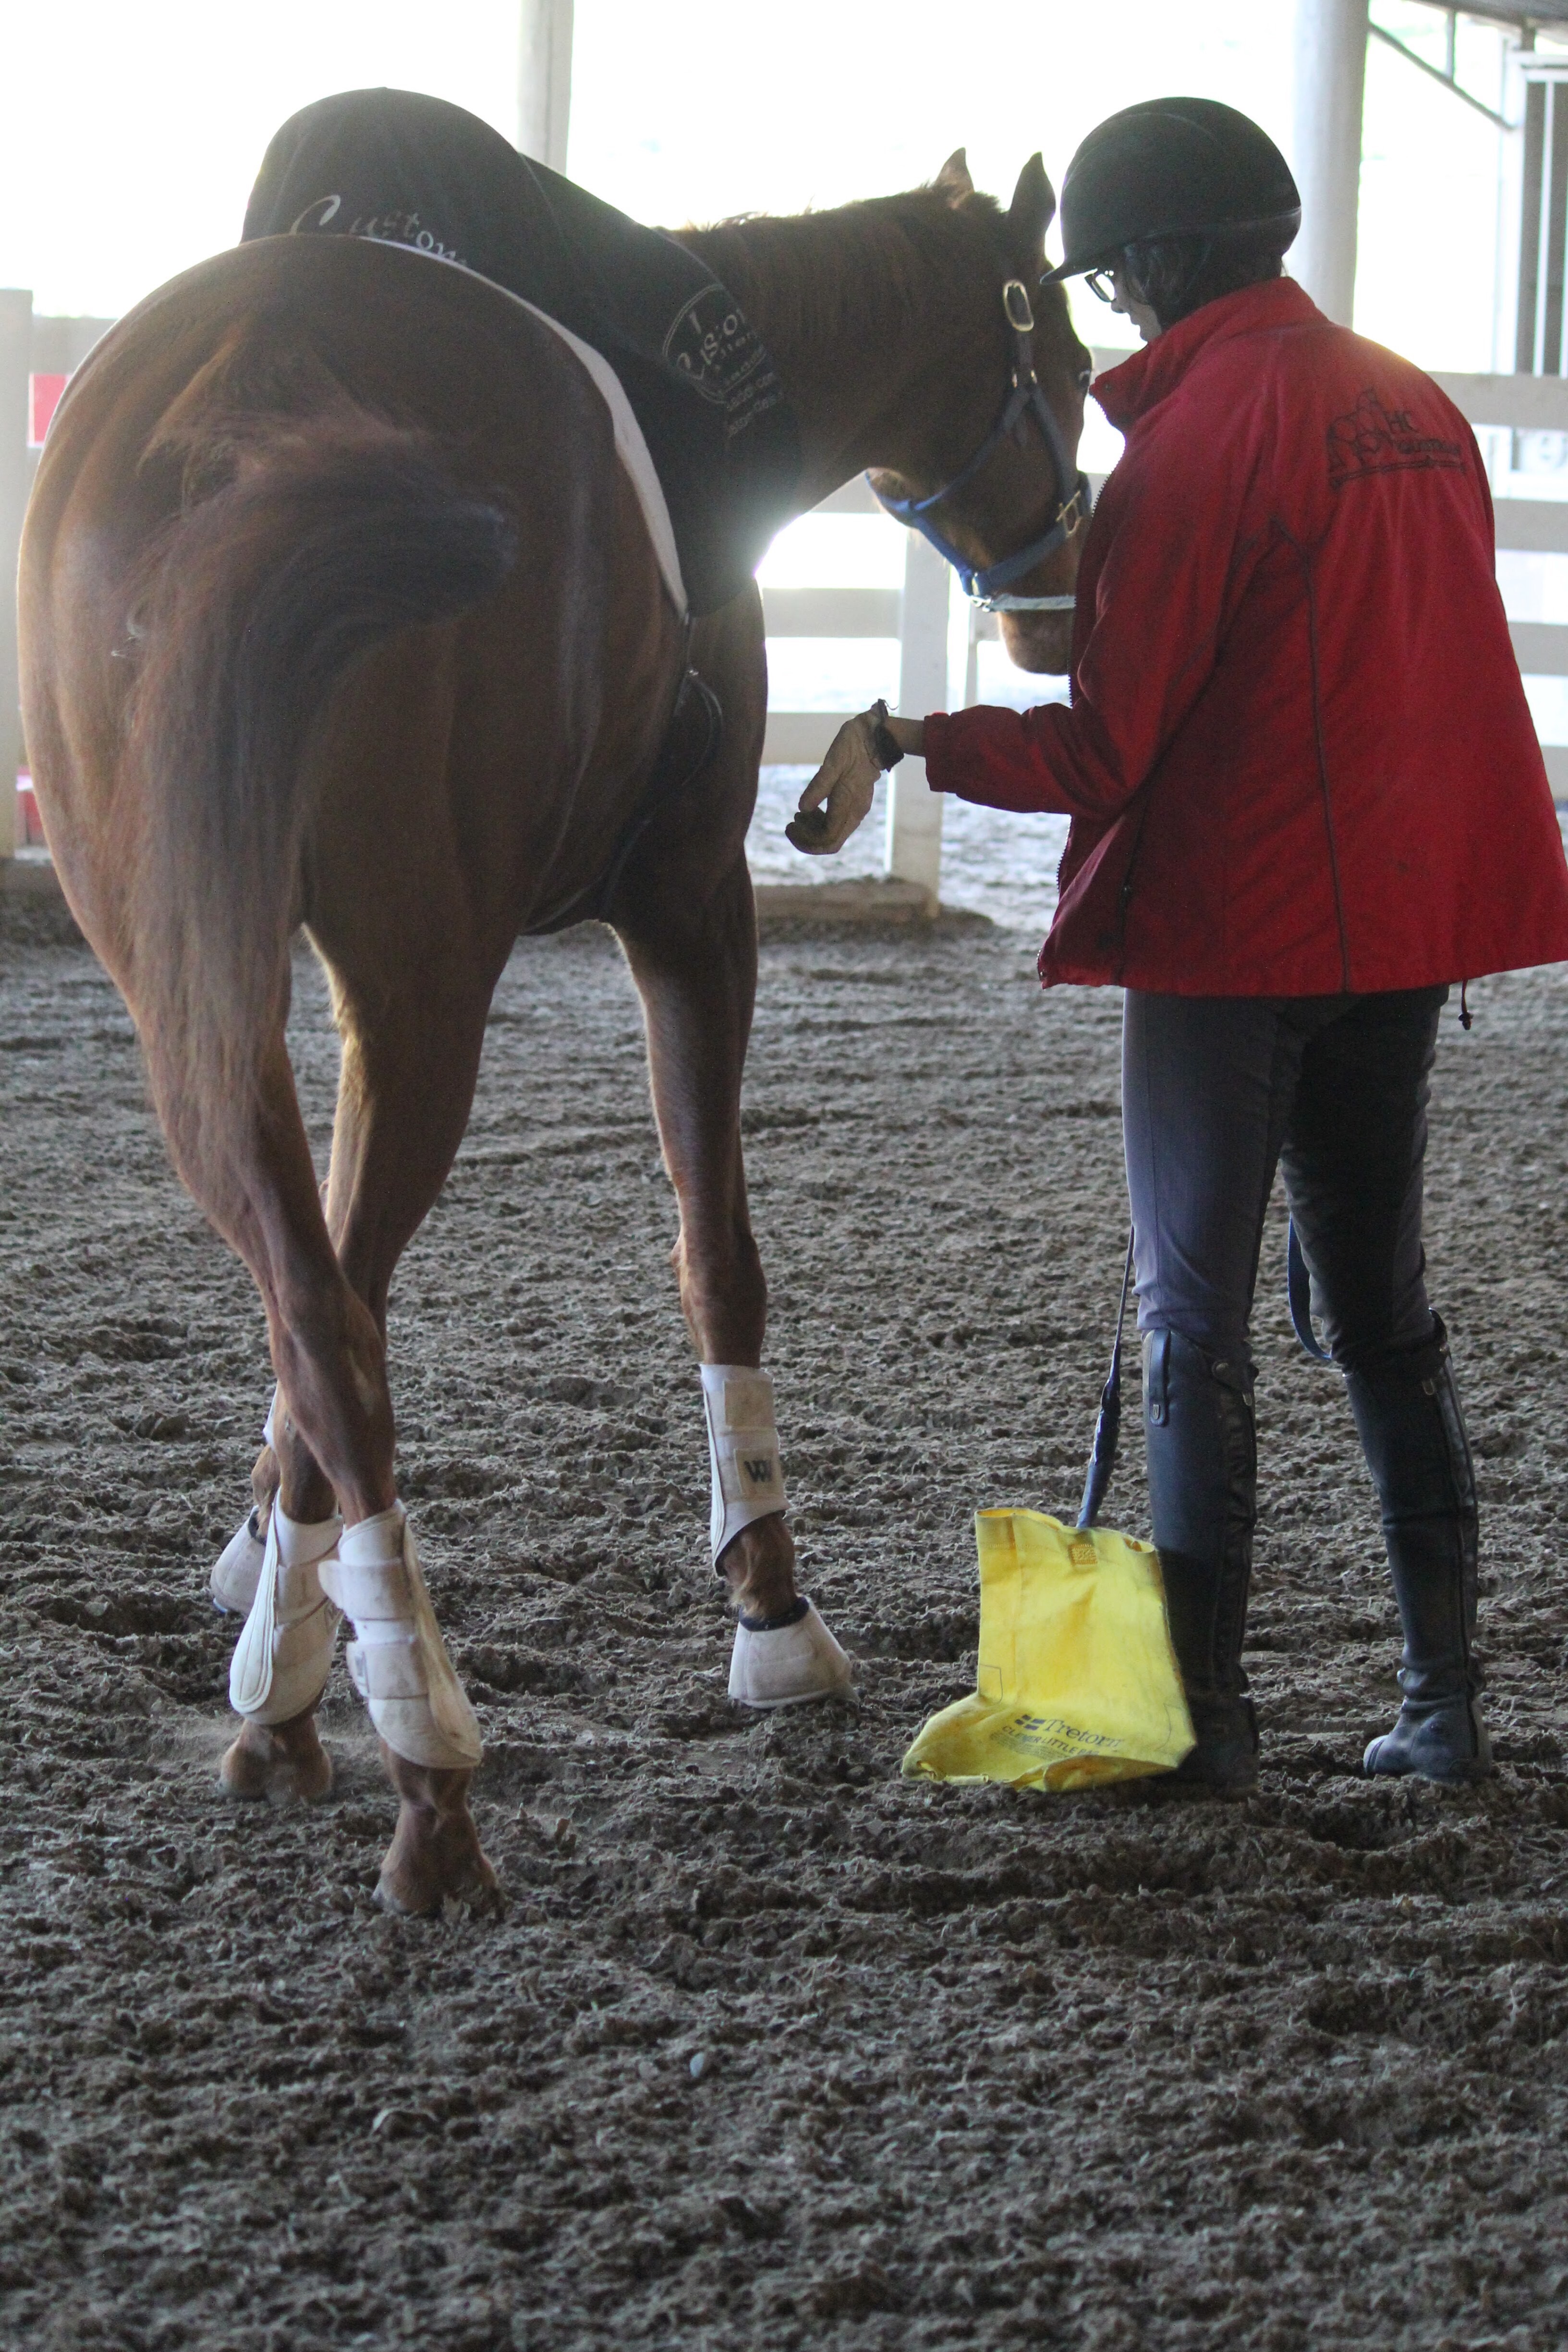
Blue respond to pressure on his barrel to yield while walking.  
Next, try longing your horse and asking for him to step sideways from a distance. While he is moving I direct my energy toward the part of his barrel I apply the yield cue on.  I lean in to the area, and follow up by pointing, then shaking the flag at his barrel.  As soon as I see the abduction or adduction, I stand up straight and lower my flag.  As he gets more sensative to the cue, I ask for more sideways steps.  Once it’s going well in the walk, you can try the trot, and even the canter.

Blue yields from a distance.  I’ve directed my energy toward the place on his barrel that I was applying pressure.  In this instance I am walking towards the area to amplify my intent.  As with all the yields in this series, I keep his nose pointed towards me.

Each horse is an individual.  Some horses may get through all these steps in one session, some may need a dozen sessions to get through this.  Have reasonable expectations and listen to your horse if he says he’s had enough. 

Once you get on your horse, you can begin the leg yield while mounted.  Your horse now knows the cue to move sideways from pressure on his barrel, the difference being that your leg is now applying the pressure, instead of your hand.  You may use your reins to keep the horse from solely moving forward, but be sure the horse has an “open door” to go through.  

Blue easily moves away from my left leg despite having his focus on something happening to his right.  My inside (left) rein helps him to look to the inside, my outside (right) rein helps to prevent him from moving solely forward and opens the door for him to go through.  My right leg makes sure not to block blue from traveling towards it.
Whether you have a green horse, or an established horse, it is good to check on these basics from time to time to see if your horse can easily adduct and abduct all four legs.  If there is a way in which your horse cannot move his legs, that is a hole in his training that ought to be filled in.
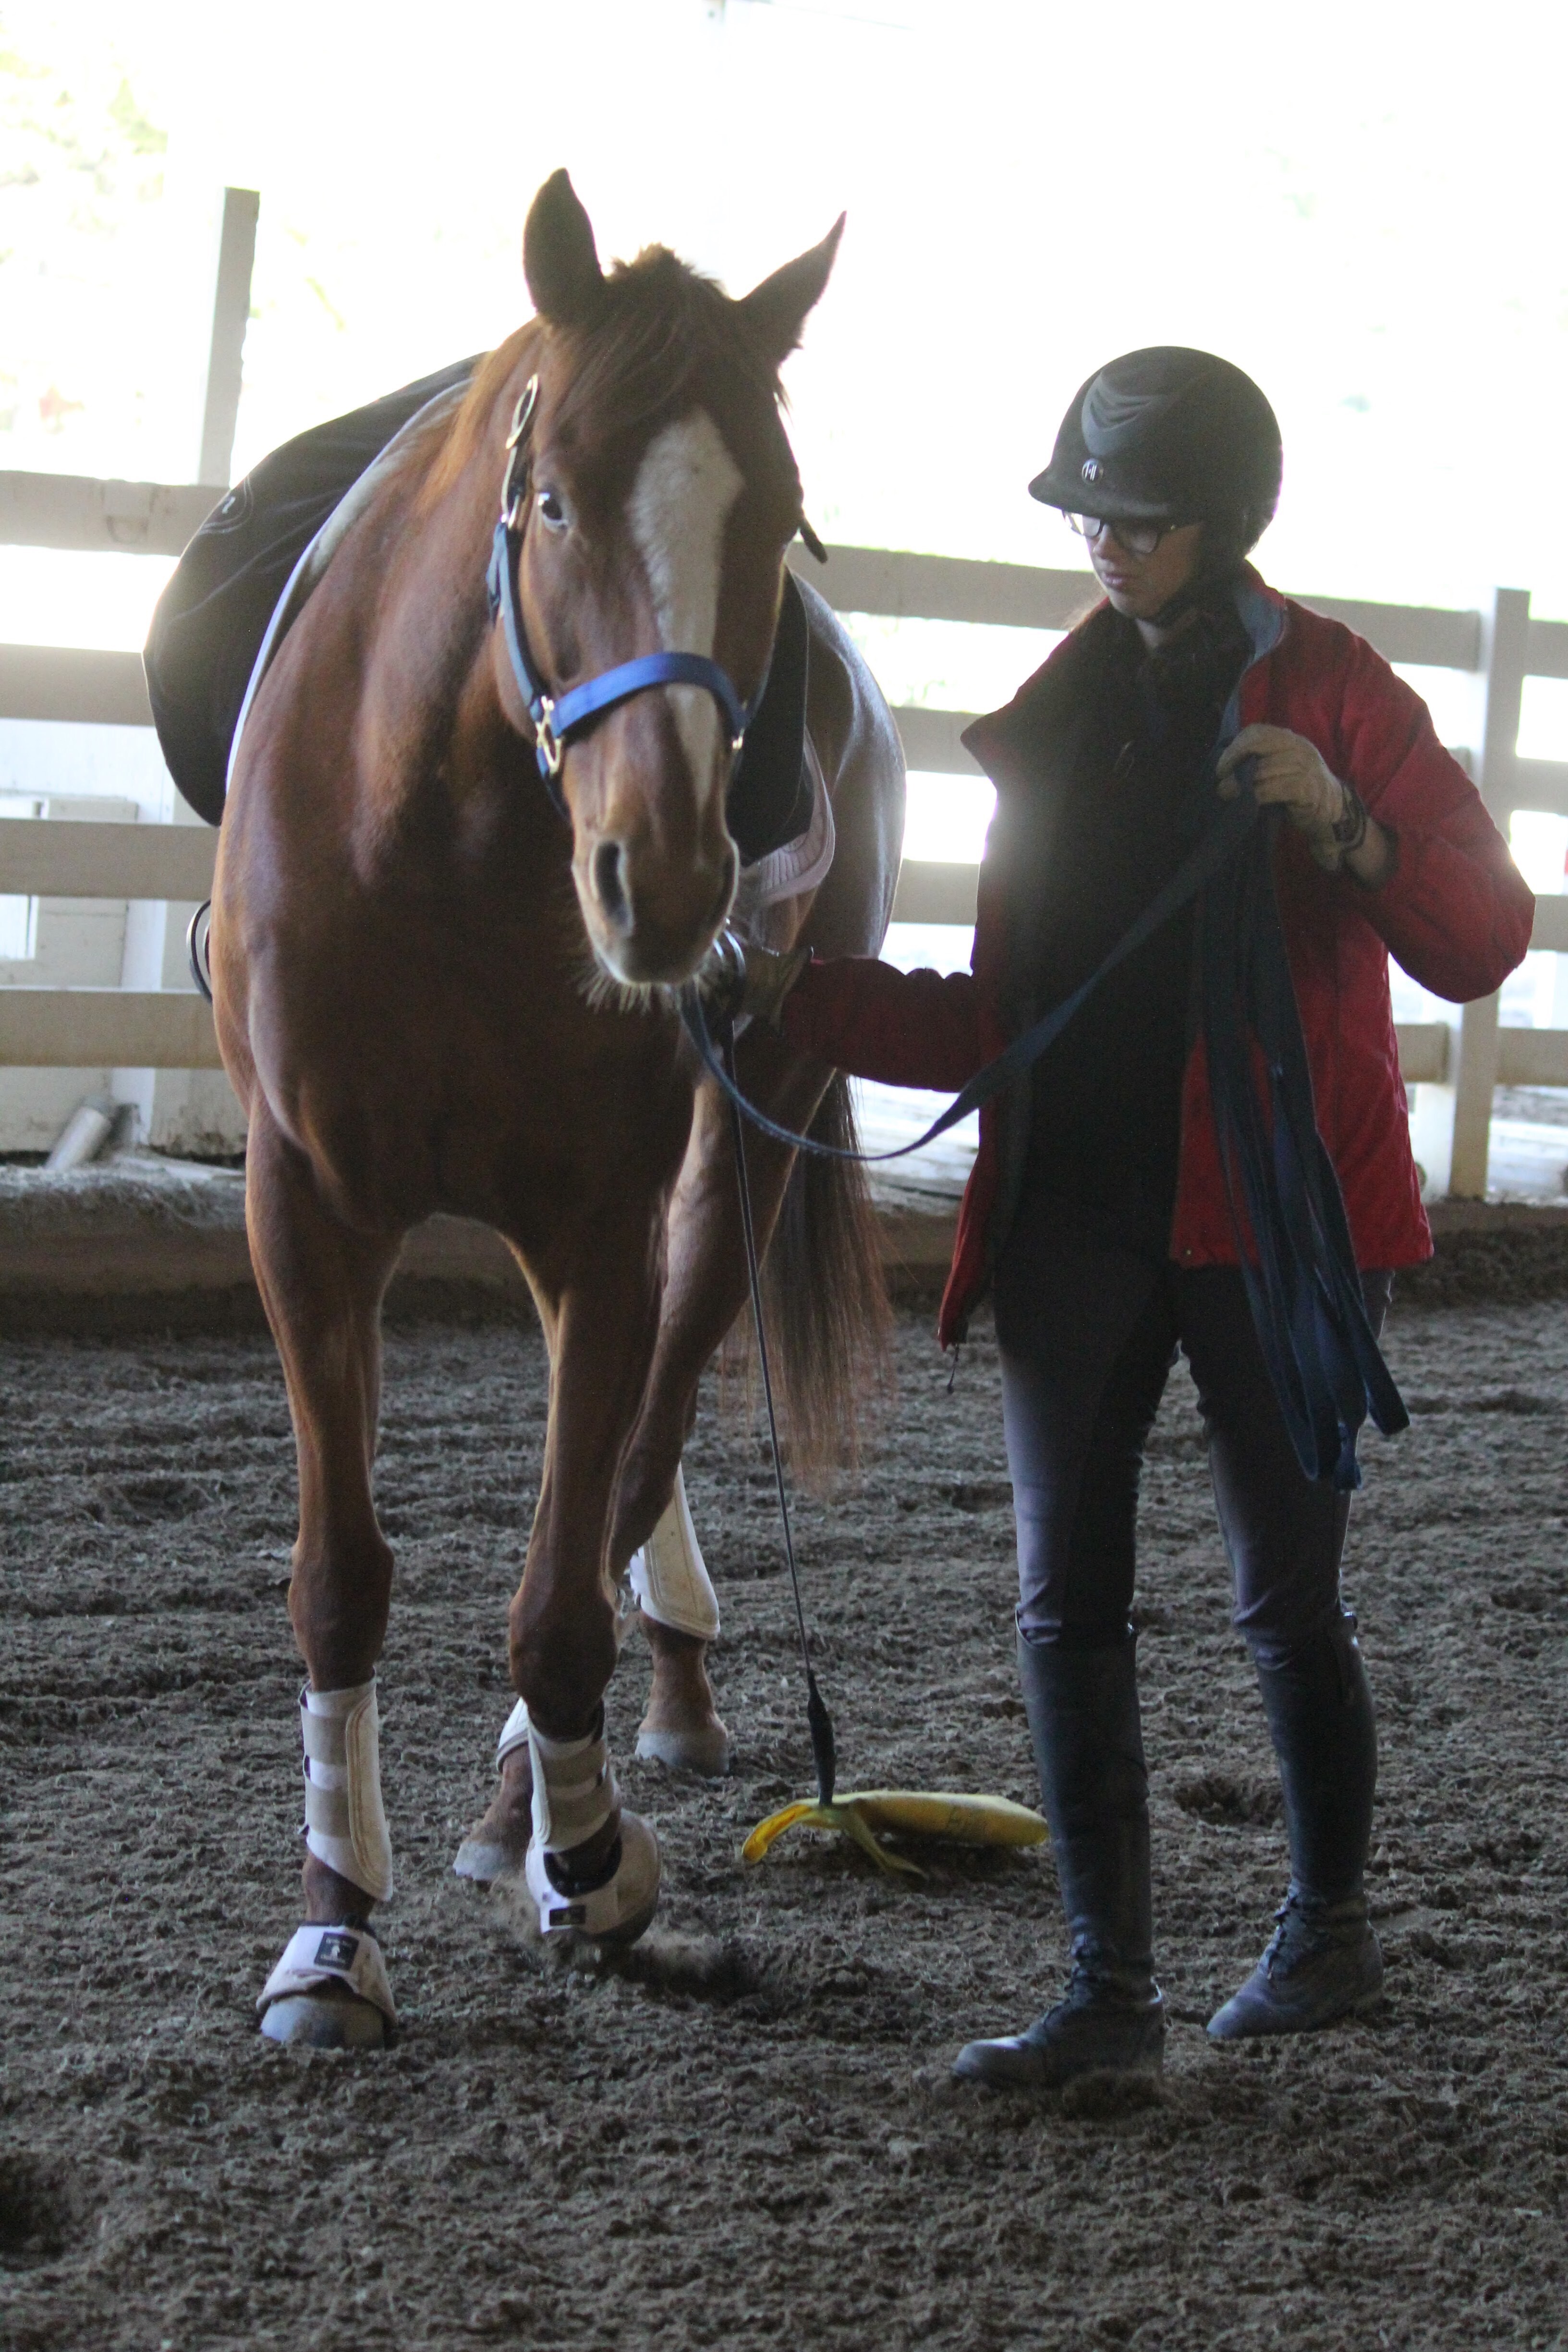
From wombat to WIMBAT (How to cure a horse that roots)

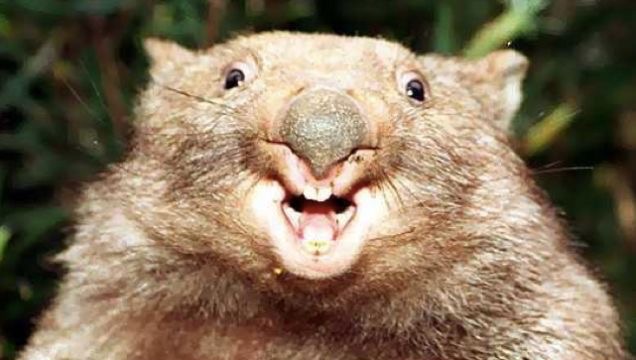
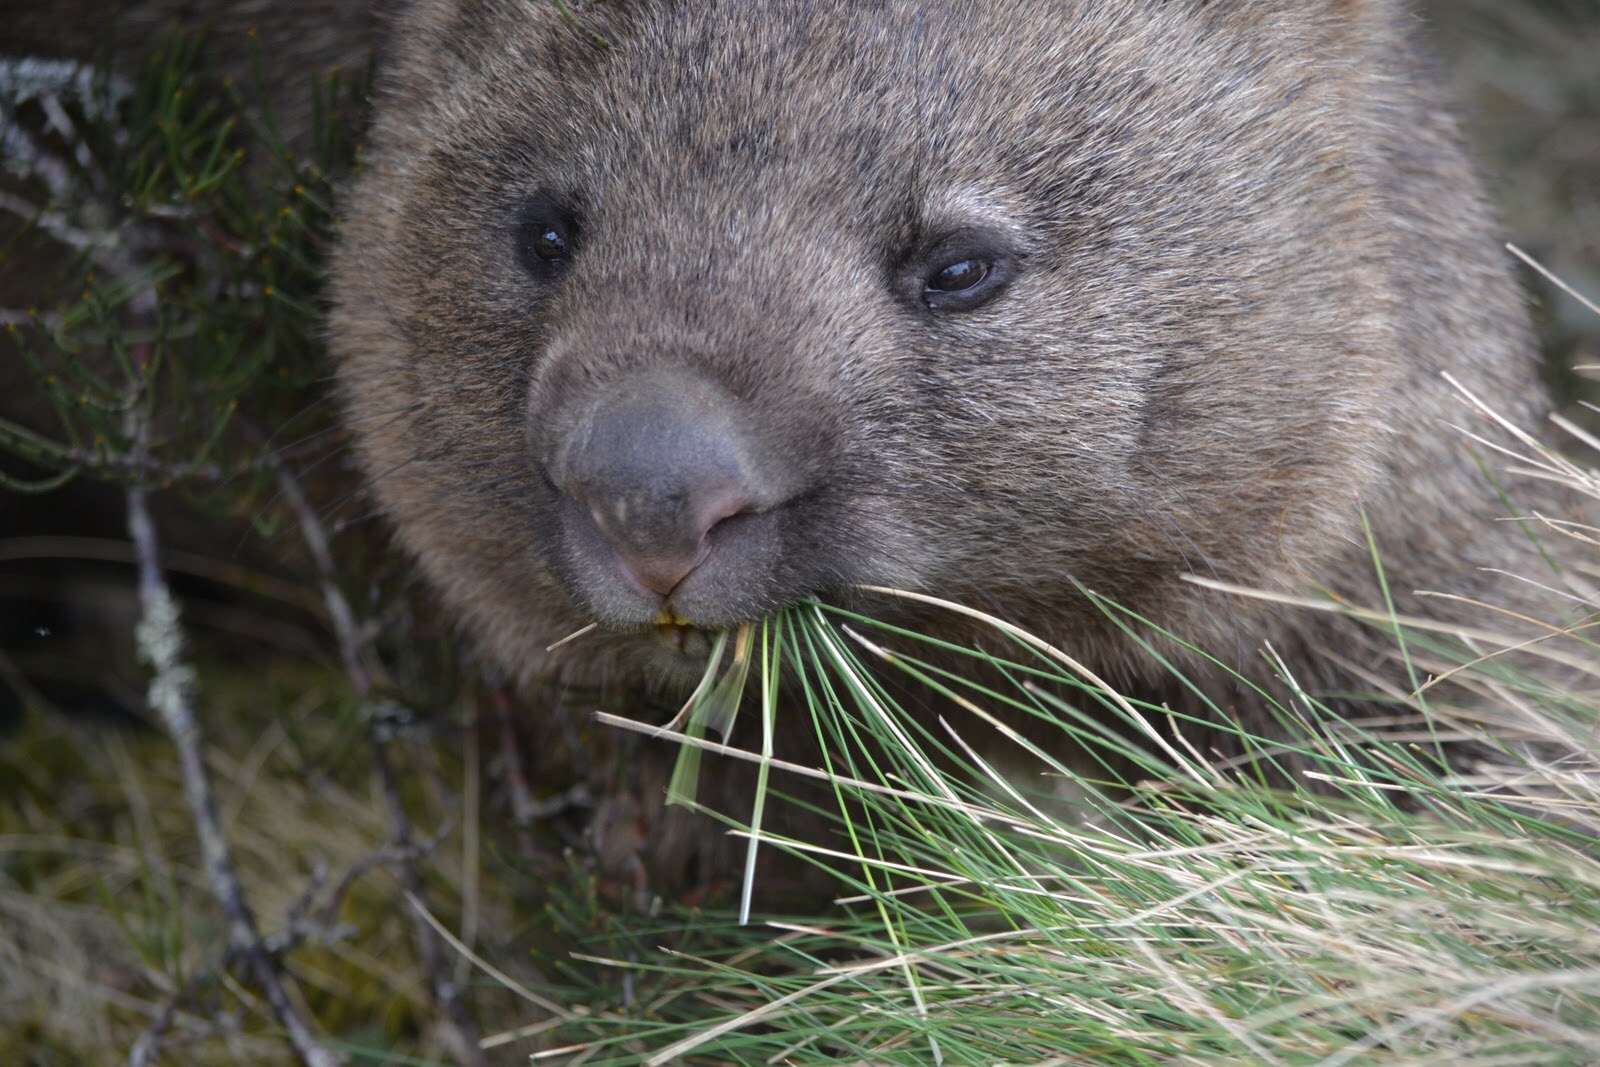
So you know what they say about wombats, right?  

A wombat eats roots and leaves.  

Or

A wombat eats, roots, and leaves.(For those of you unfamiliar with the slang, “roots” means has sex)

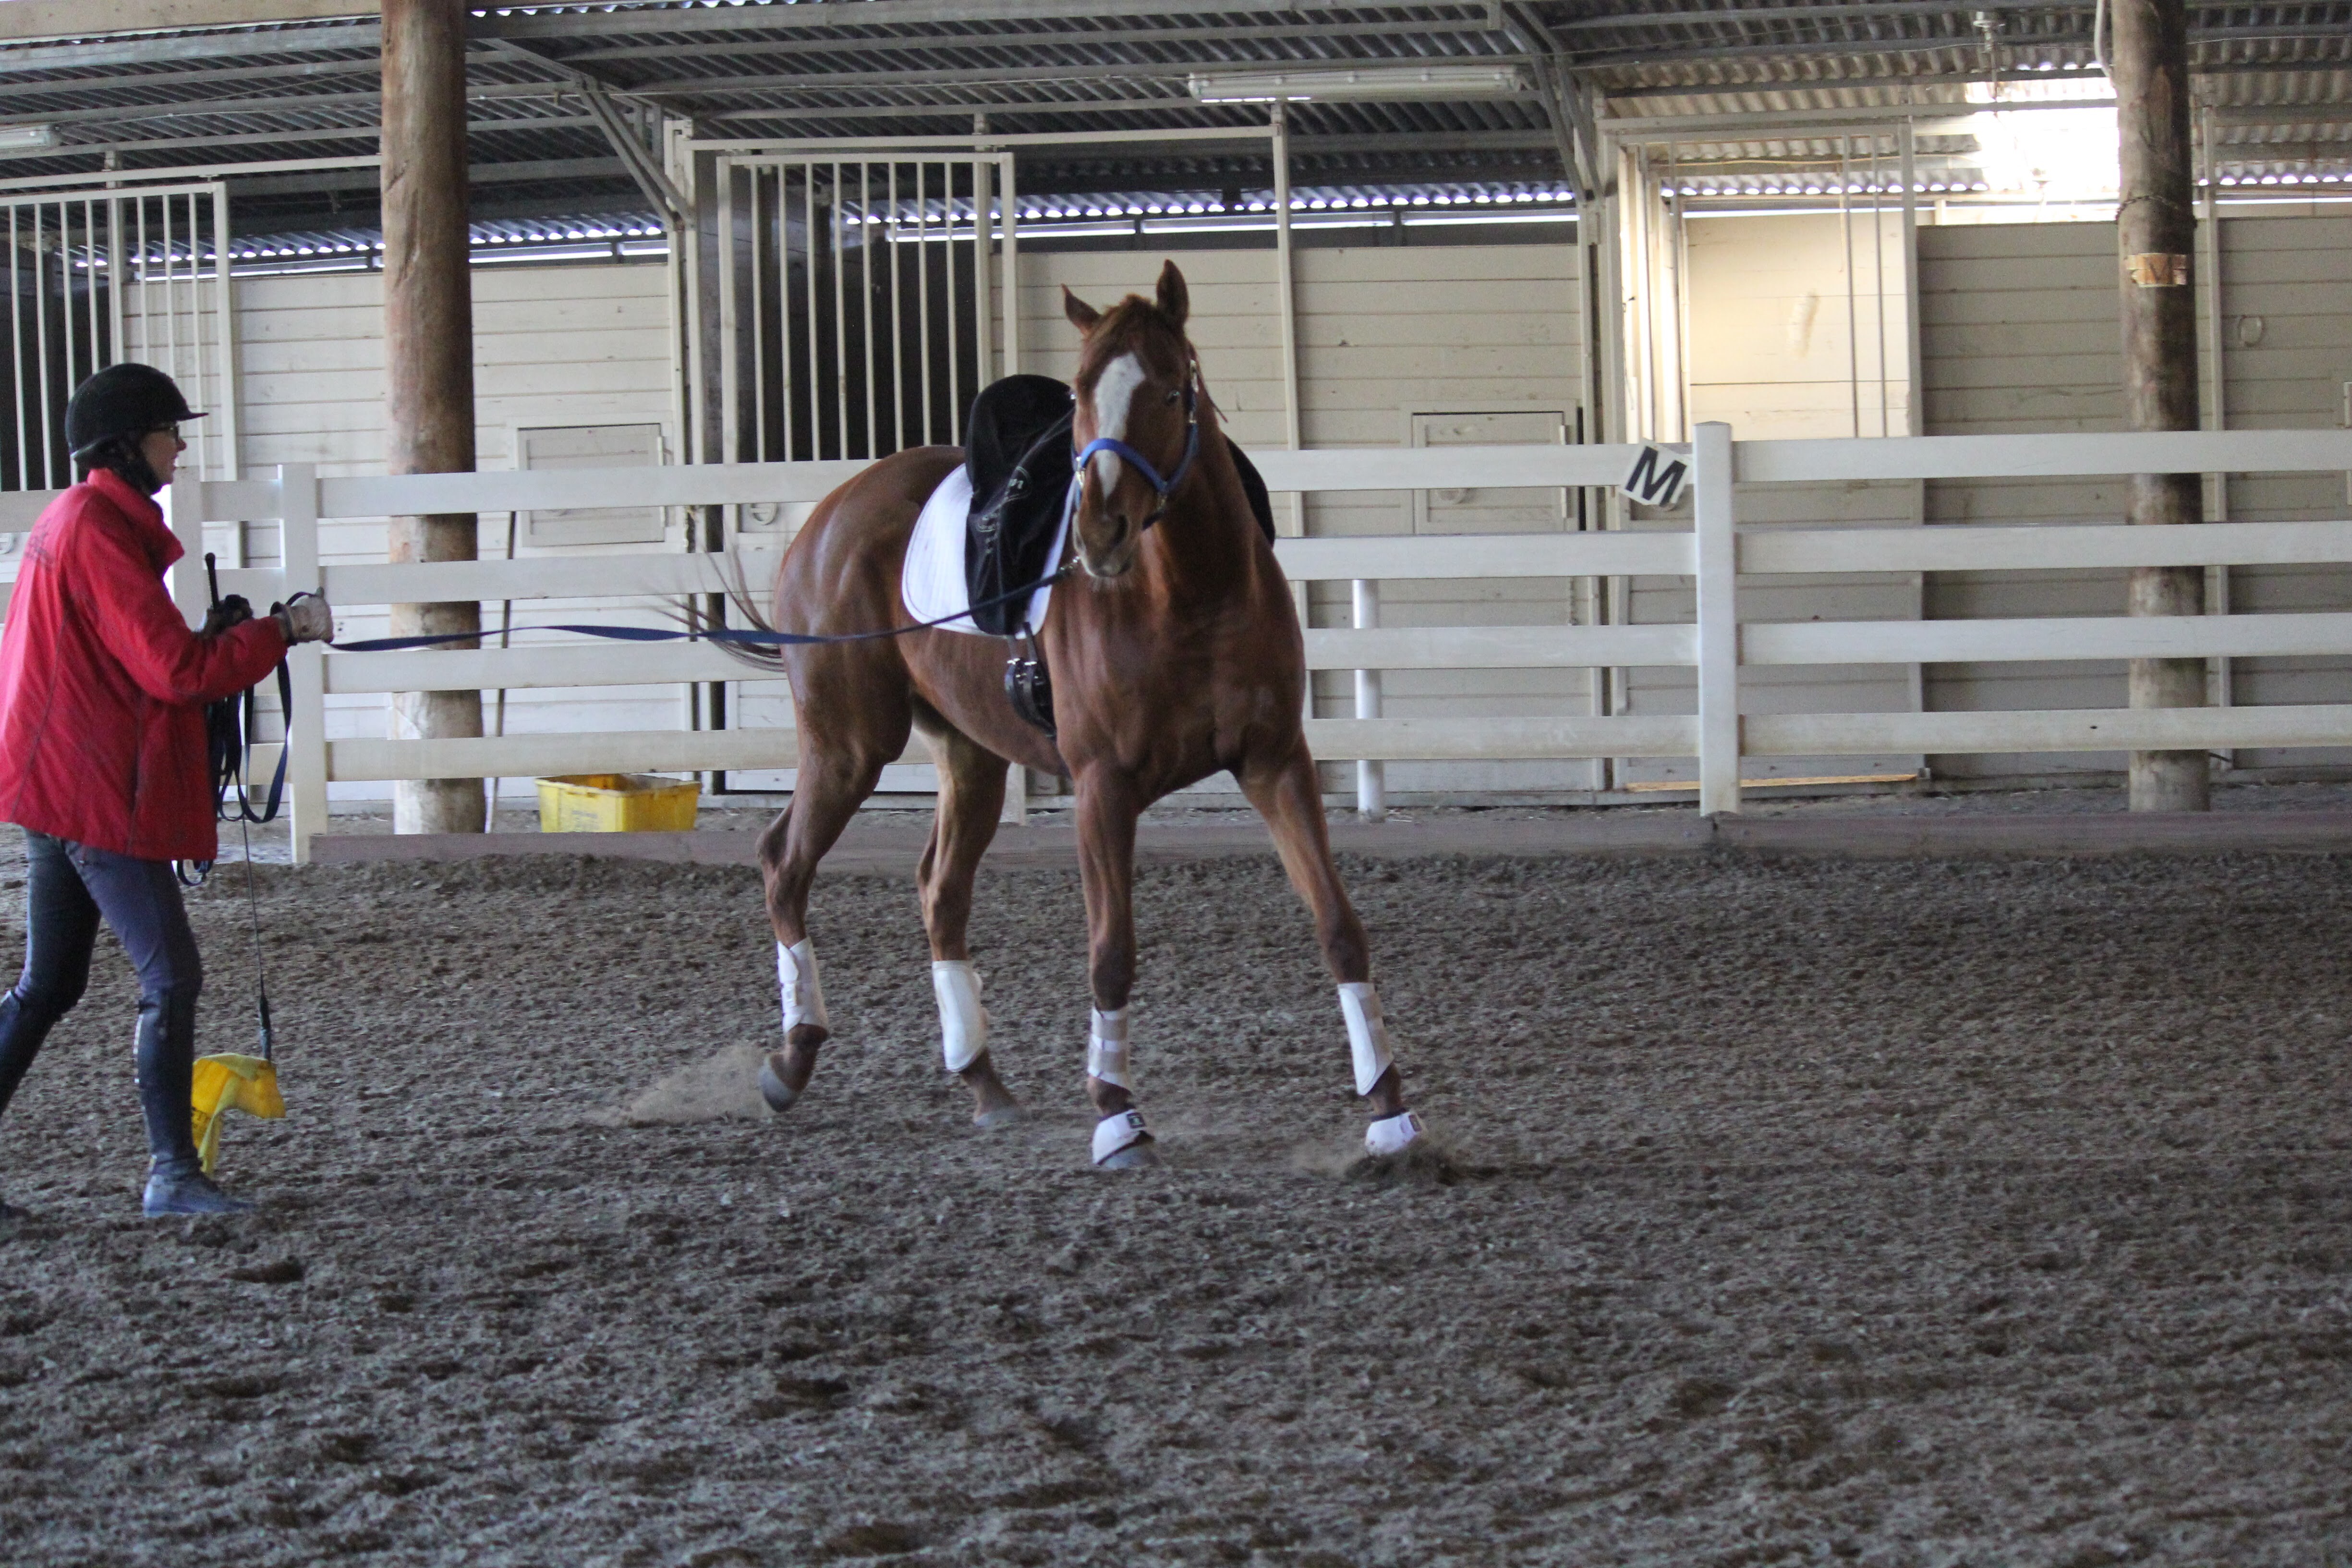
I’ve got two horses in my barn that are wombats.  Brio is fat (eats), tries to mount the other horses (roots), and breaks away when longing (leaves).Brio is making progress via a diet, and longing in the lass-rope halter.  
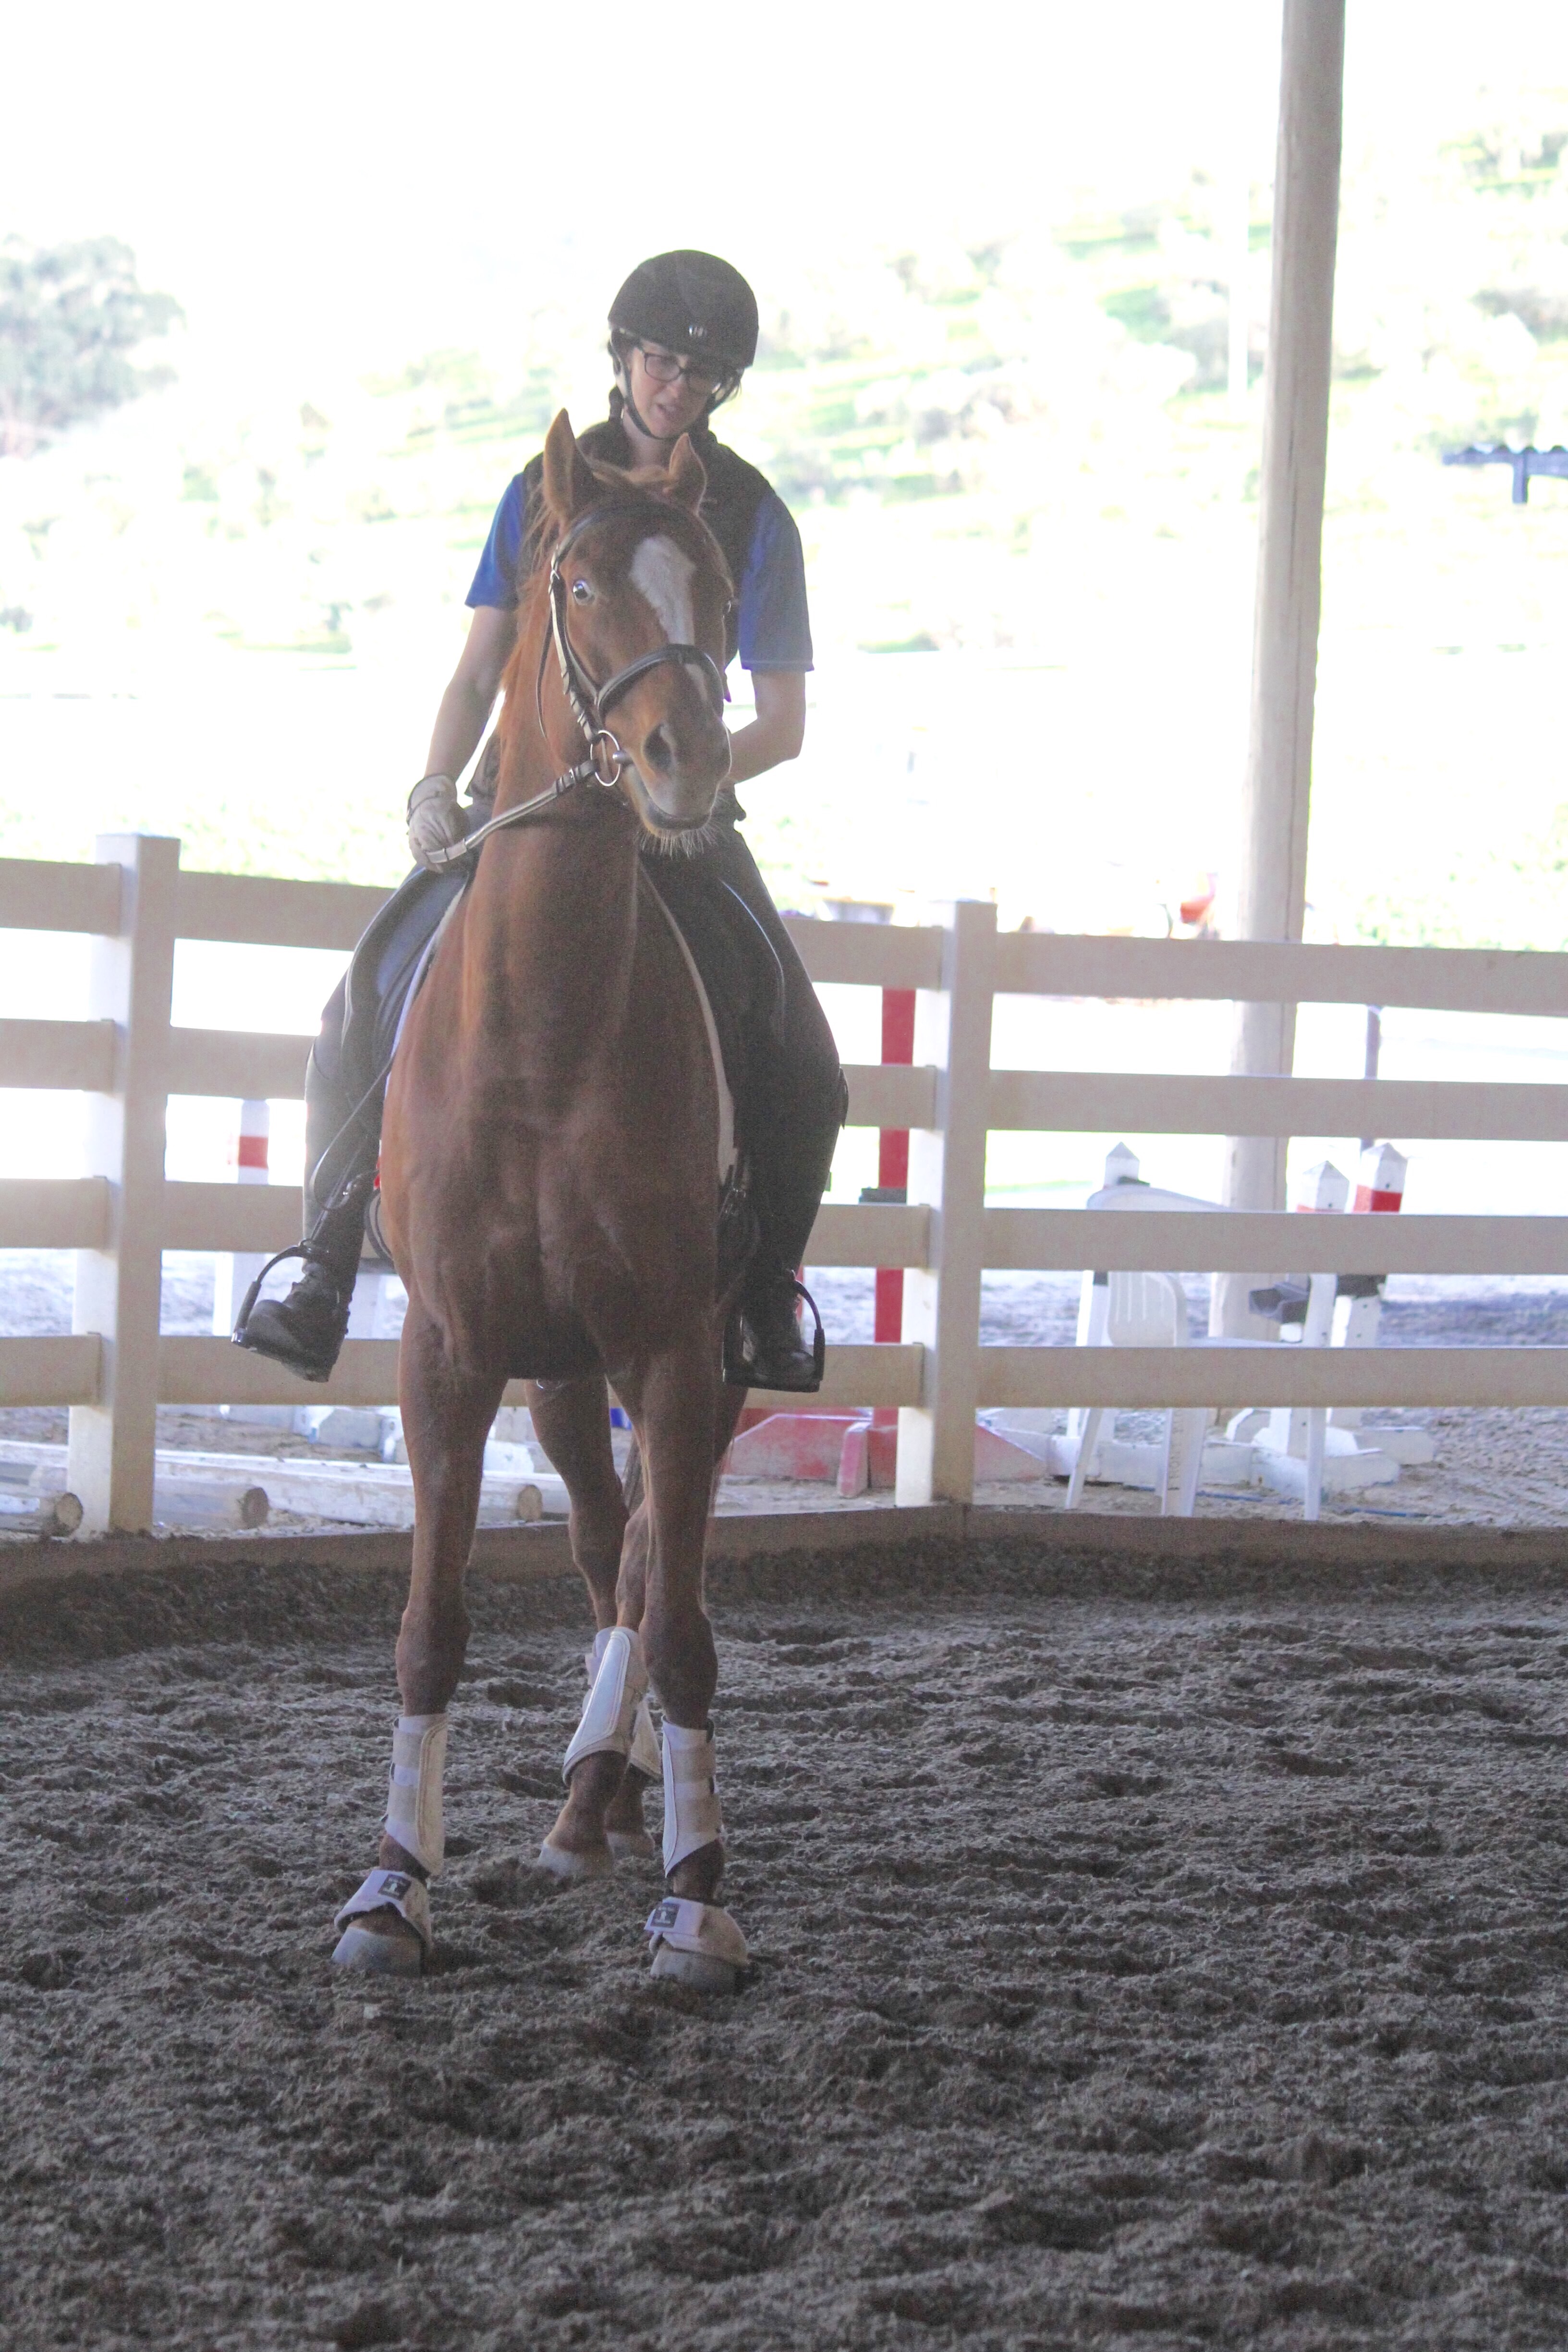
The other wombat is one of our makeover thoroughbreds, Blue.  He eats because he needs to gain weight.
To be fair, he quit leaving.  He used to casually wander off when I let go of his lead.  He turned a corner a couple weeks ago and now chooses to hang out with me when I let go of his lead. He has become my partner, instead of an insolent pupil.

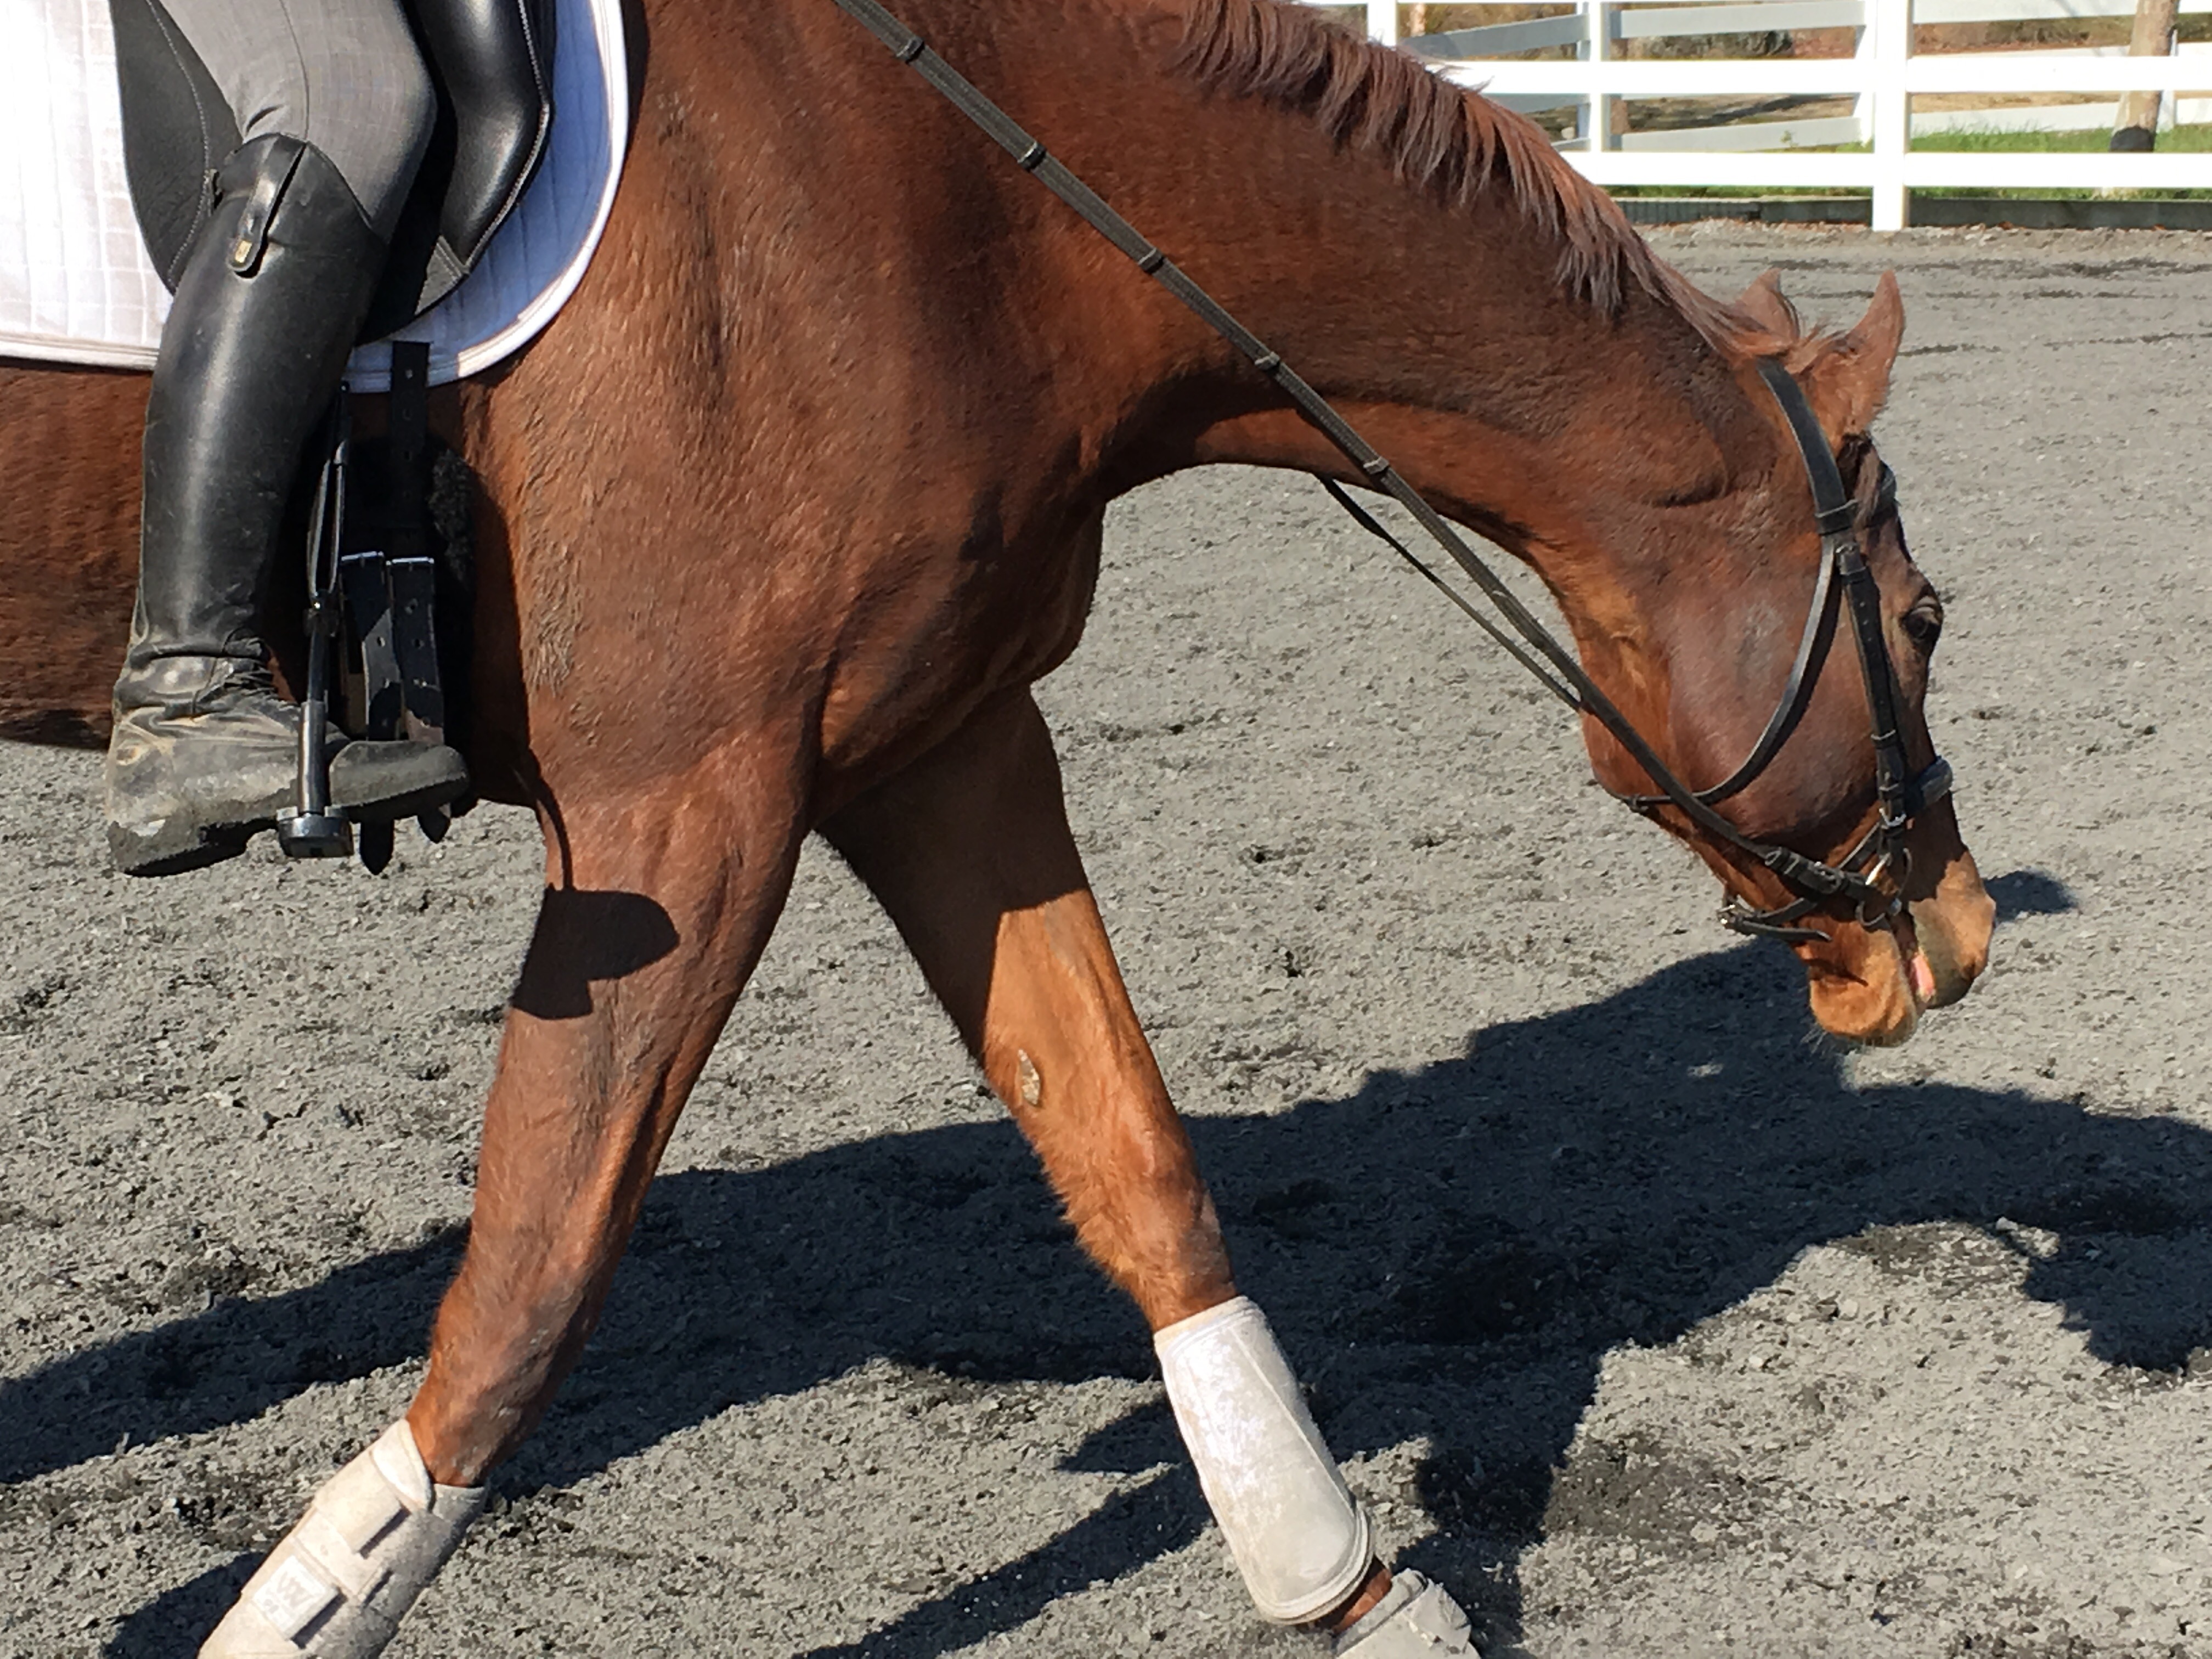
The rooting in Blue’s case refers to pulling his head and neck straight down when being ridden.  Us horse people call this rooting.  I don’t know why.  

Blue rooting.

Perhaps a rooting horse is searching for his favorite root vegetables?

Or desperately checking to make sure there are no trip hazards in his path?

Or maybe suffering  some Kunta Kinte style angst?

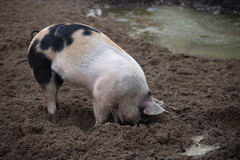
The term rooting probably refers to rooting in the mud like a pig.  It looks about the same.

In my experience horses root in order to exert some sort of control over their riders.

Before you begin to address your horse’s rooting, be sure that you aren’t contributing to the issues. First, make sure that you aren’t balancing on your reins.  Check to see if you can ride with super loose reins. Then make sure you can maintain an even contact in all gaits. Ensure that your tack is comfortable for the horse, a horse might root to evade an ill-fitting saddle, or a bit that pinches. If you have any doubts or questions about these areas, consult your trainer.

My first approach to correct rooting is to treat it as an innocent game the horse is playing with his rider.  Horsey thinks it is fun that he can pull his head down and he has trained his rider to pull back on the reins in response.  It is something for him to do while making those monotonous laps around the sandbox.  

In this instance I find the best cure for rooting is to simply not participate in horsey’s game.  When I anticipate a root coming, I release my reins before the root begins so that the horse never gets to feel like he’s in charge of the amount of contact on the bit.  For green horses, I find this cures them of this habit within a couple weeks.  Starting here will also reinforce the independence of your seat and hand.

Blue tried to root, but found no contact to pull against.  He was rewarded with a “good boy” to encourage him to stretch down.

Then there are the not-green horses.  The horses who are well established in their pattern of rooting and pulling.  These are the ones that are trying to pull you out of the saddle and get you to do a front flip over their heads.  

These ones need to meet their own pressure and pull against themselves. 

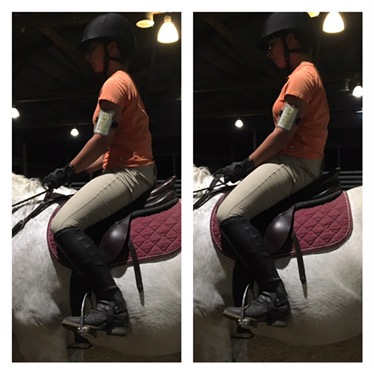
When you anticipate a root, change your posture.  I call this “doing the ashamed puppy.”  Imagine that you have been a very bad boy and tuck your tail between your legs.  Now when the horse pulls on you, you will be pulled deeper into the saddle instead of forward.  Some horses give up rooting at this point.  Their game is no fun if they cant win by unseating you.  

 Marie in her ordinary seat on the left and in the ashamed puppy position on the right 

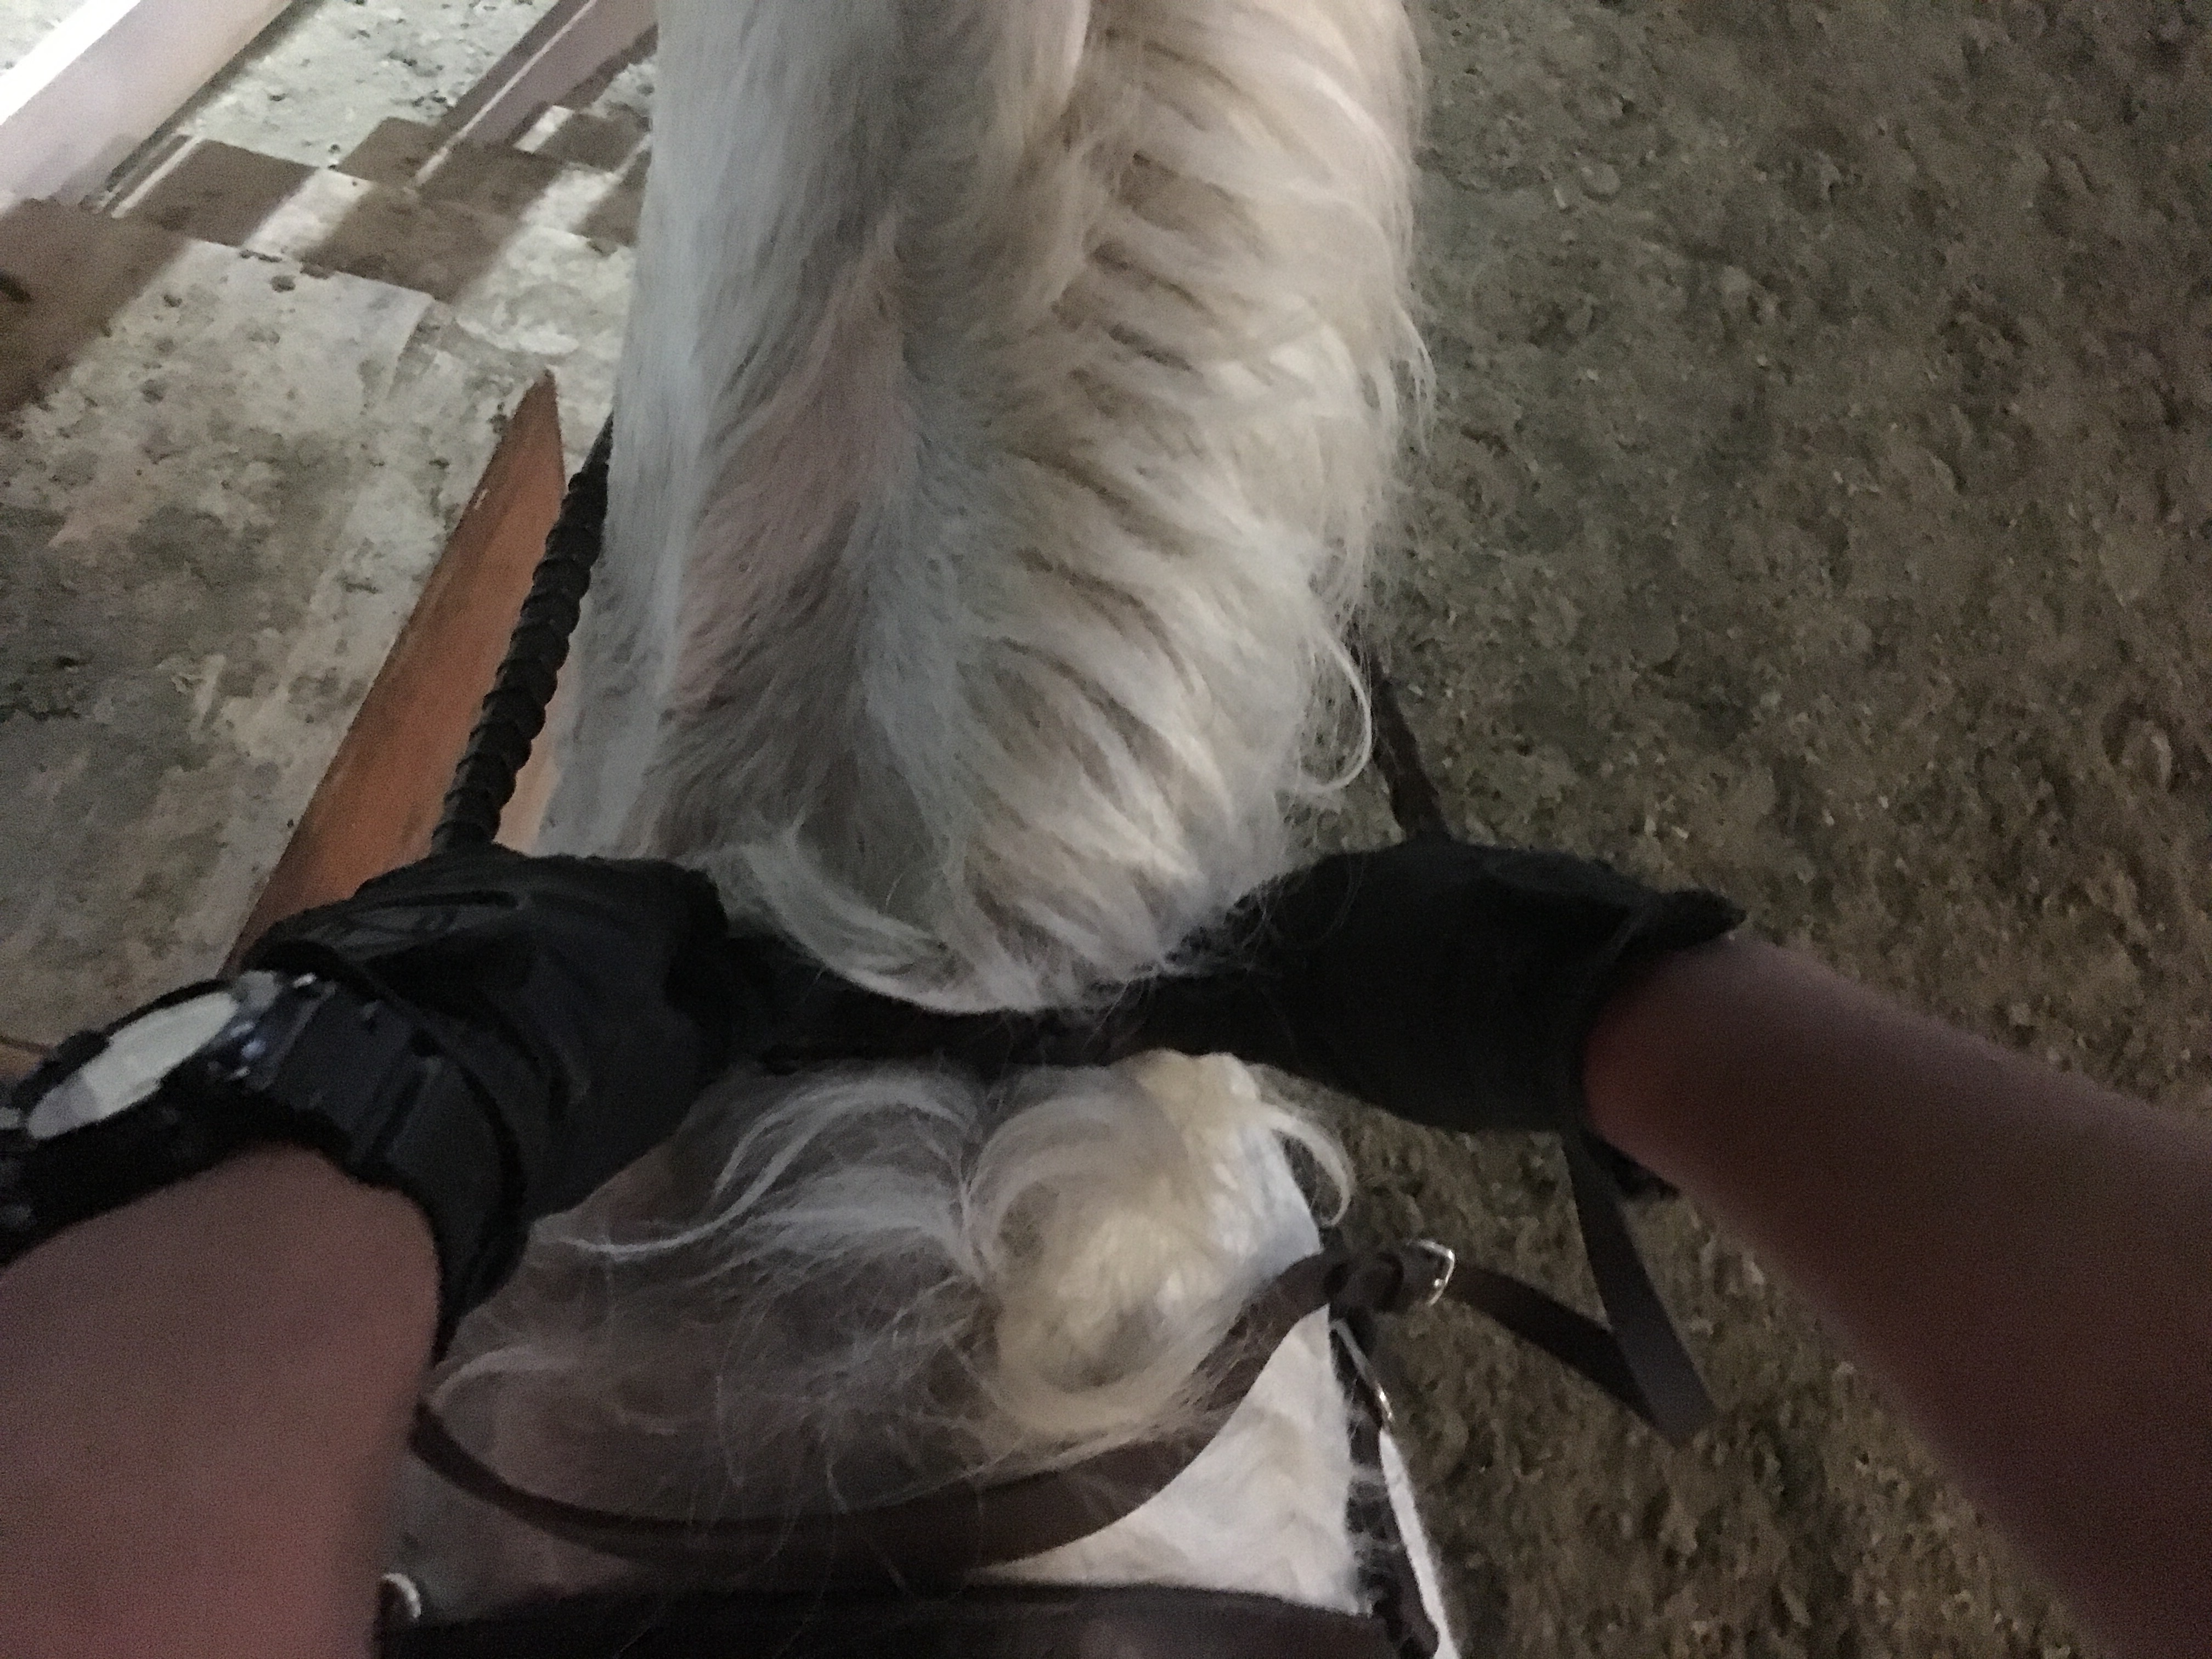
If precious horseykins is still pulling on you, ride with your reins in a bridge.  Make sure your reins are pushed down into the horses neck.  When he pulls, the pressure on his sensitive mouth will change by exactly the amount he pulls.  When he’s done pulling, the pressure is exactly the same as it was before the pulling began.  Your rein length did not change.  His rooting had very little effect on you, which is no fun for him.

You can either hold both reins in both hands (double bridge) or 

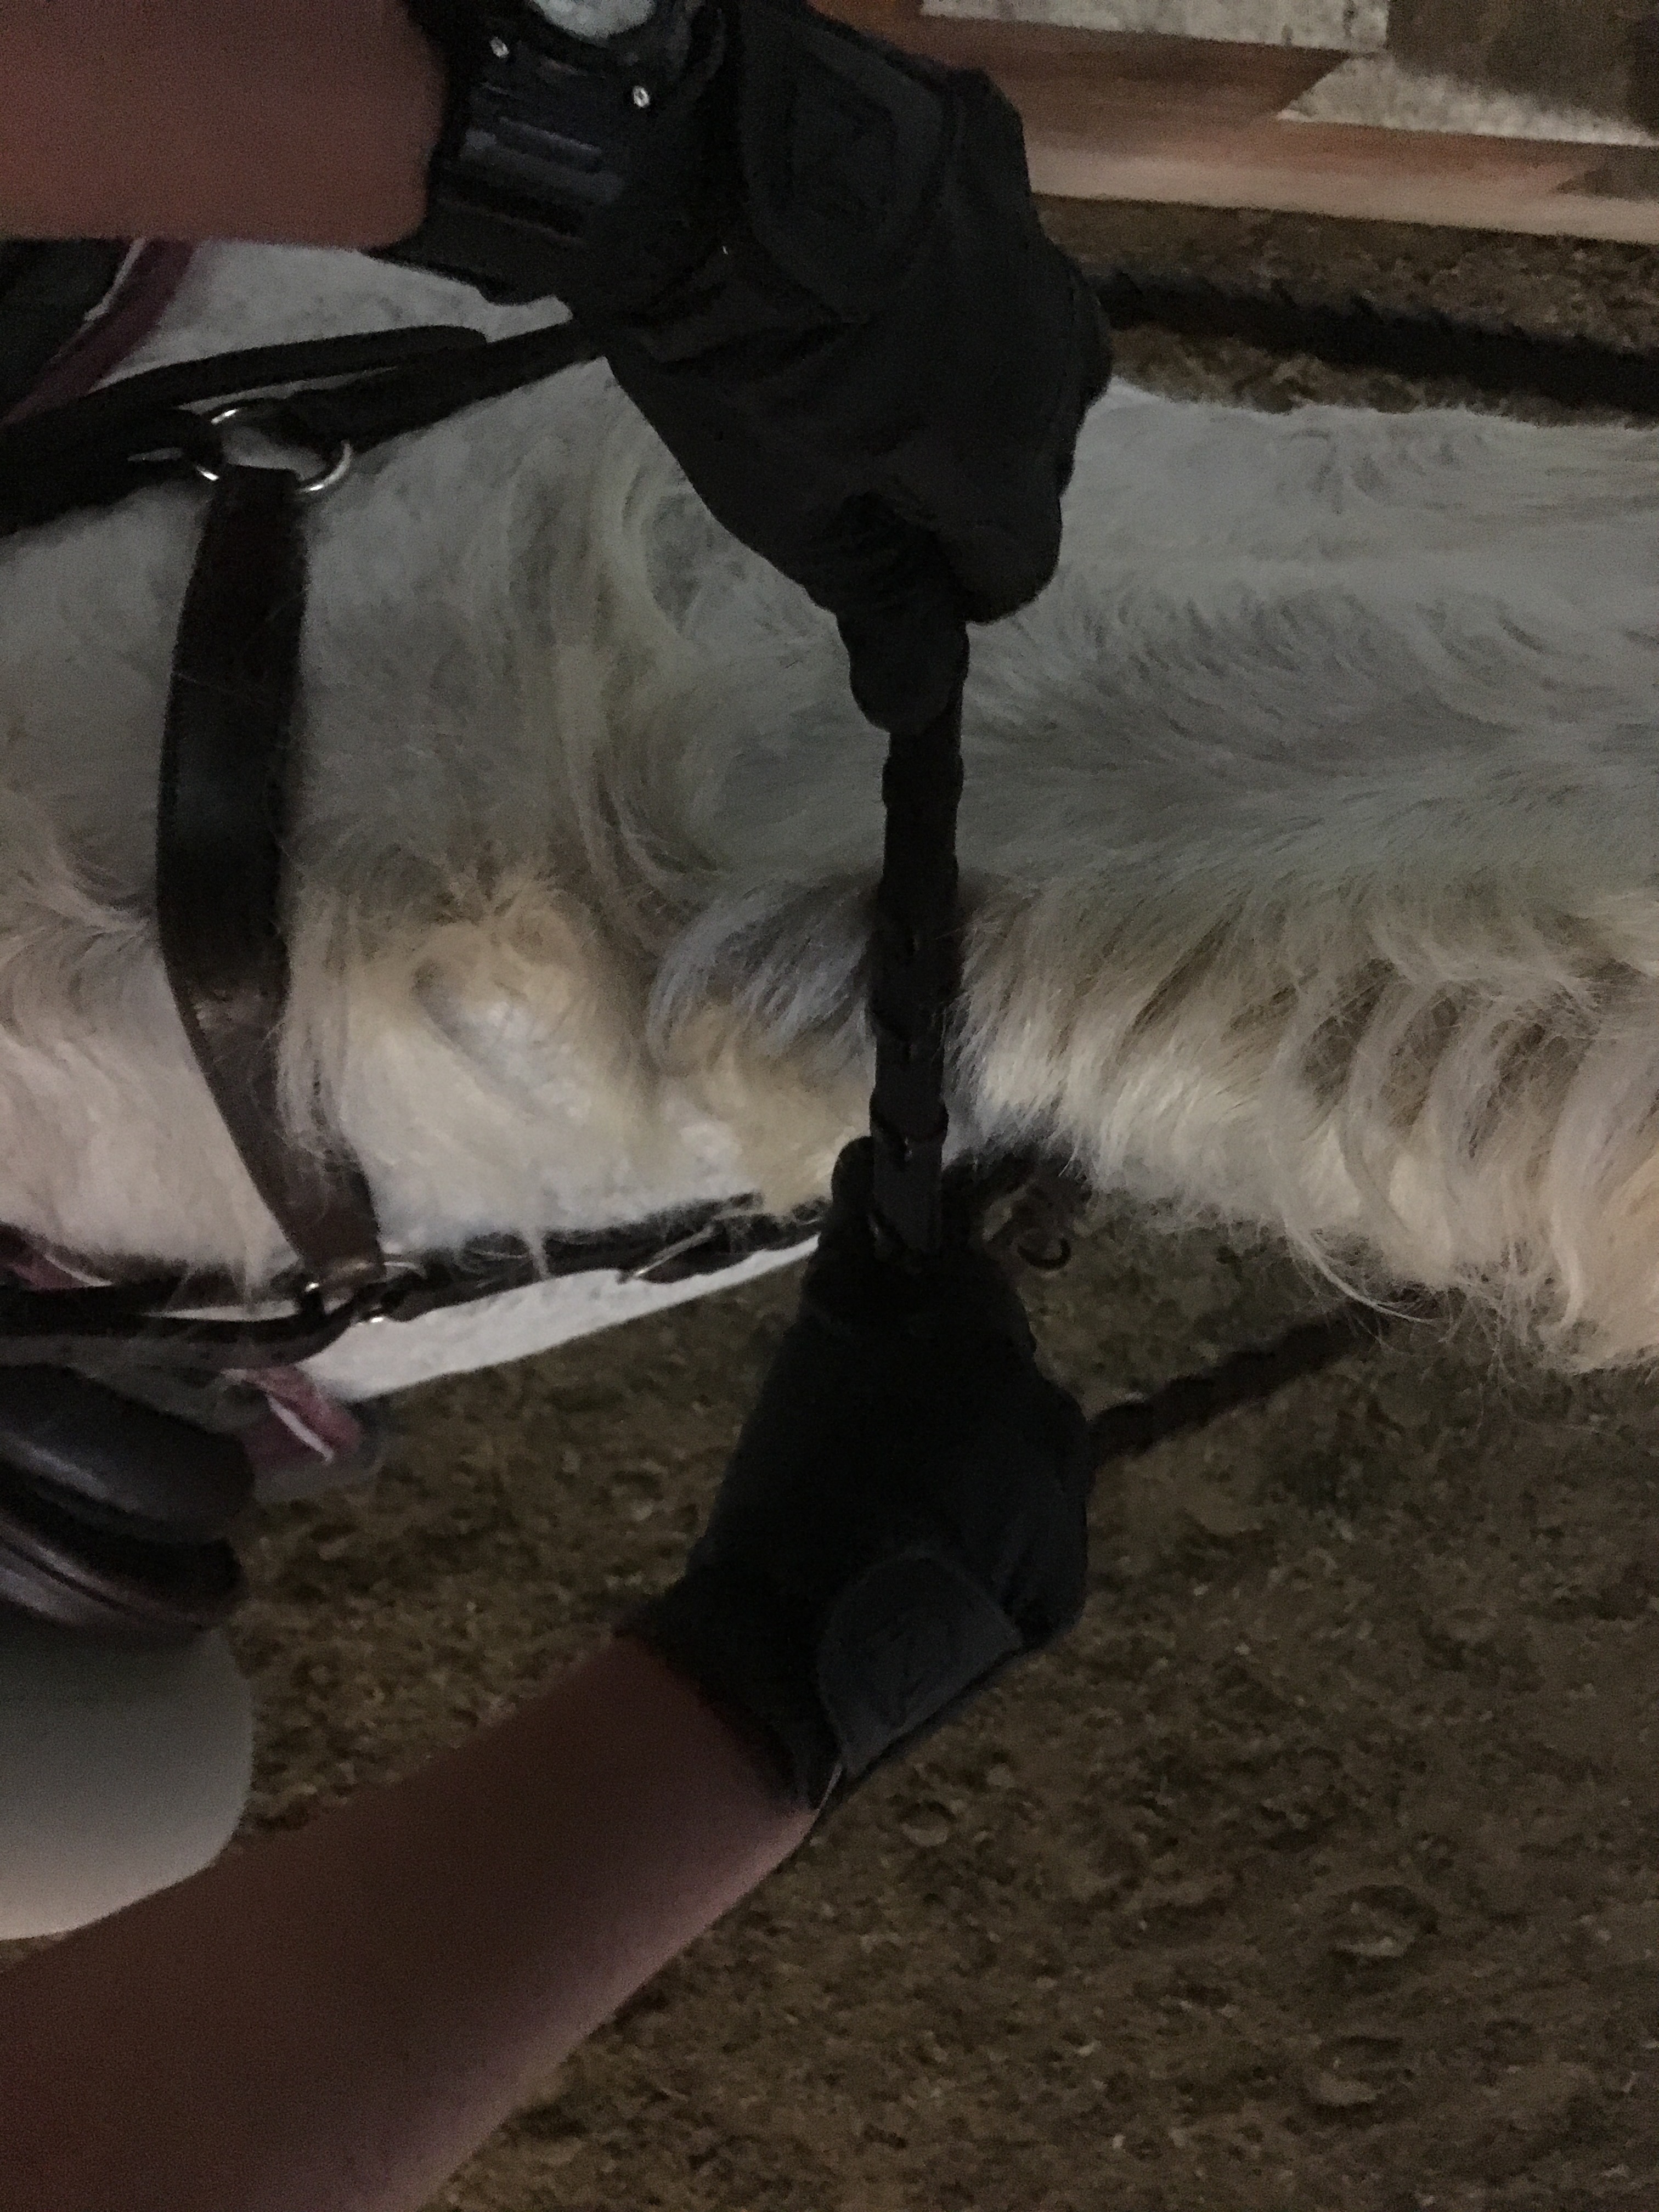
You can hold both reins in your planted hand and your other hand can hold the rein normally (single bridge).  If you do this style of bridge it is best to make your outside hand the one holding both reins.

If the rooting persists, it’s time to”pull the trigger.” When horseypooh is getting ready to root, grasp both reins in your left hand, and use that hand to push down on his neck.  With your right hand, pull up on the excess rein, effectively shortening the reins, then close your right hand firmly around the reins.  Hold this short rein until the horse gives by lightening the pressure on the bit.  Repeat as necessary.

Kristin pulls the trigger, she is planting her right hand, which is better for people with stronger left hands.

So back to the weird title of this post,”From wombat to WIMBAT.” A WIMBAT is a horse that is Welcome In My Barn Any Time.  I’m happy to say both of my wombats are well on their way to becoming WIMBATs.