Blue’s update, January

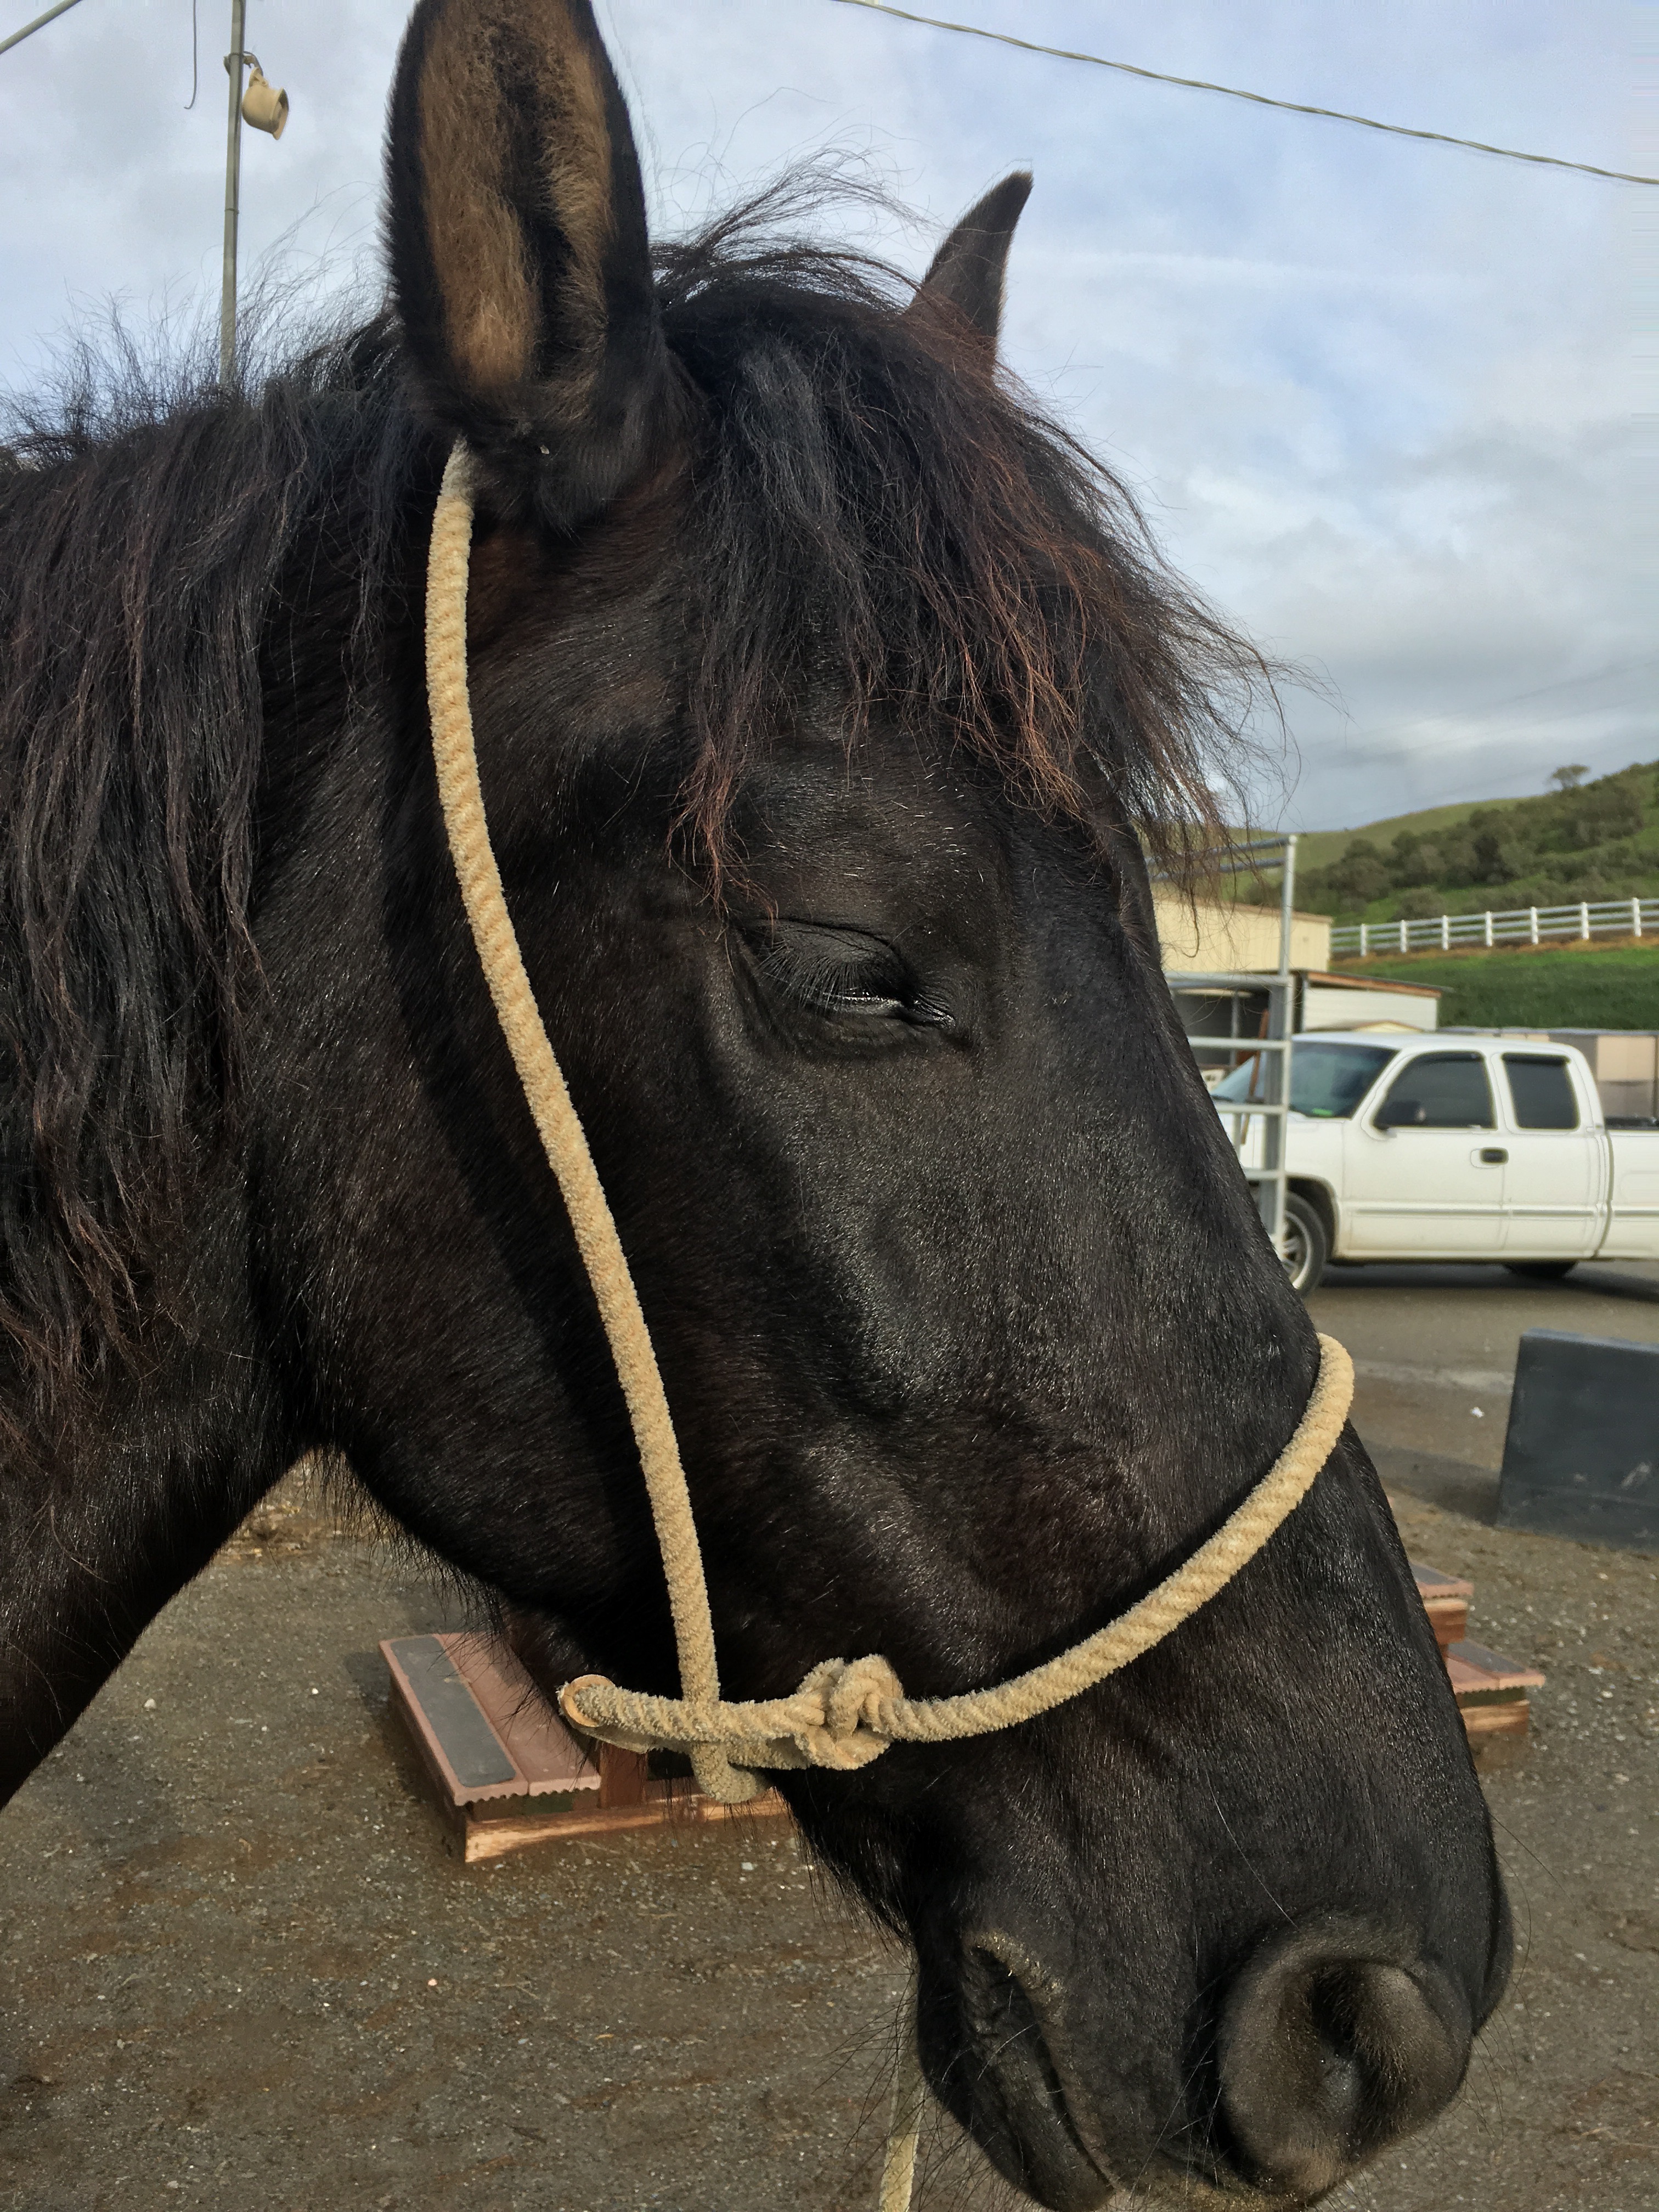
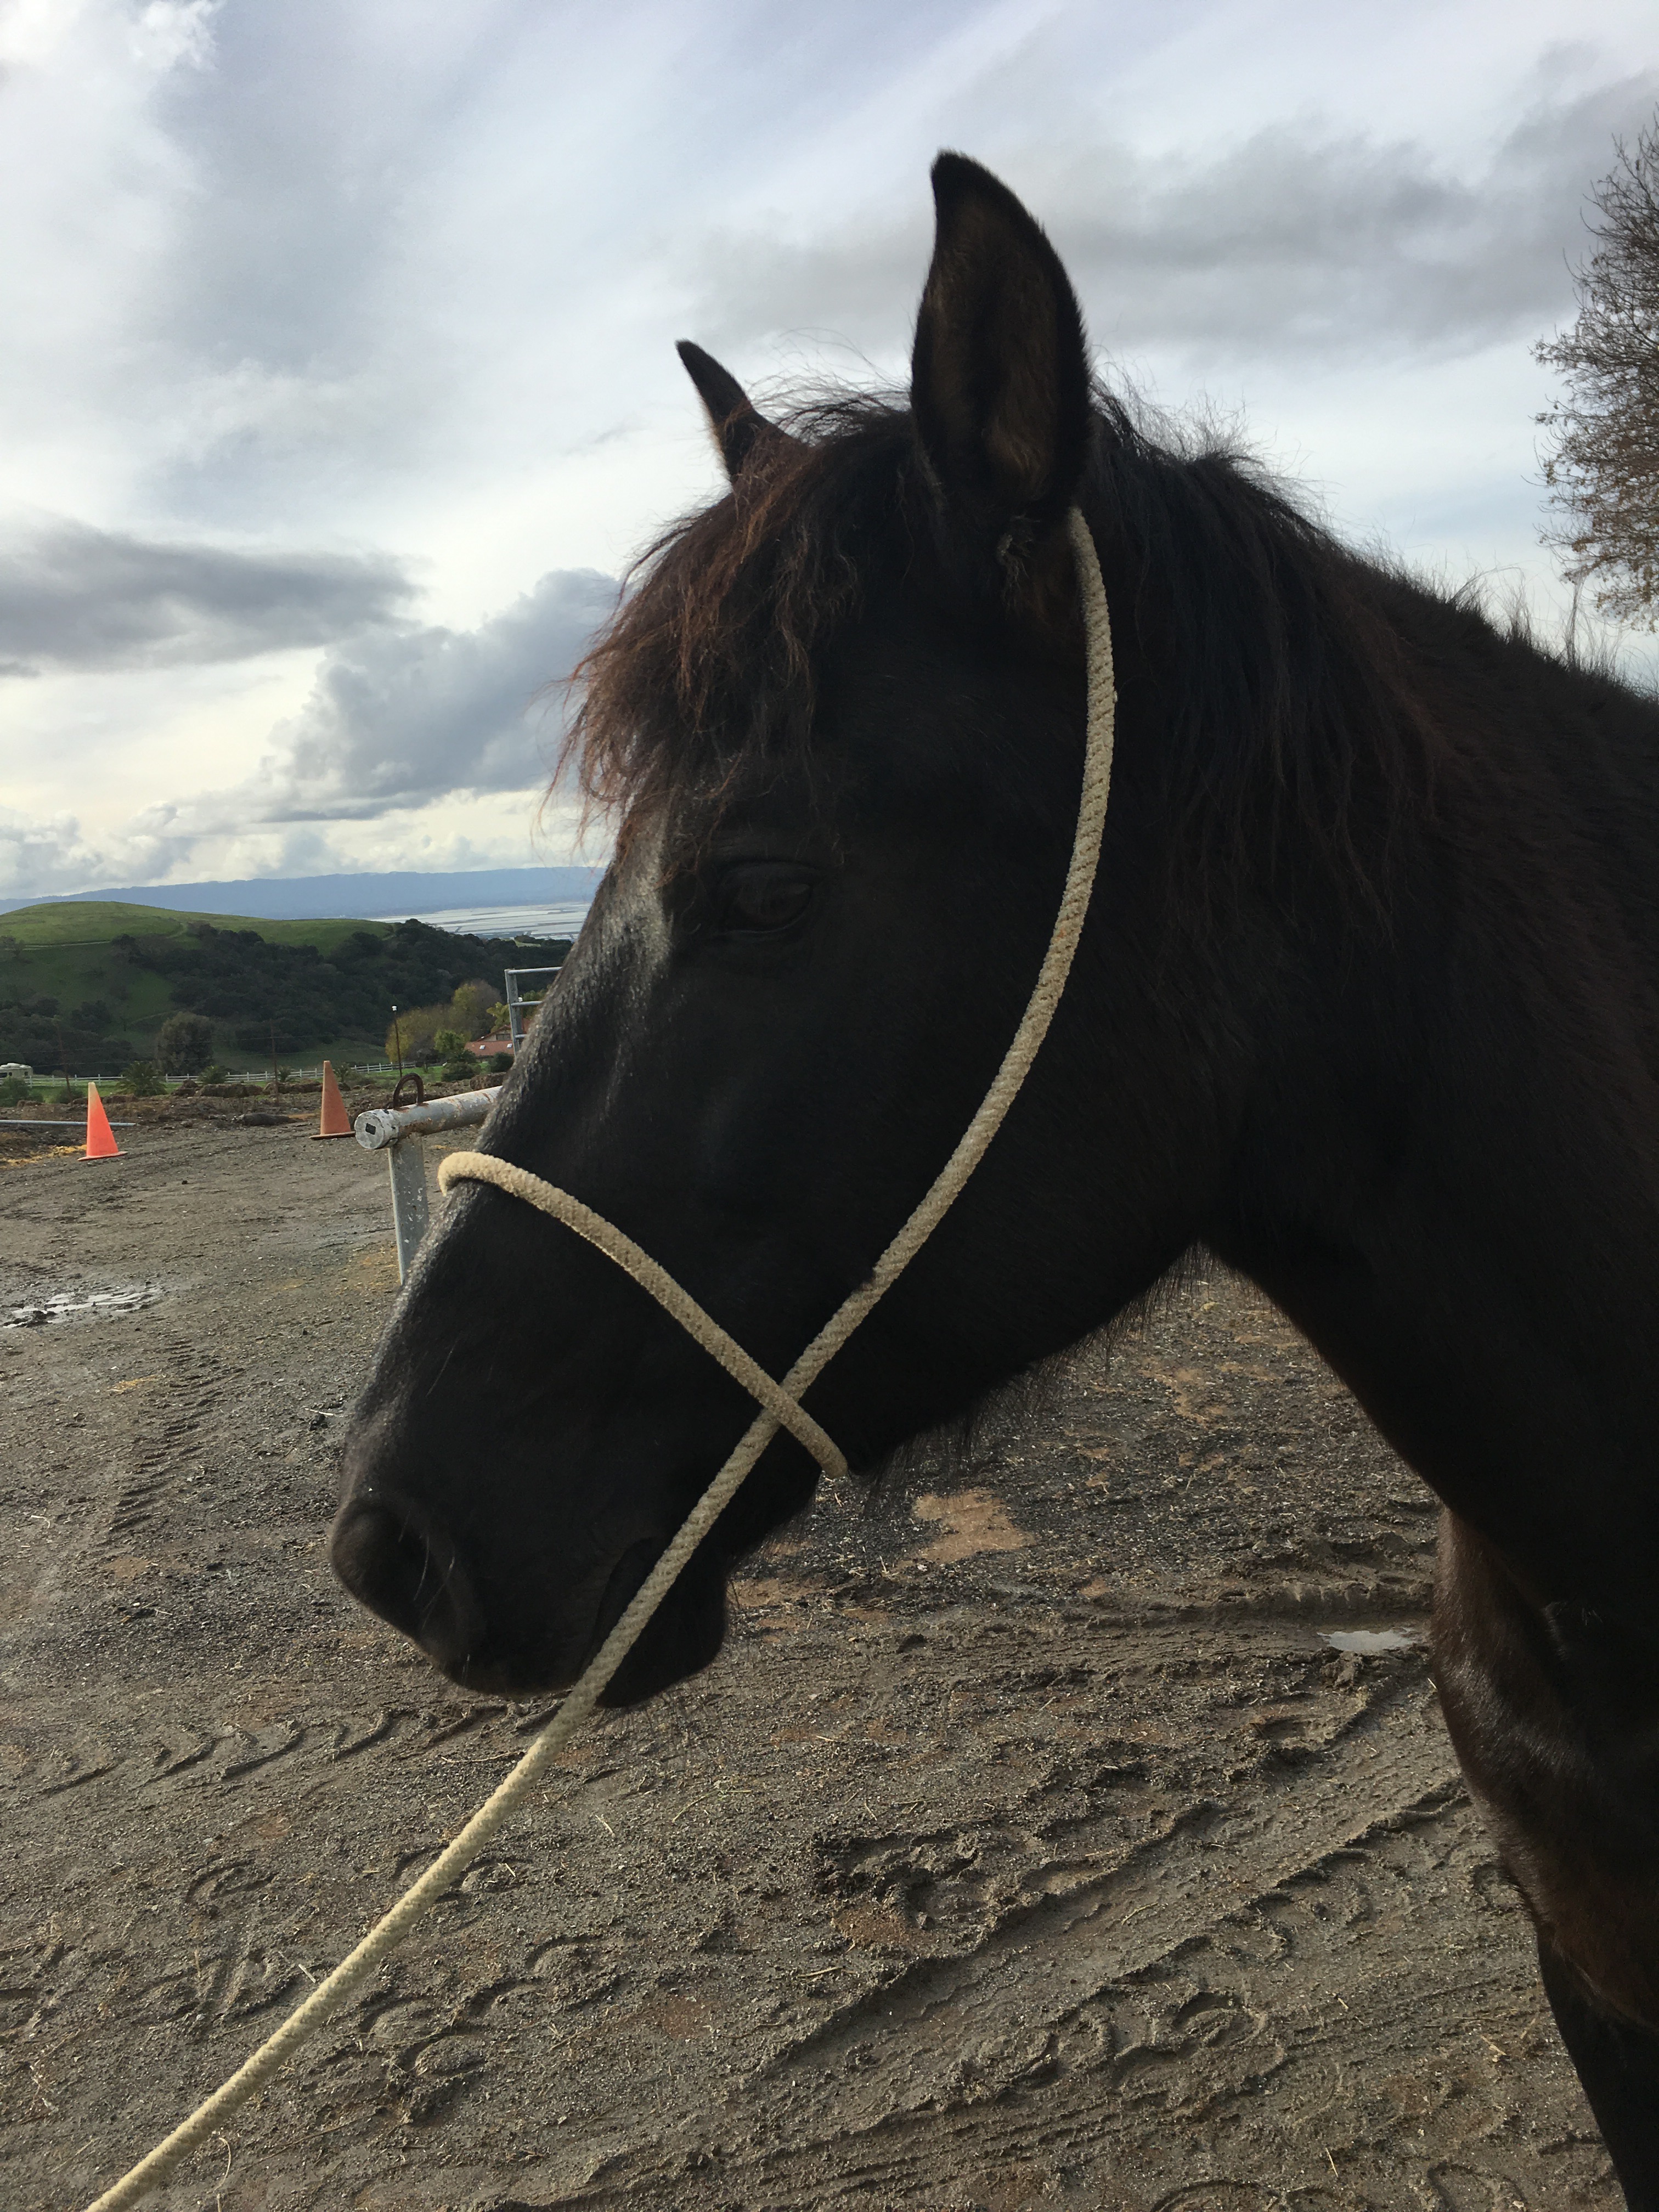
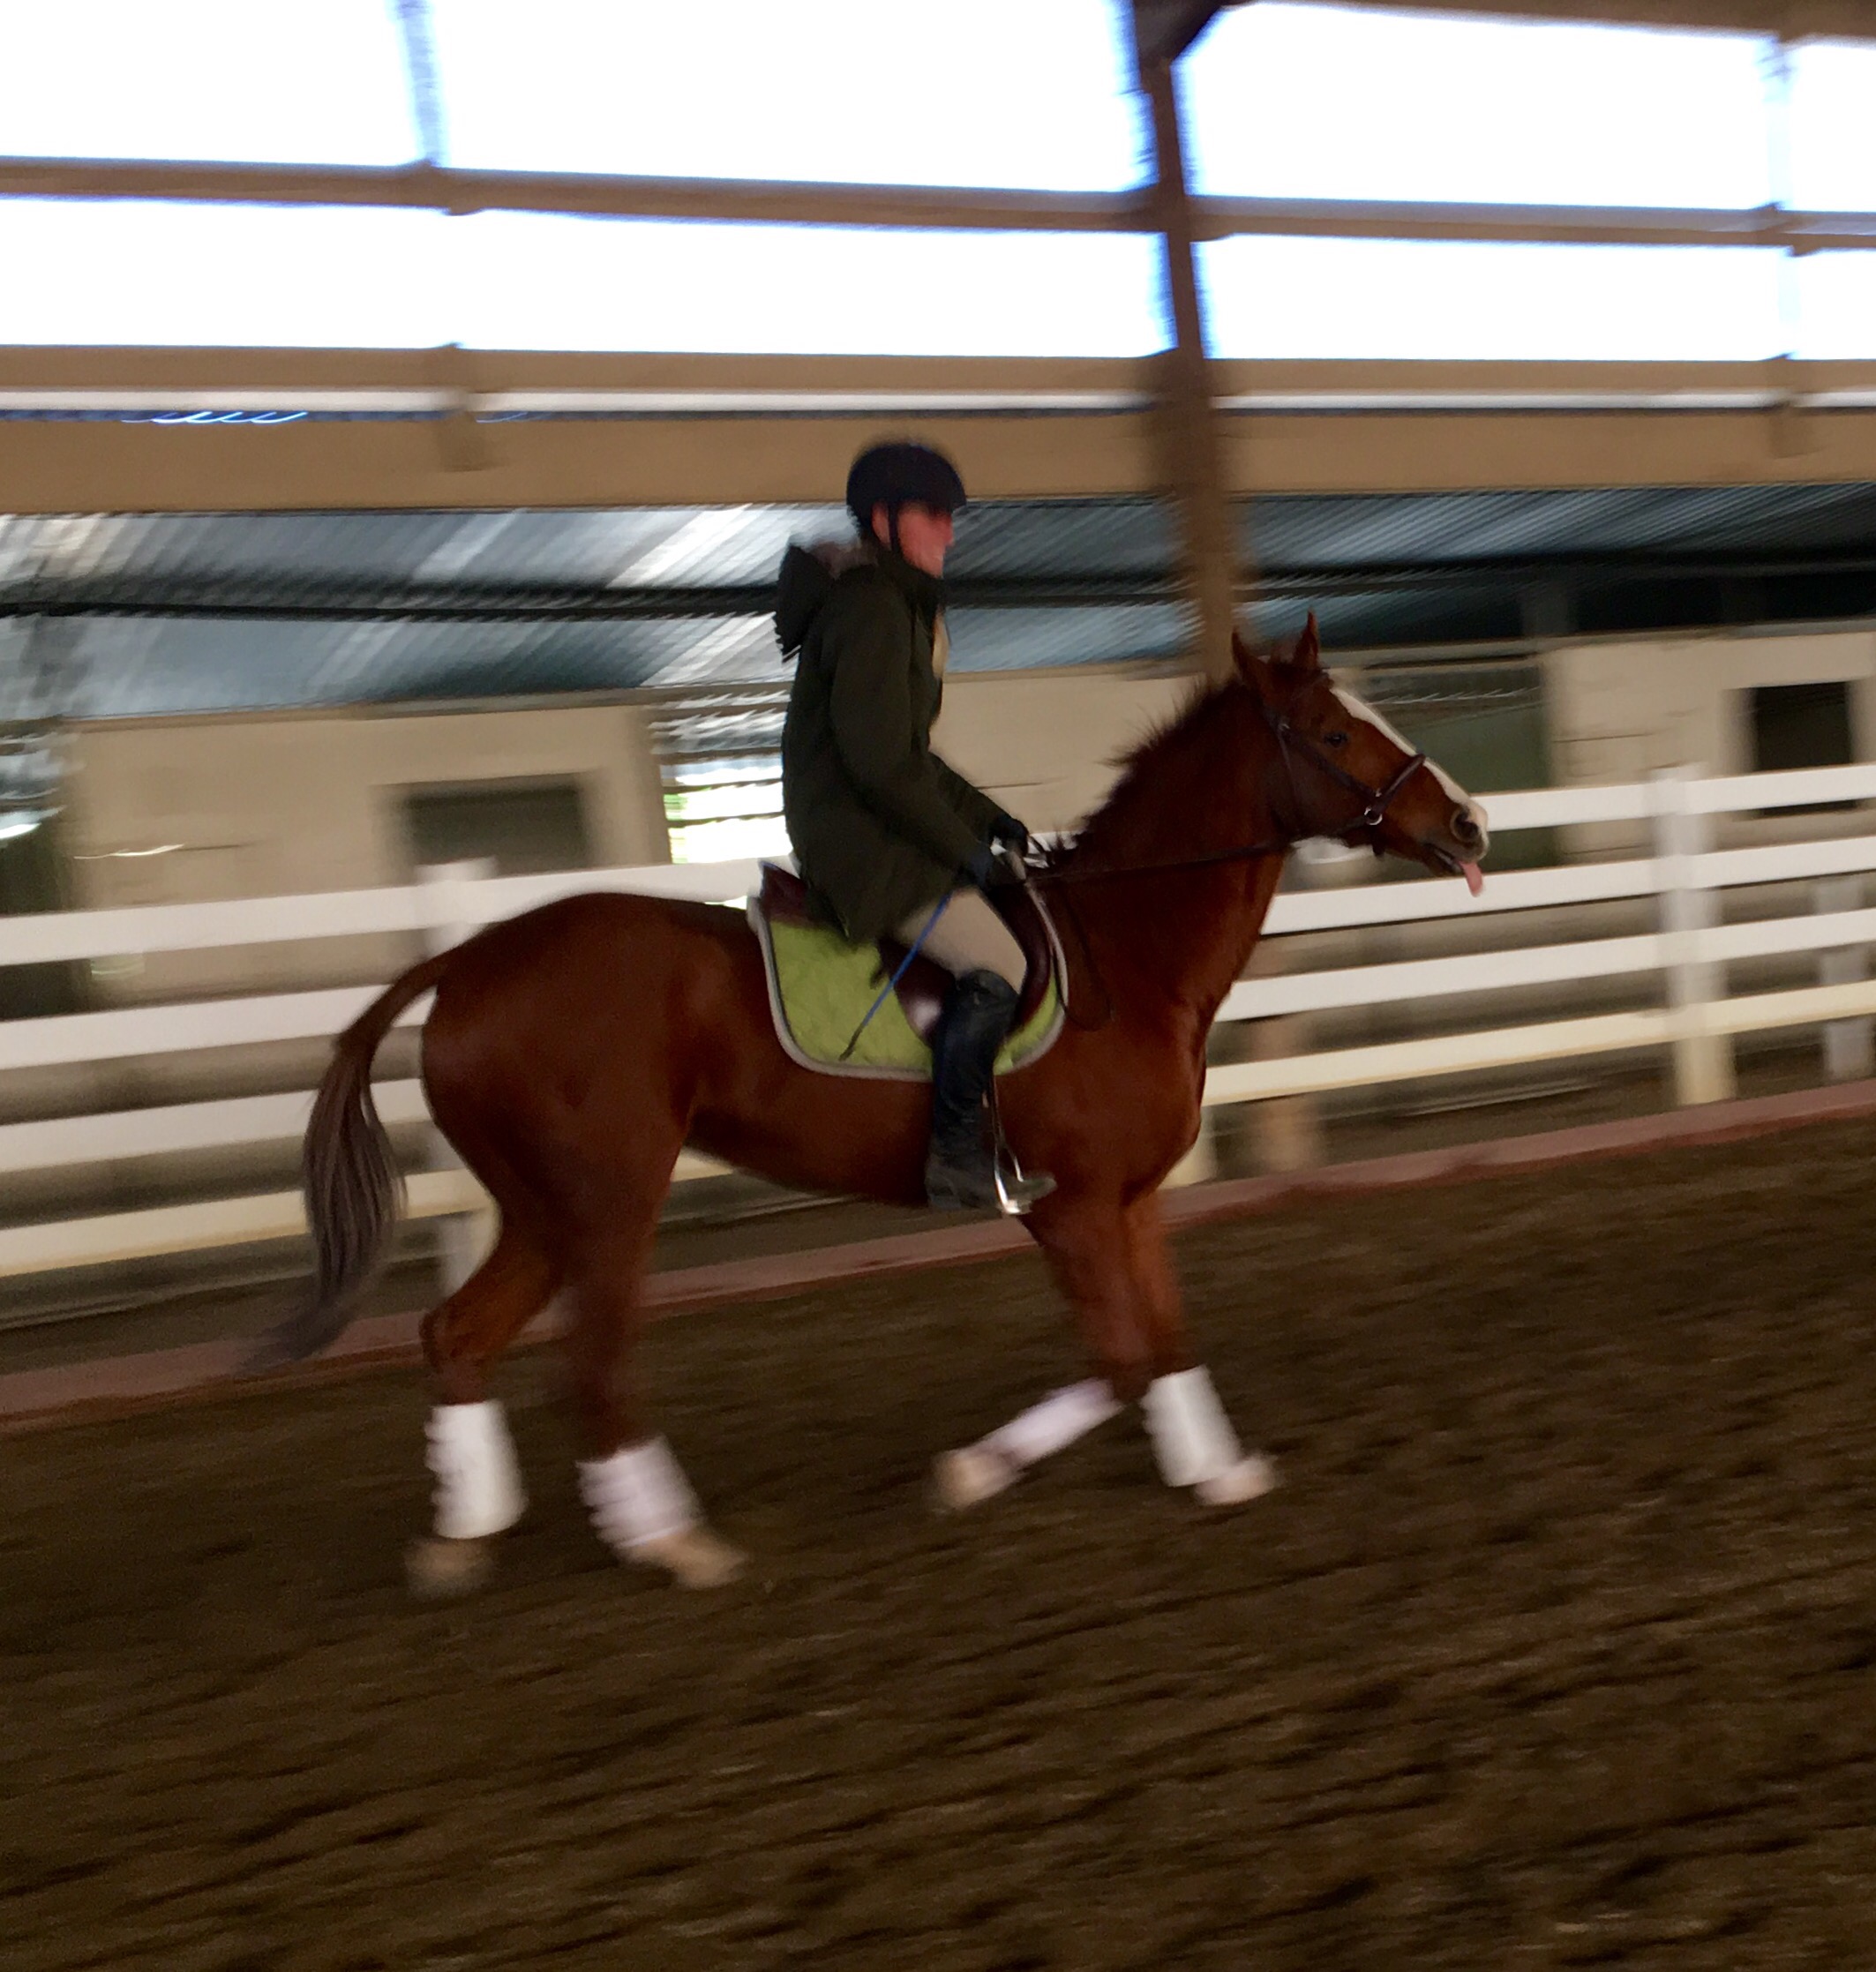
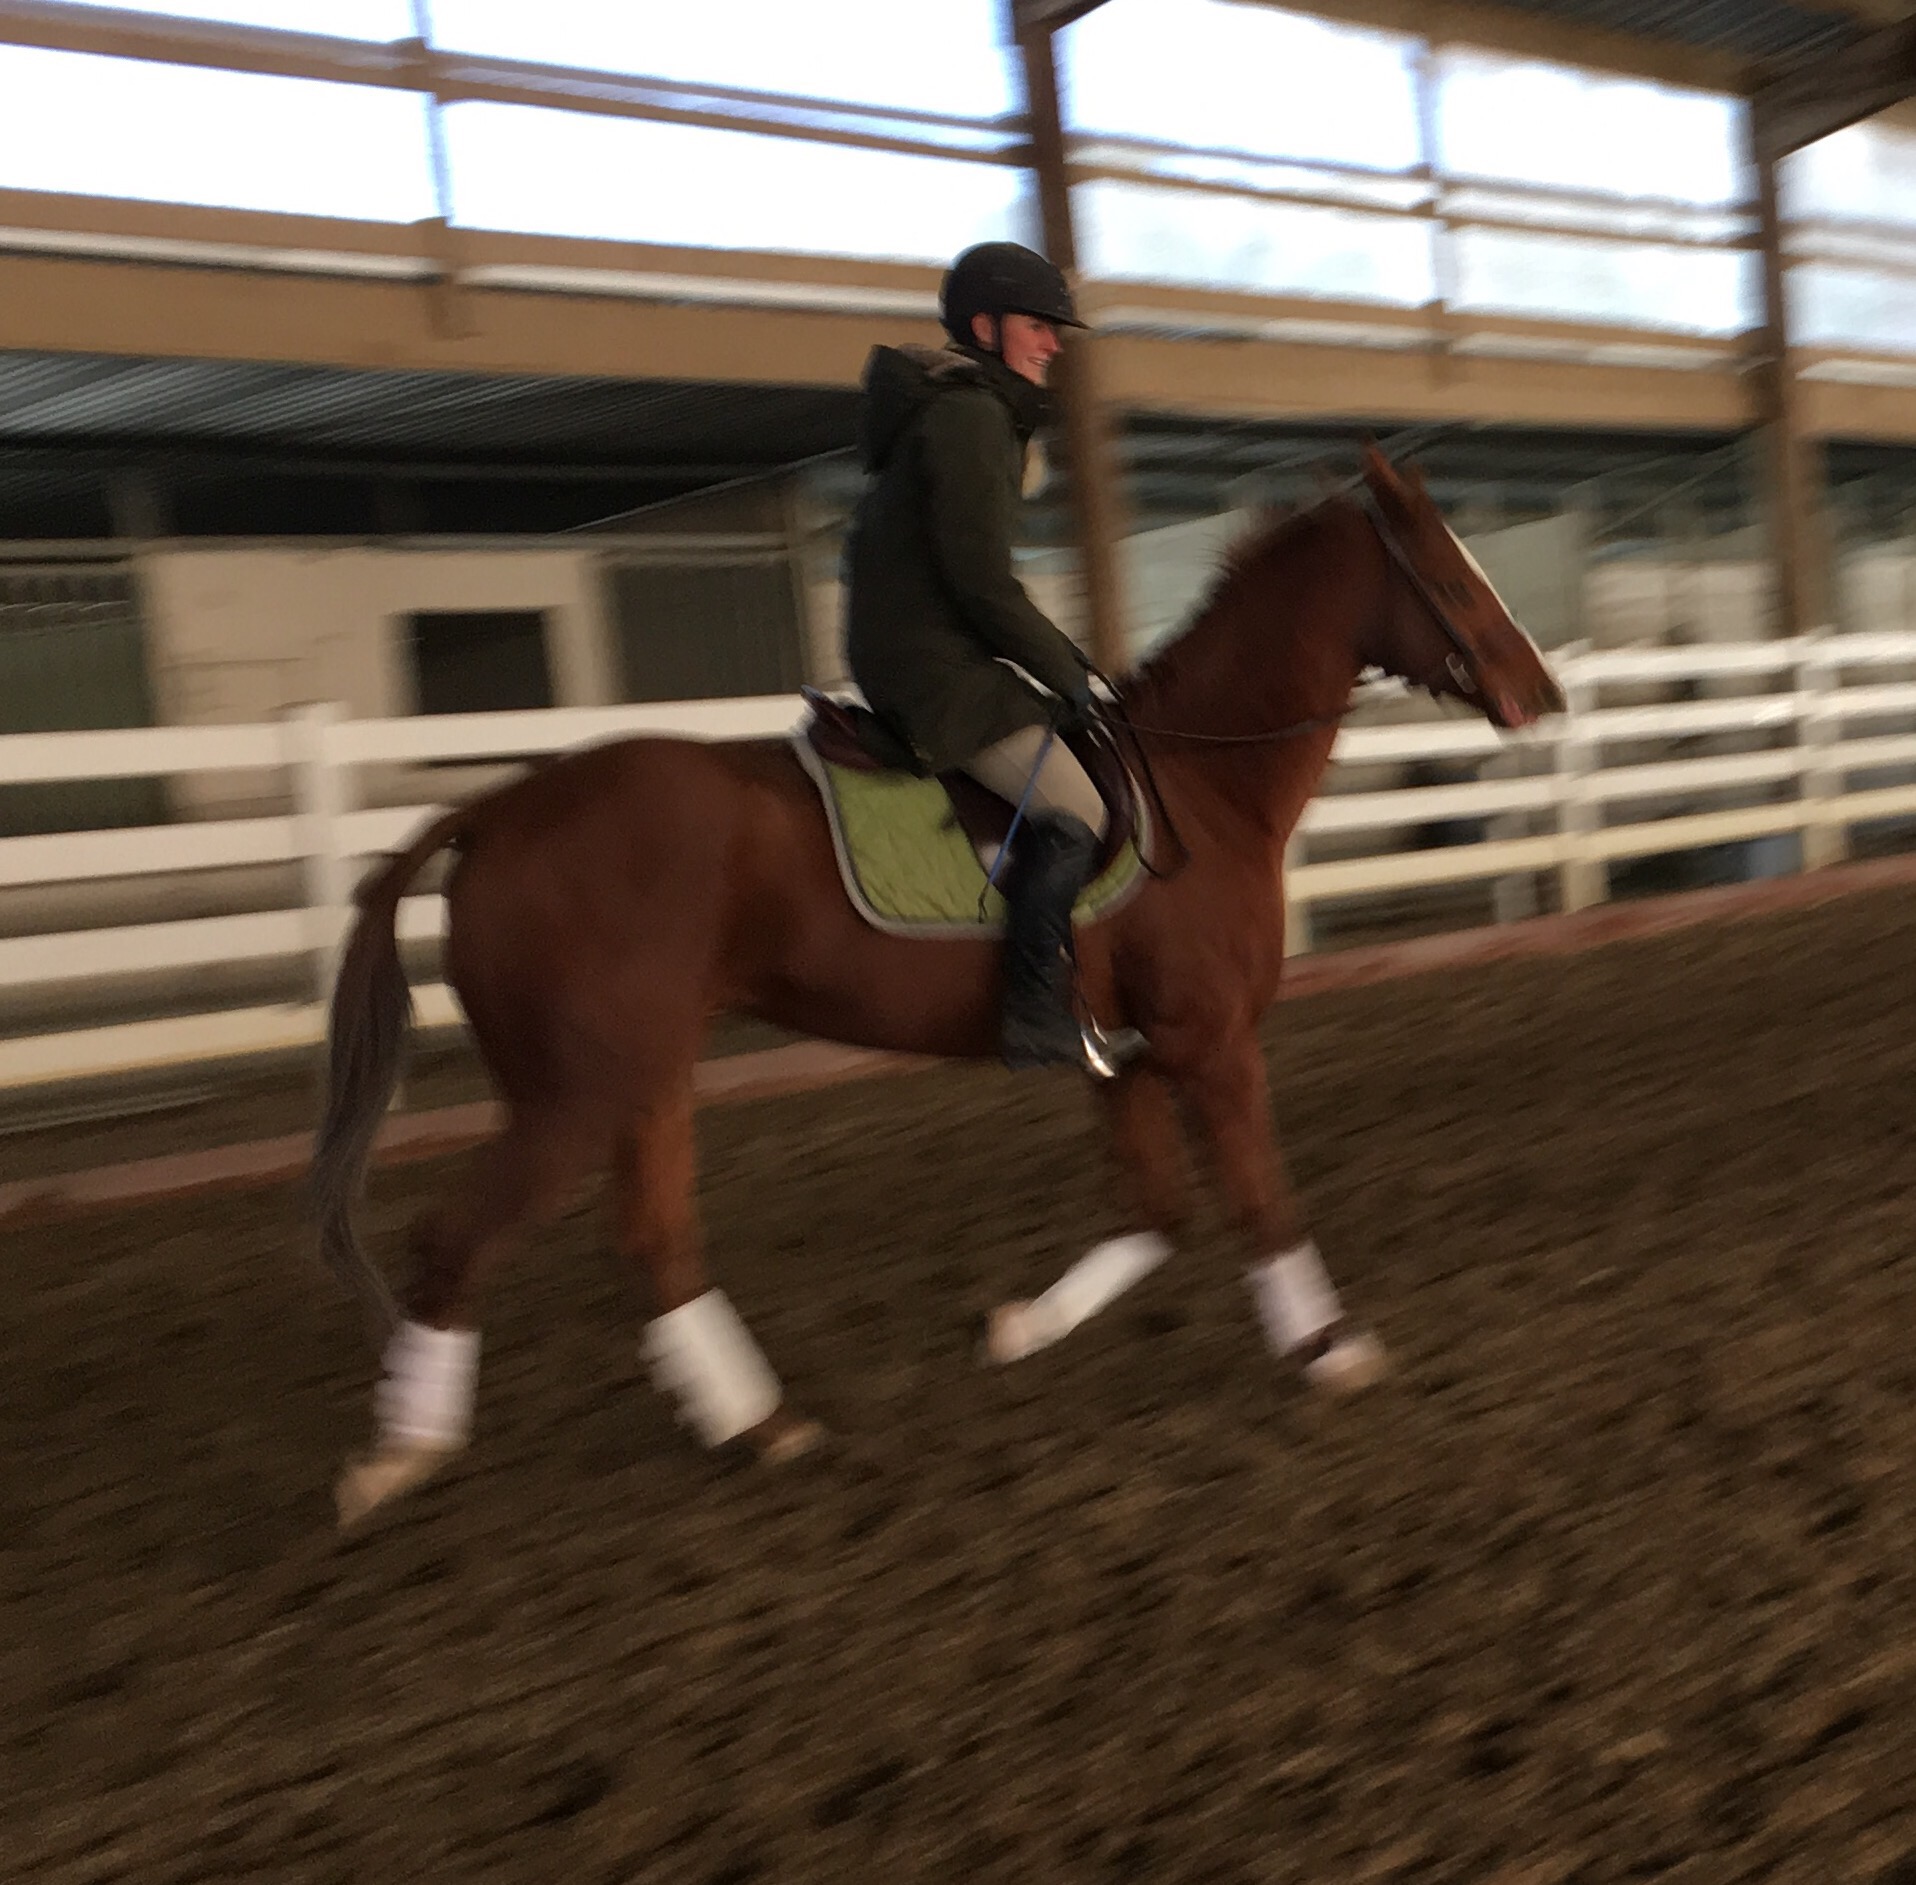
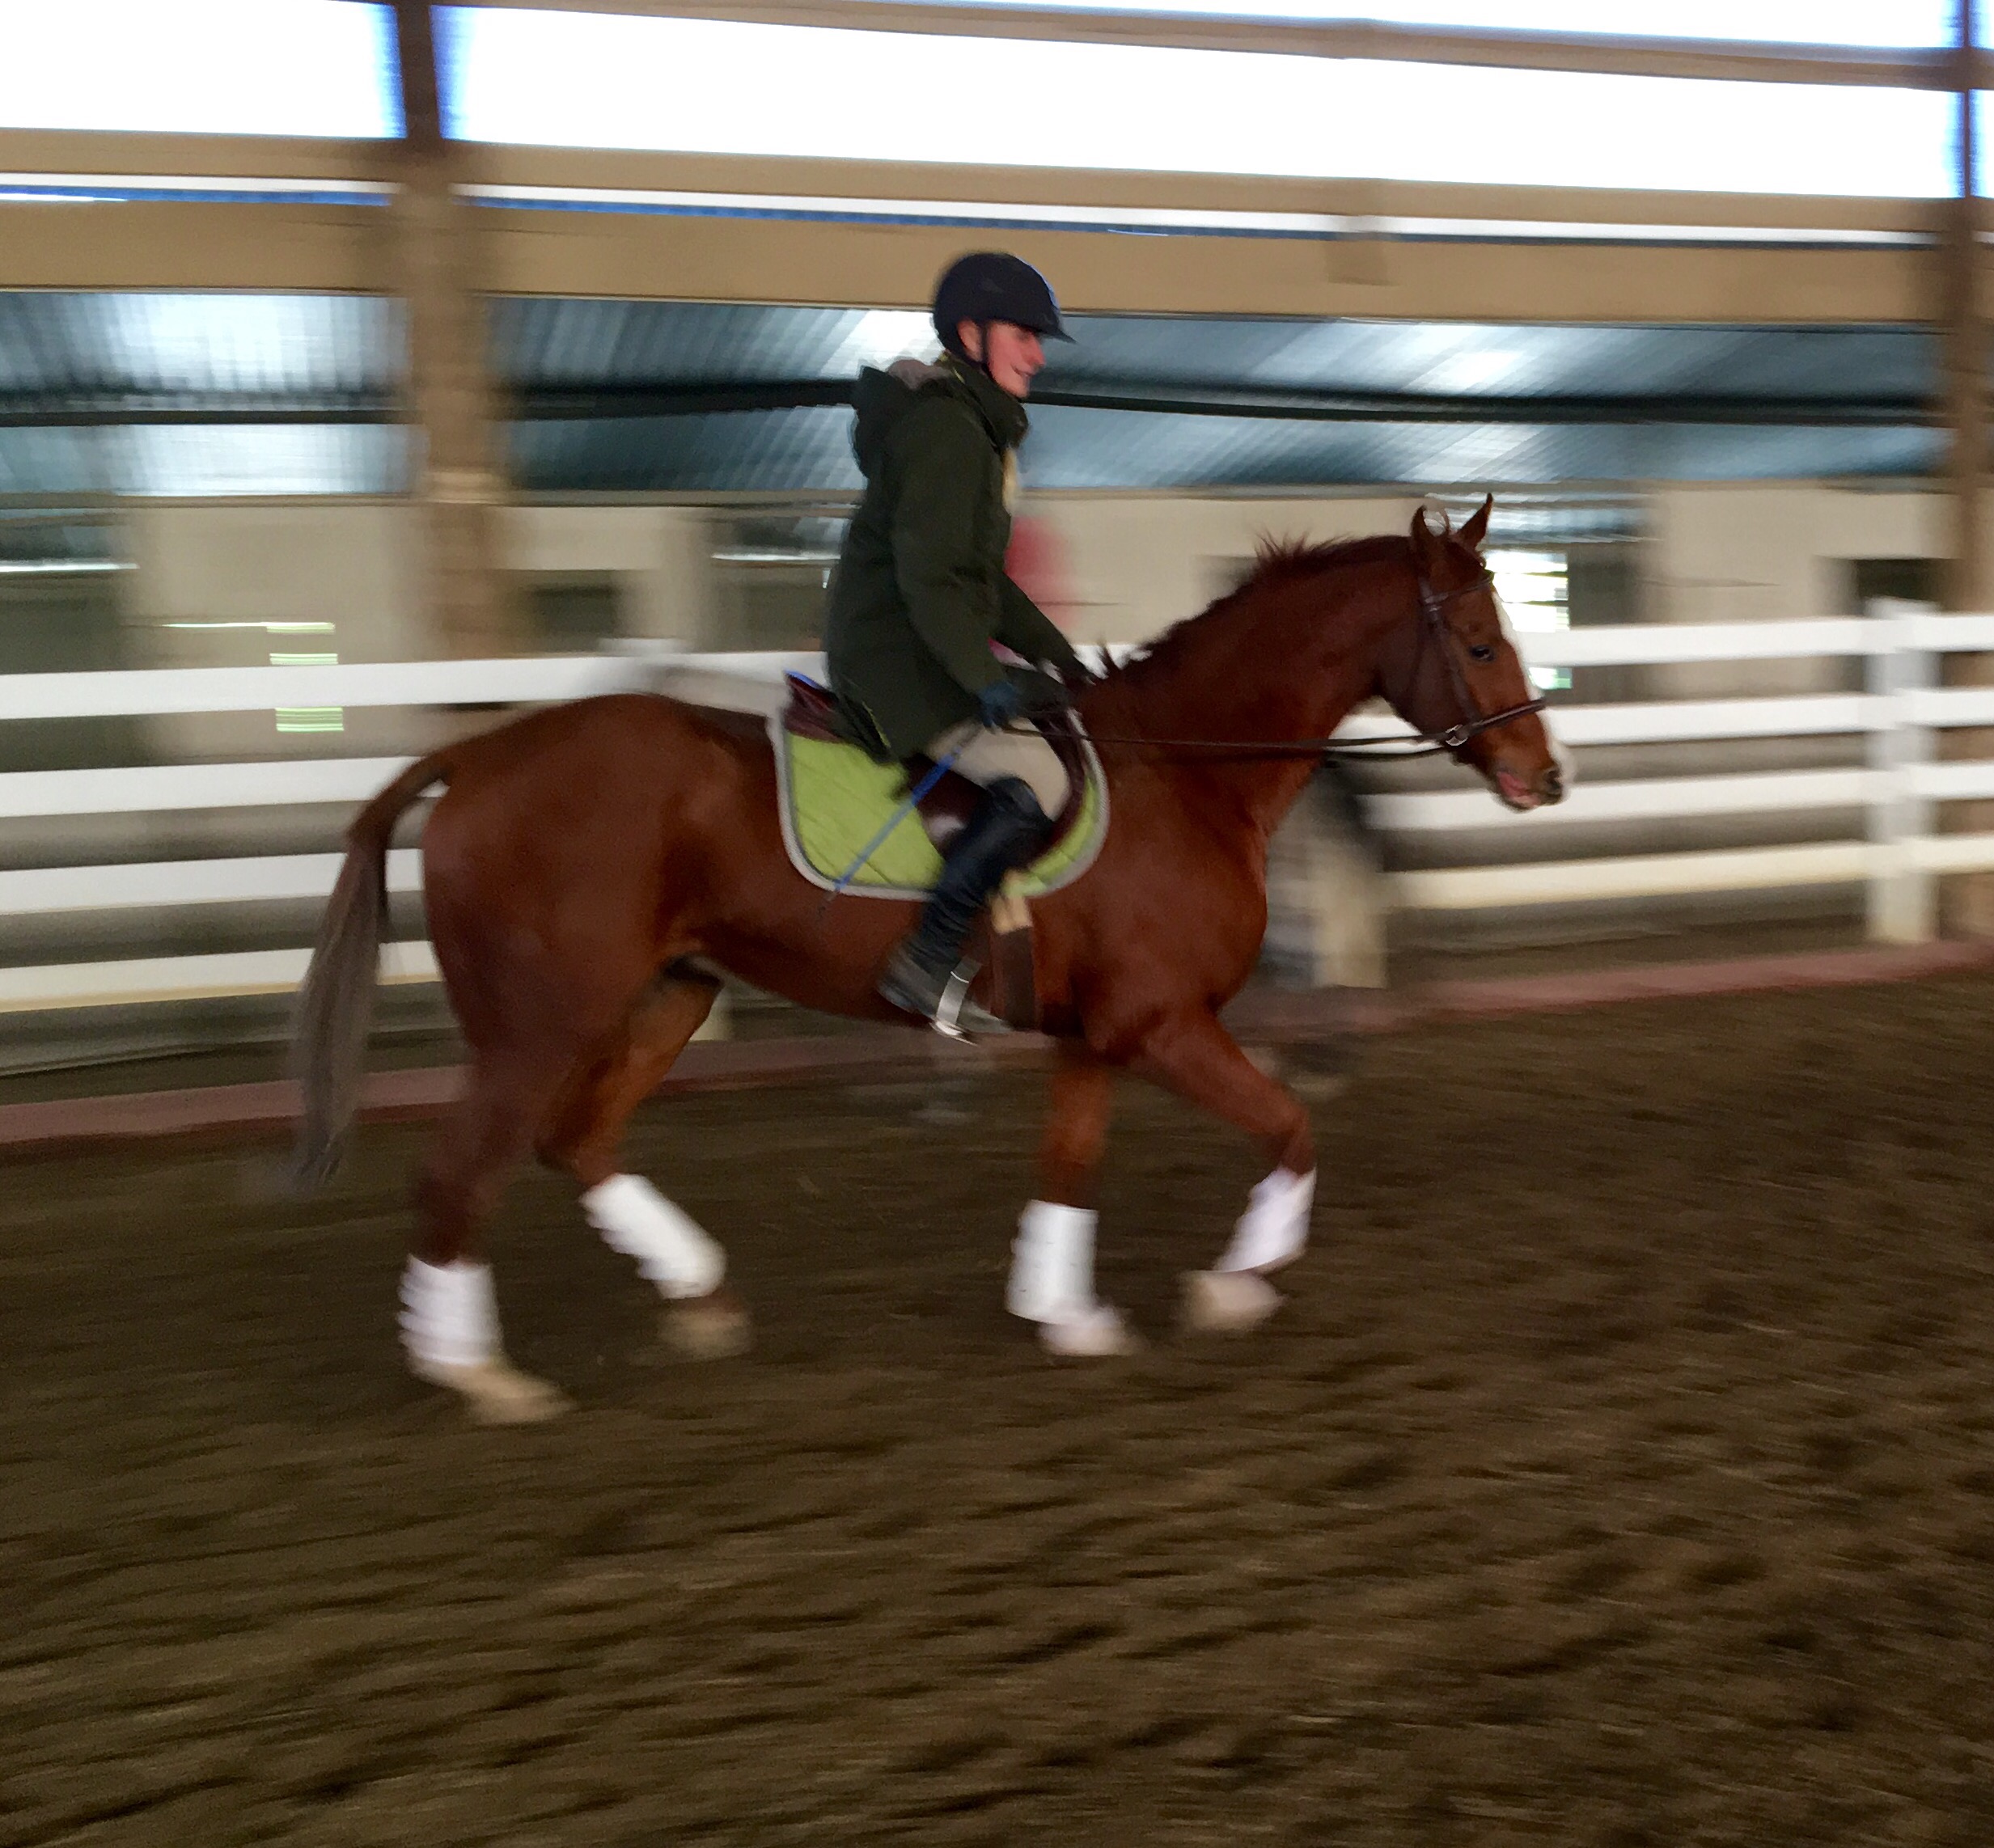
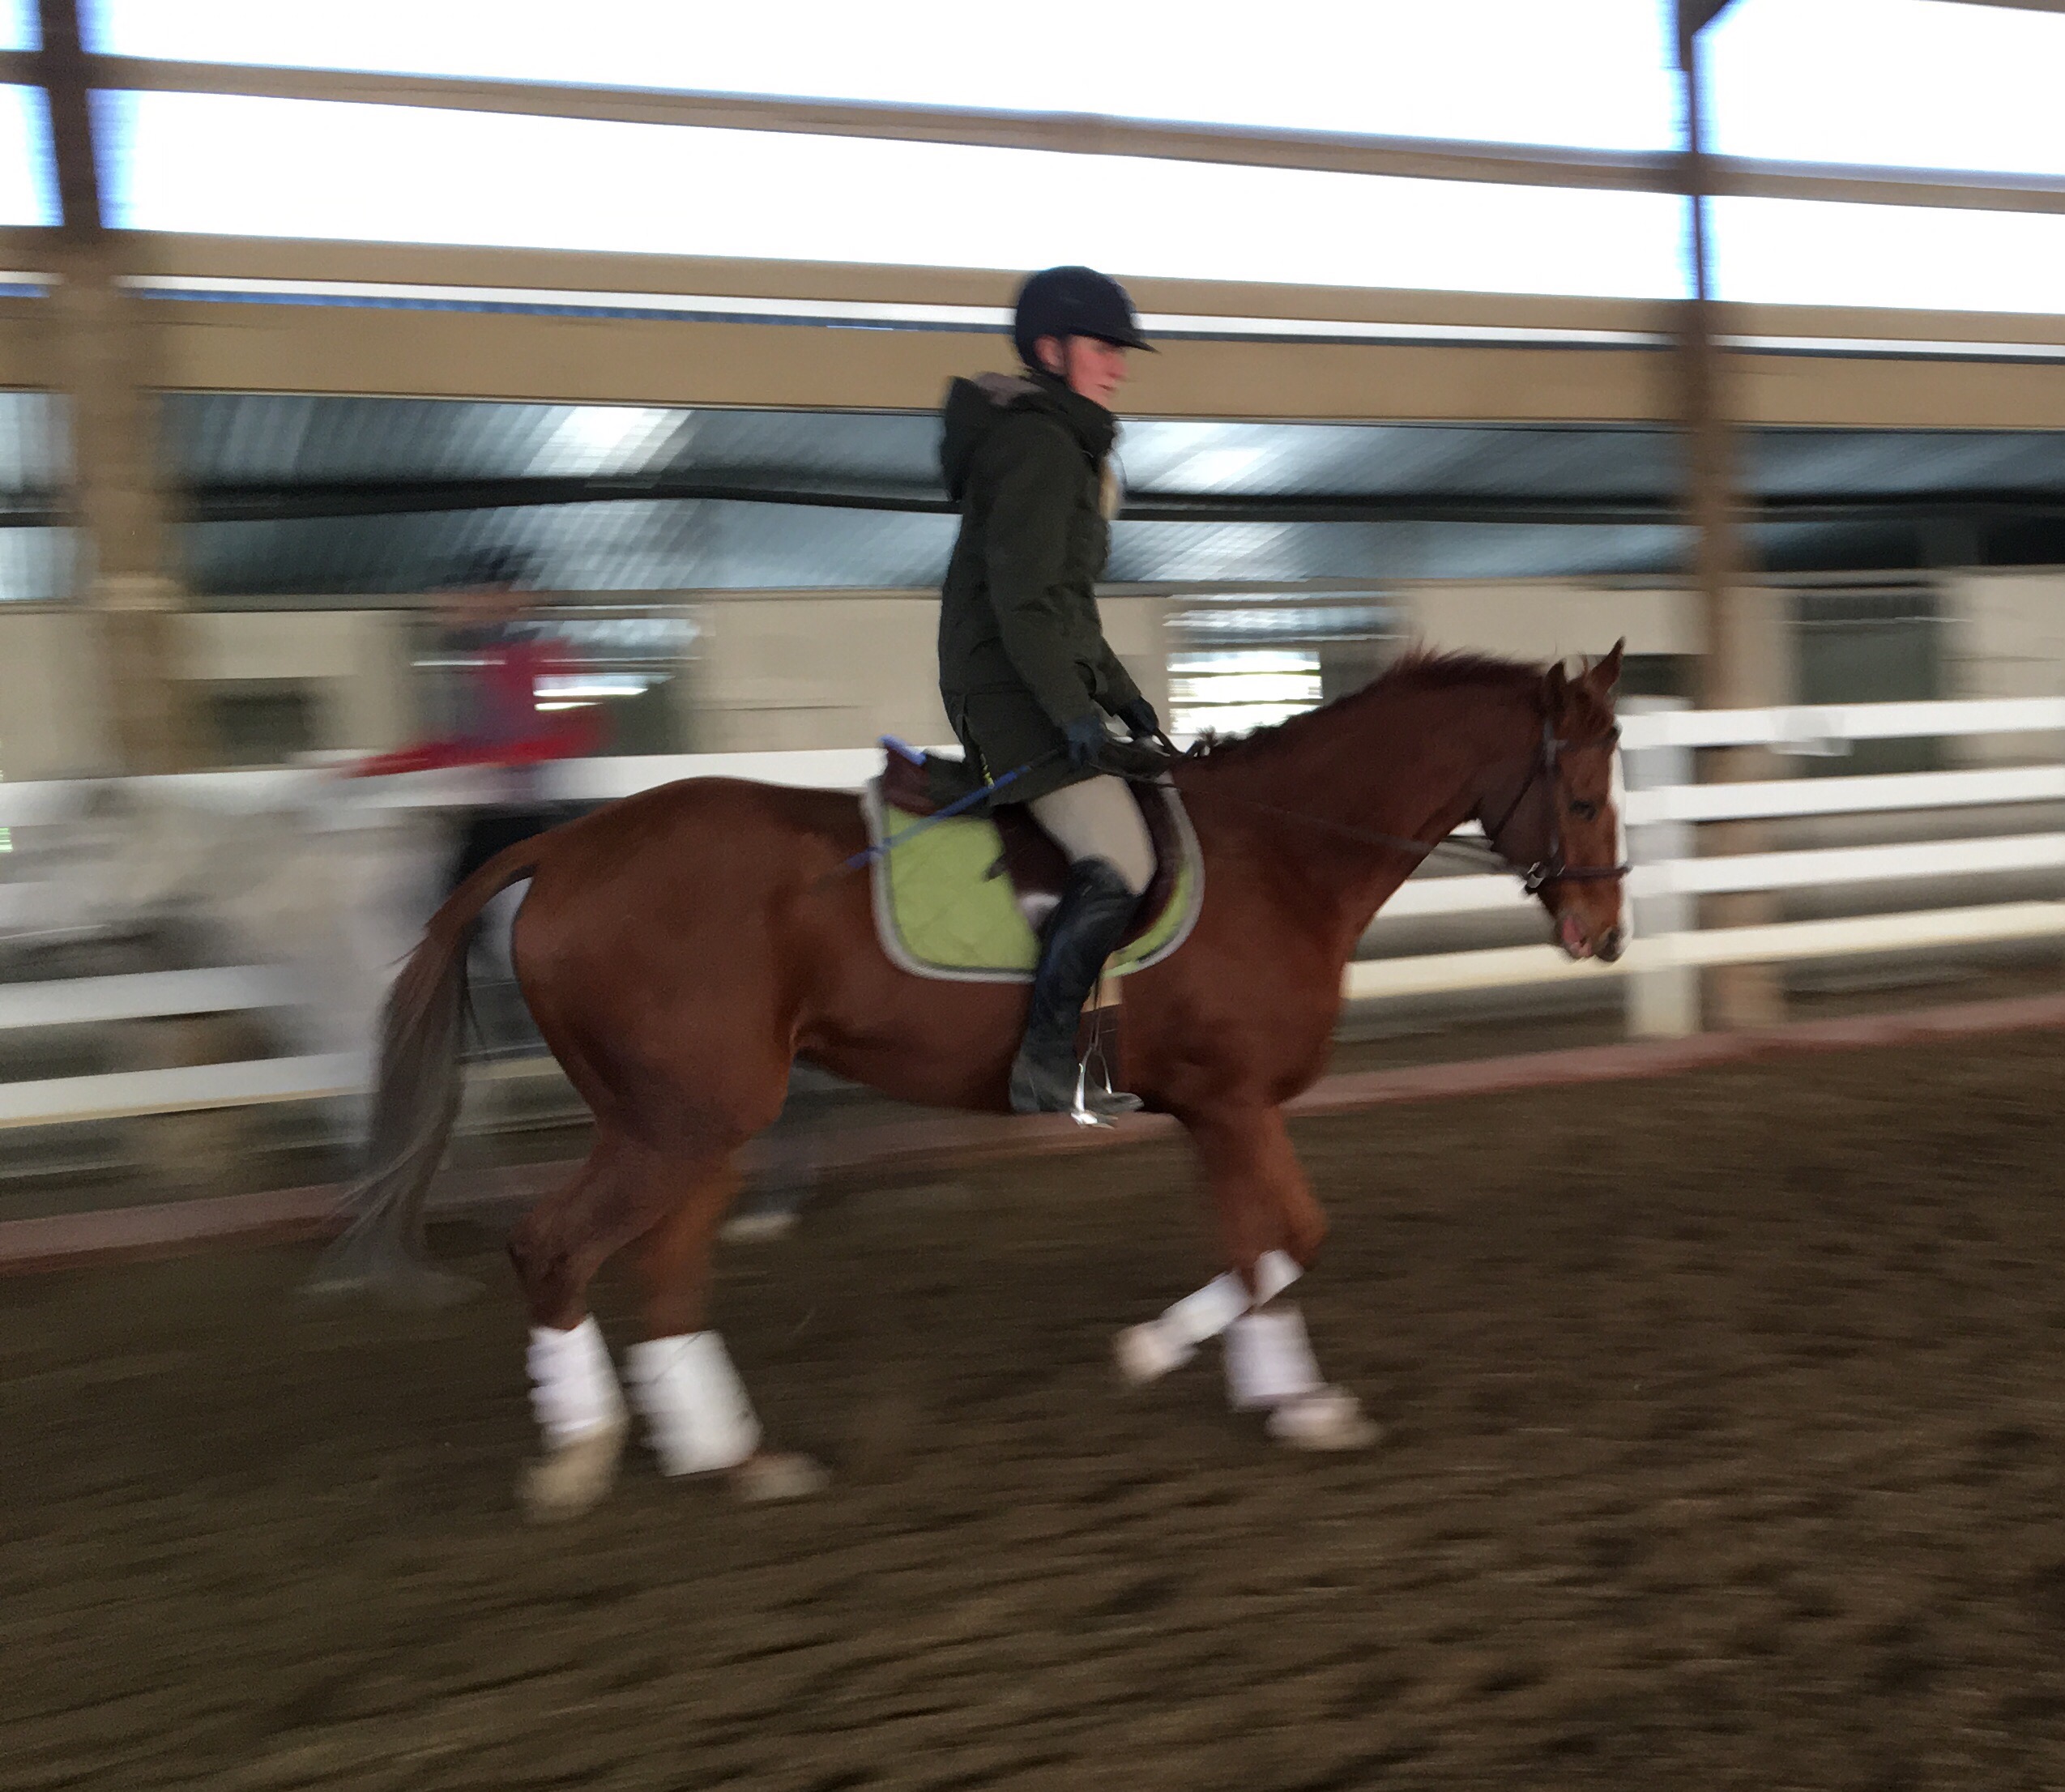
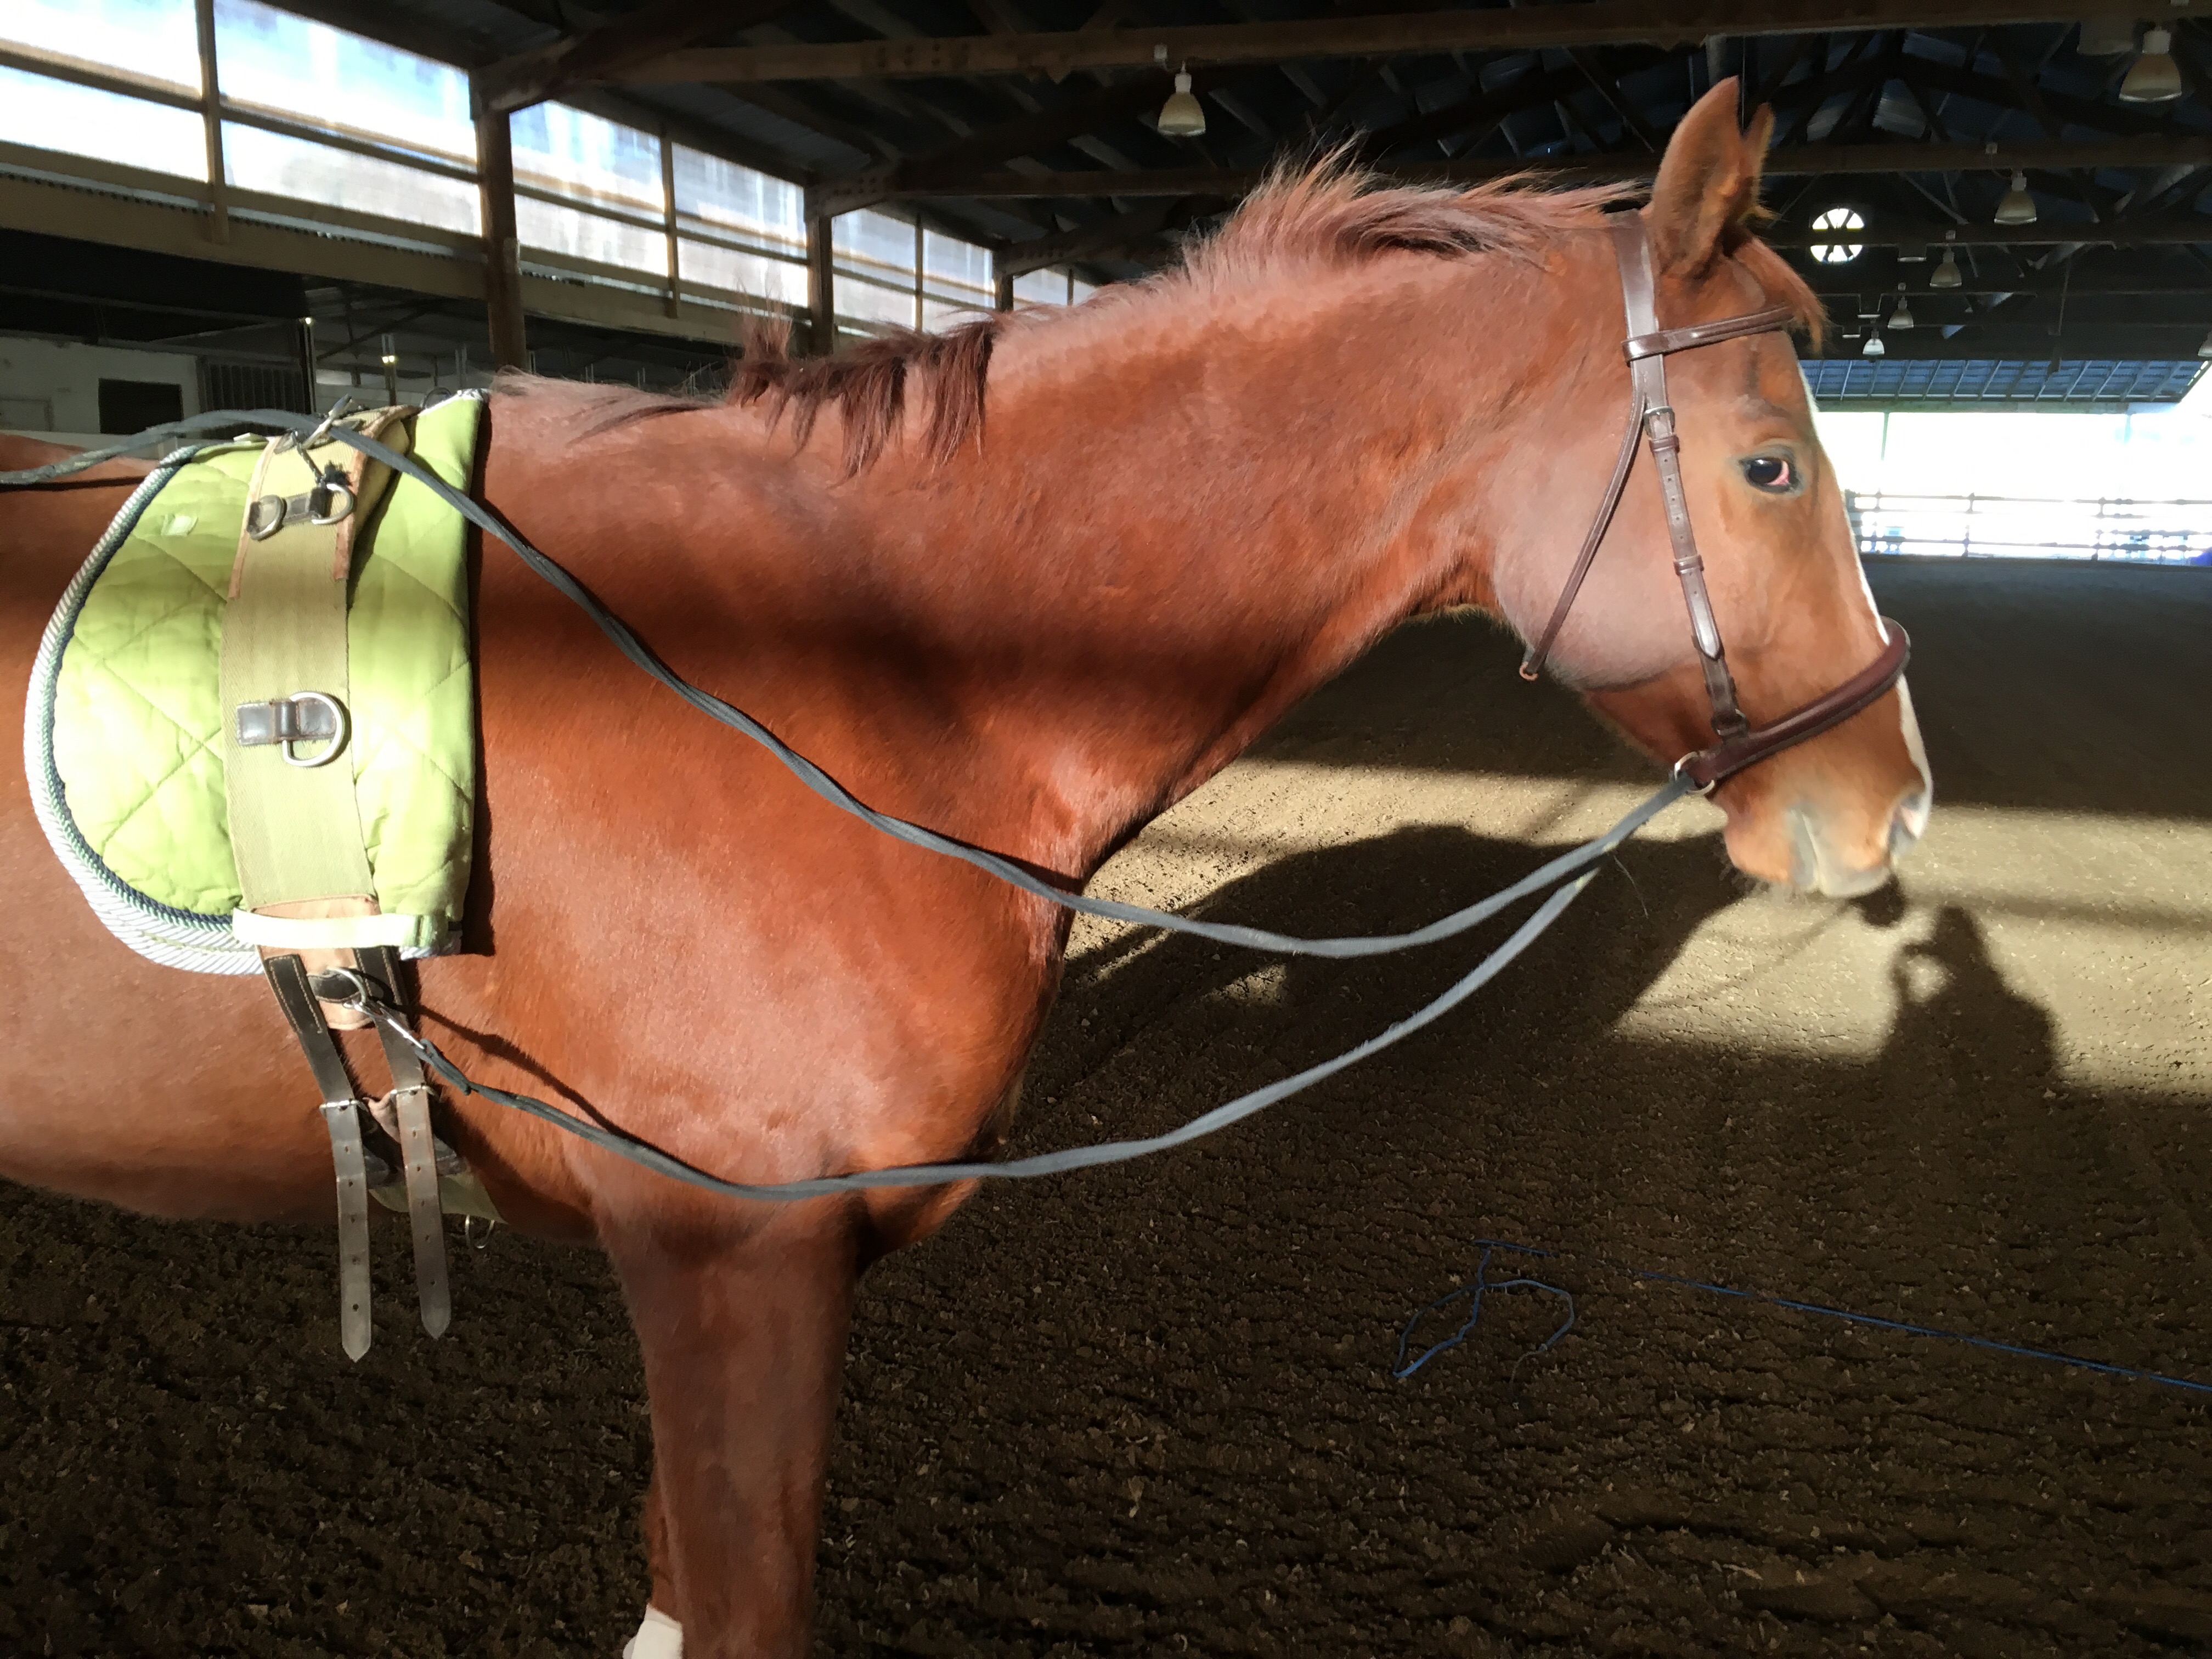
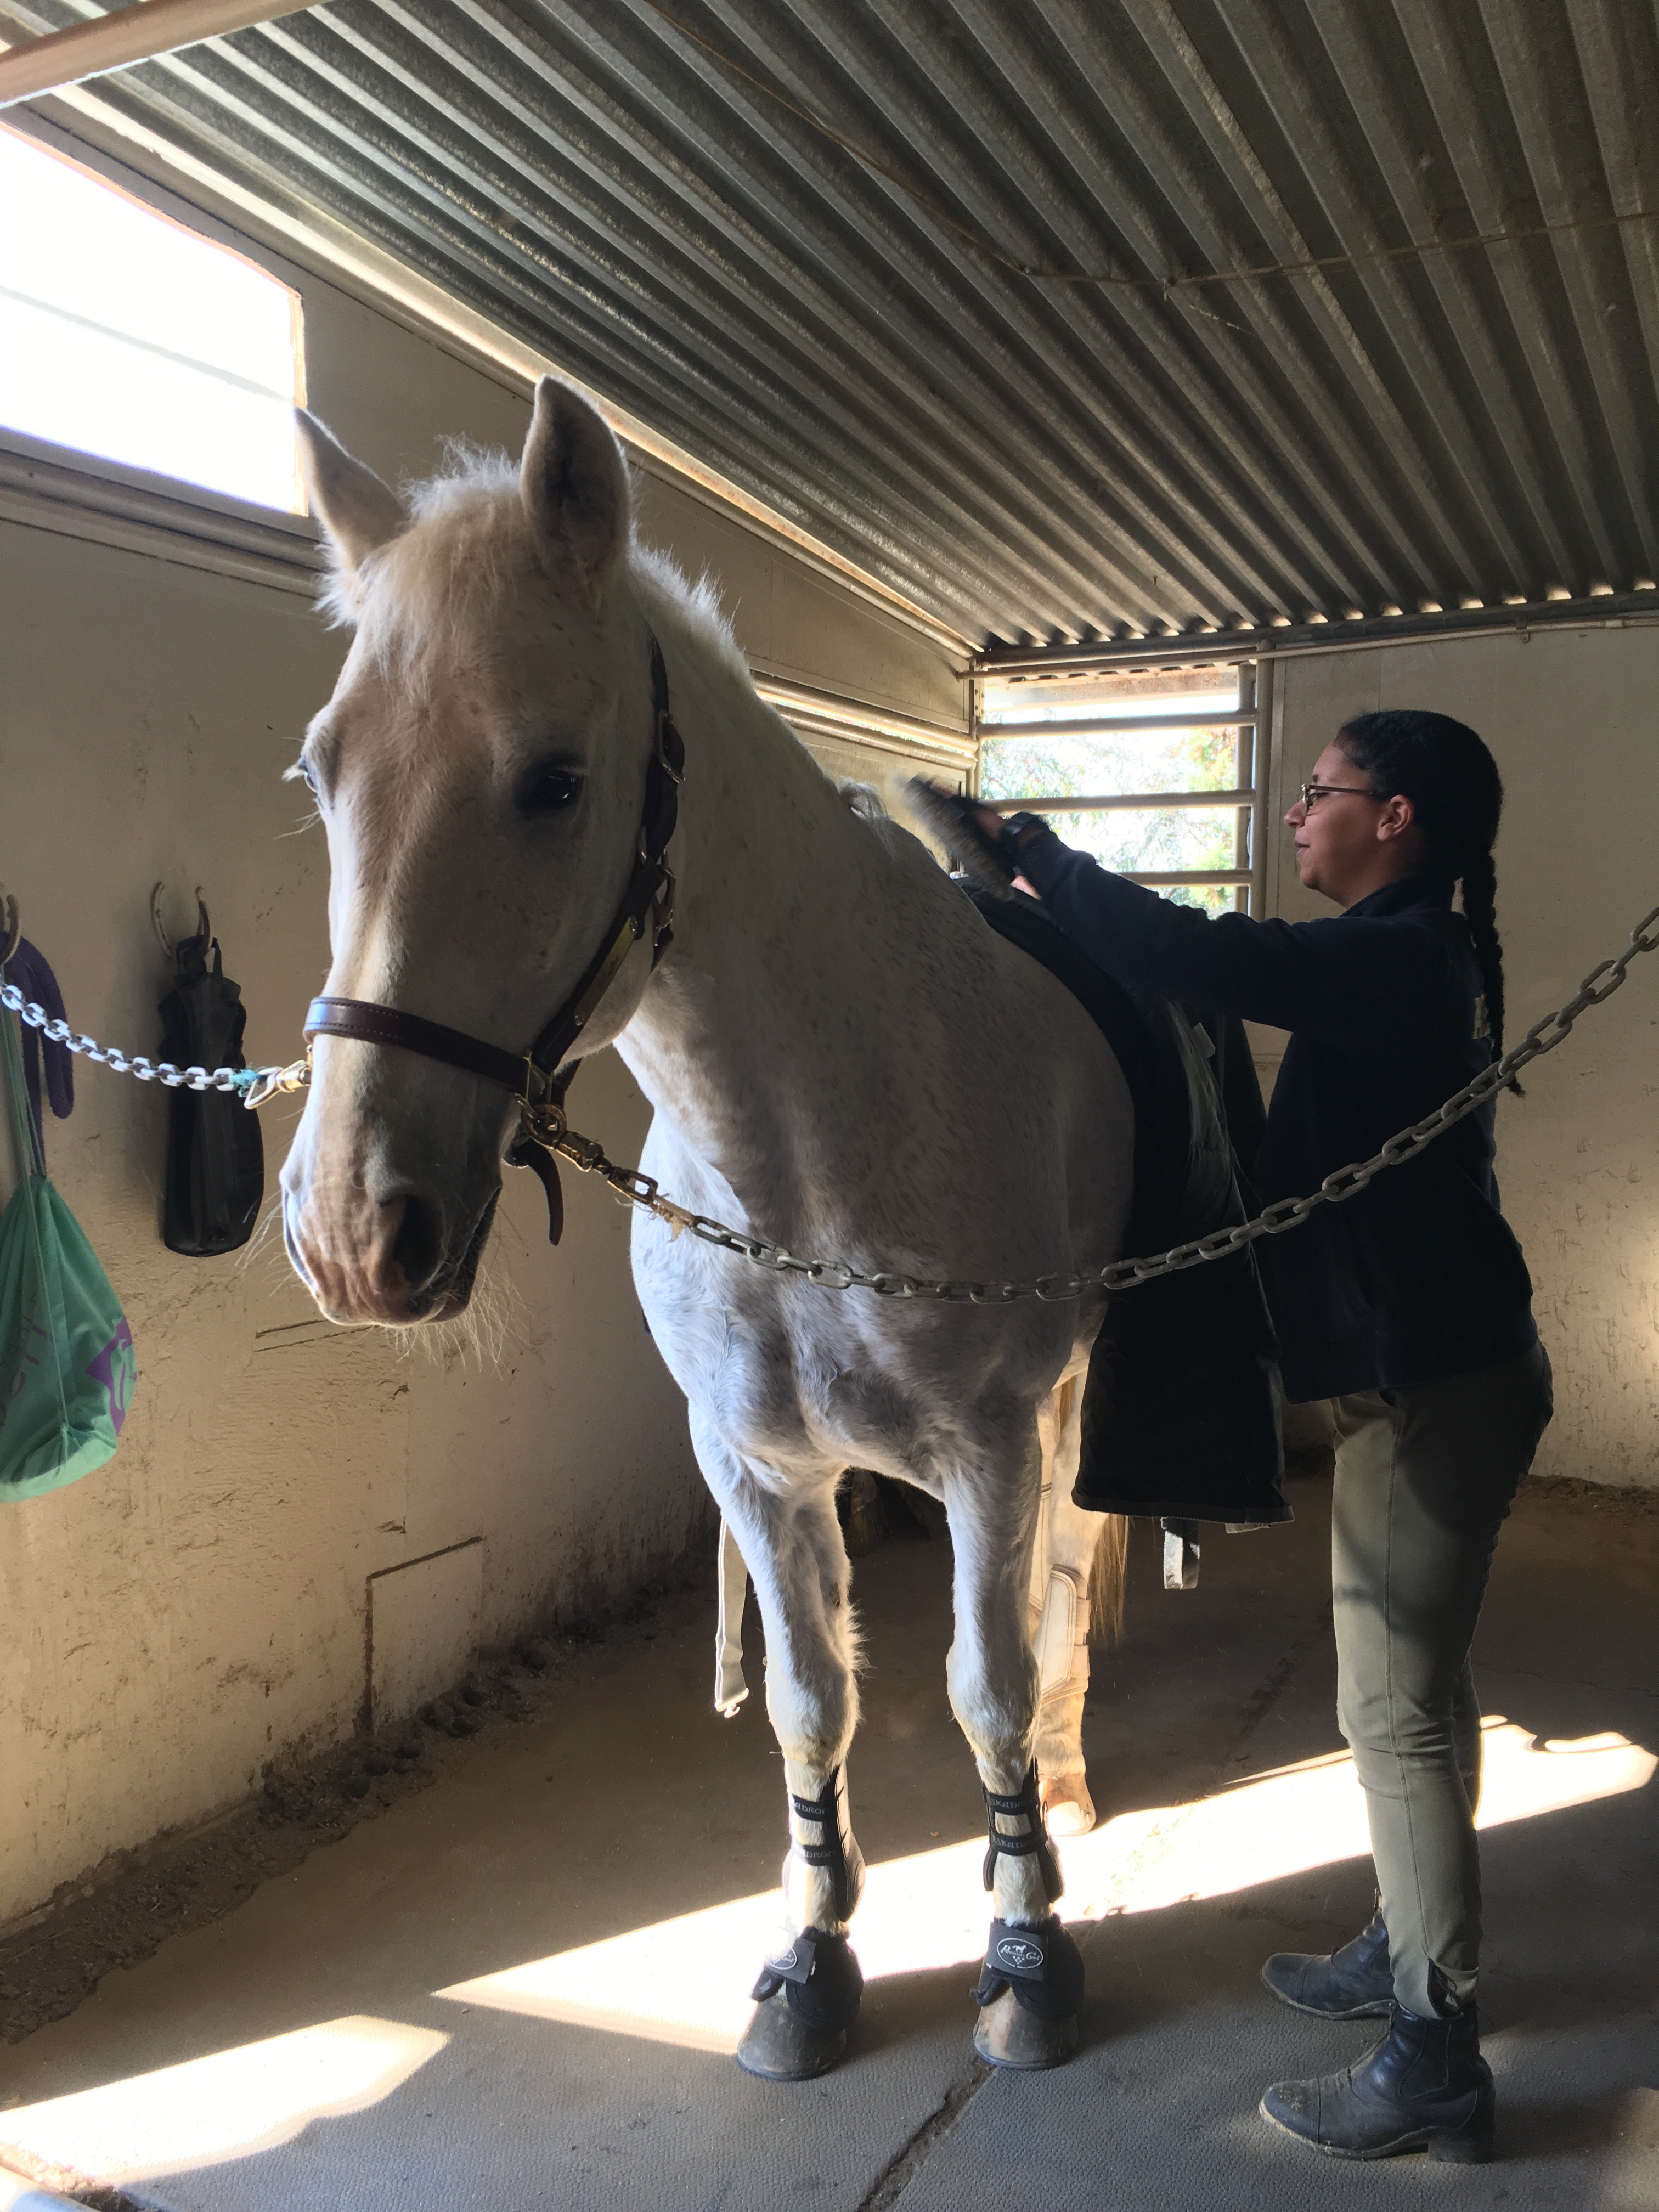
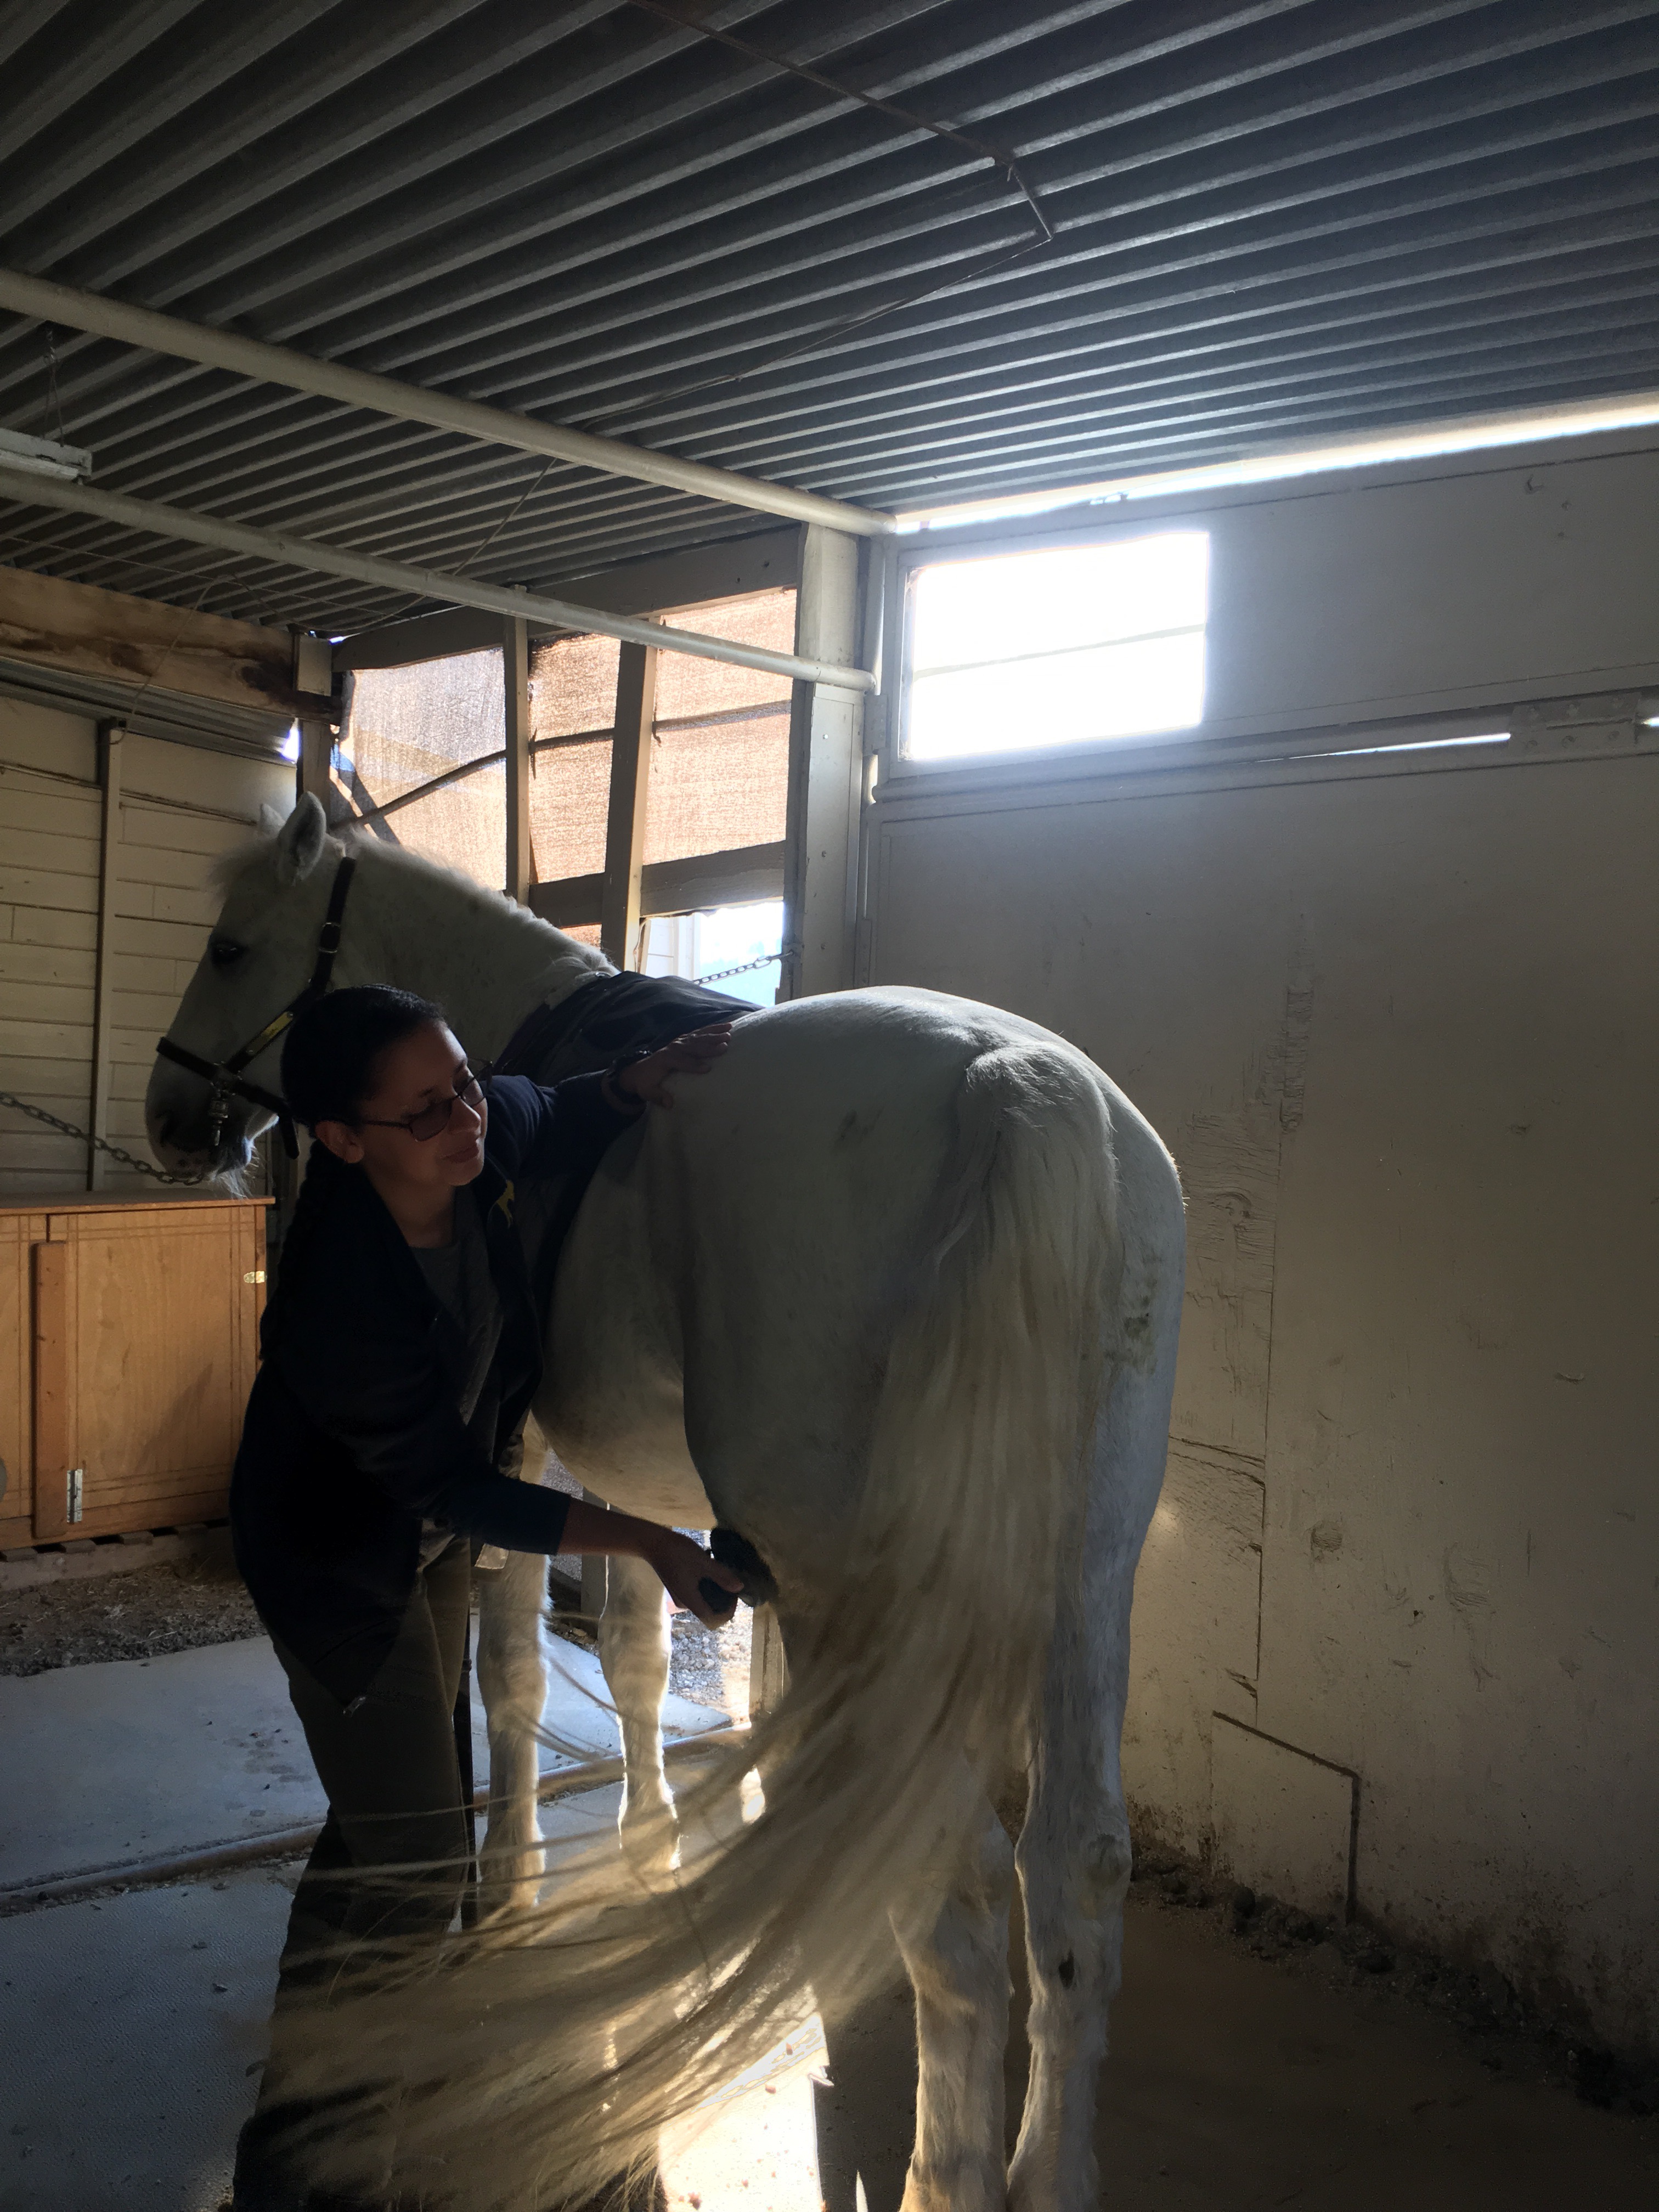
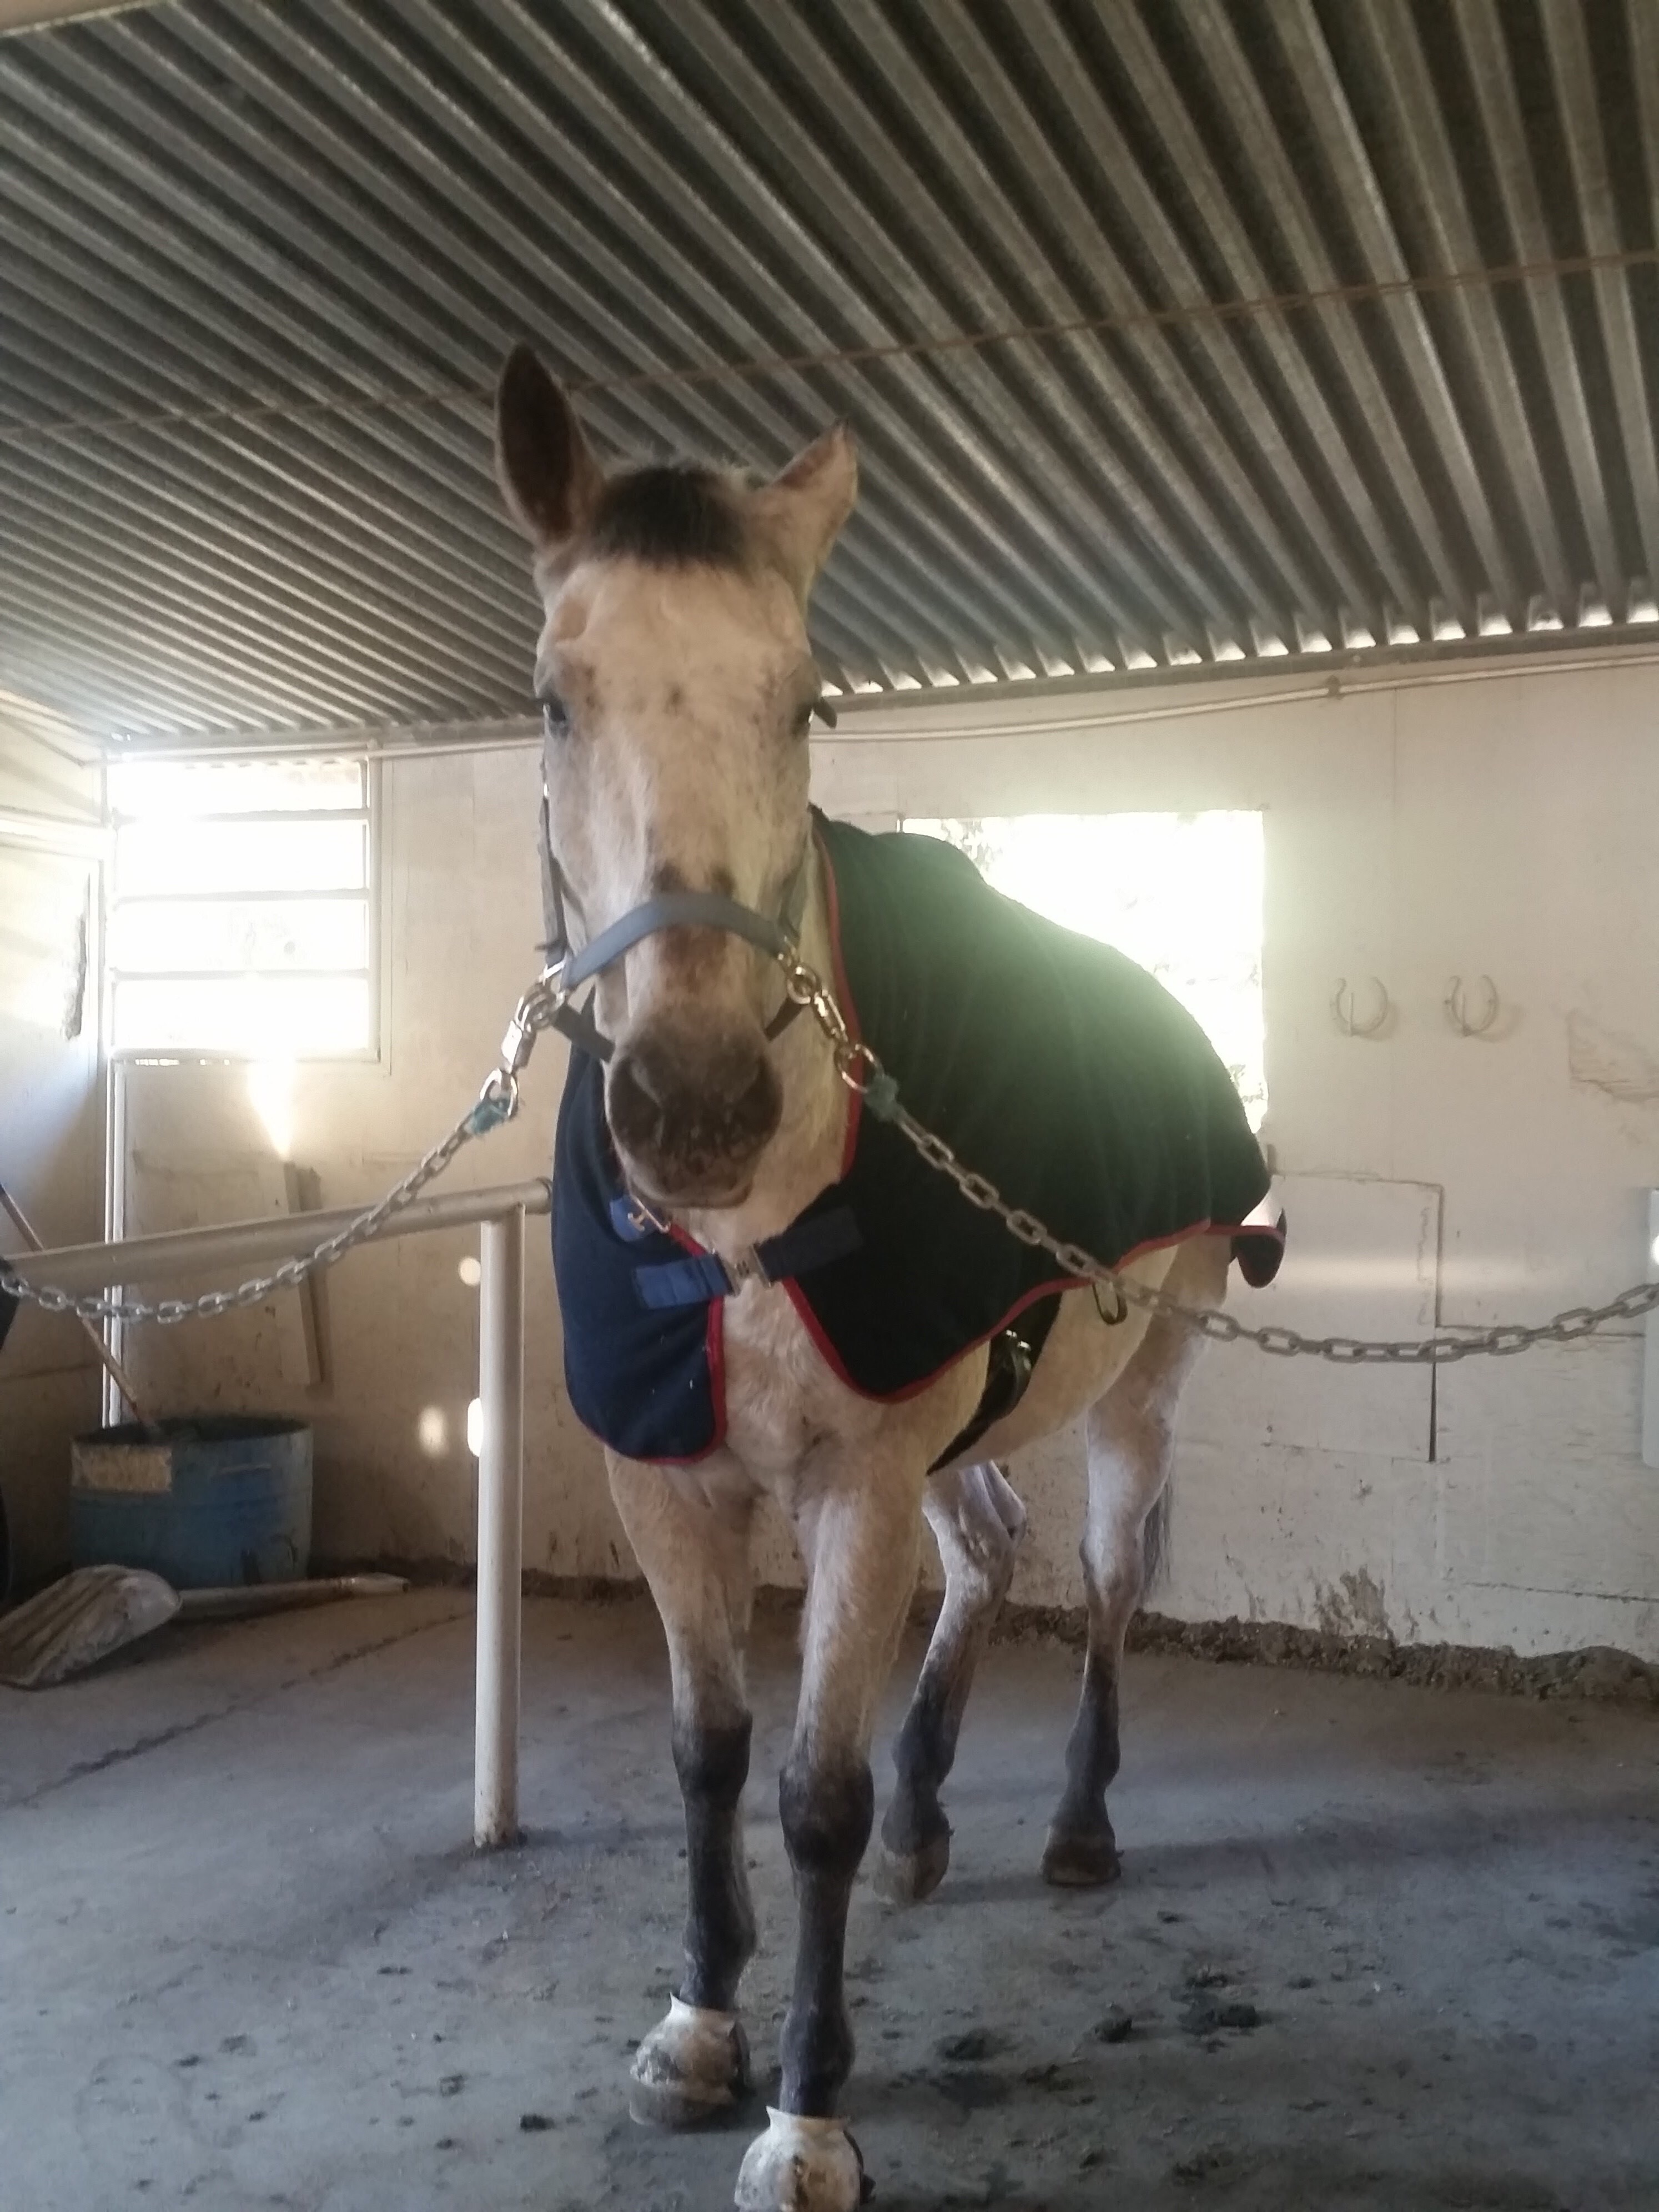
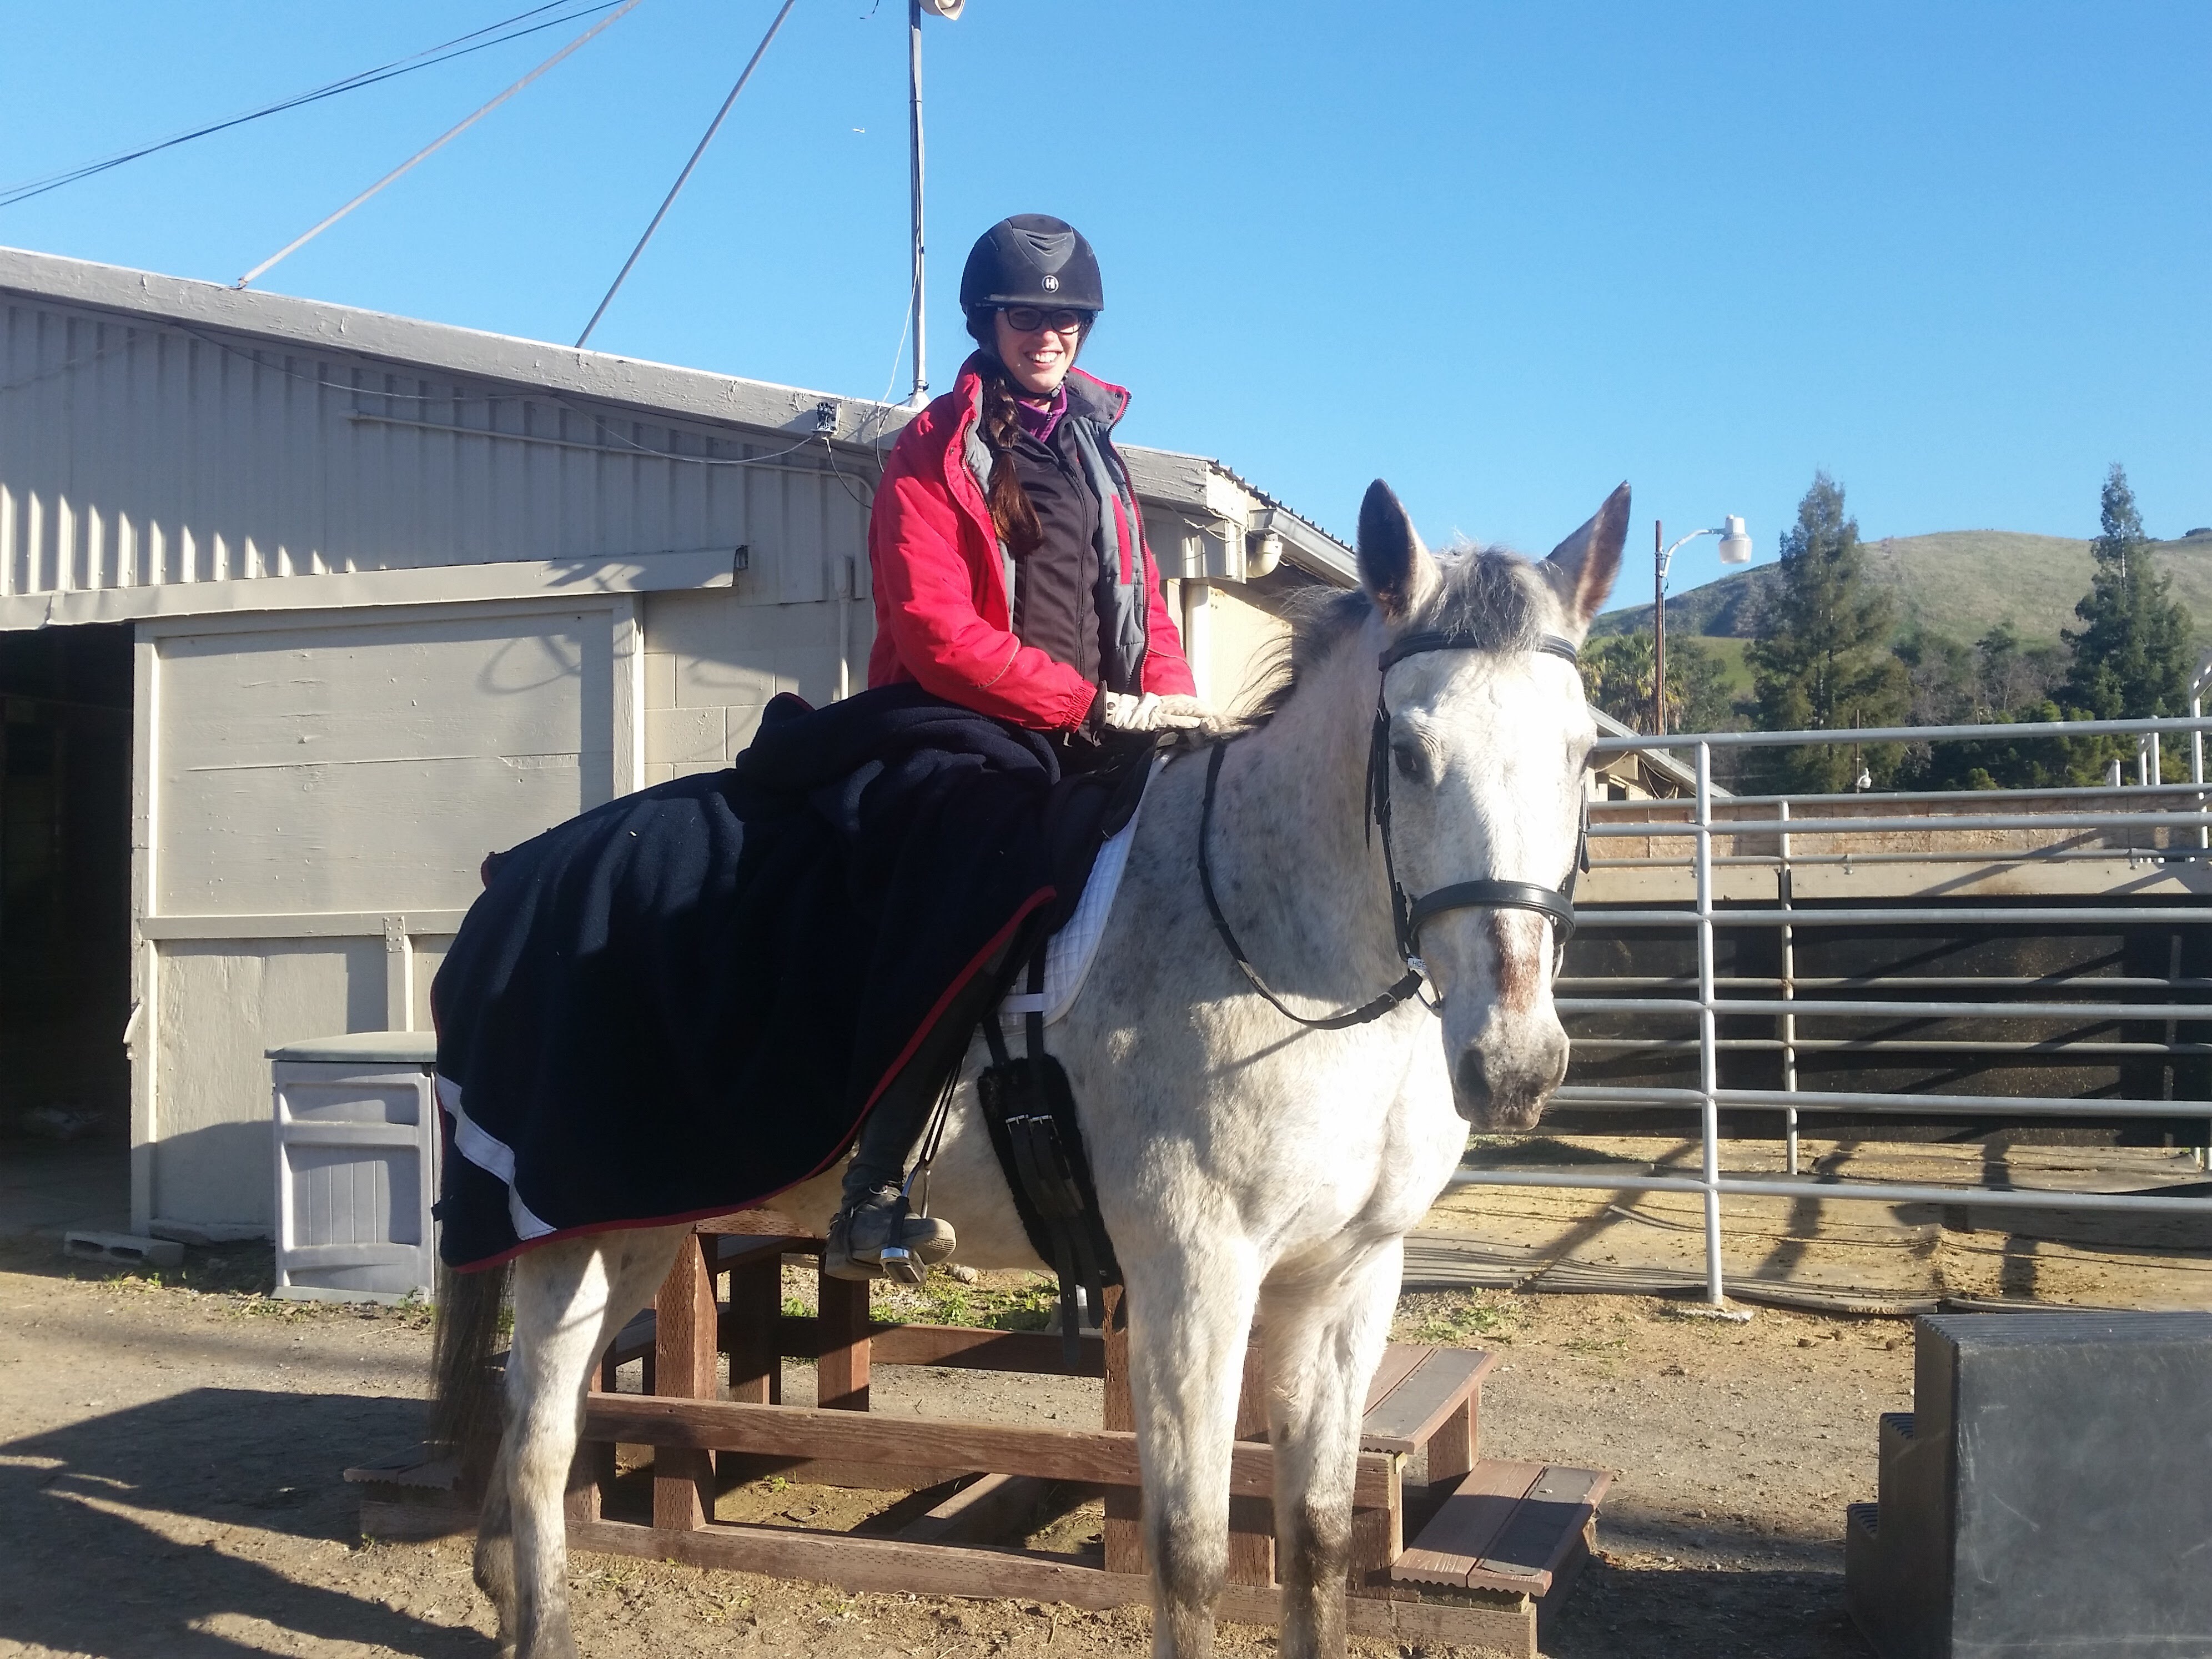
Olympic Blue is one of the thoroughbreds I intend to take to the Thoroughbred Makeover in Kentucky.  He’s now been in part training with me for two and a half months, this is an update on his progress.

The format of the Thoroughbred  Makeover  competition is to take a racehorse and transform it into another kind of horse (trail horse, polo pony, hunter, etc) in less than a year.  This strict timeline encourages training short cuts just like futurities tend to do.  However, I’m more concerned with Blue’s long term training than I am about going to Kentucky, so I’m going slow and trying not to leave any holes in his basics.

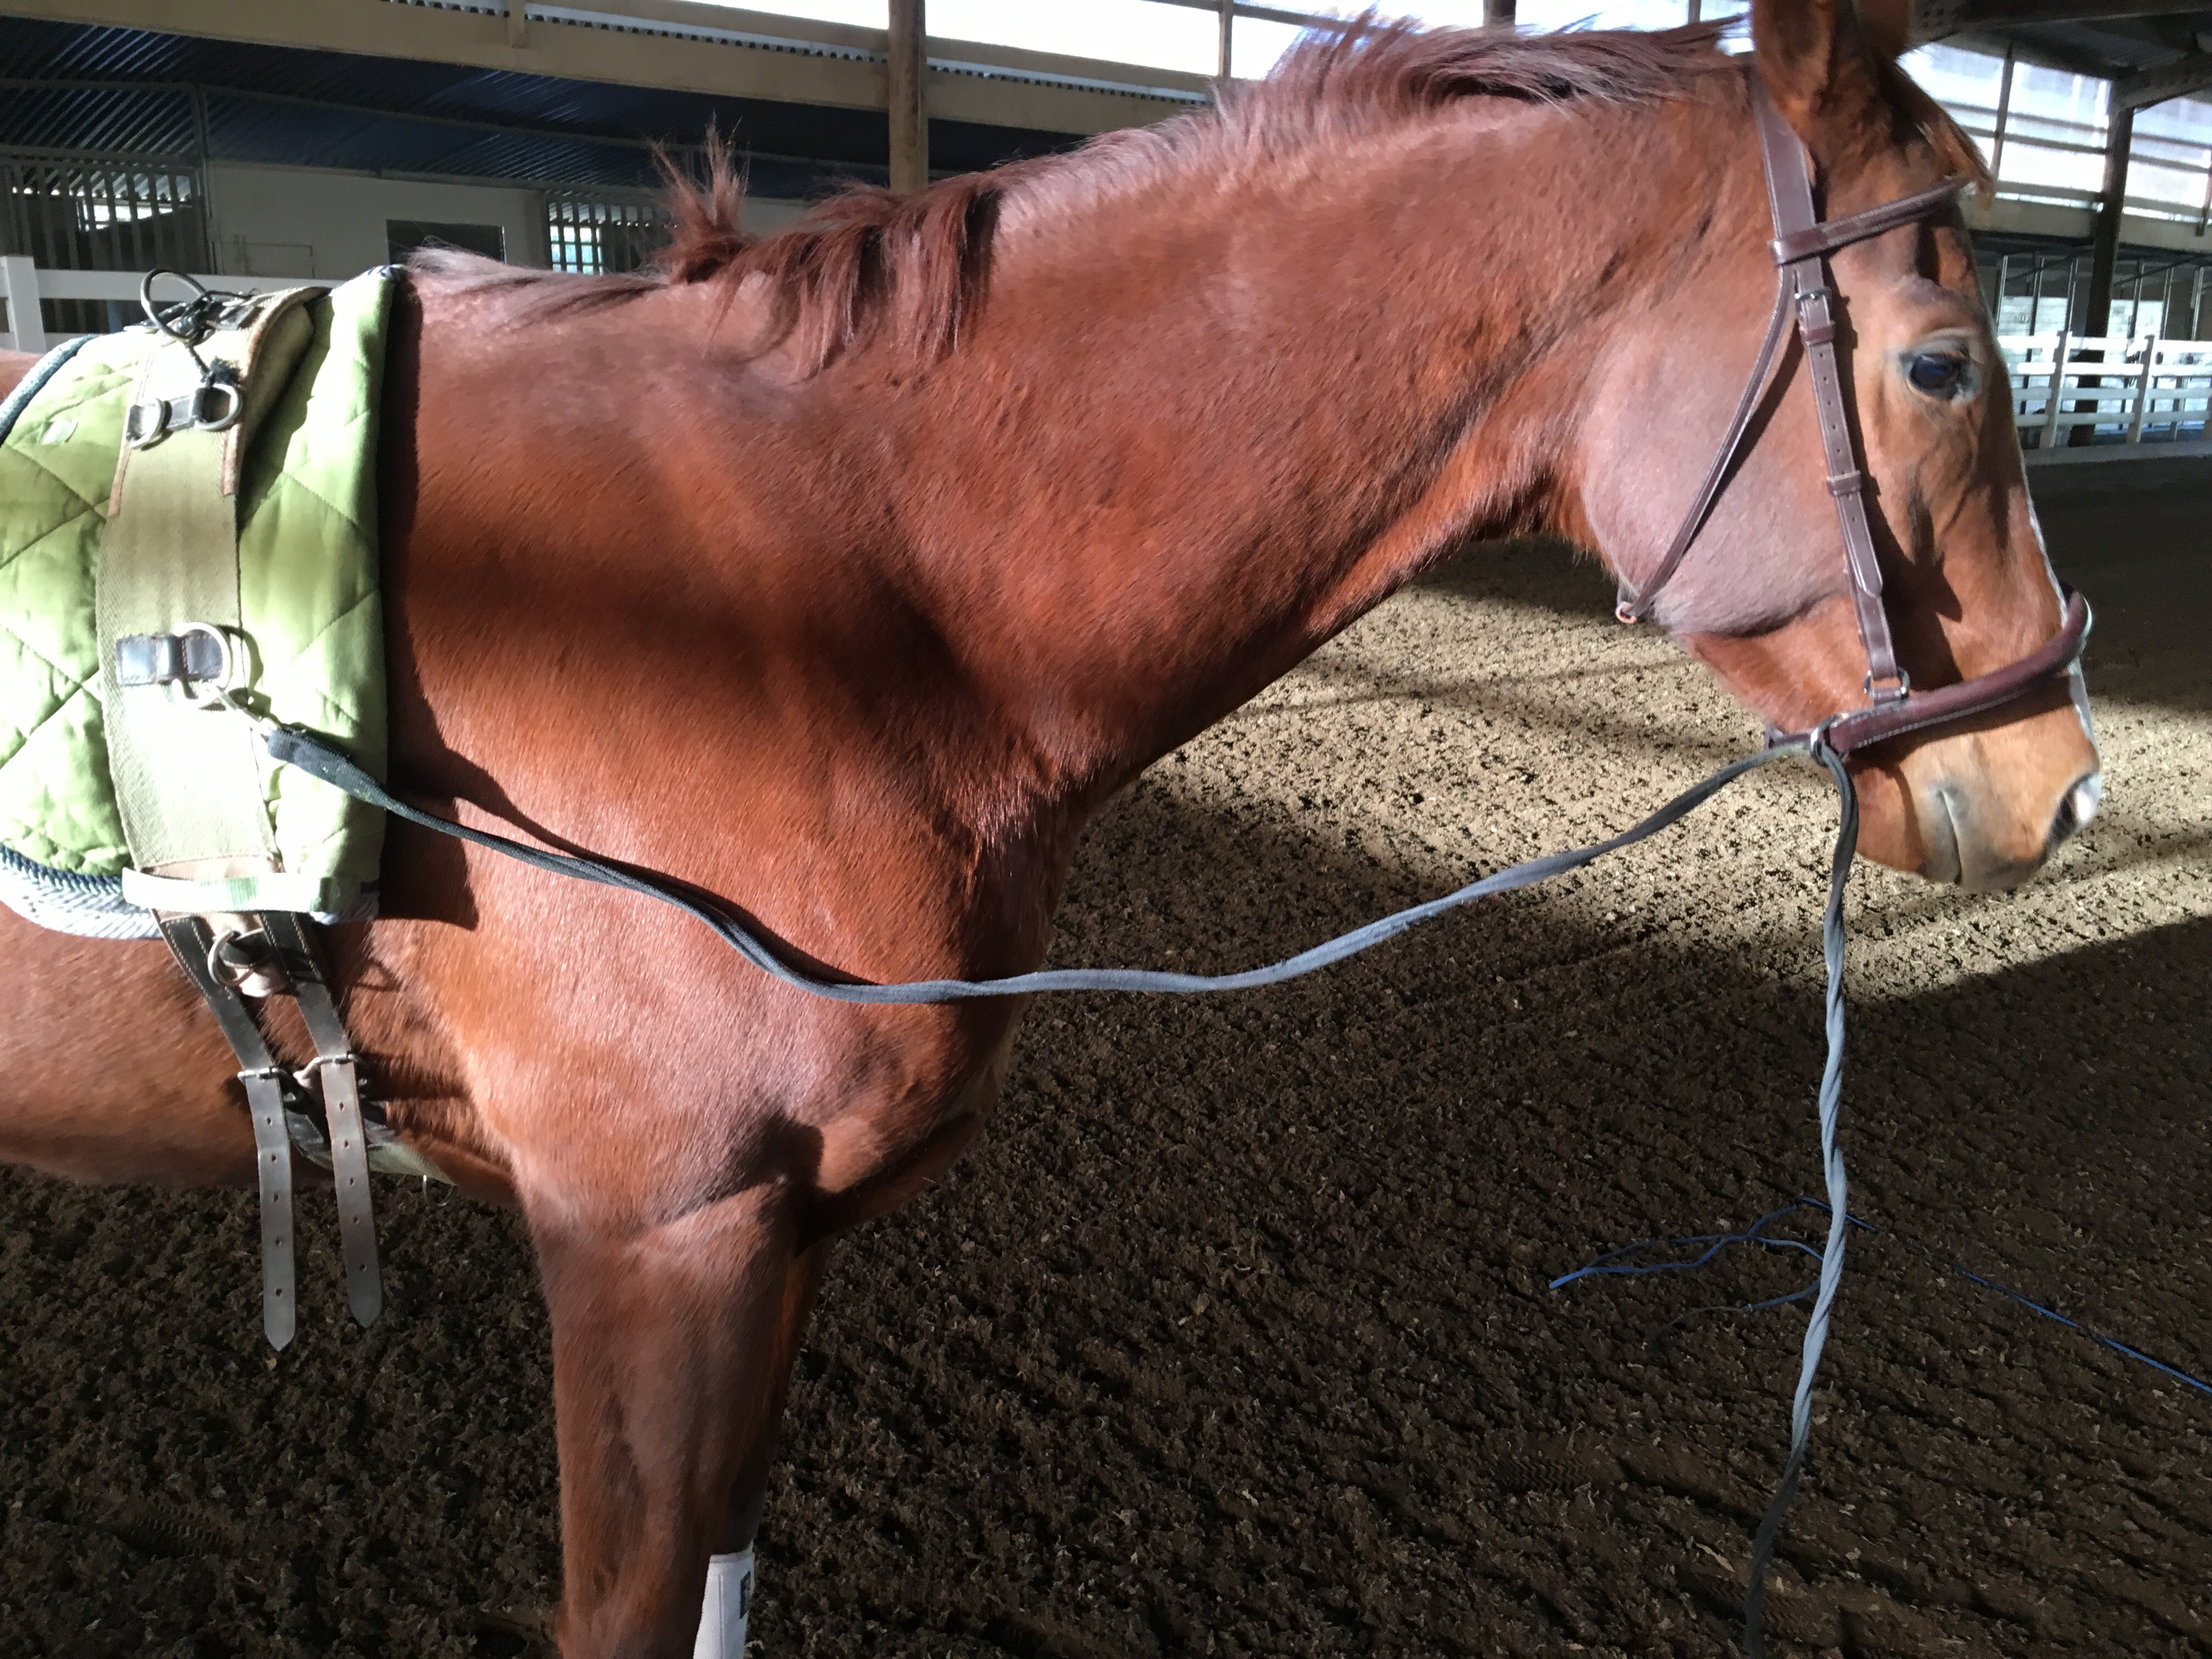
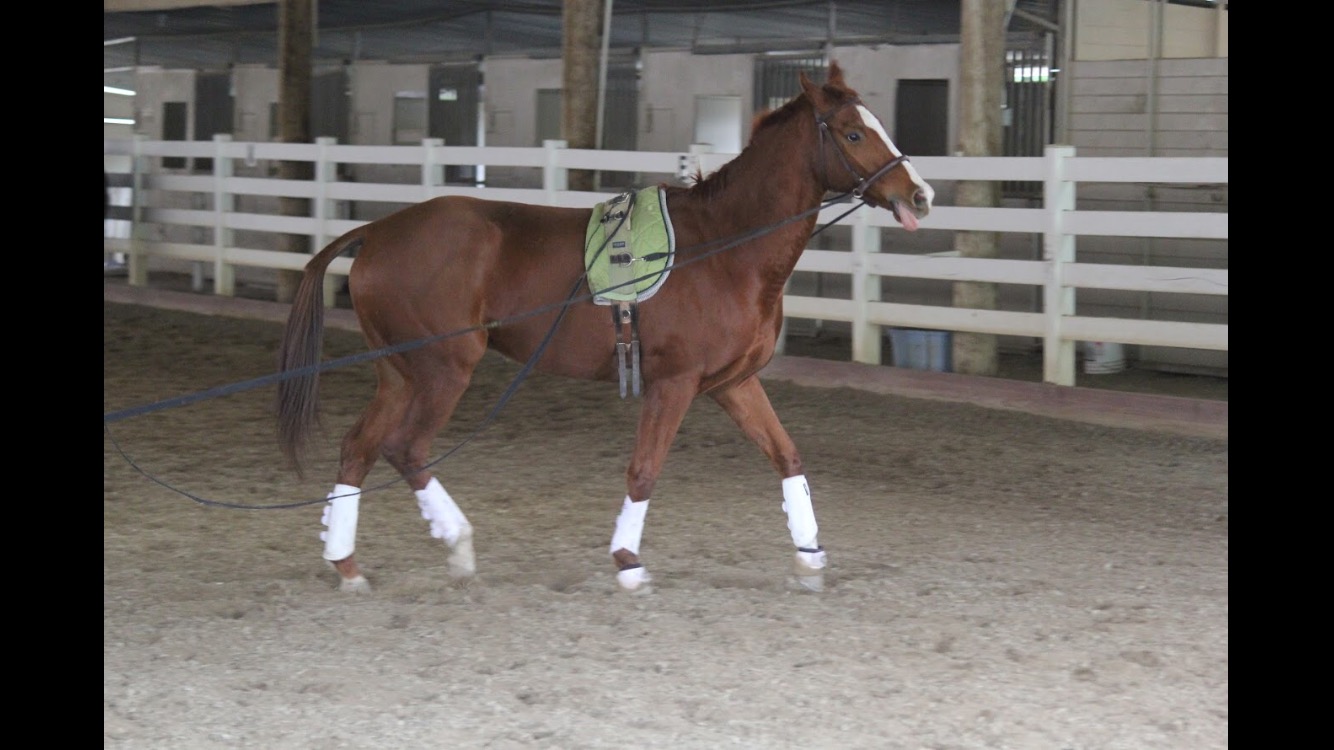
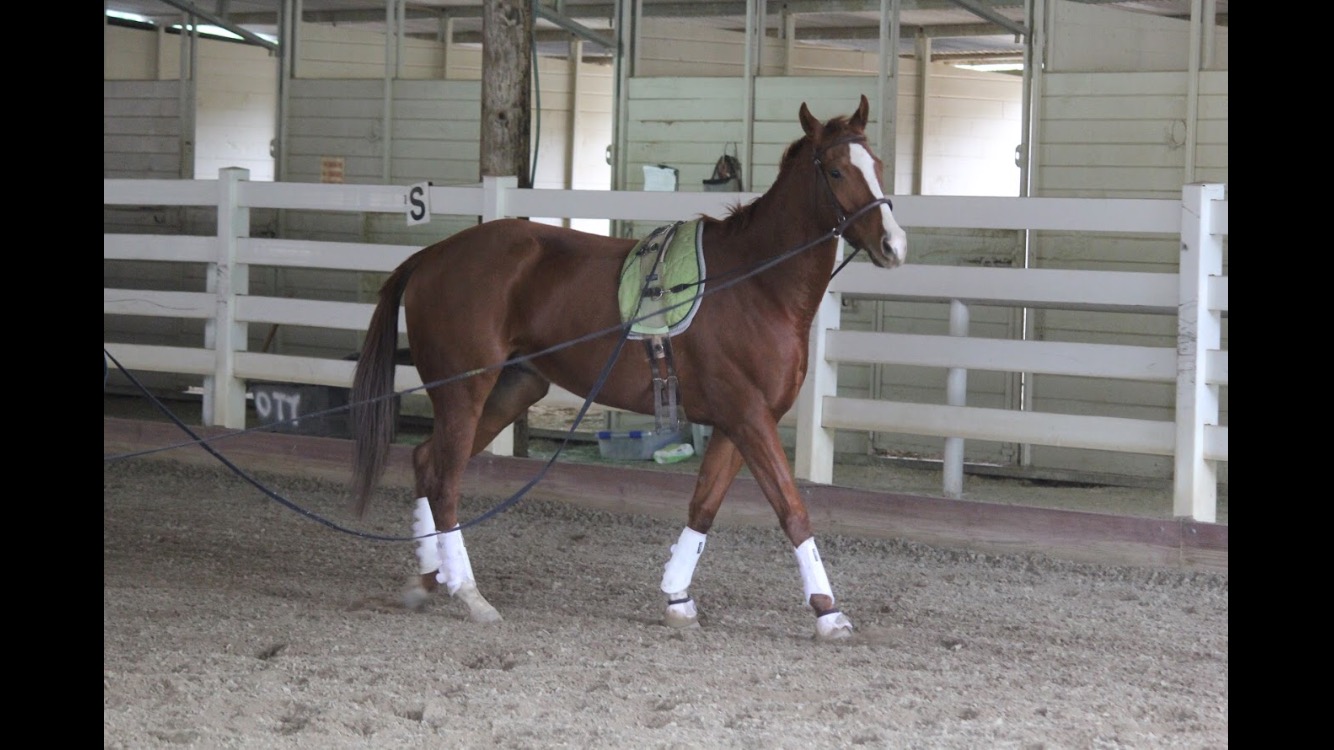
Blue’s groundwork has improved, he can now easily yield his hindquarters, shoulders, and barrel in the walk.  He can do most of these yields on the line in the trot too.  This work is lightening him in my hand, as he habitually keeps a strong and steady pressure on the line.  The canter is still more problematic, and while he can canter a circle on the line now, he can’t hold a lead yet.

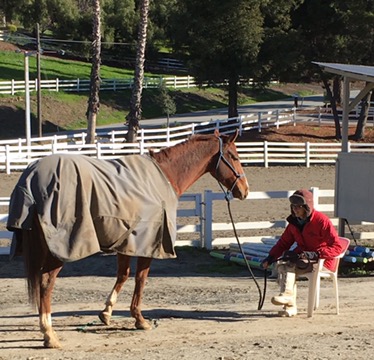
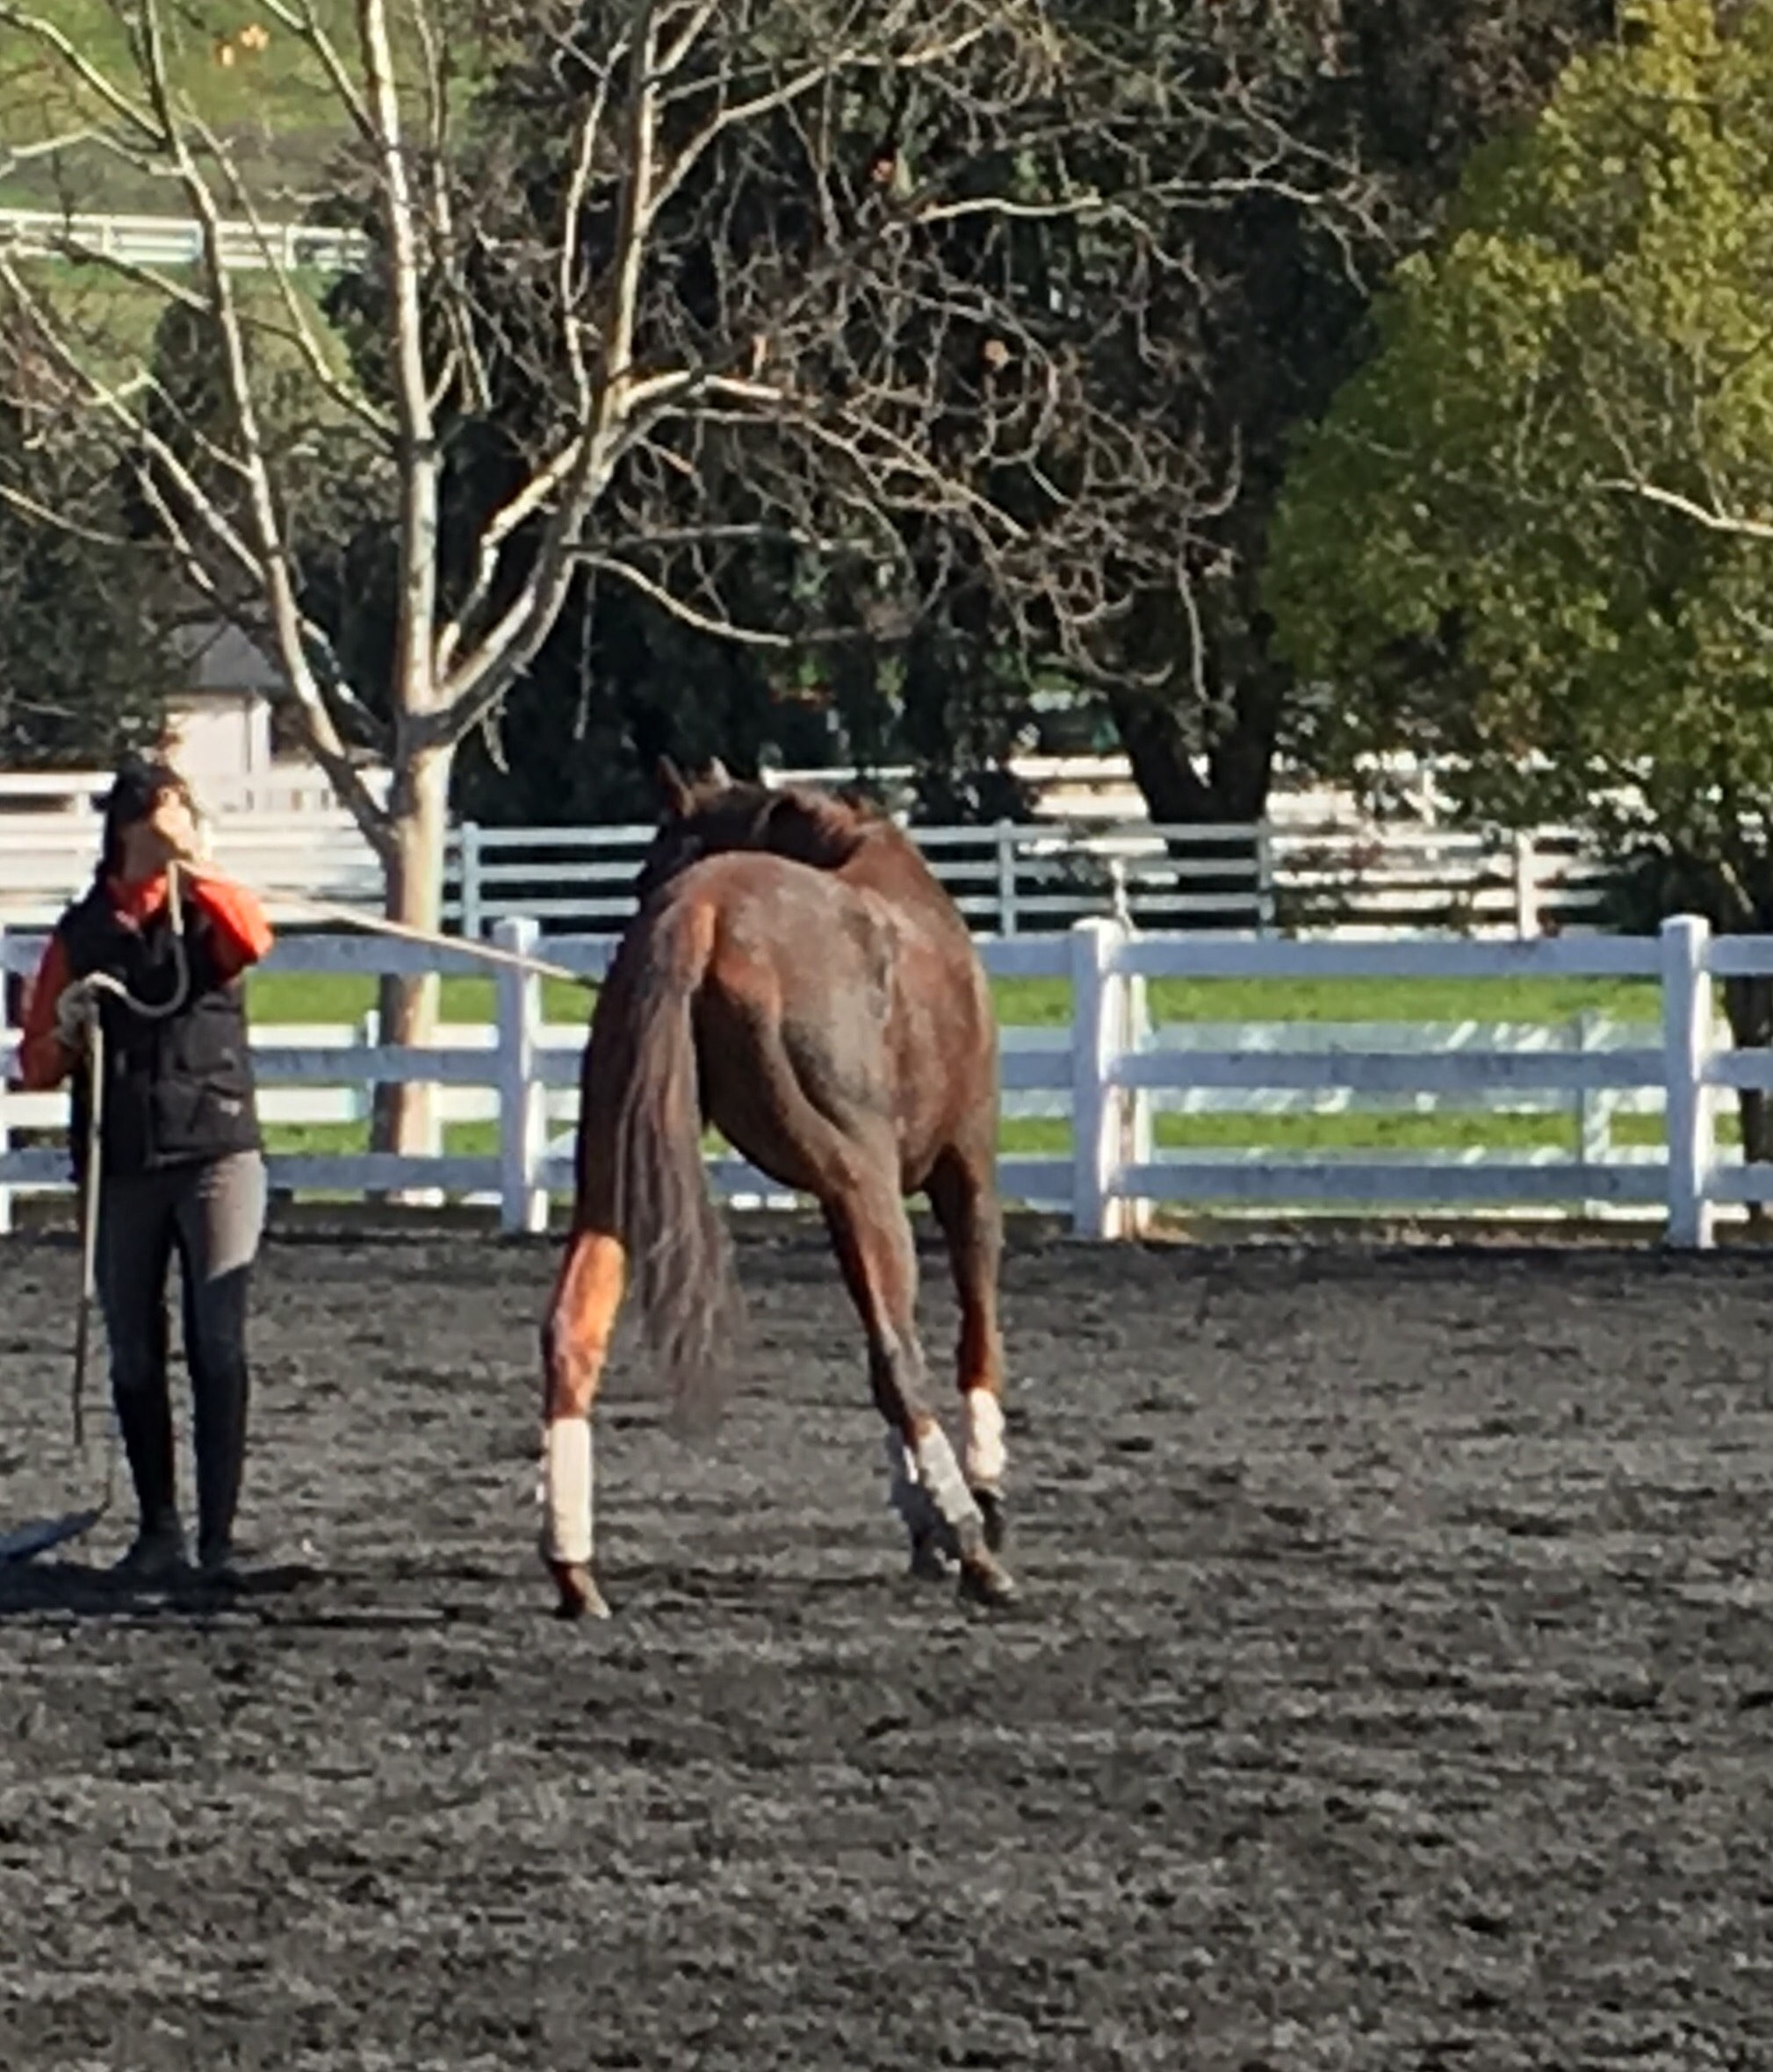
Yielding his barrel while Terry Church looks on Nice abduction of the outside hind!  Blue is softly executing a walking rein yield/haunch yield.
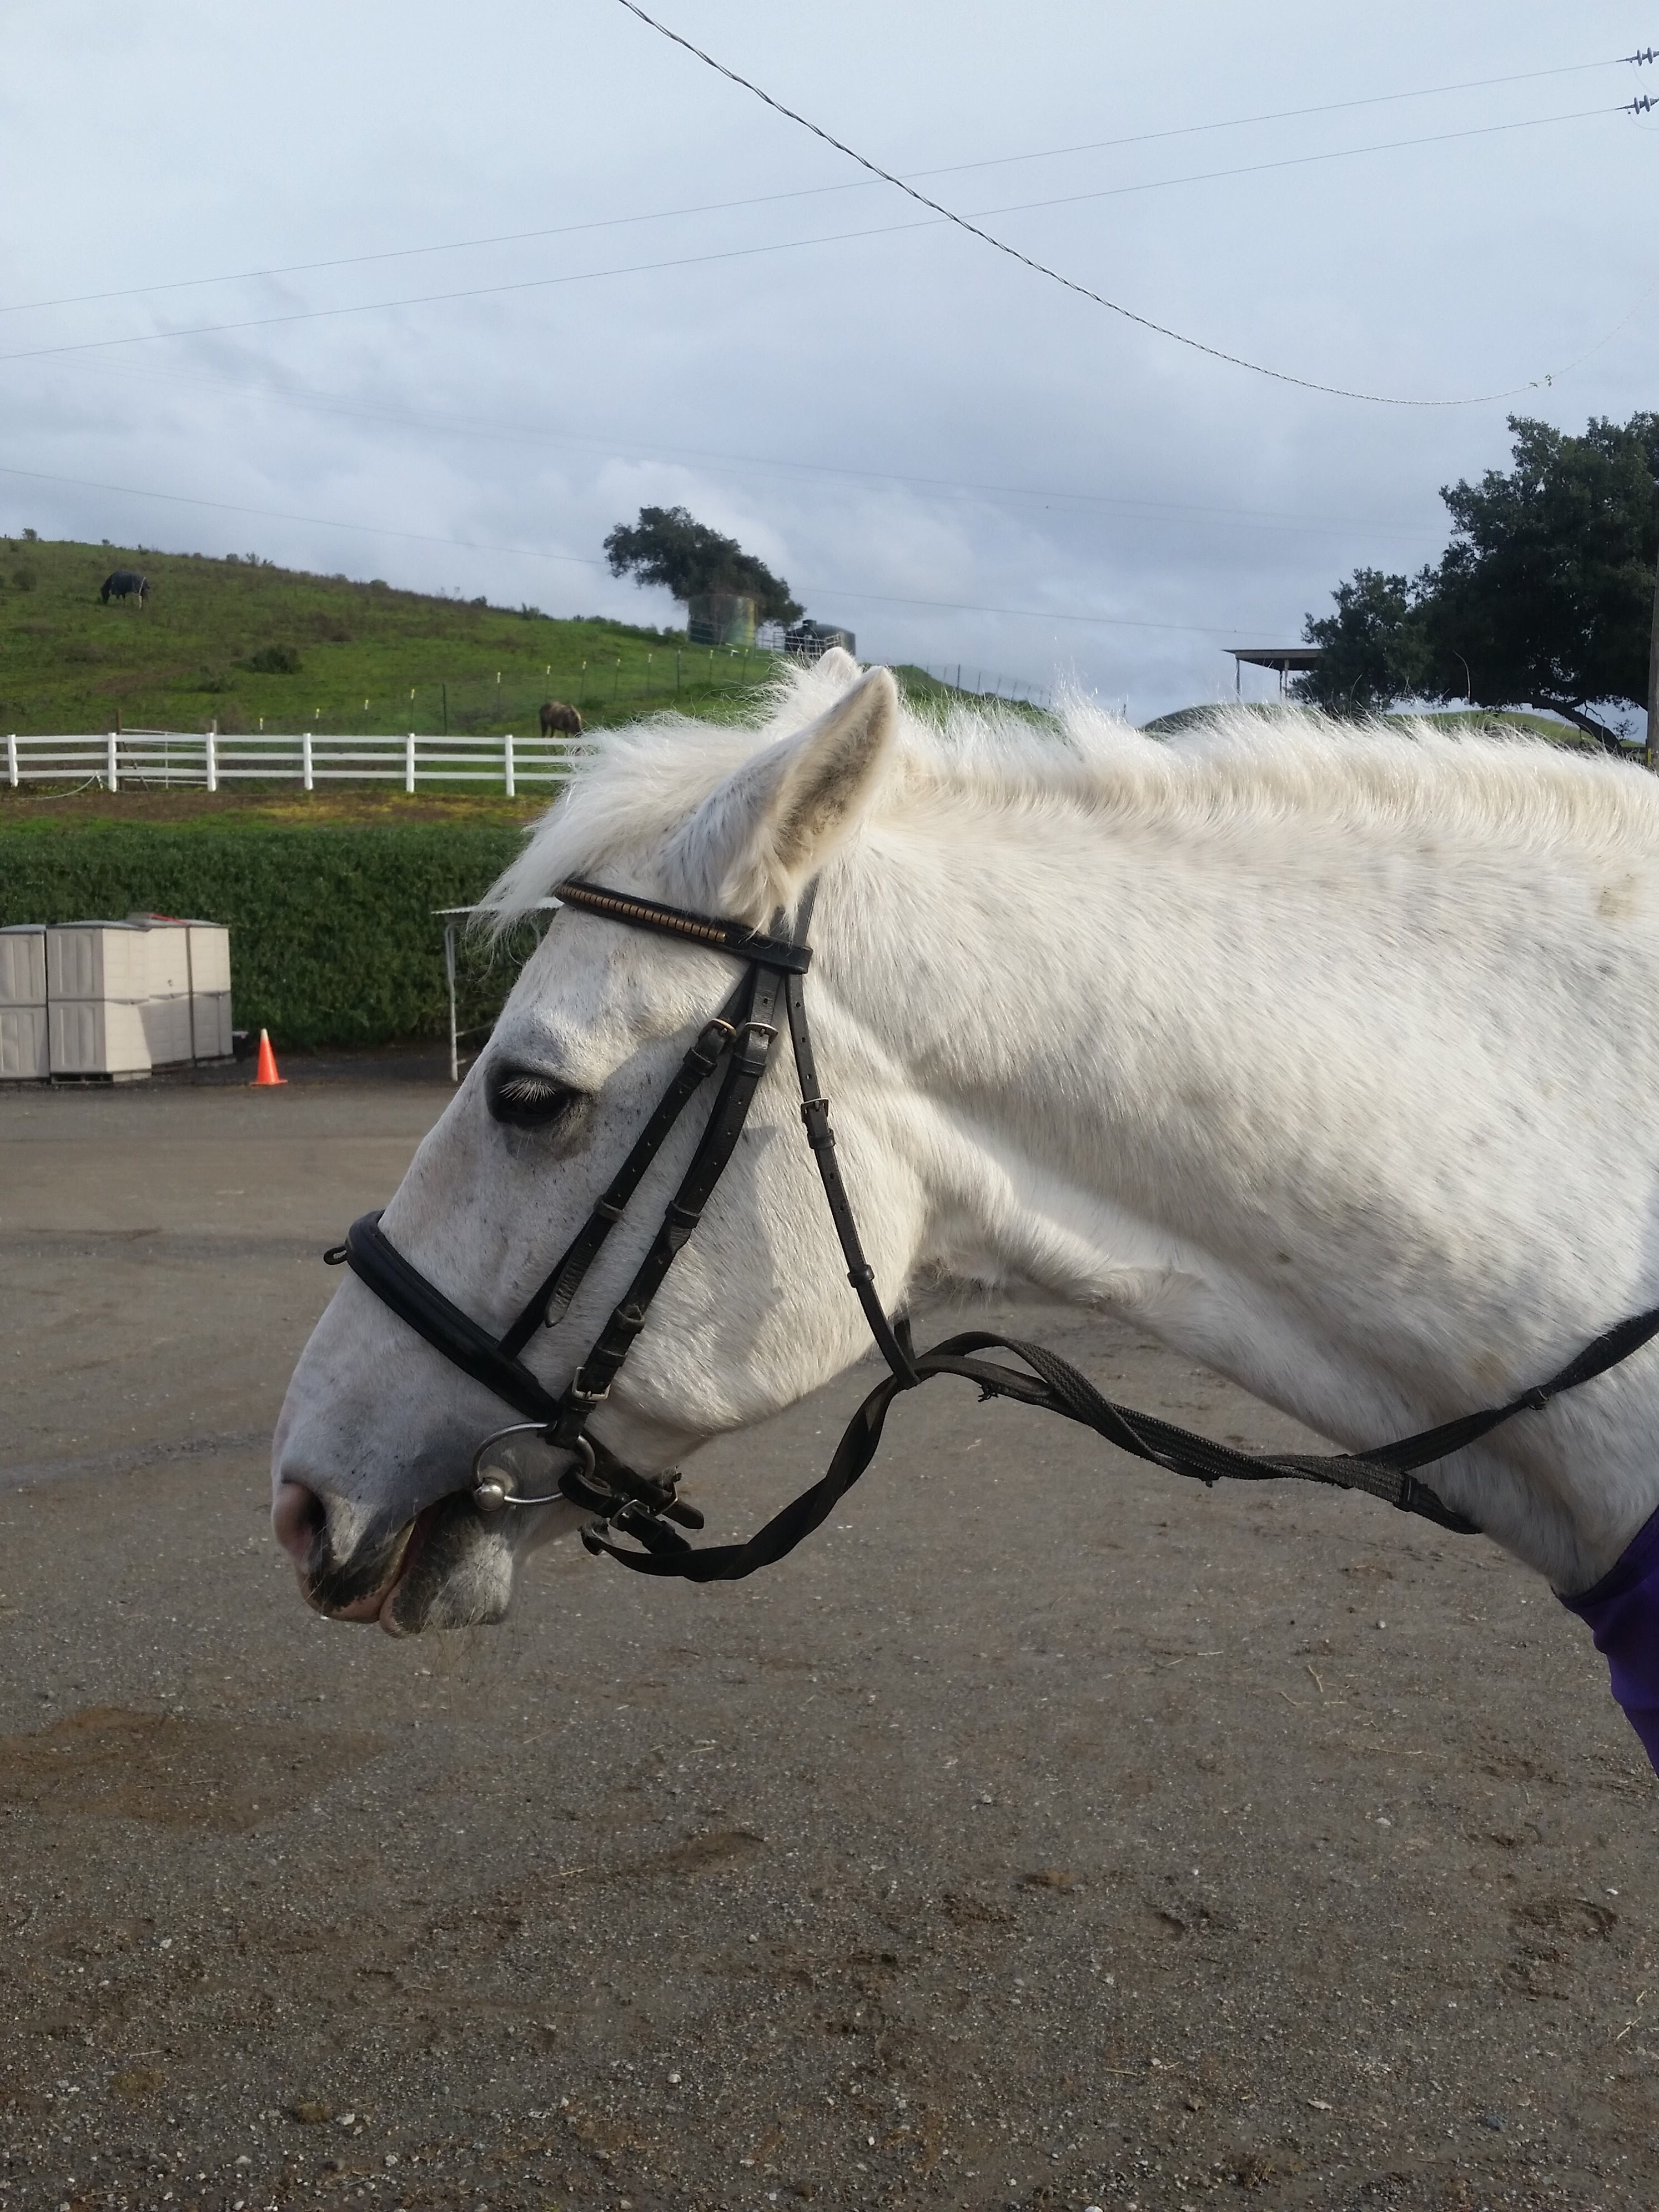
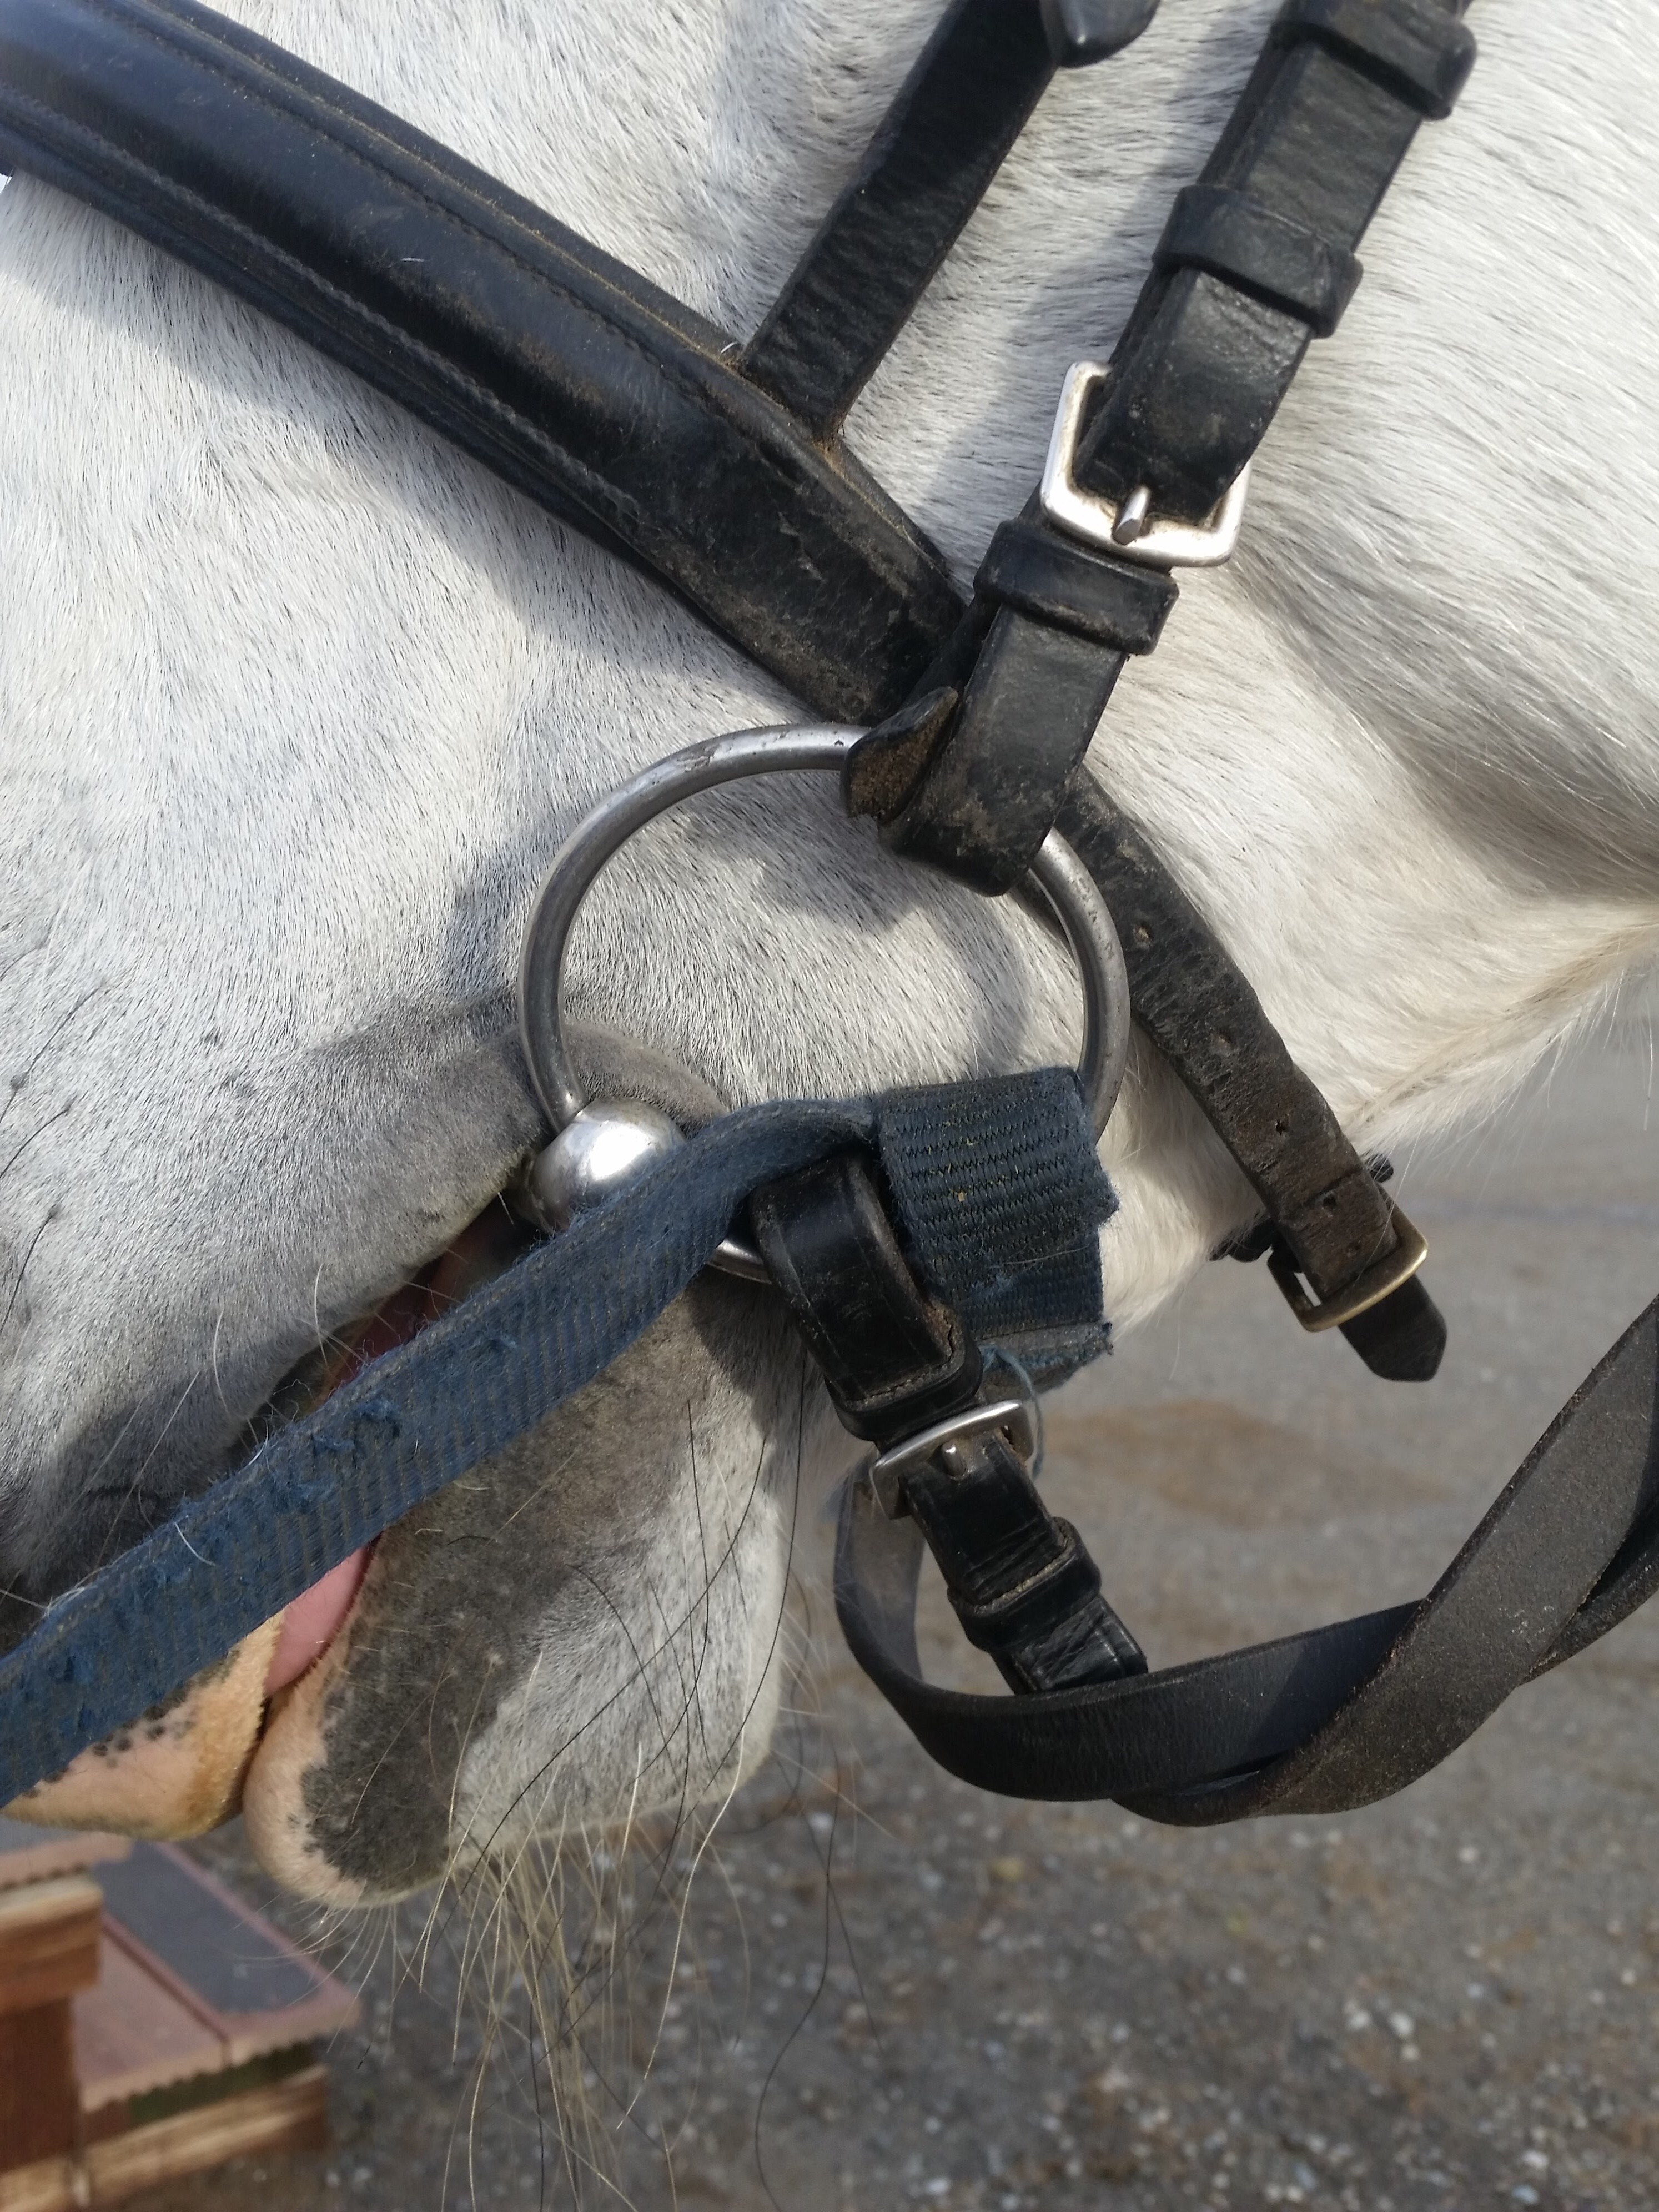
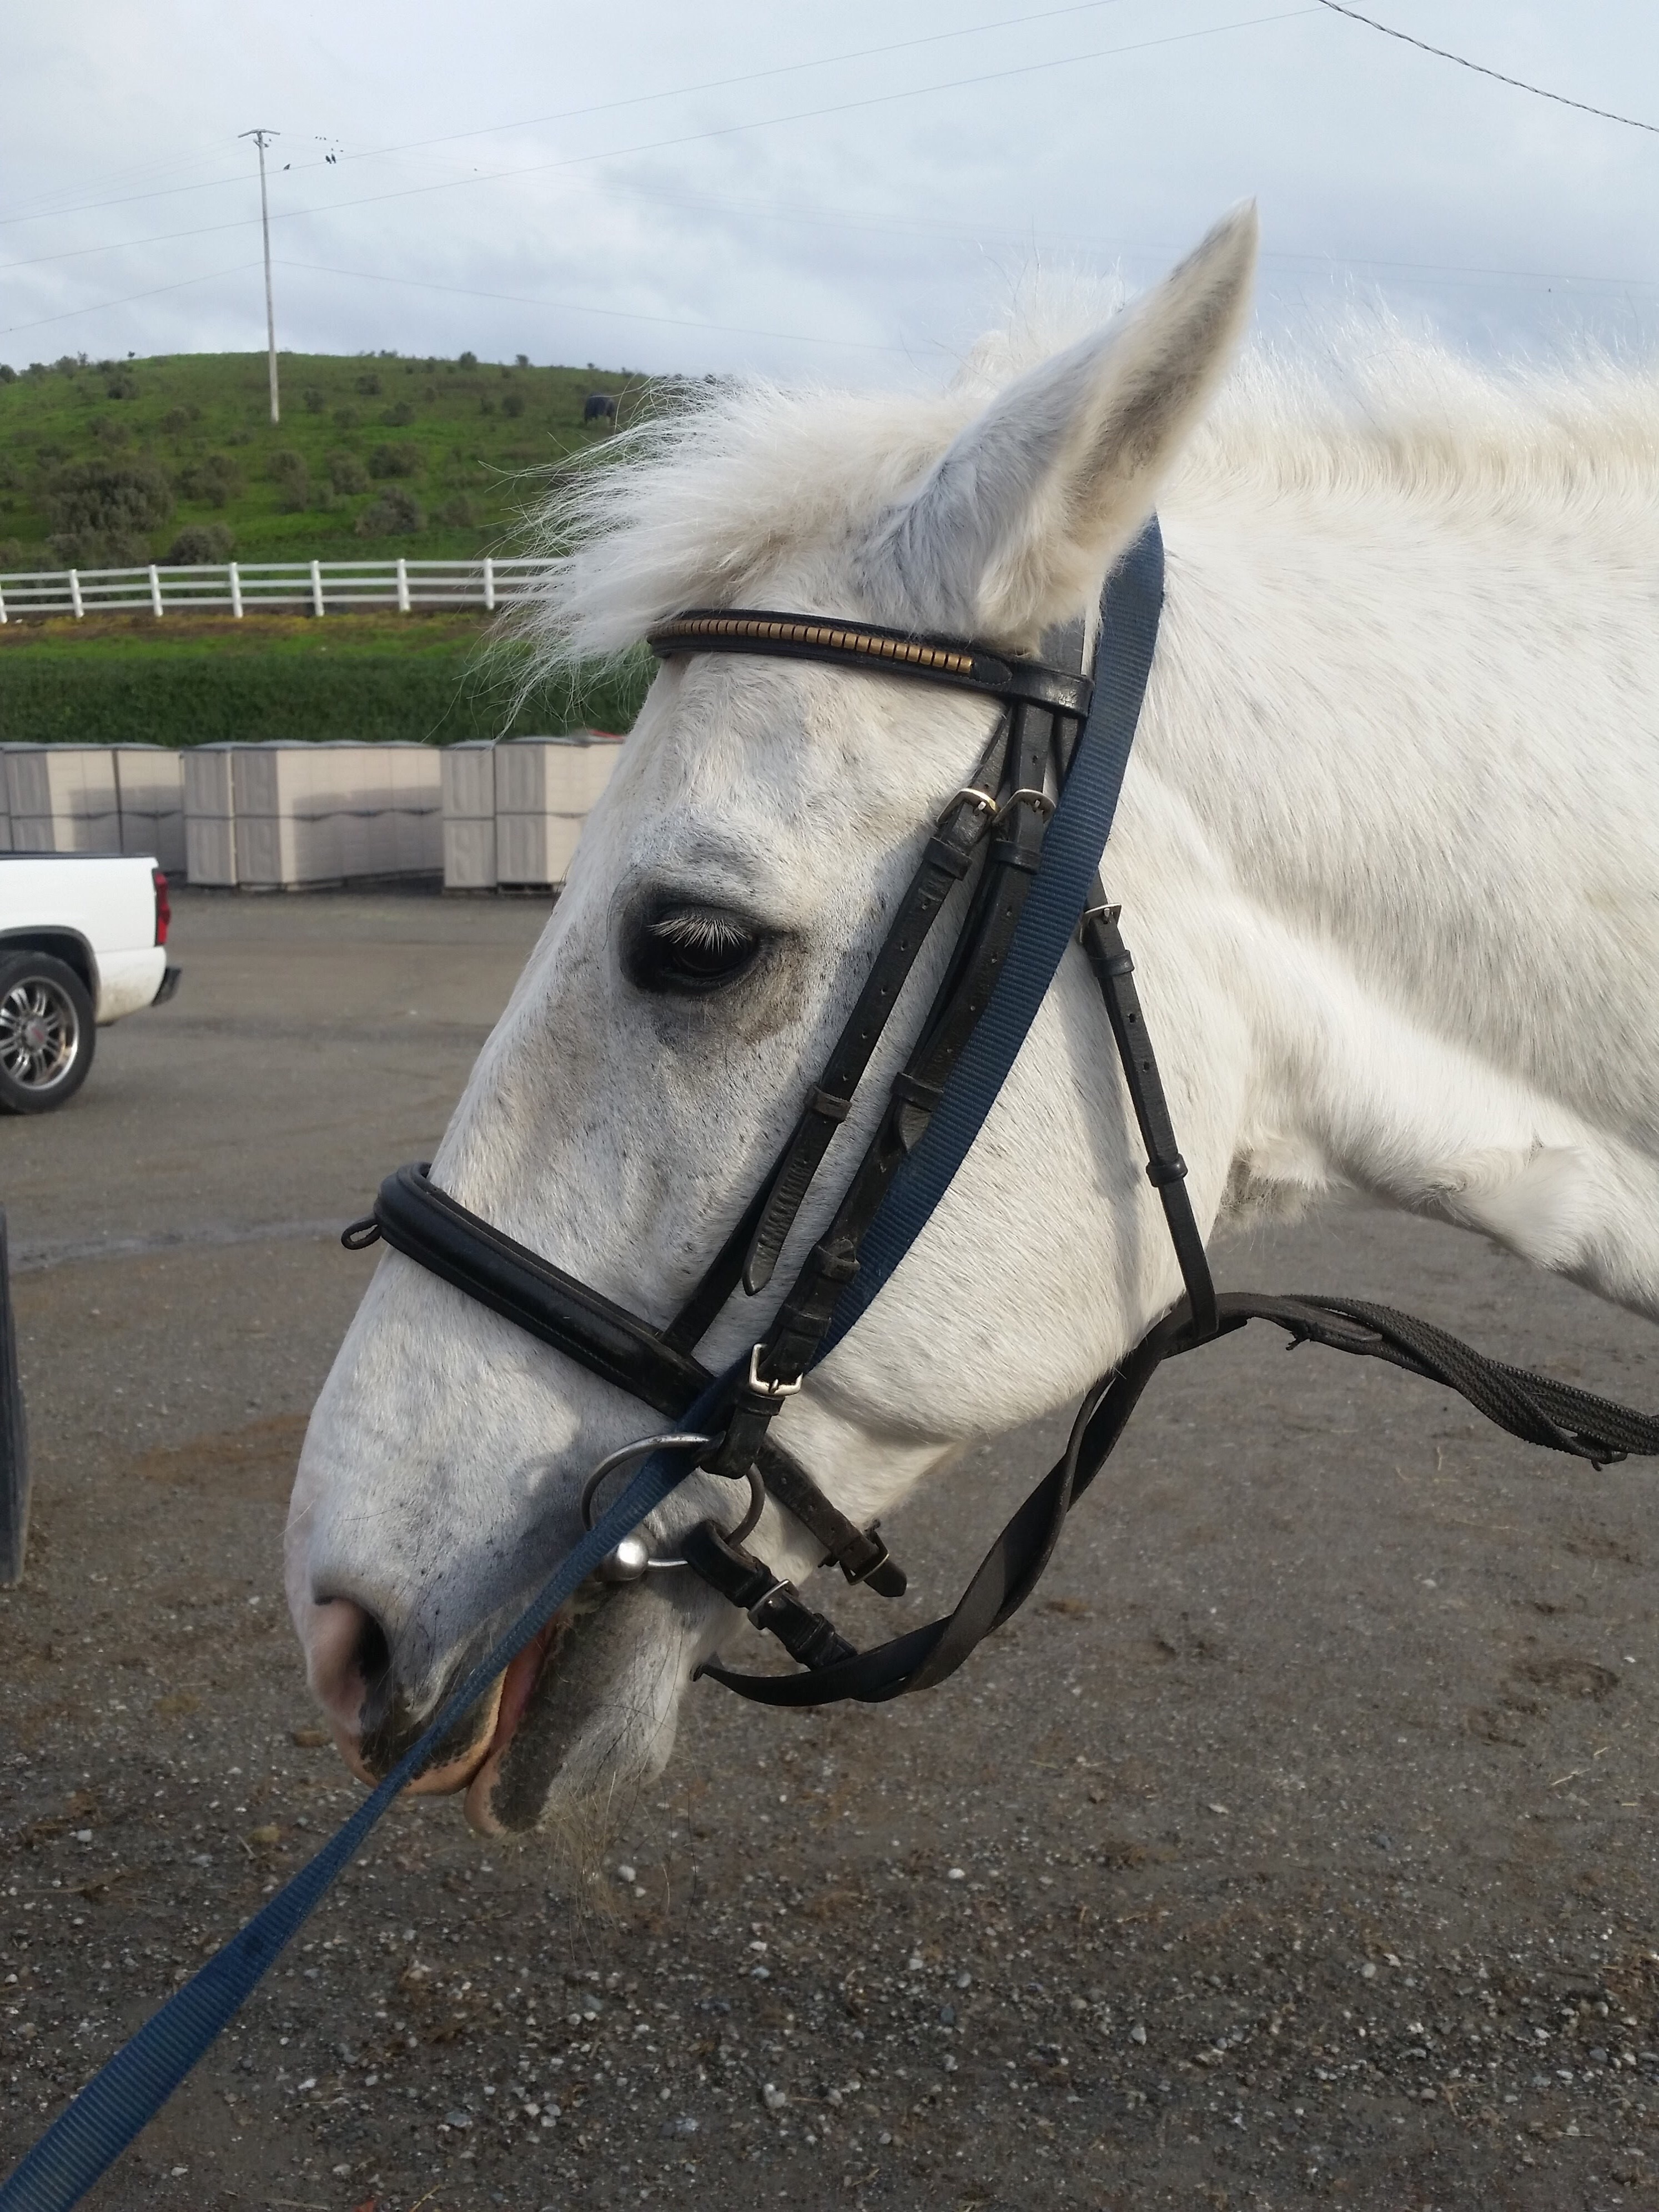
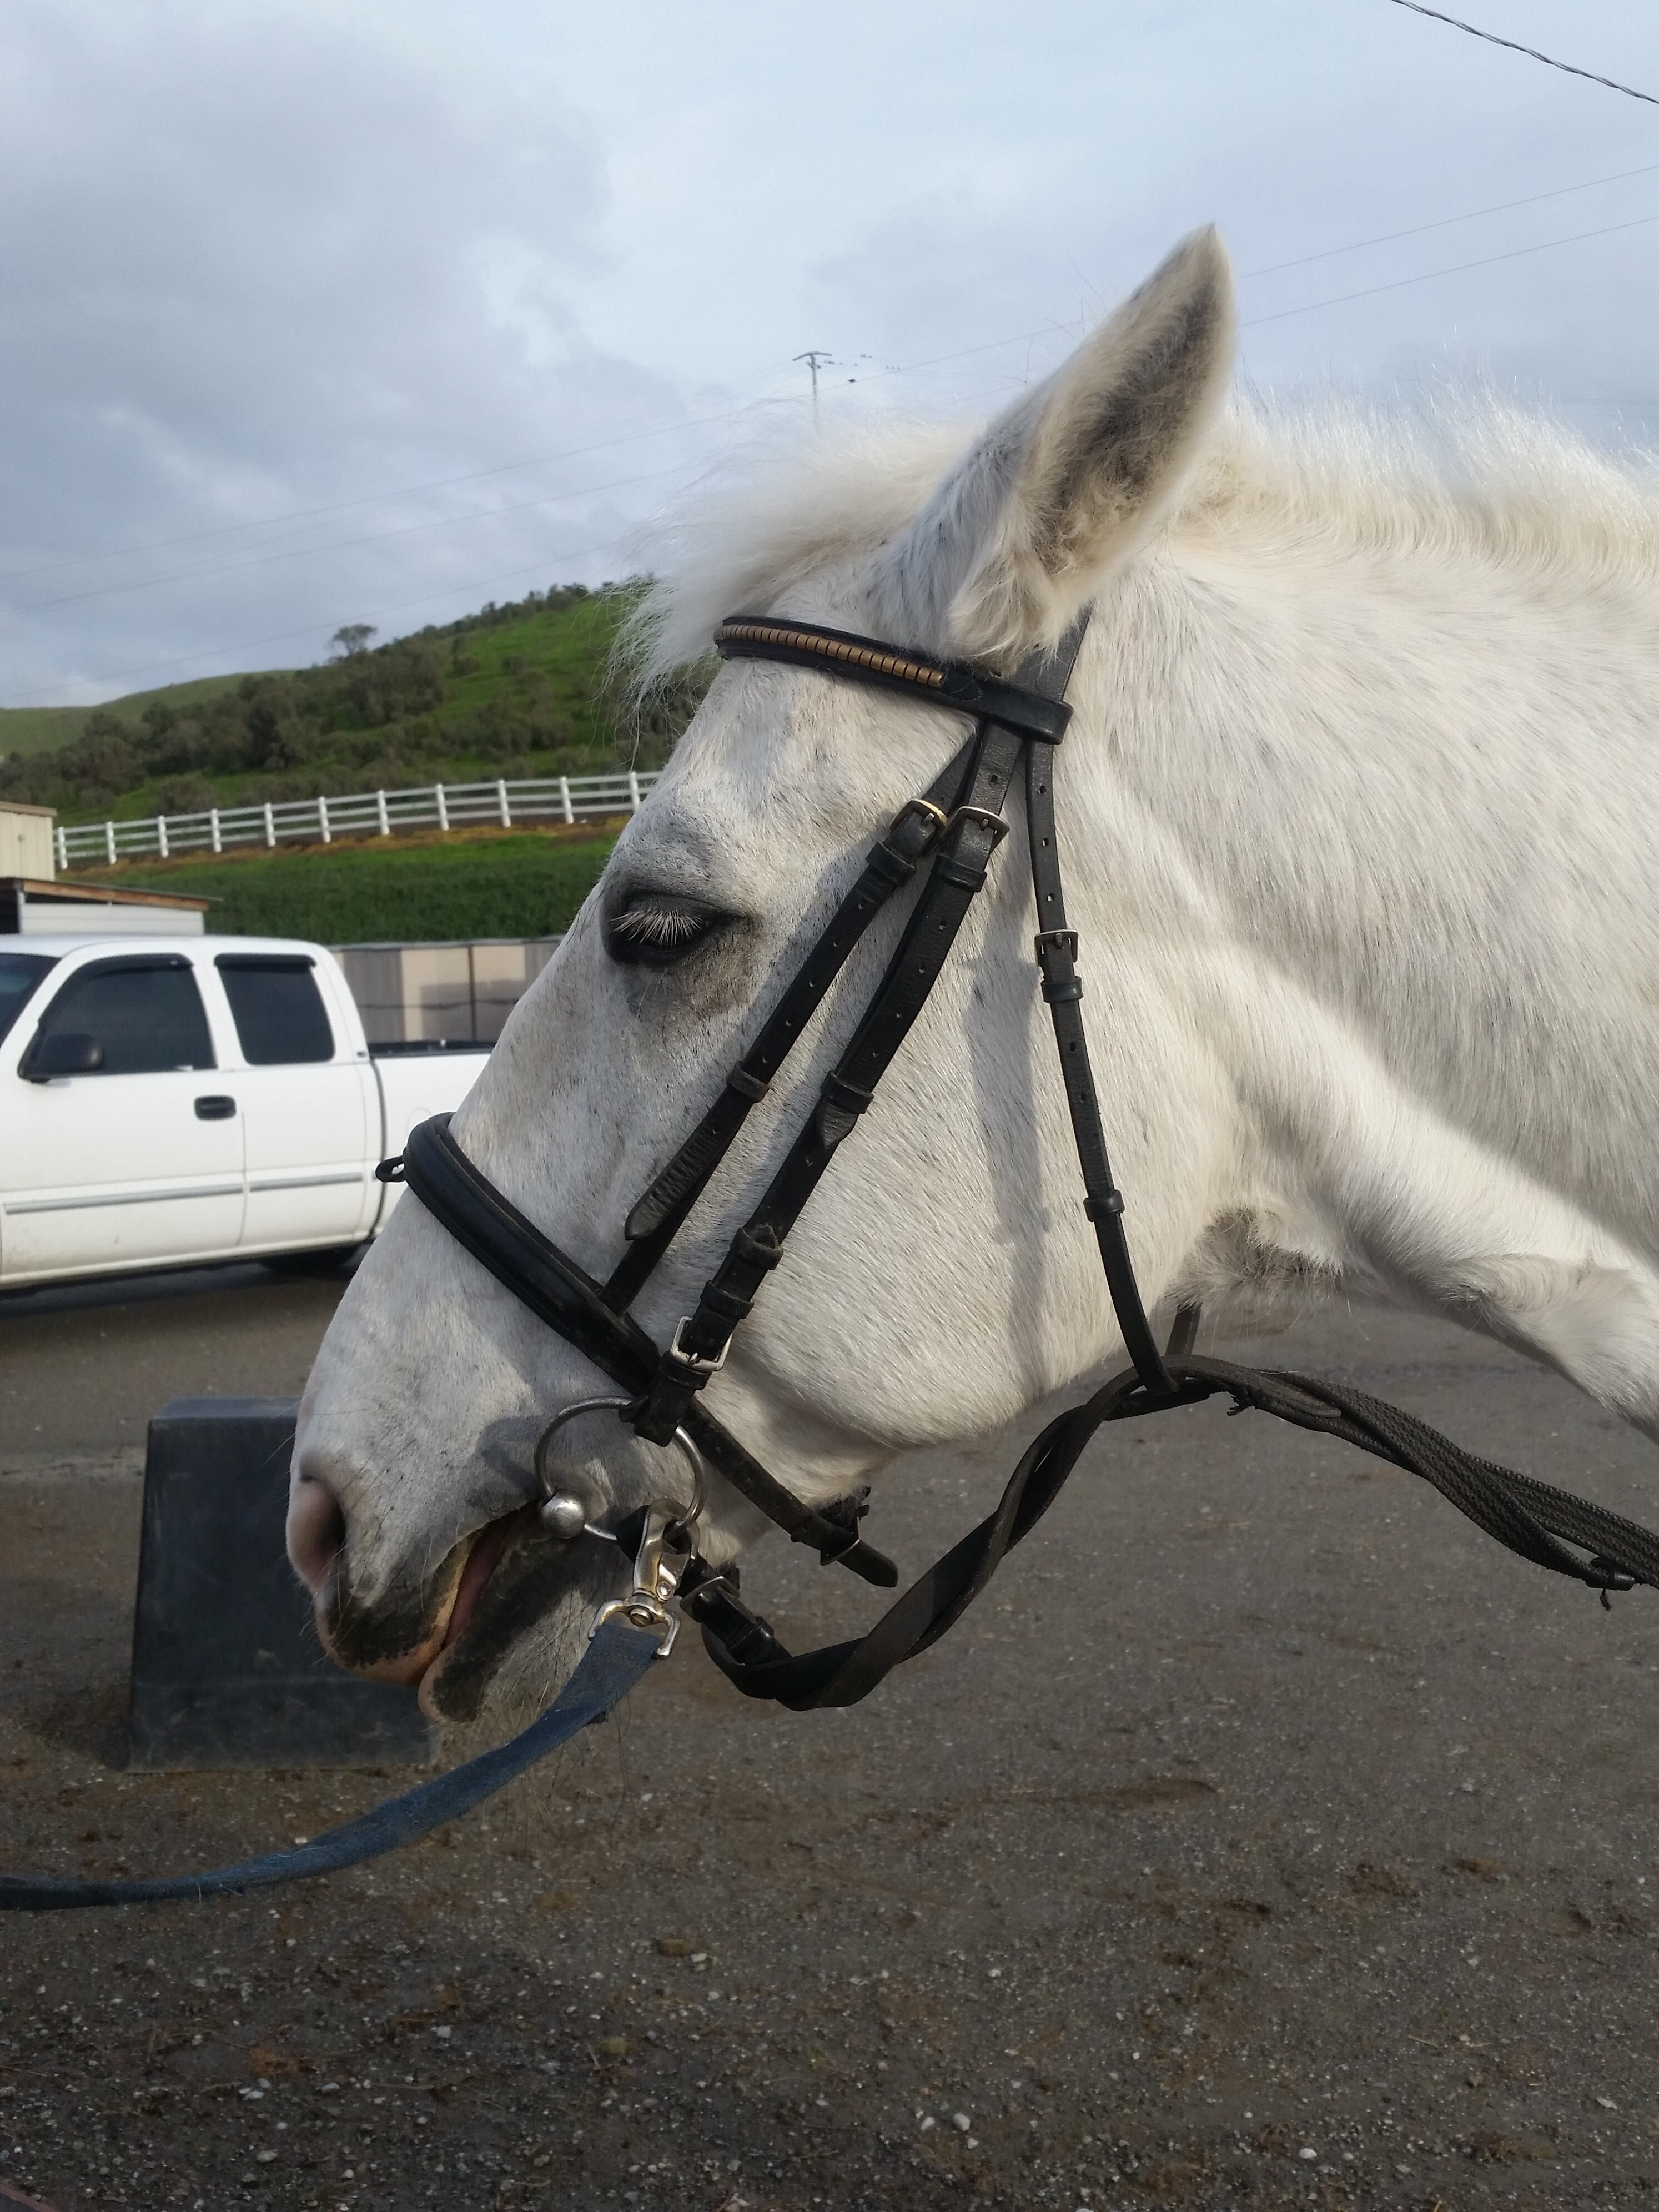
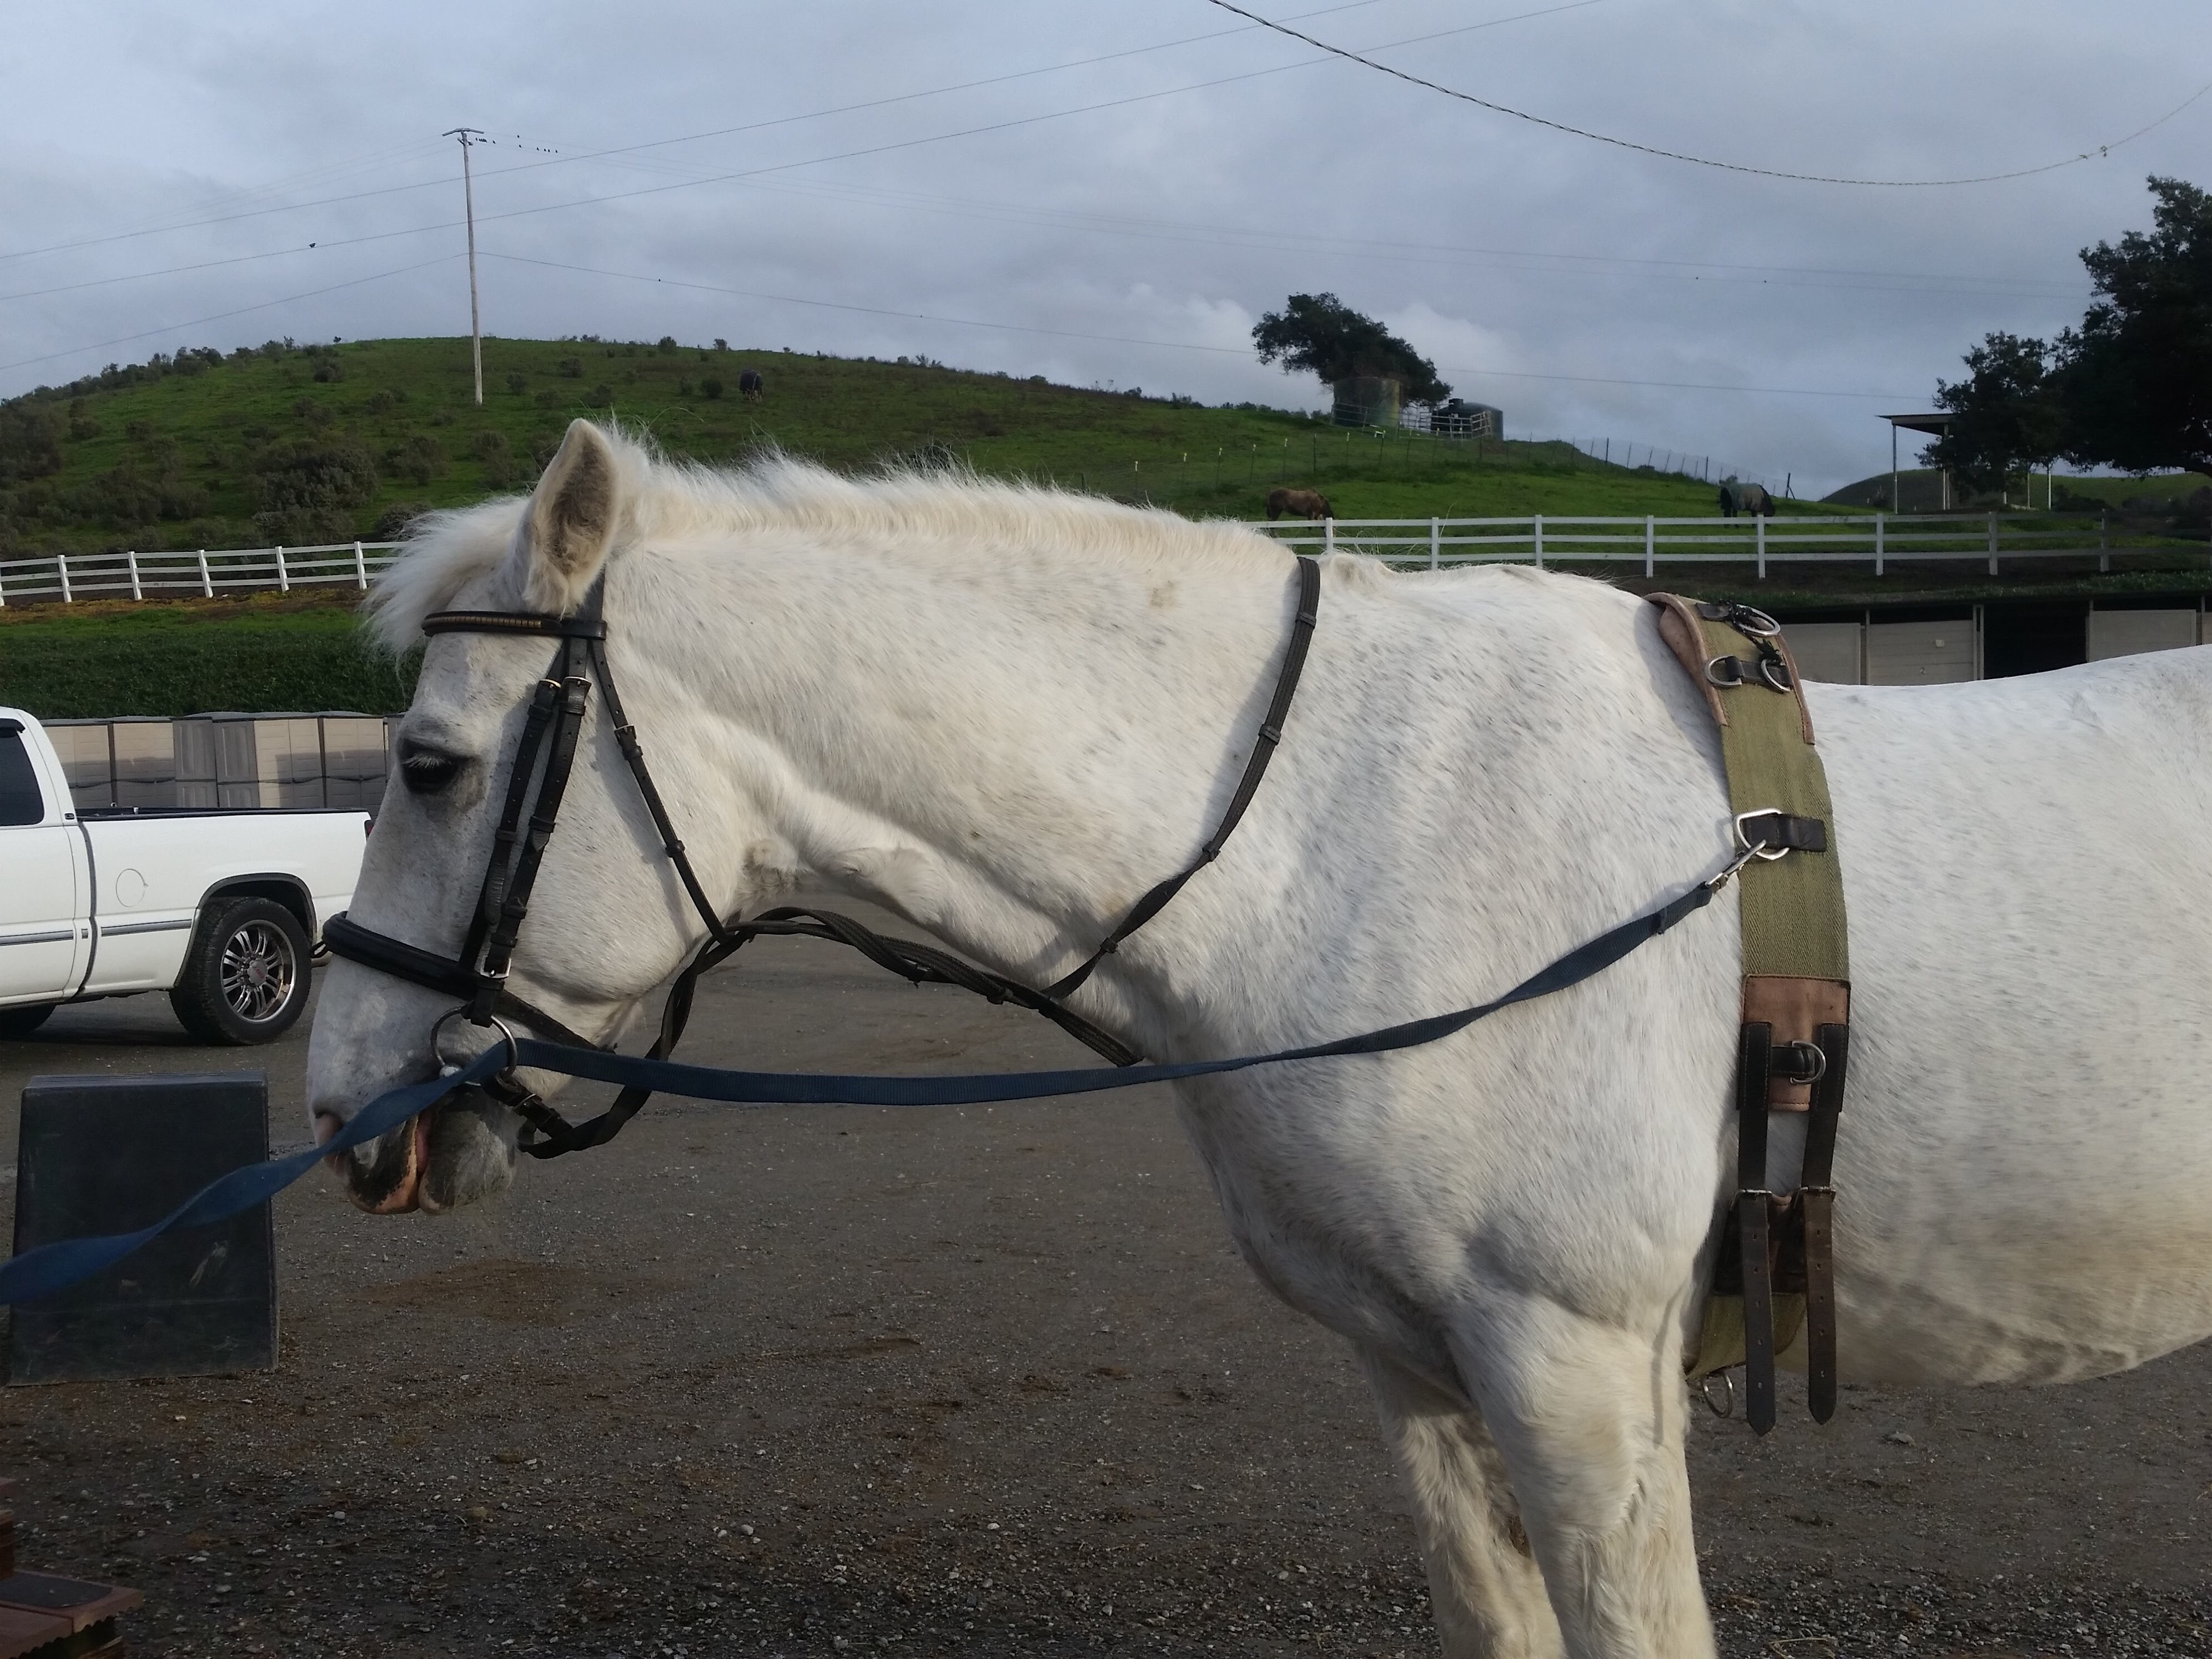
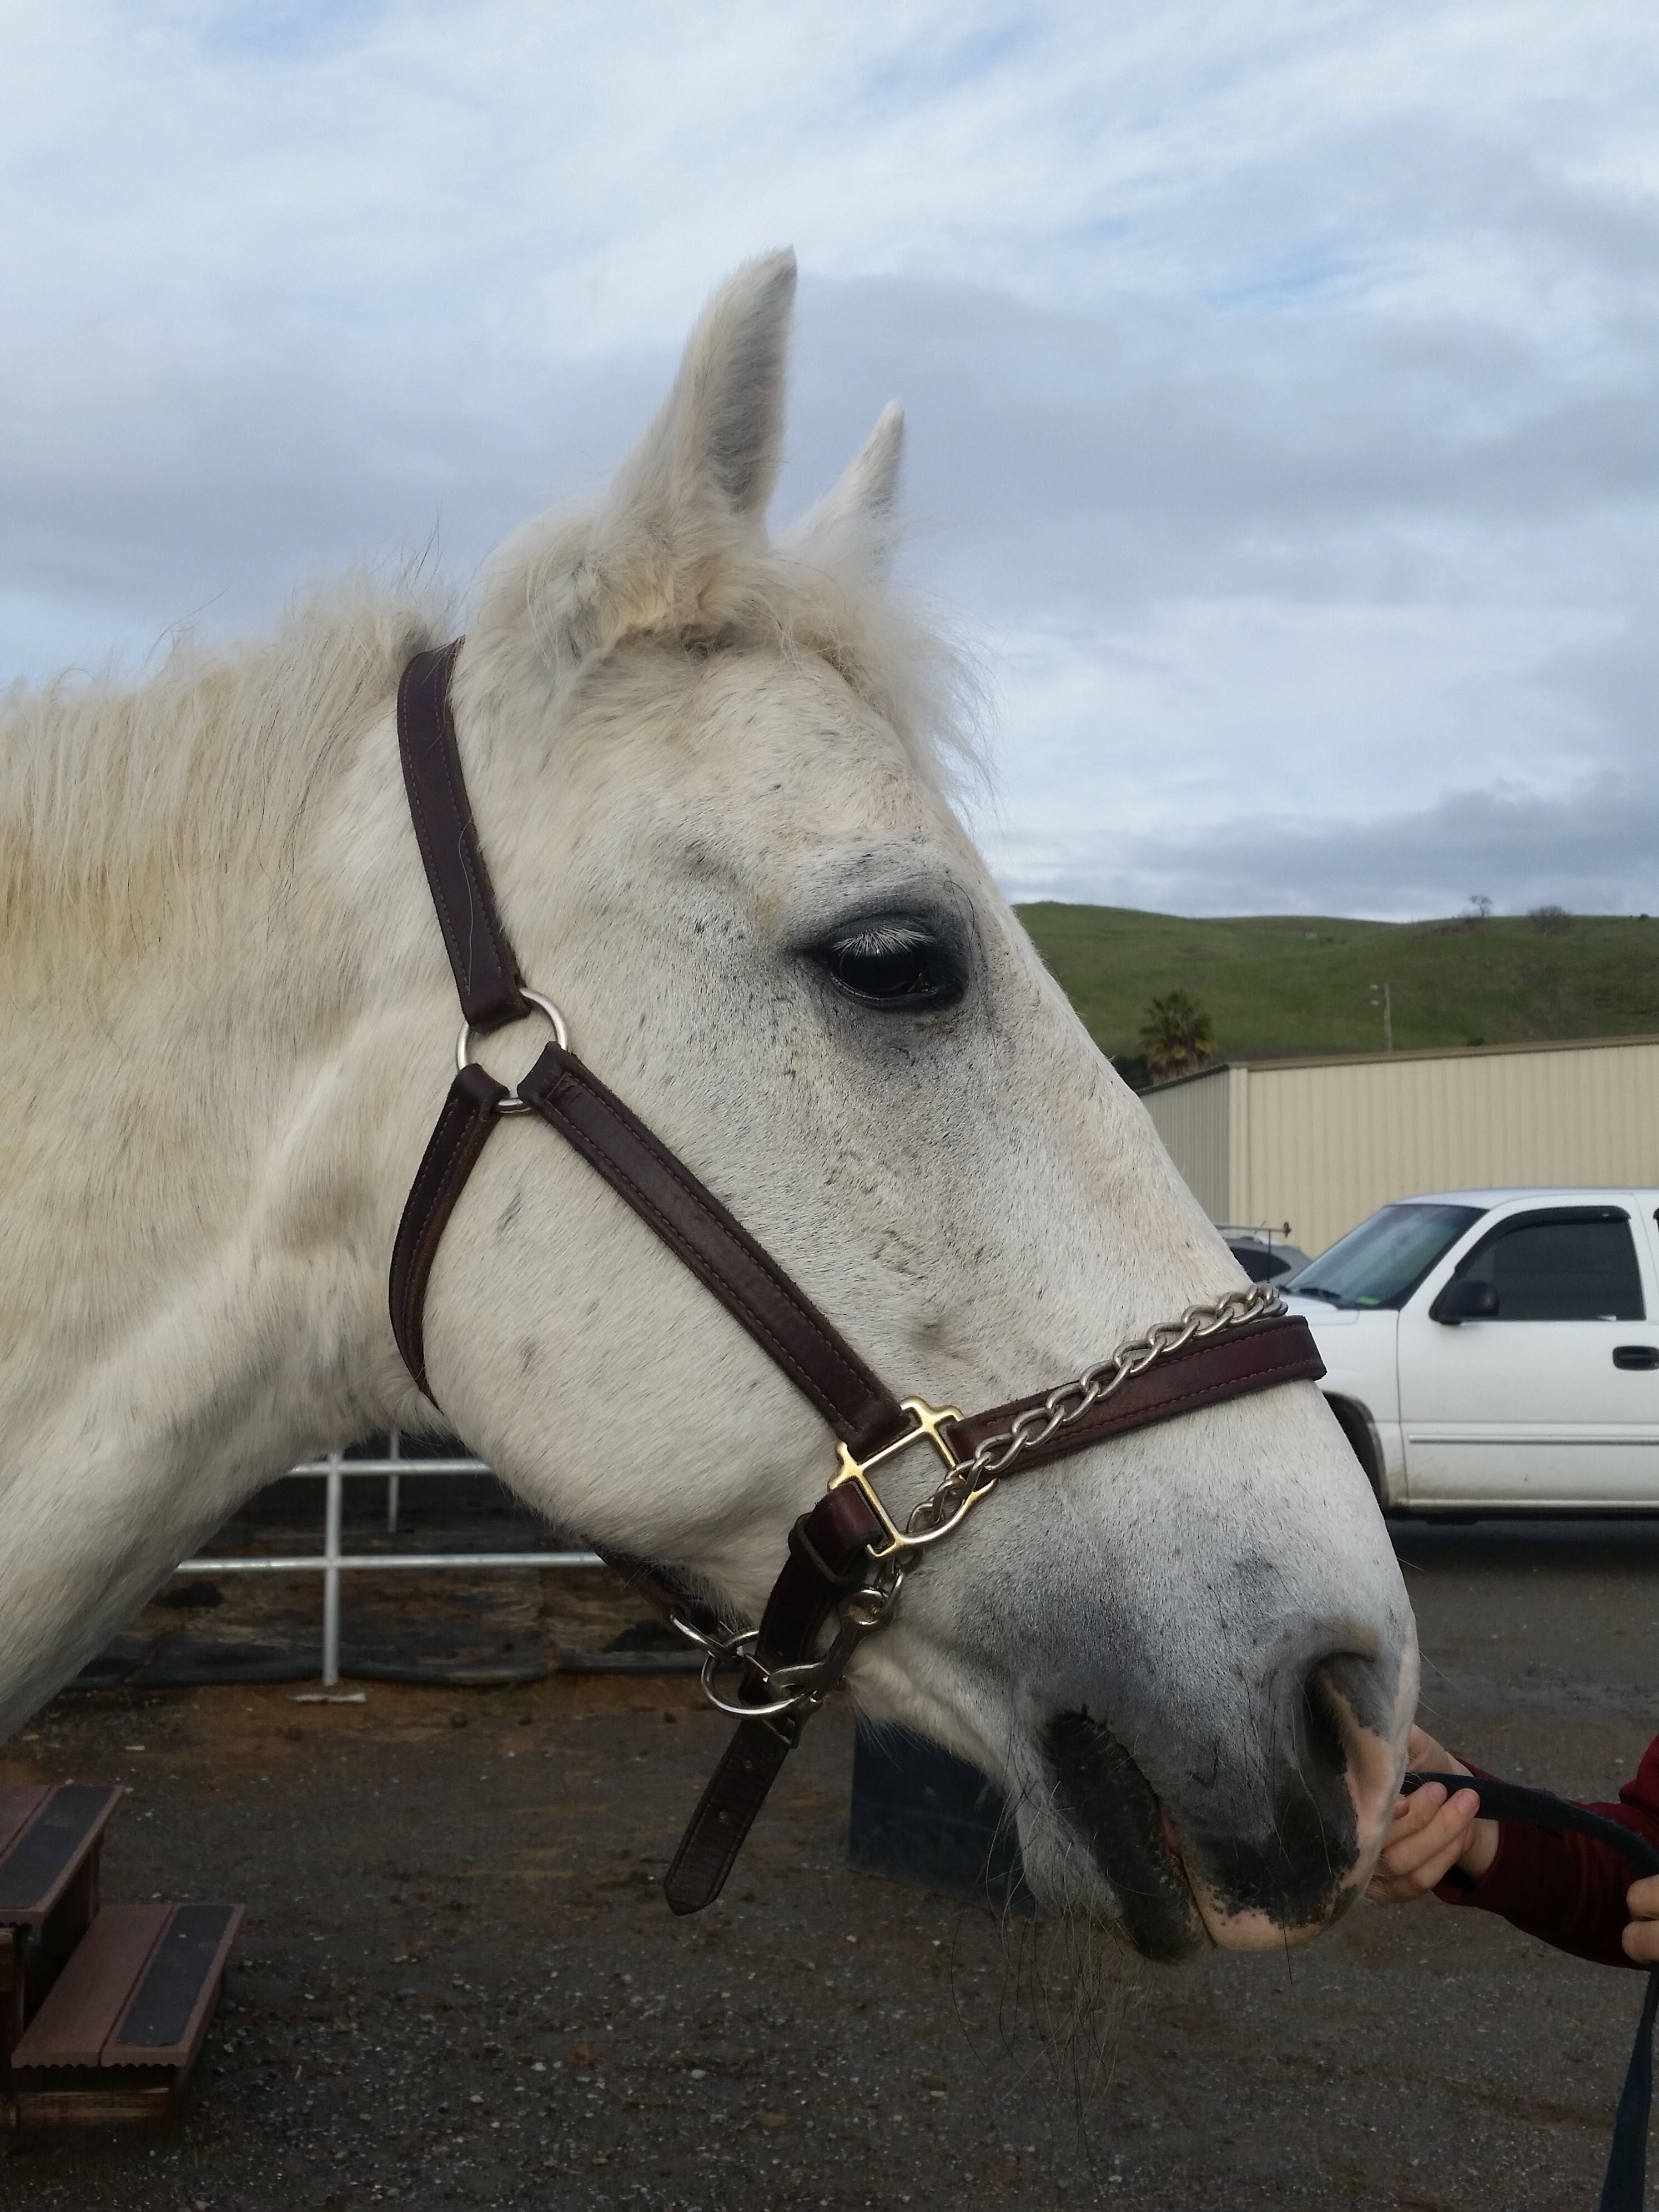
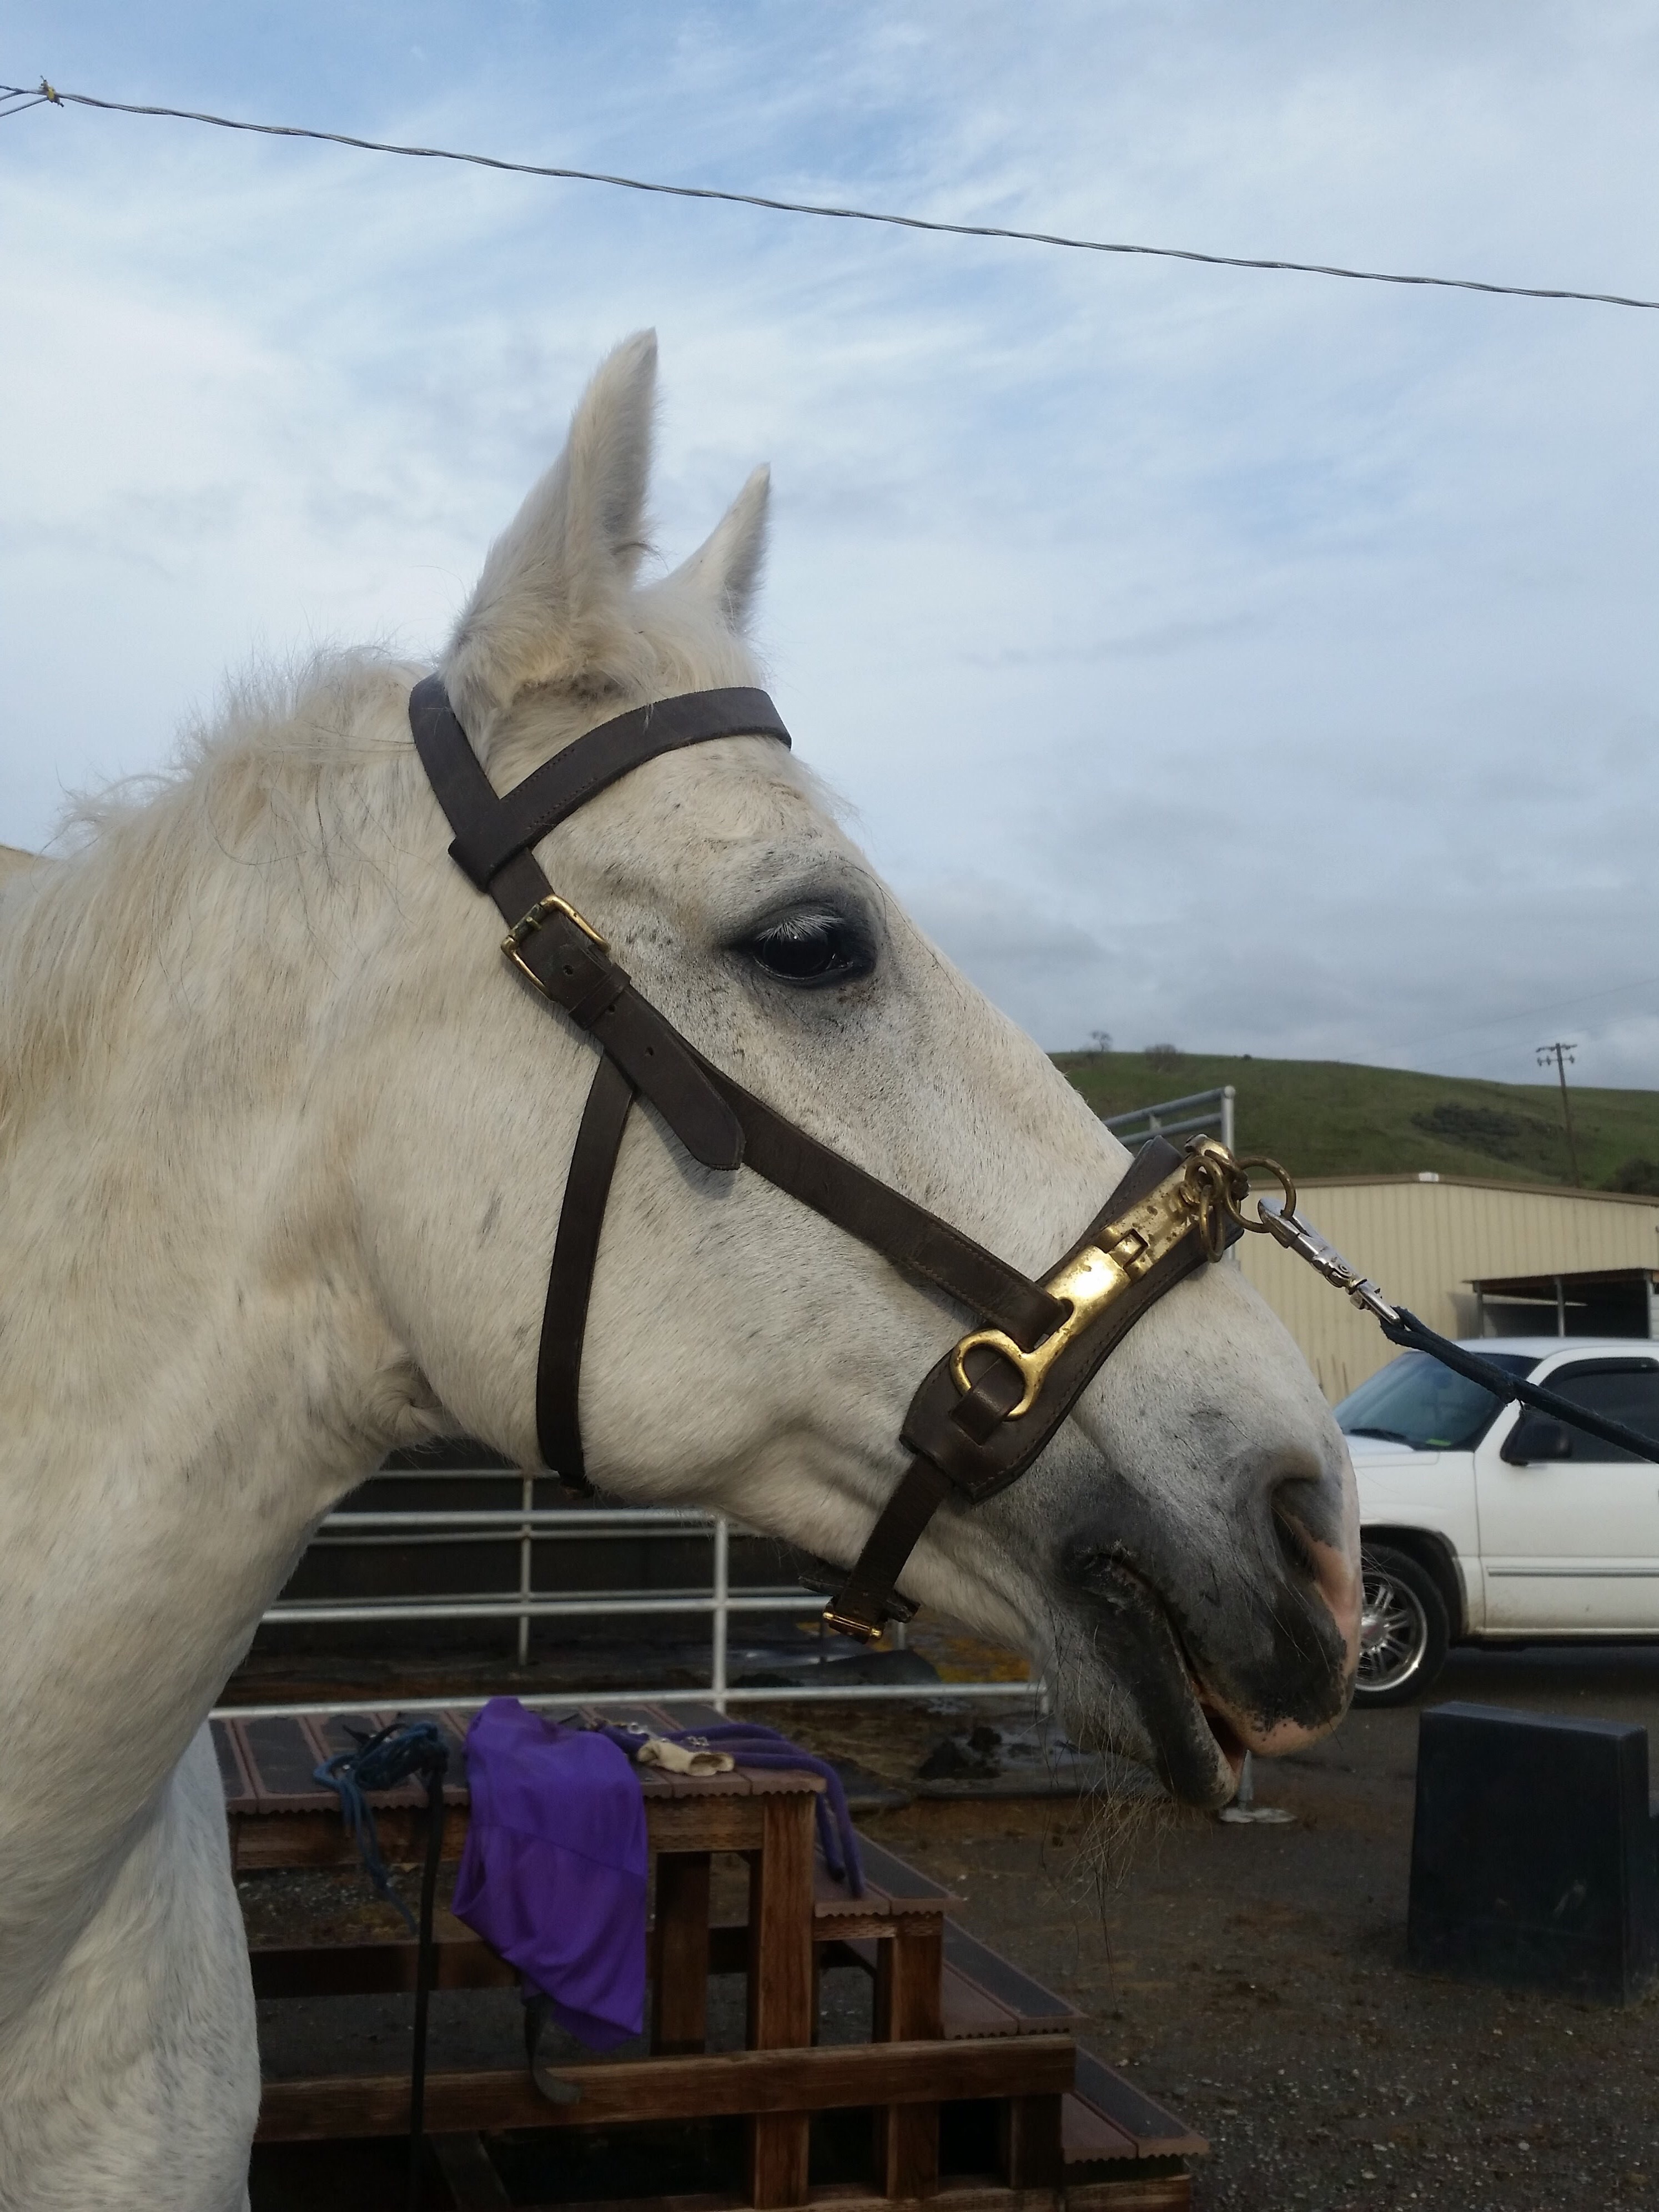
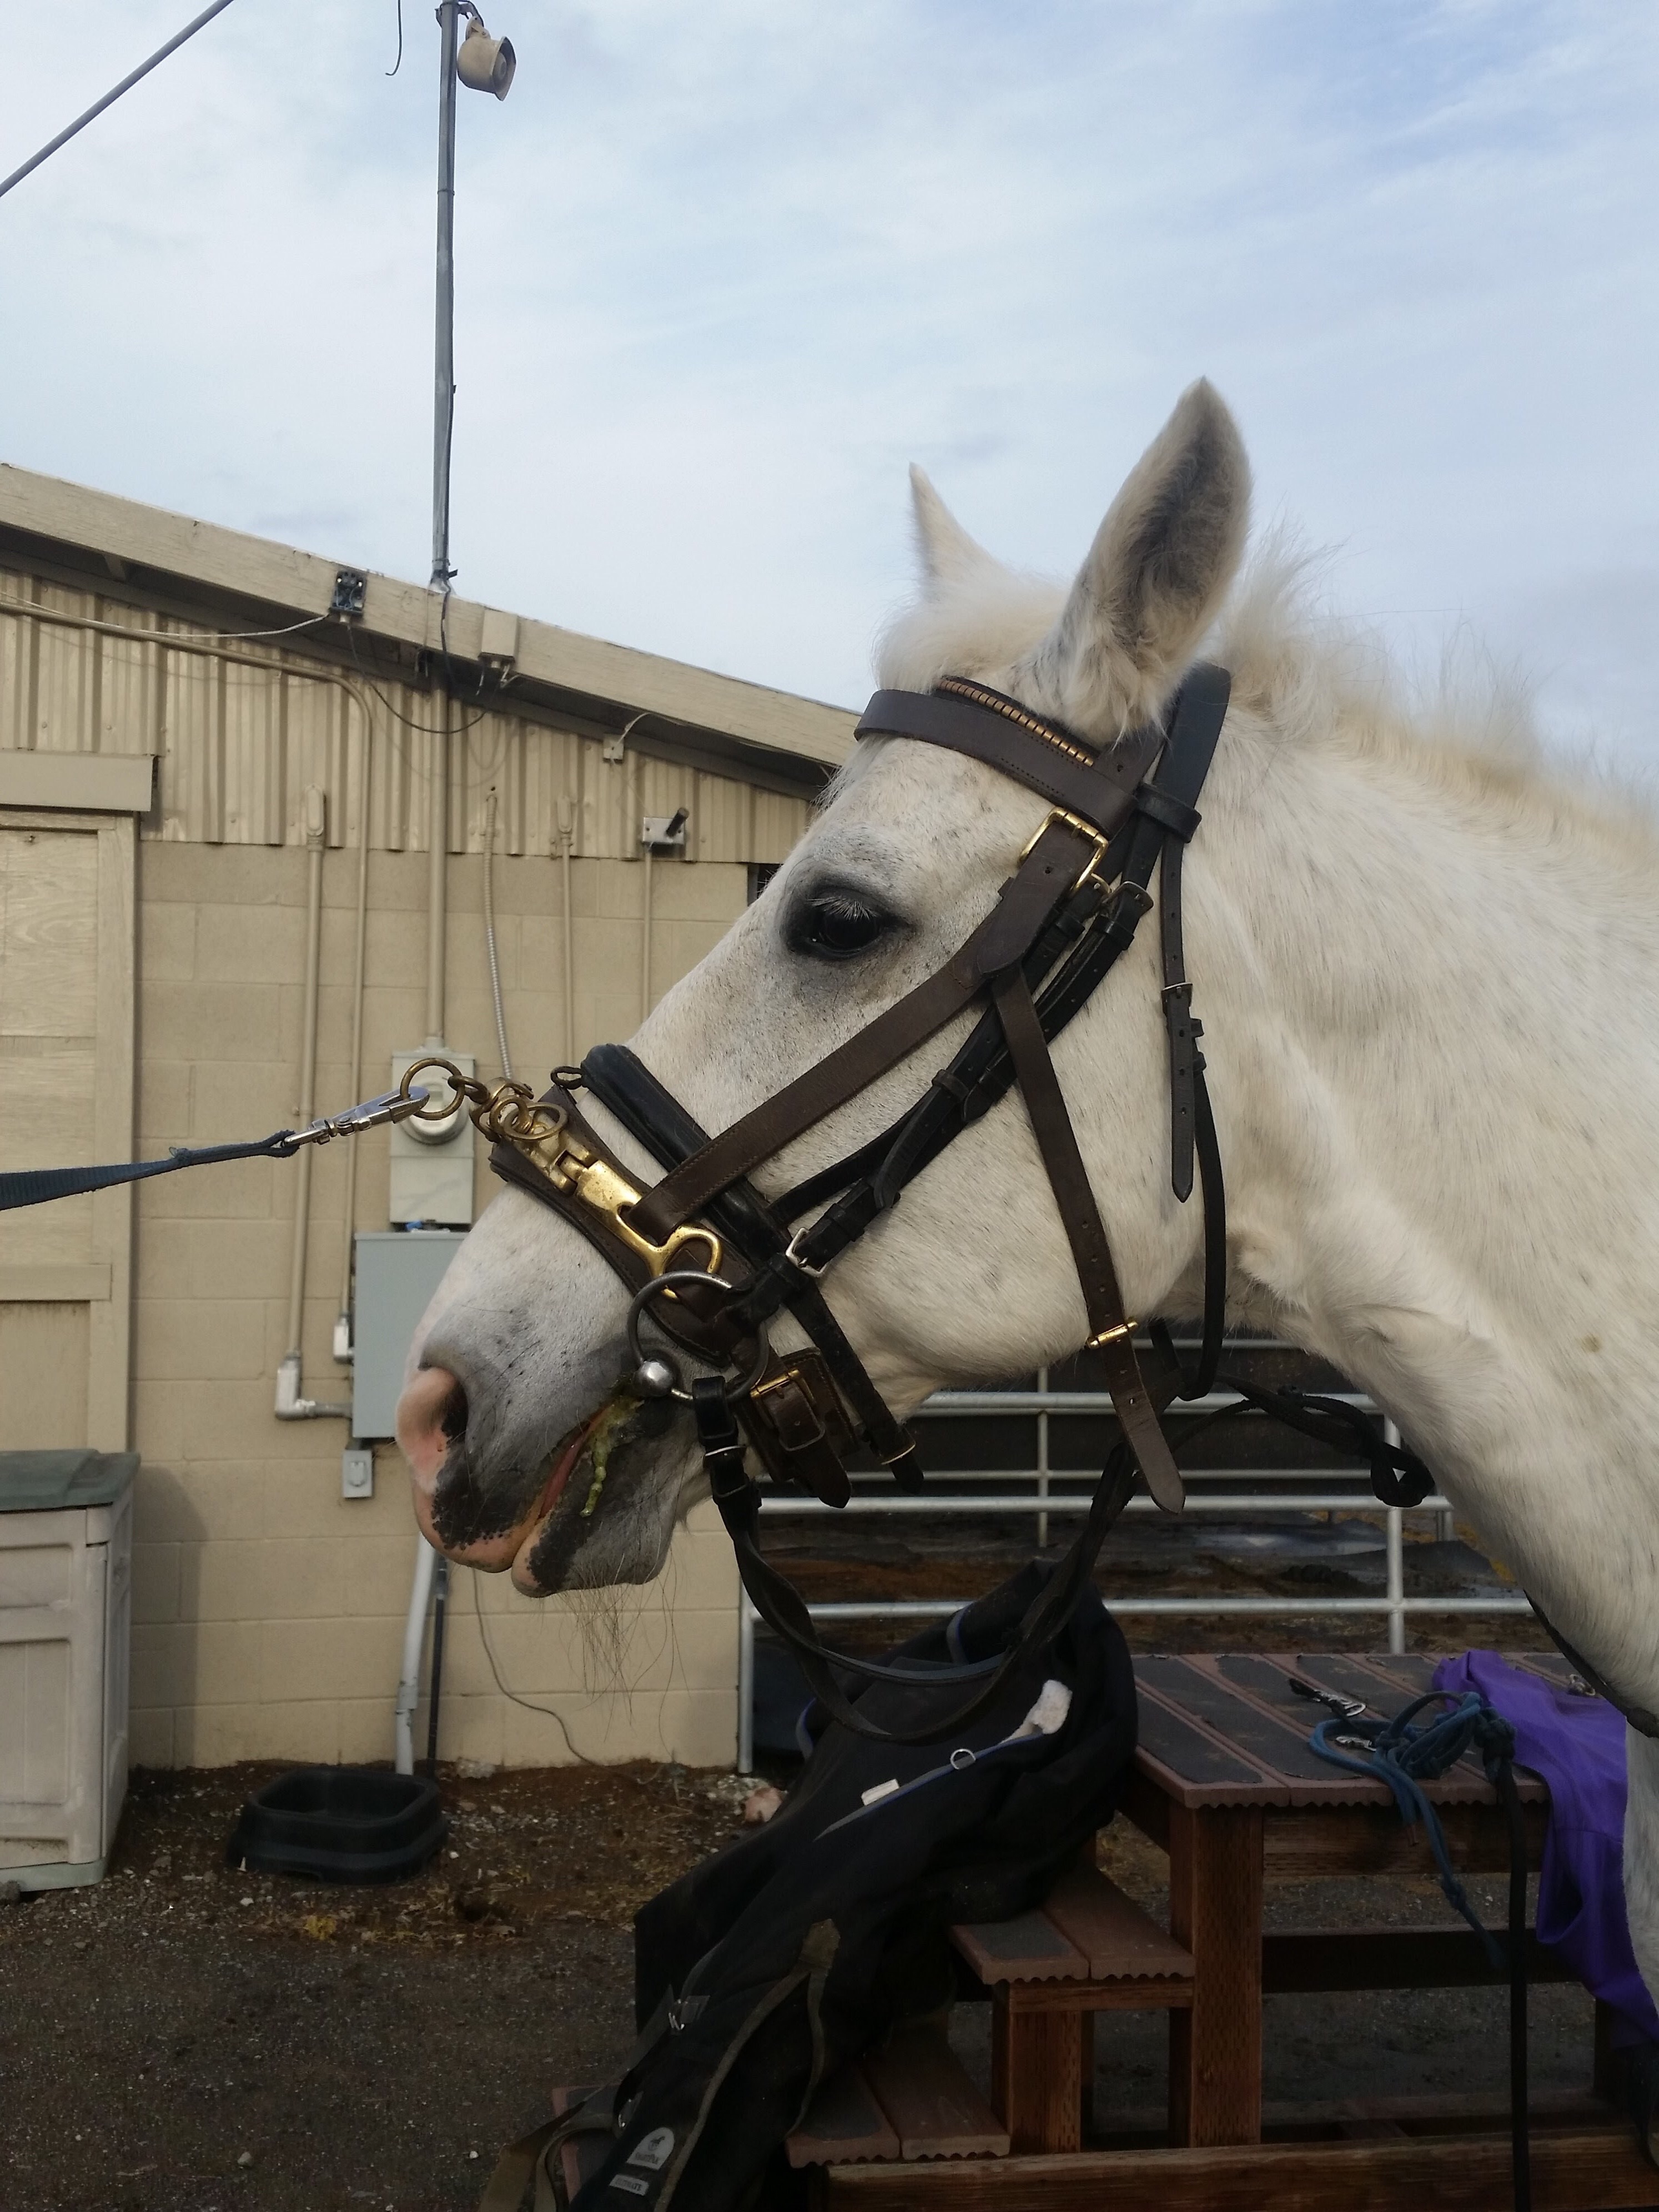
We found a bit that Blue likes better than the simple dee ring snaffle I had on him .  He’s now going in a 3 piece loose ring snaffle (French link with bean).   I took the opportunity to switch bridles at this point so he could have a black one to match his saddle, instead of a brown one. I stole his bridle from my pony (My Poni) since he has a dainty head.  I’m leaving the noseband on, but keeping it super loose.

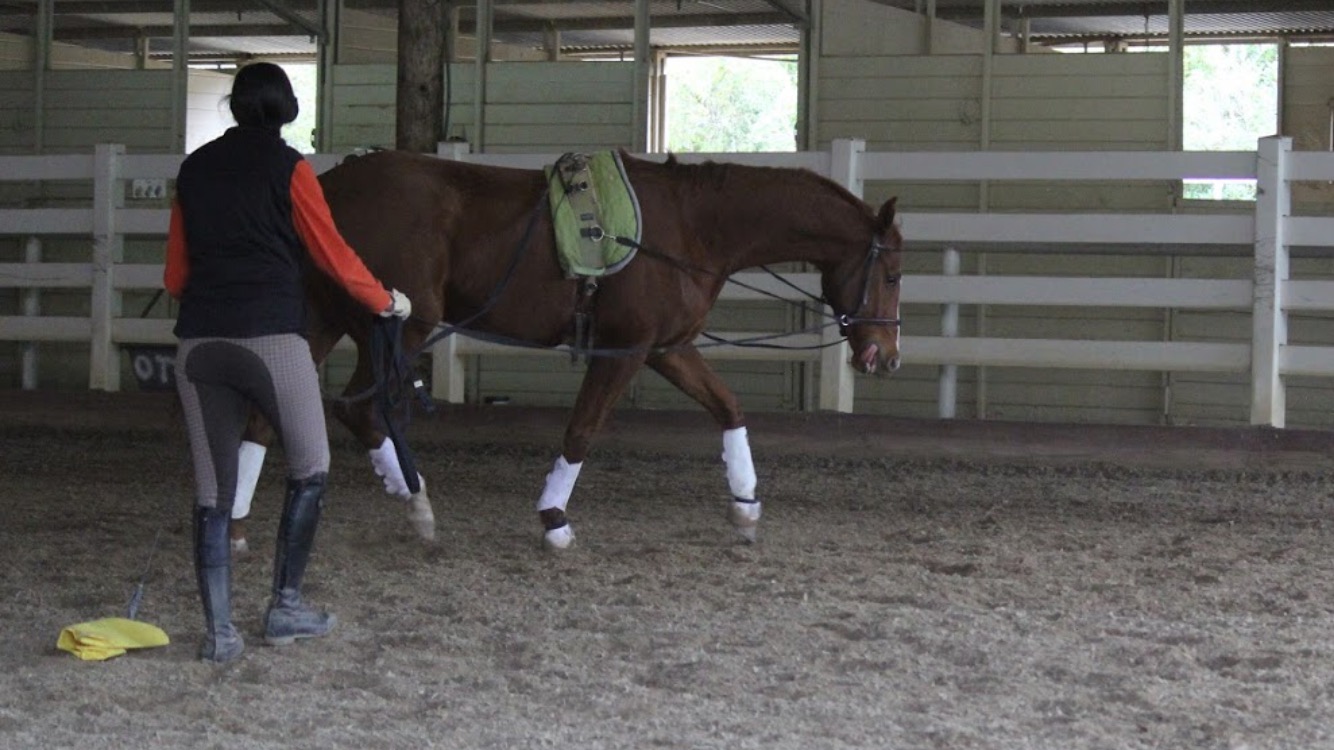
Under saddle Blue has found an even walk tempo with consistent stretch and energy.  We can do this walk in the arena and around the ranch.  He can execute a rein yield and a leg yield in the walk without resistance.
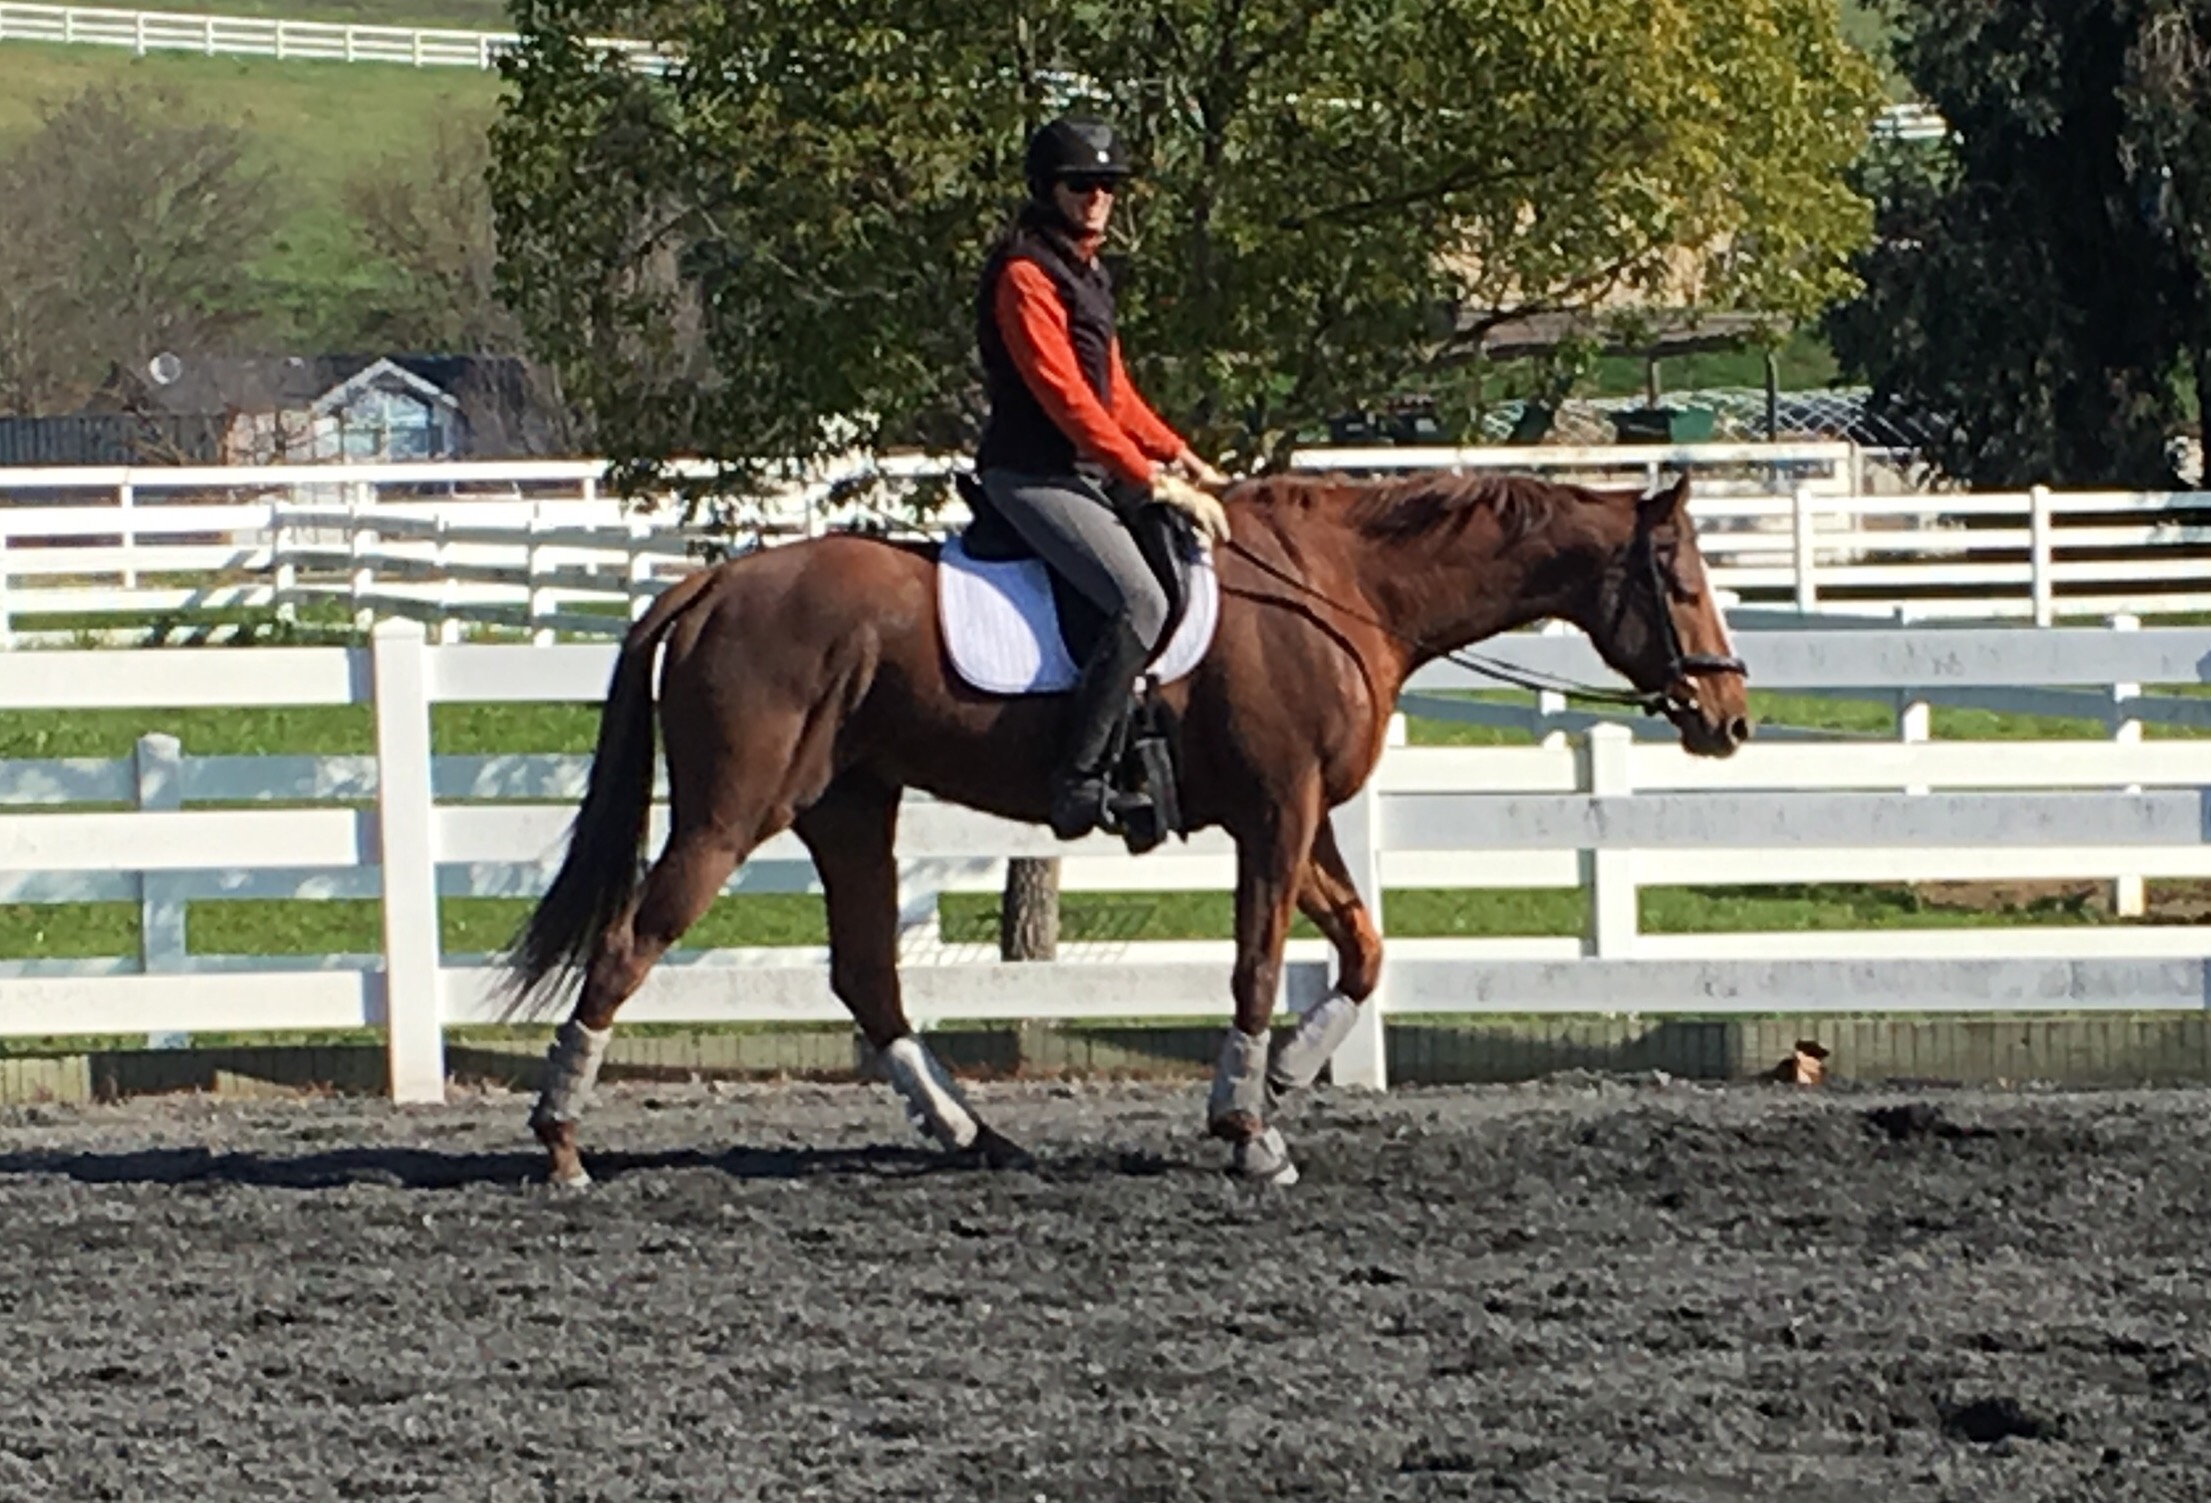
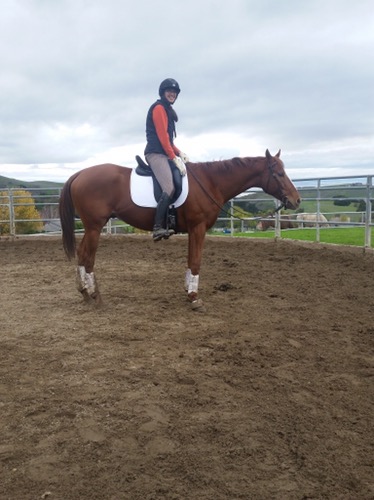
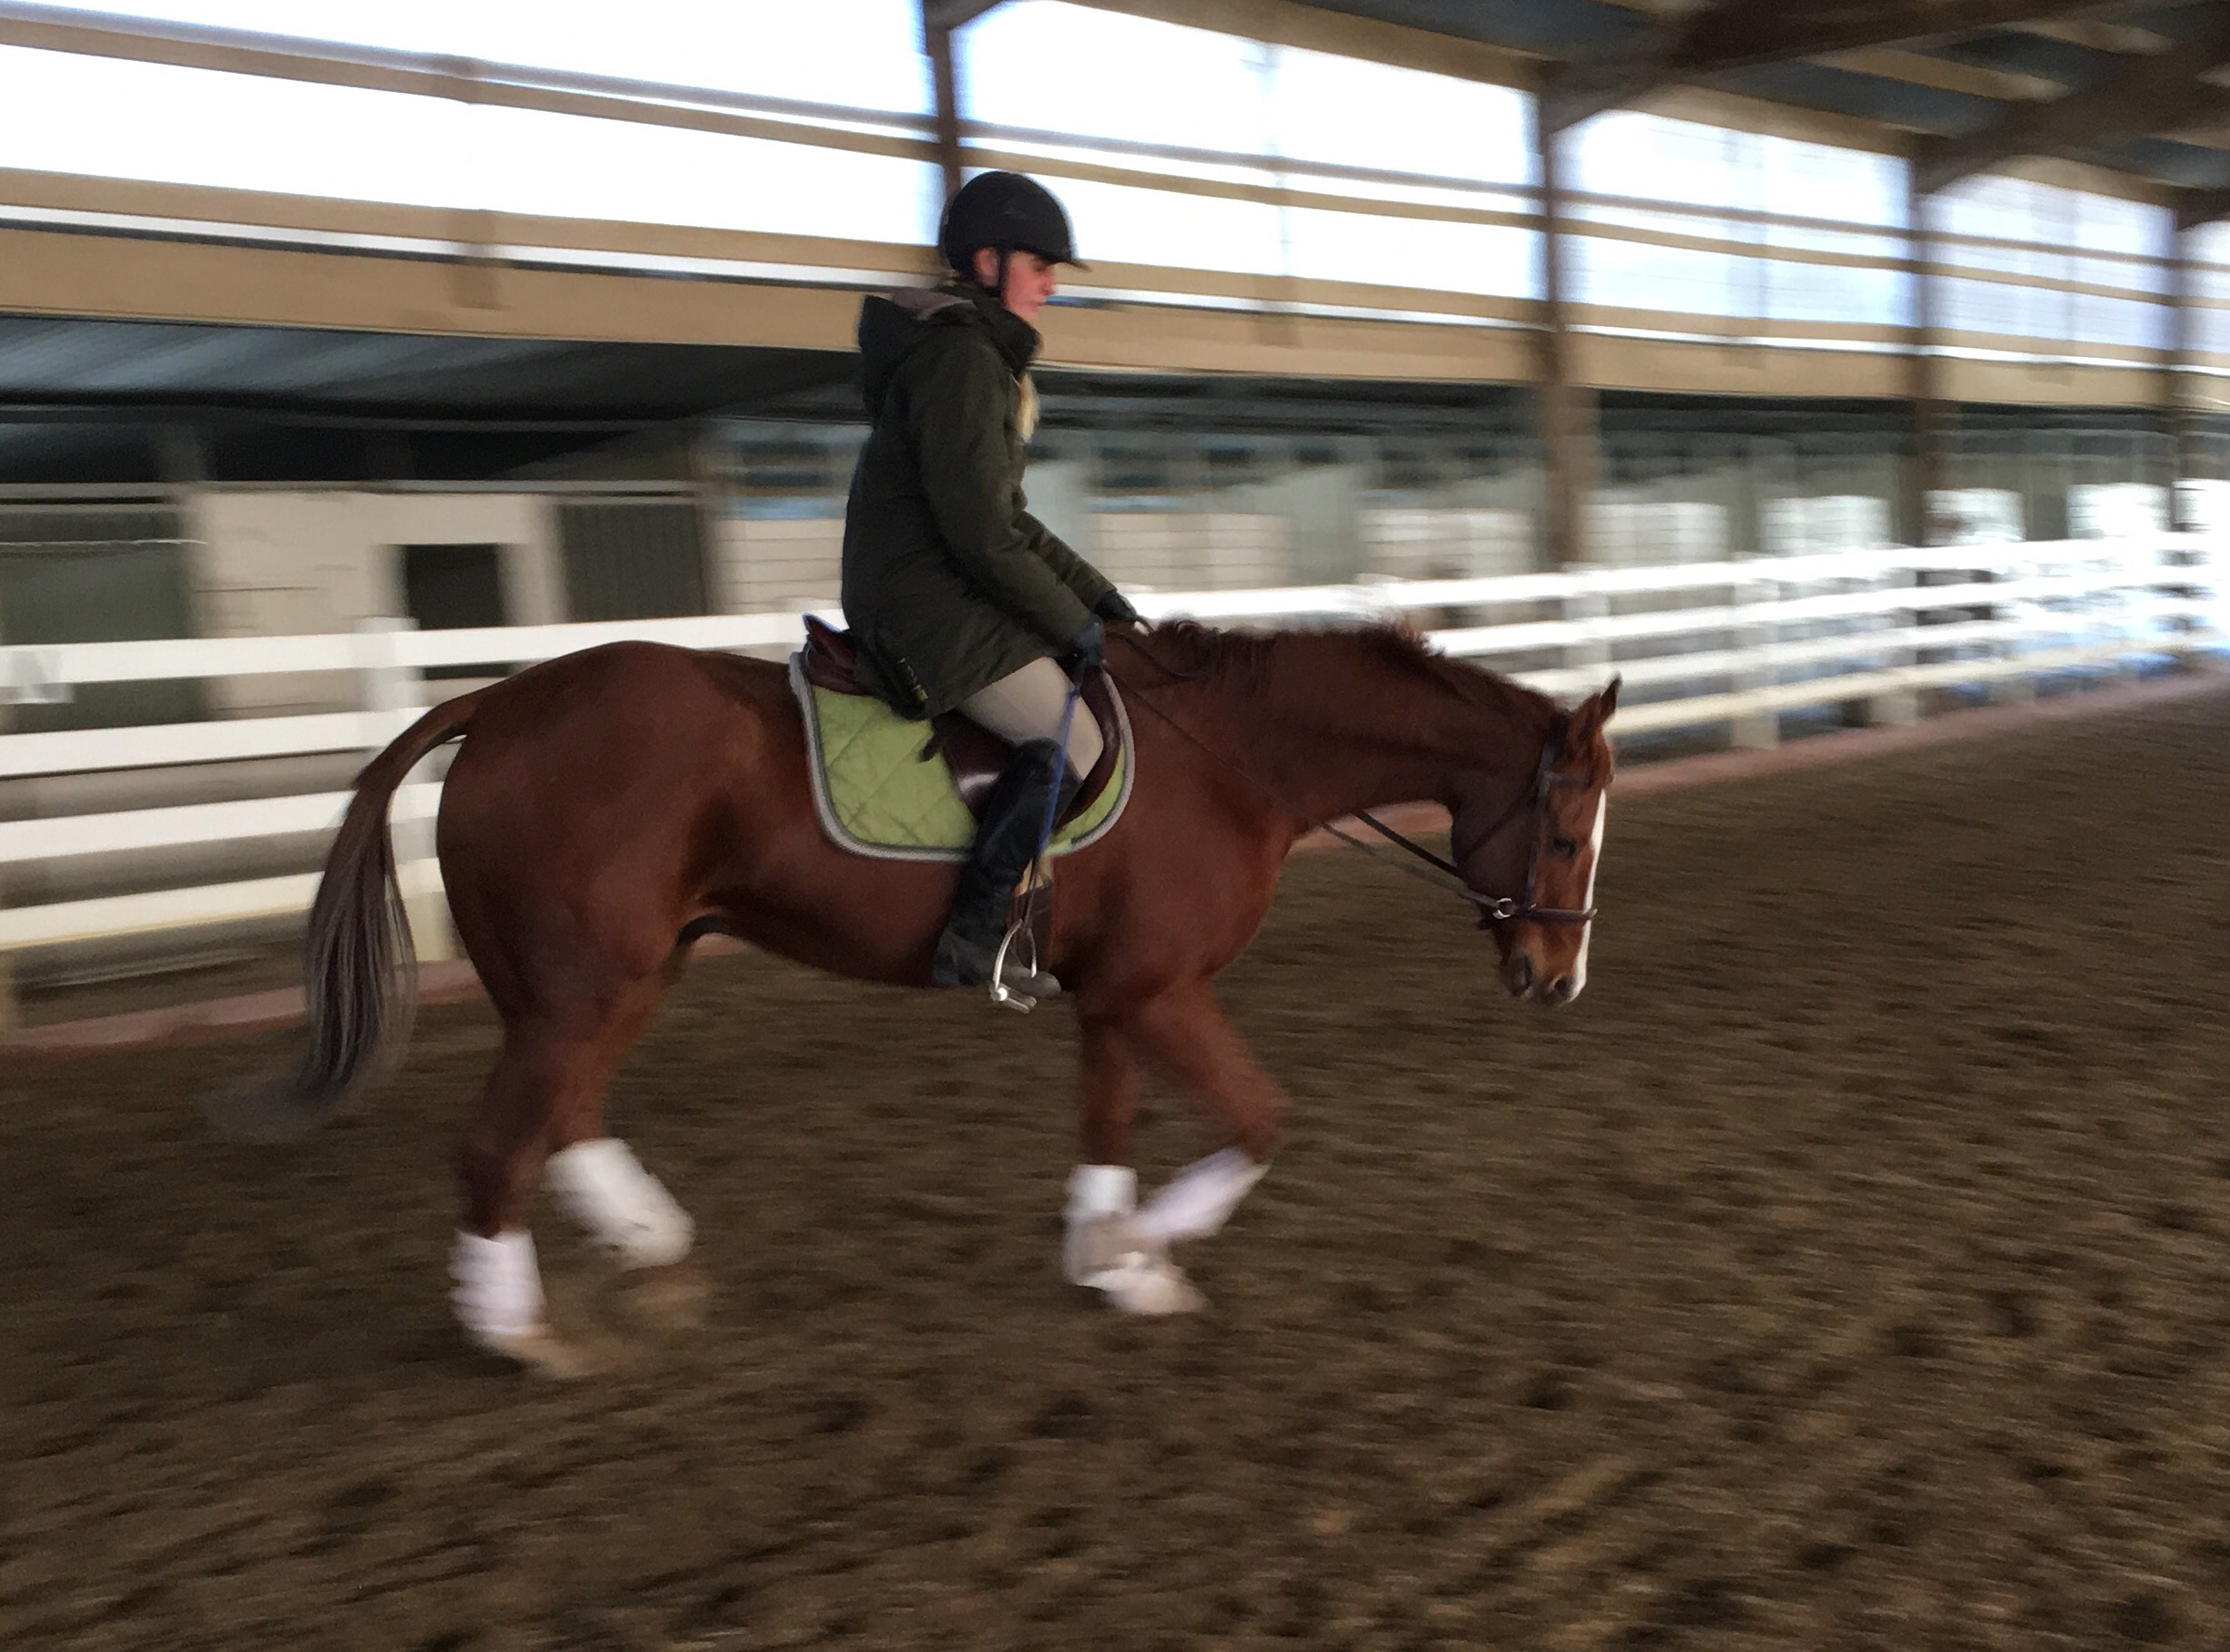
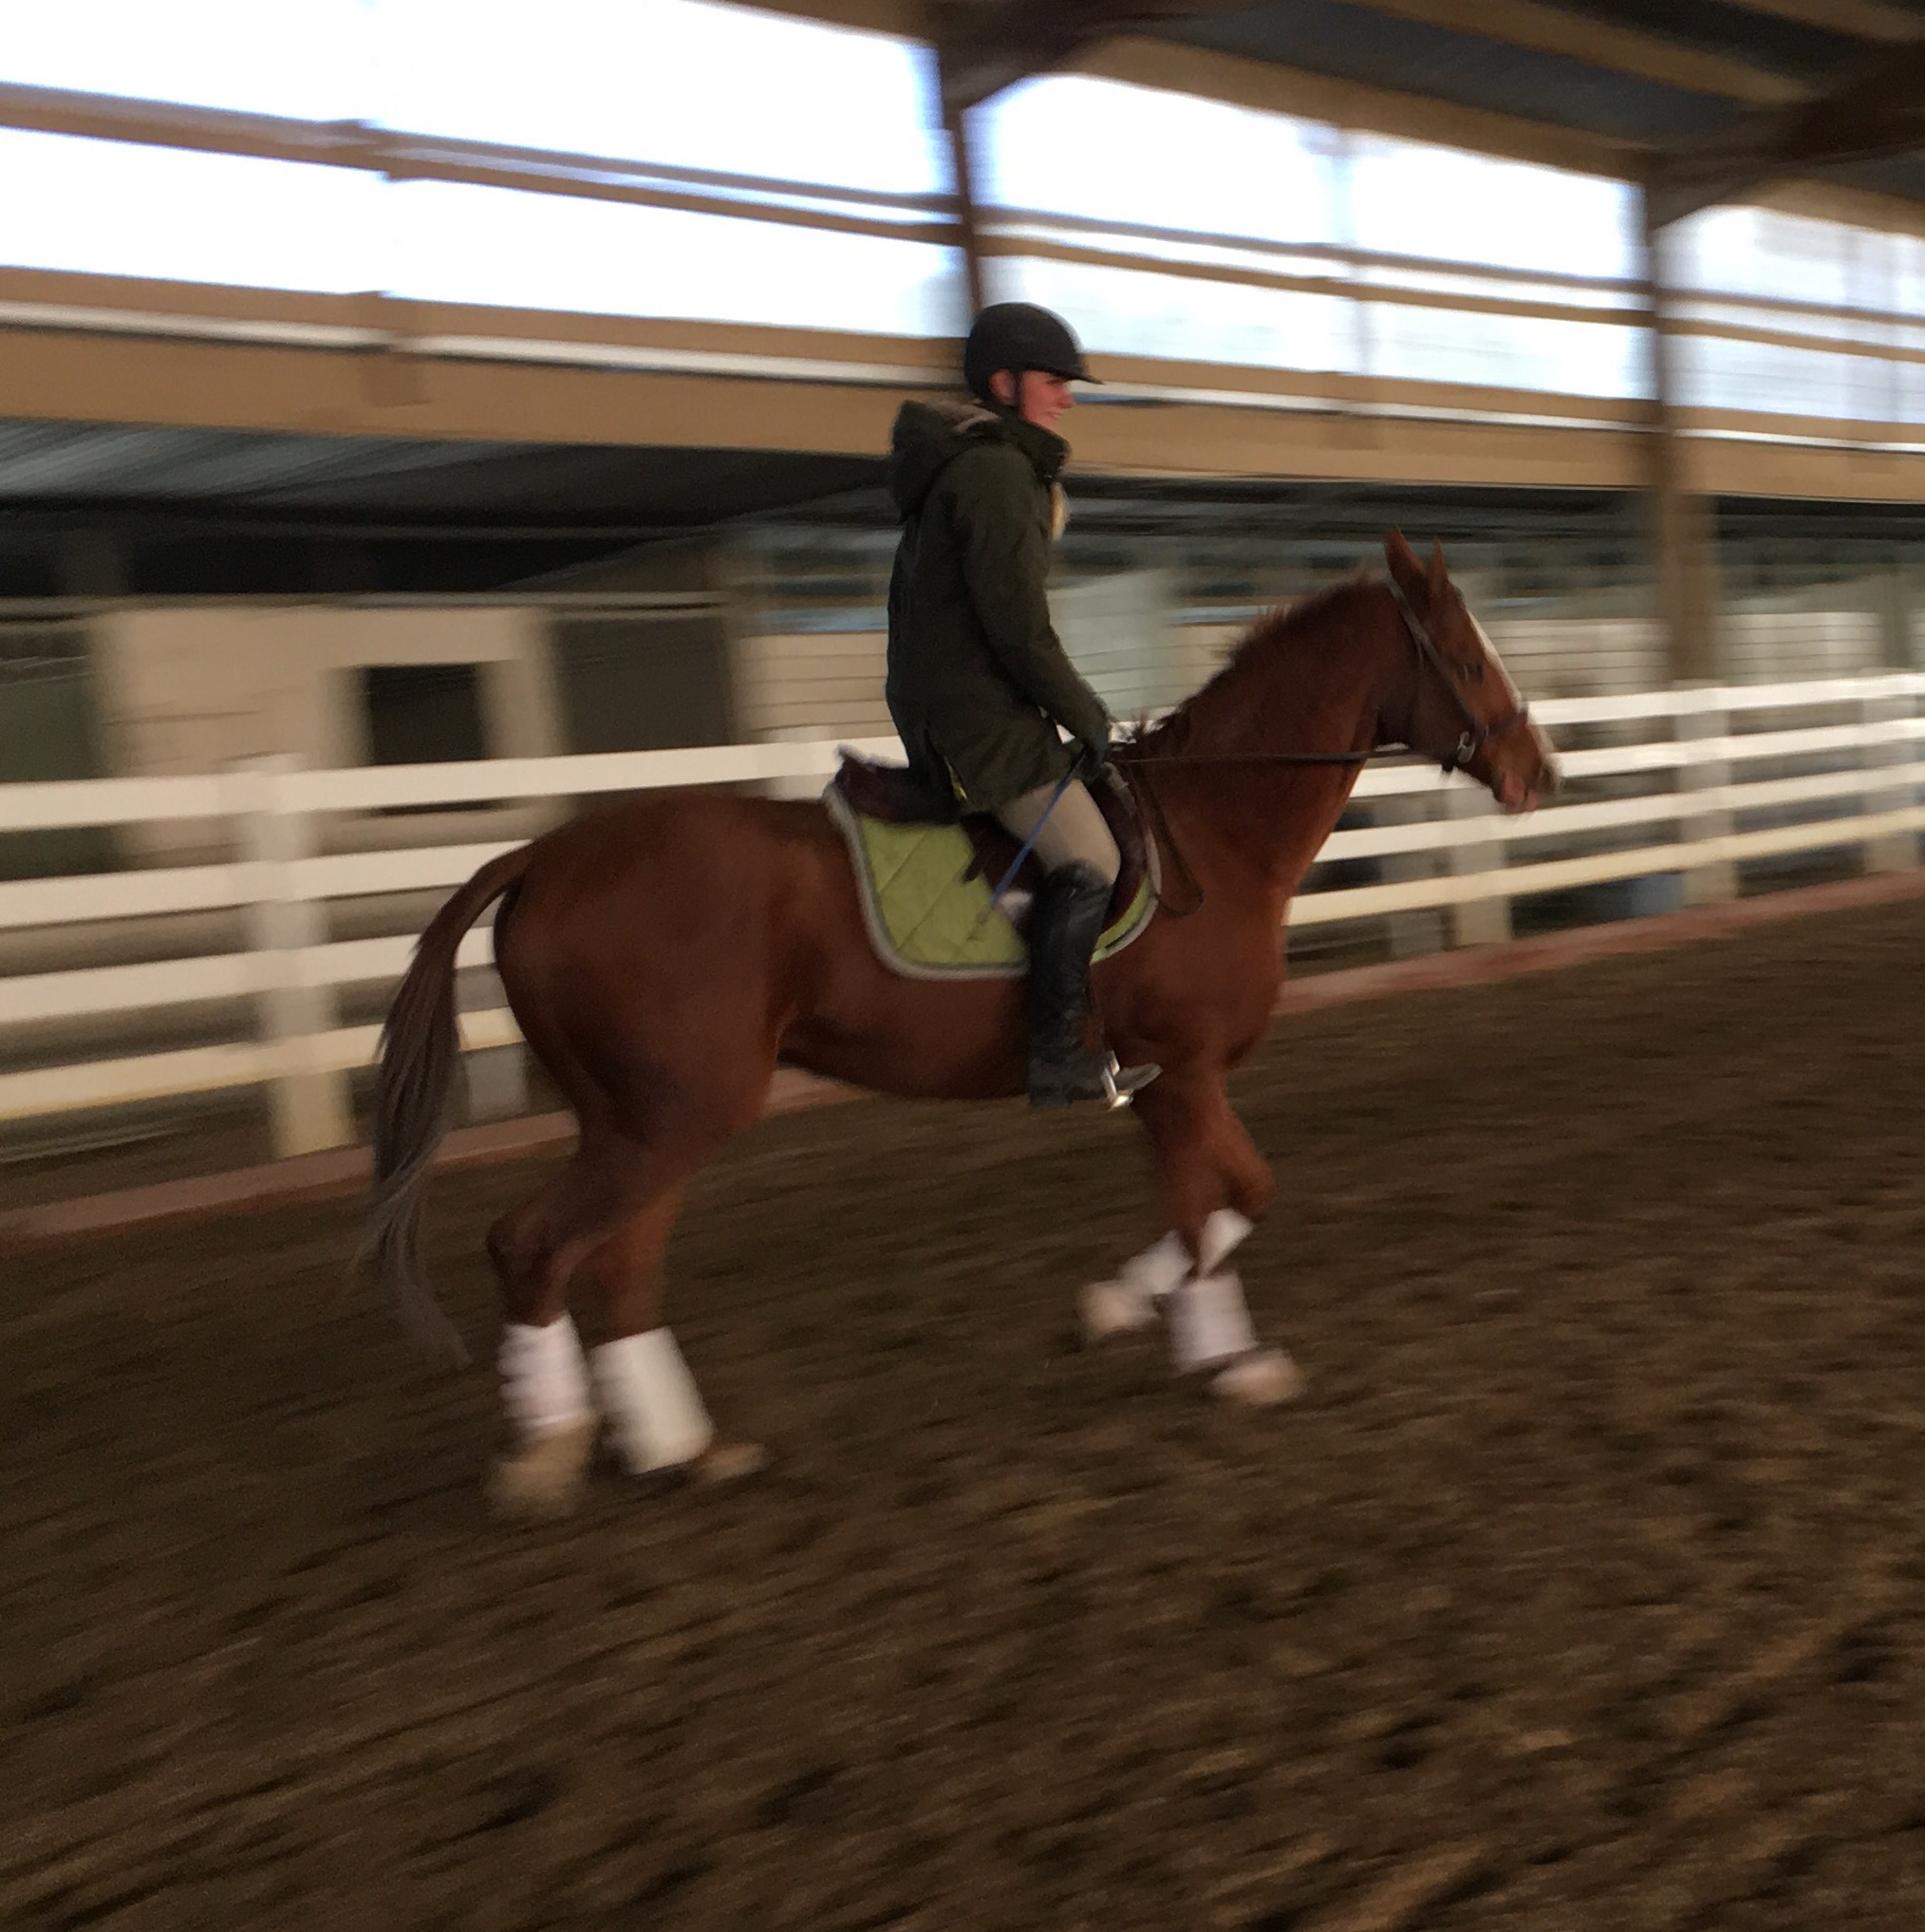
This is about as high as Blue’s neck gets in the walk right now.  He’s got a pure rhythm with good energy and reach.

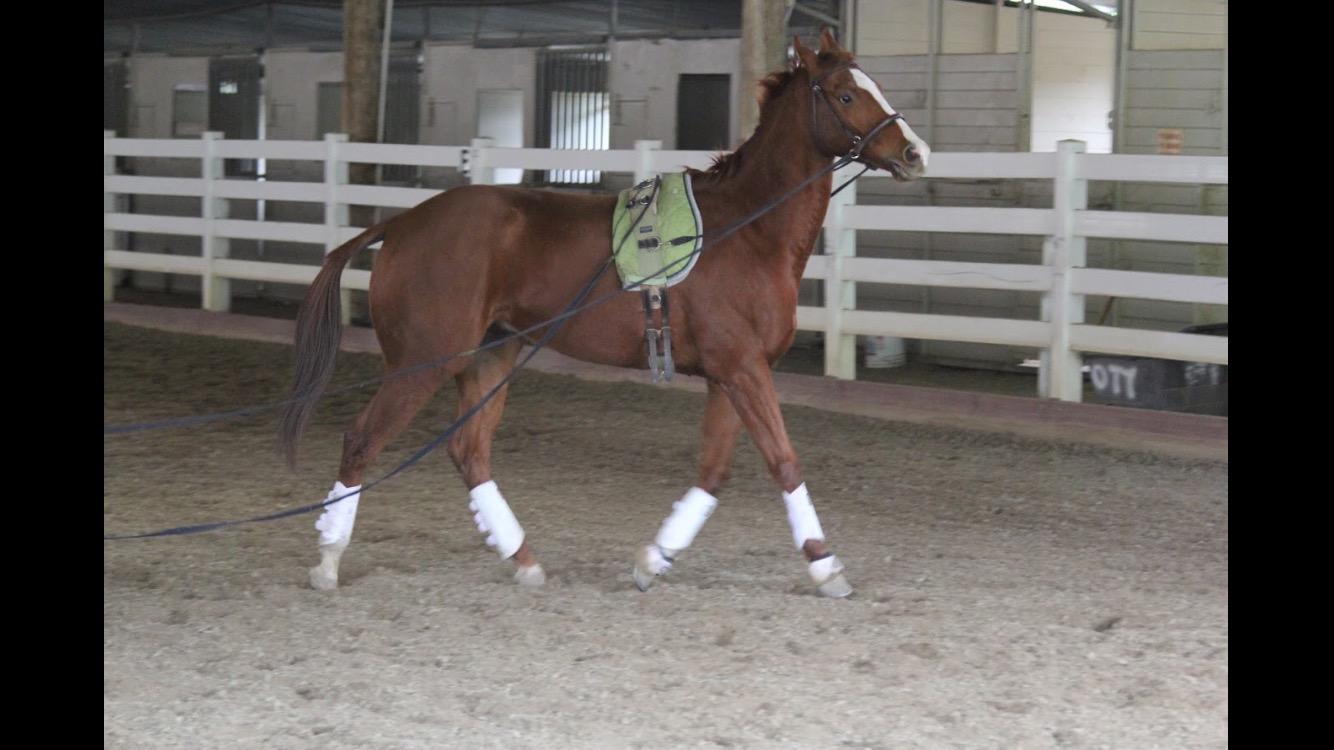
Blue is working on these same elements in the trot.  He’s making good progress towards an even tempo, an even stretch over his top line, and yielding from the rein and the leg in the trot.  When he is more consistent in these departments, we will begin cantering under saddle.
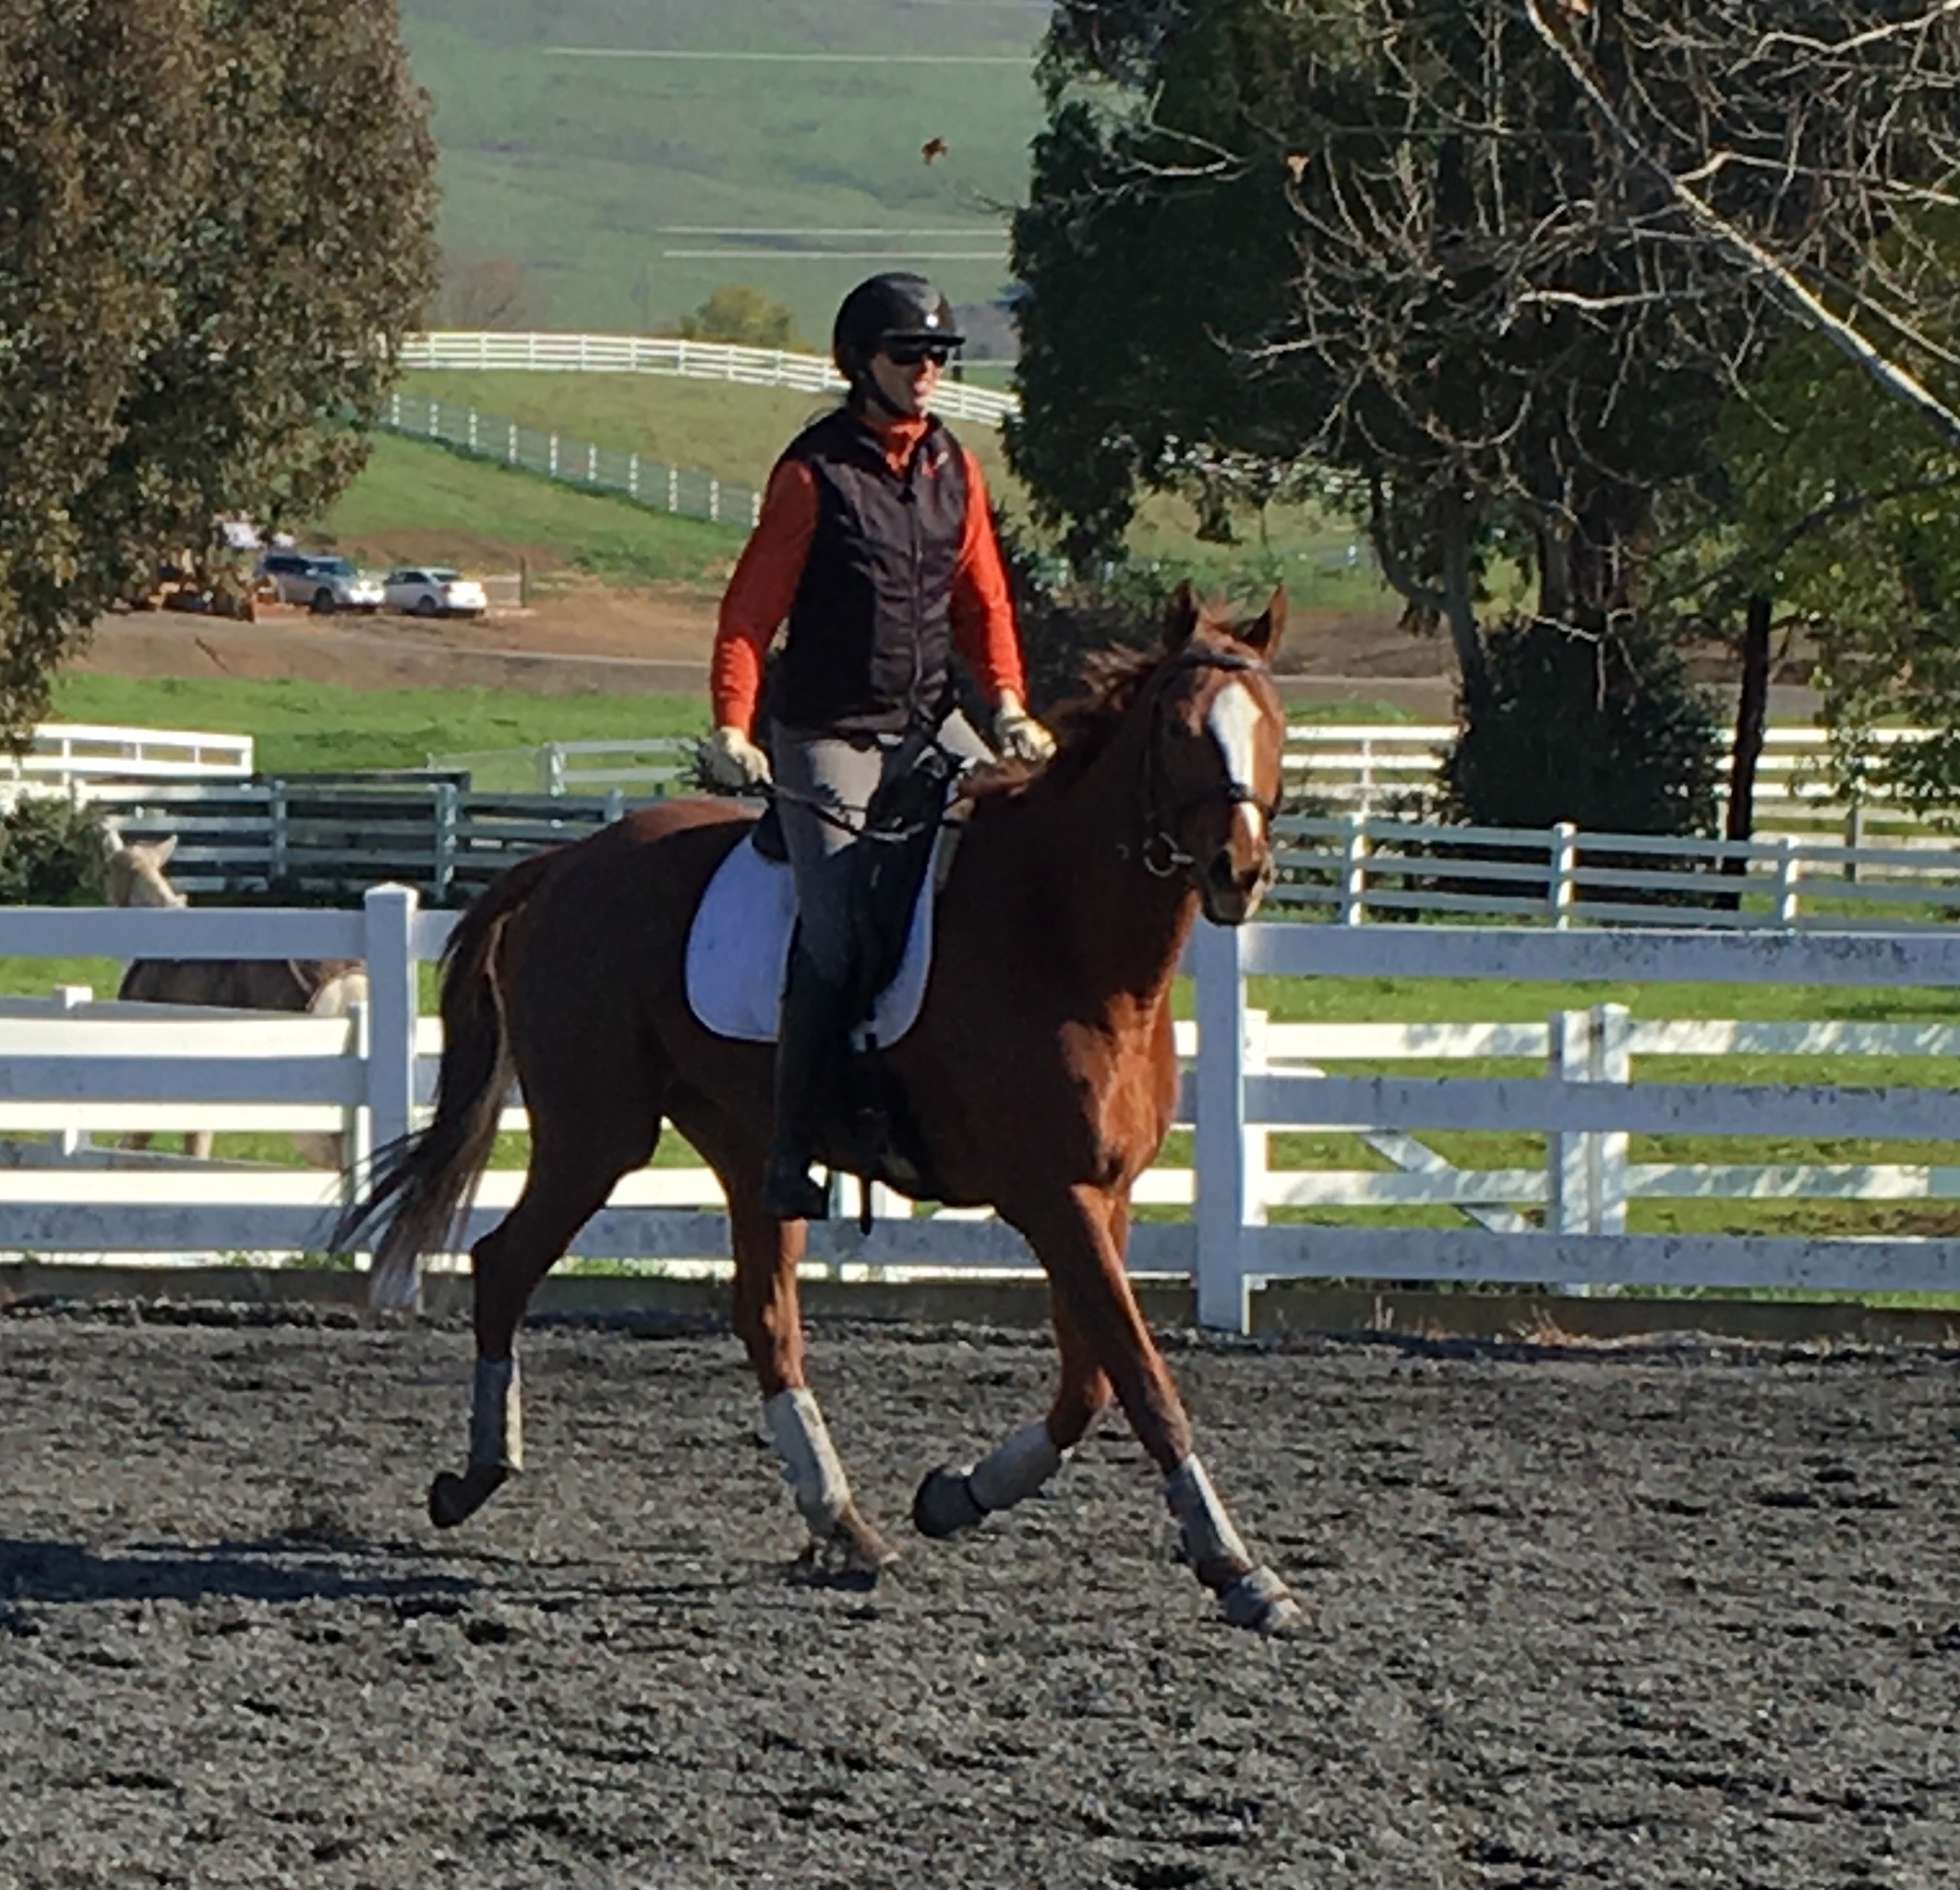
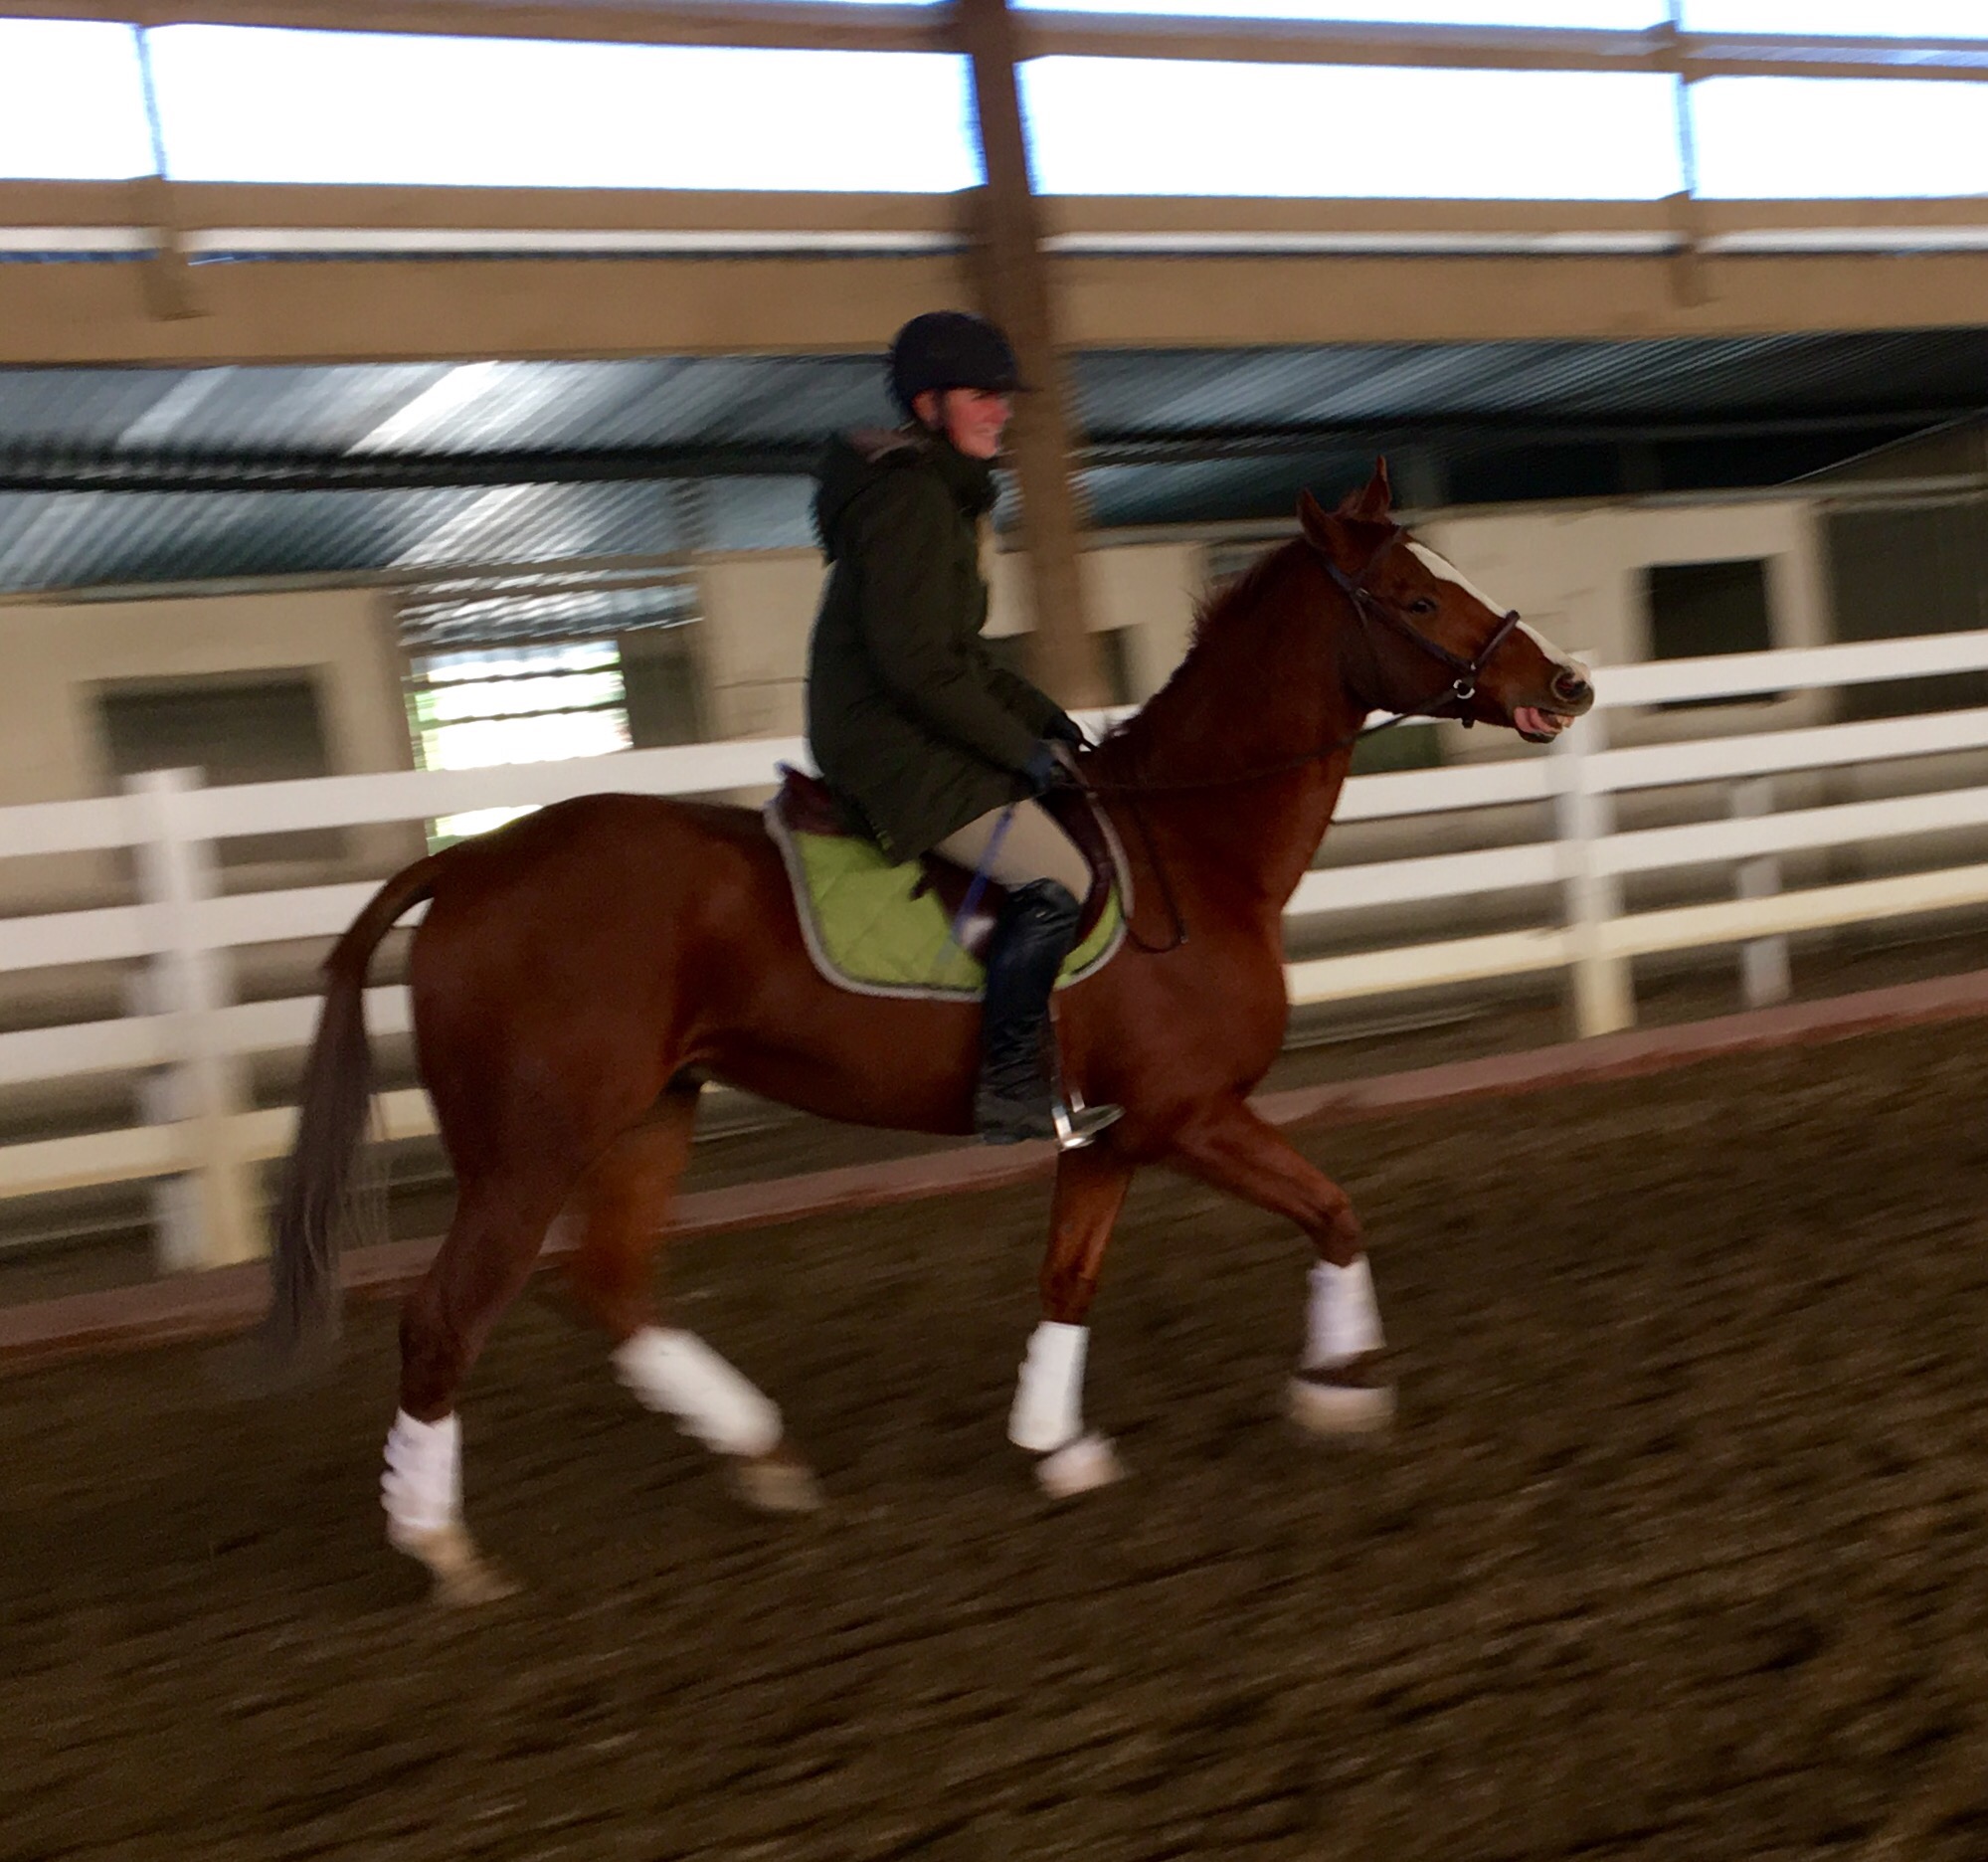
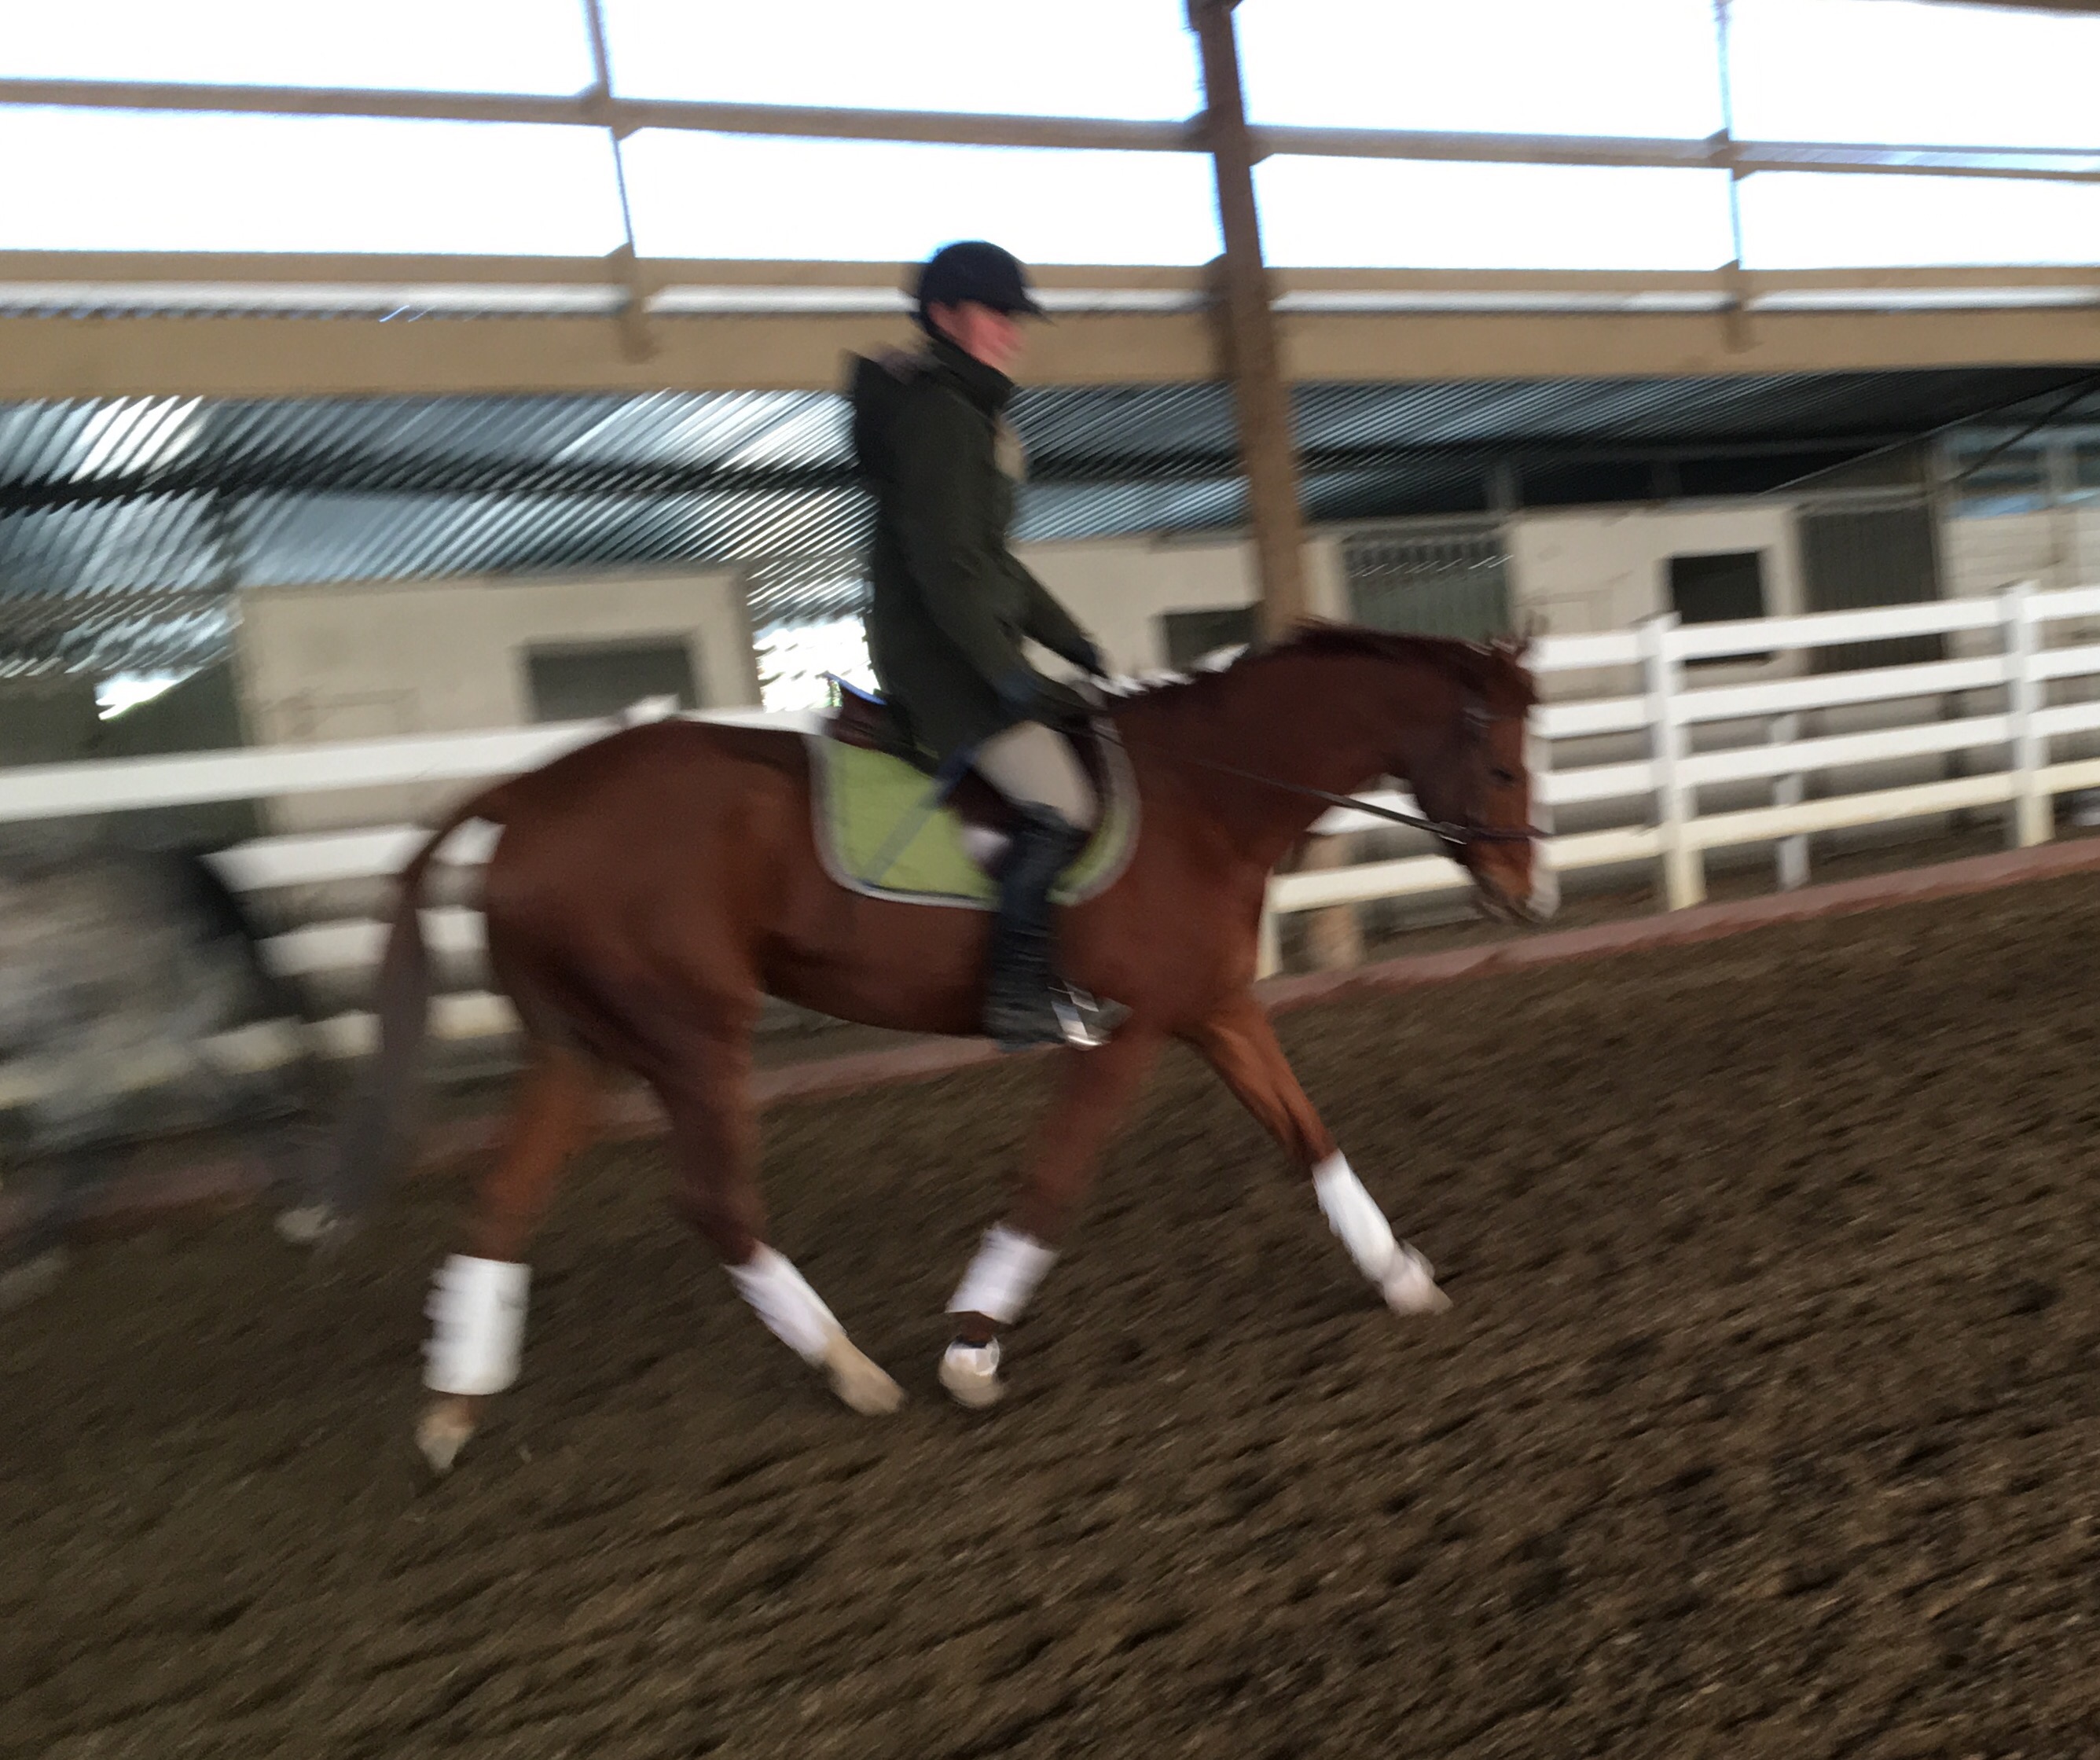
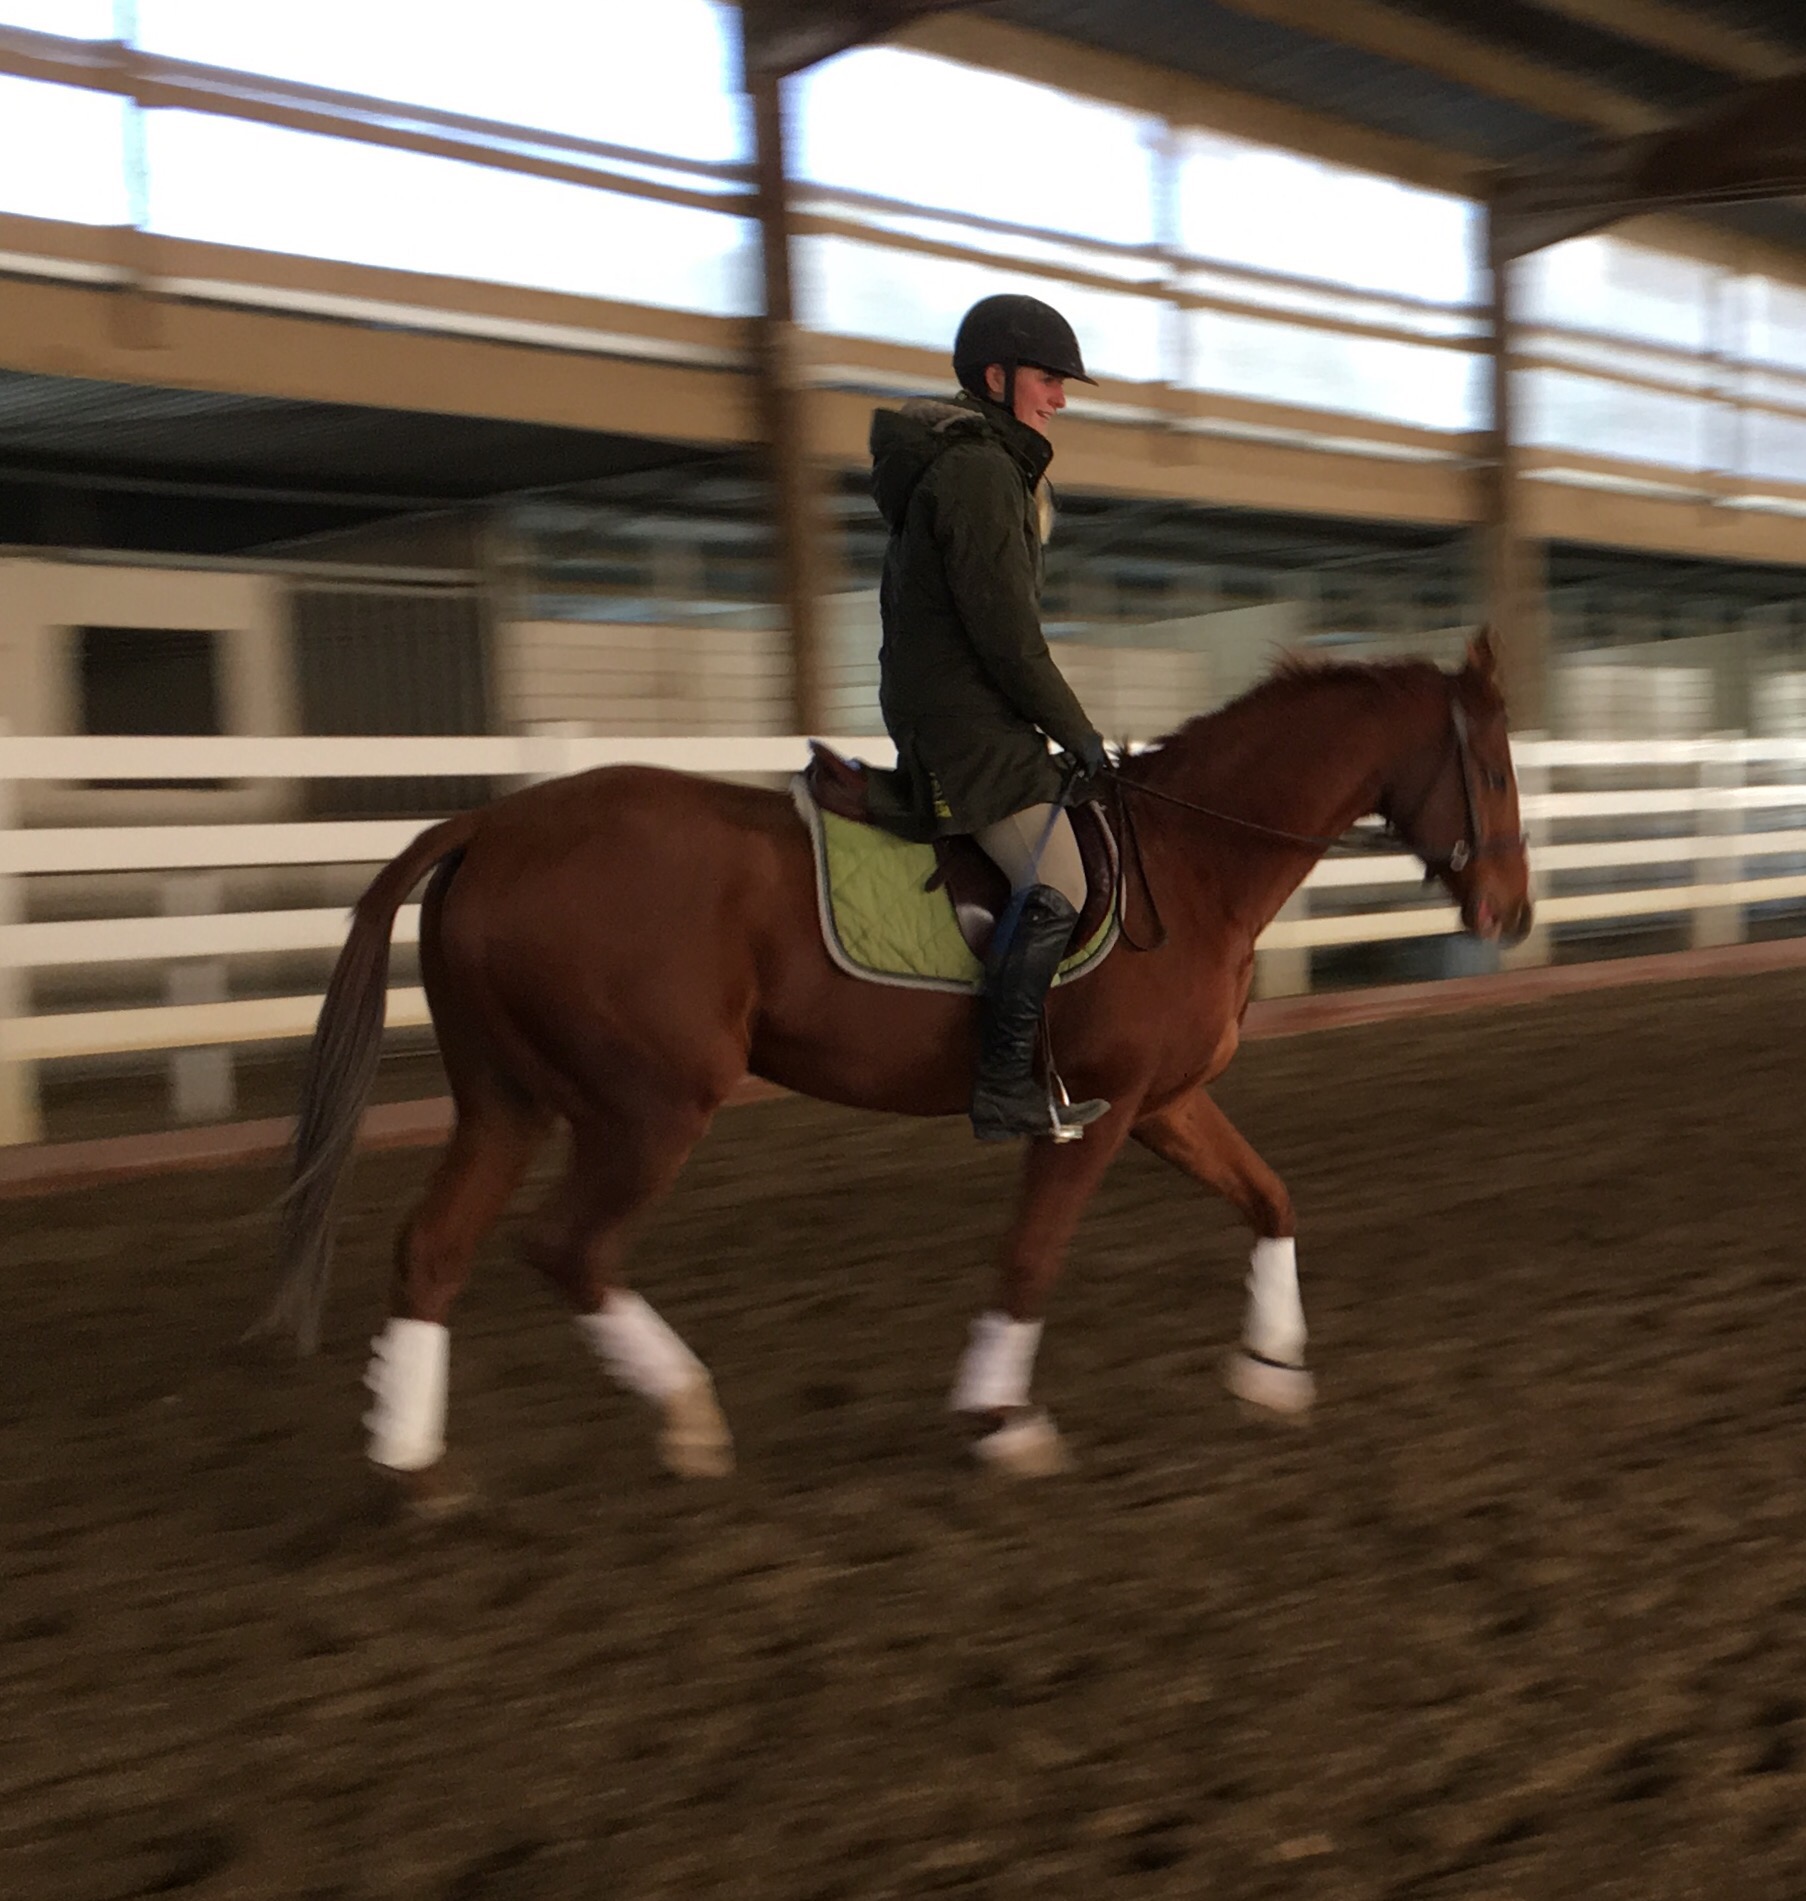
 This is the worst we do in the trot right now.  Even so, it’s not horrible.  While his neck is up and his back is down, he is not bracing against my lateral aids.  This arena is on a bit of a slope and we had some trouble turning and balancing while going down hill.
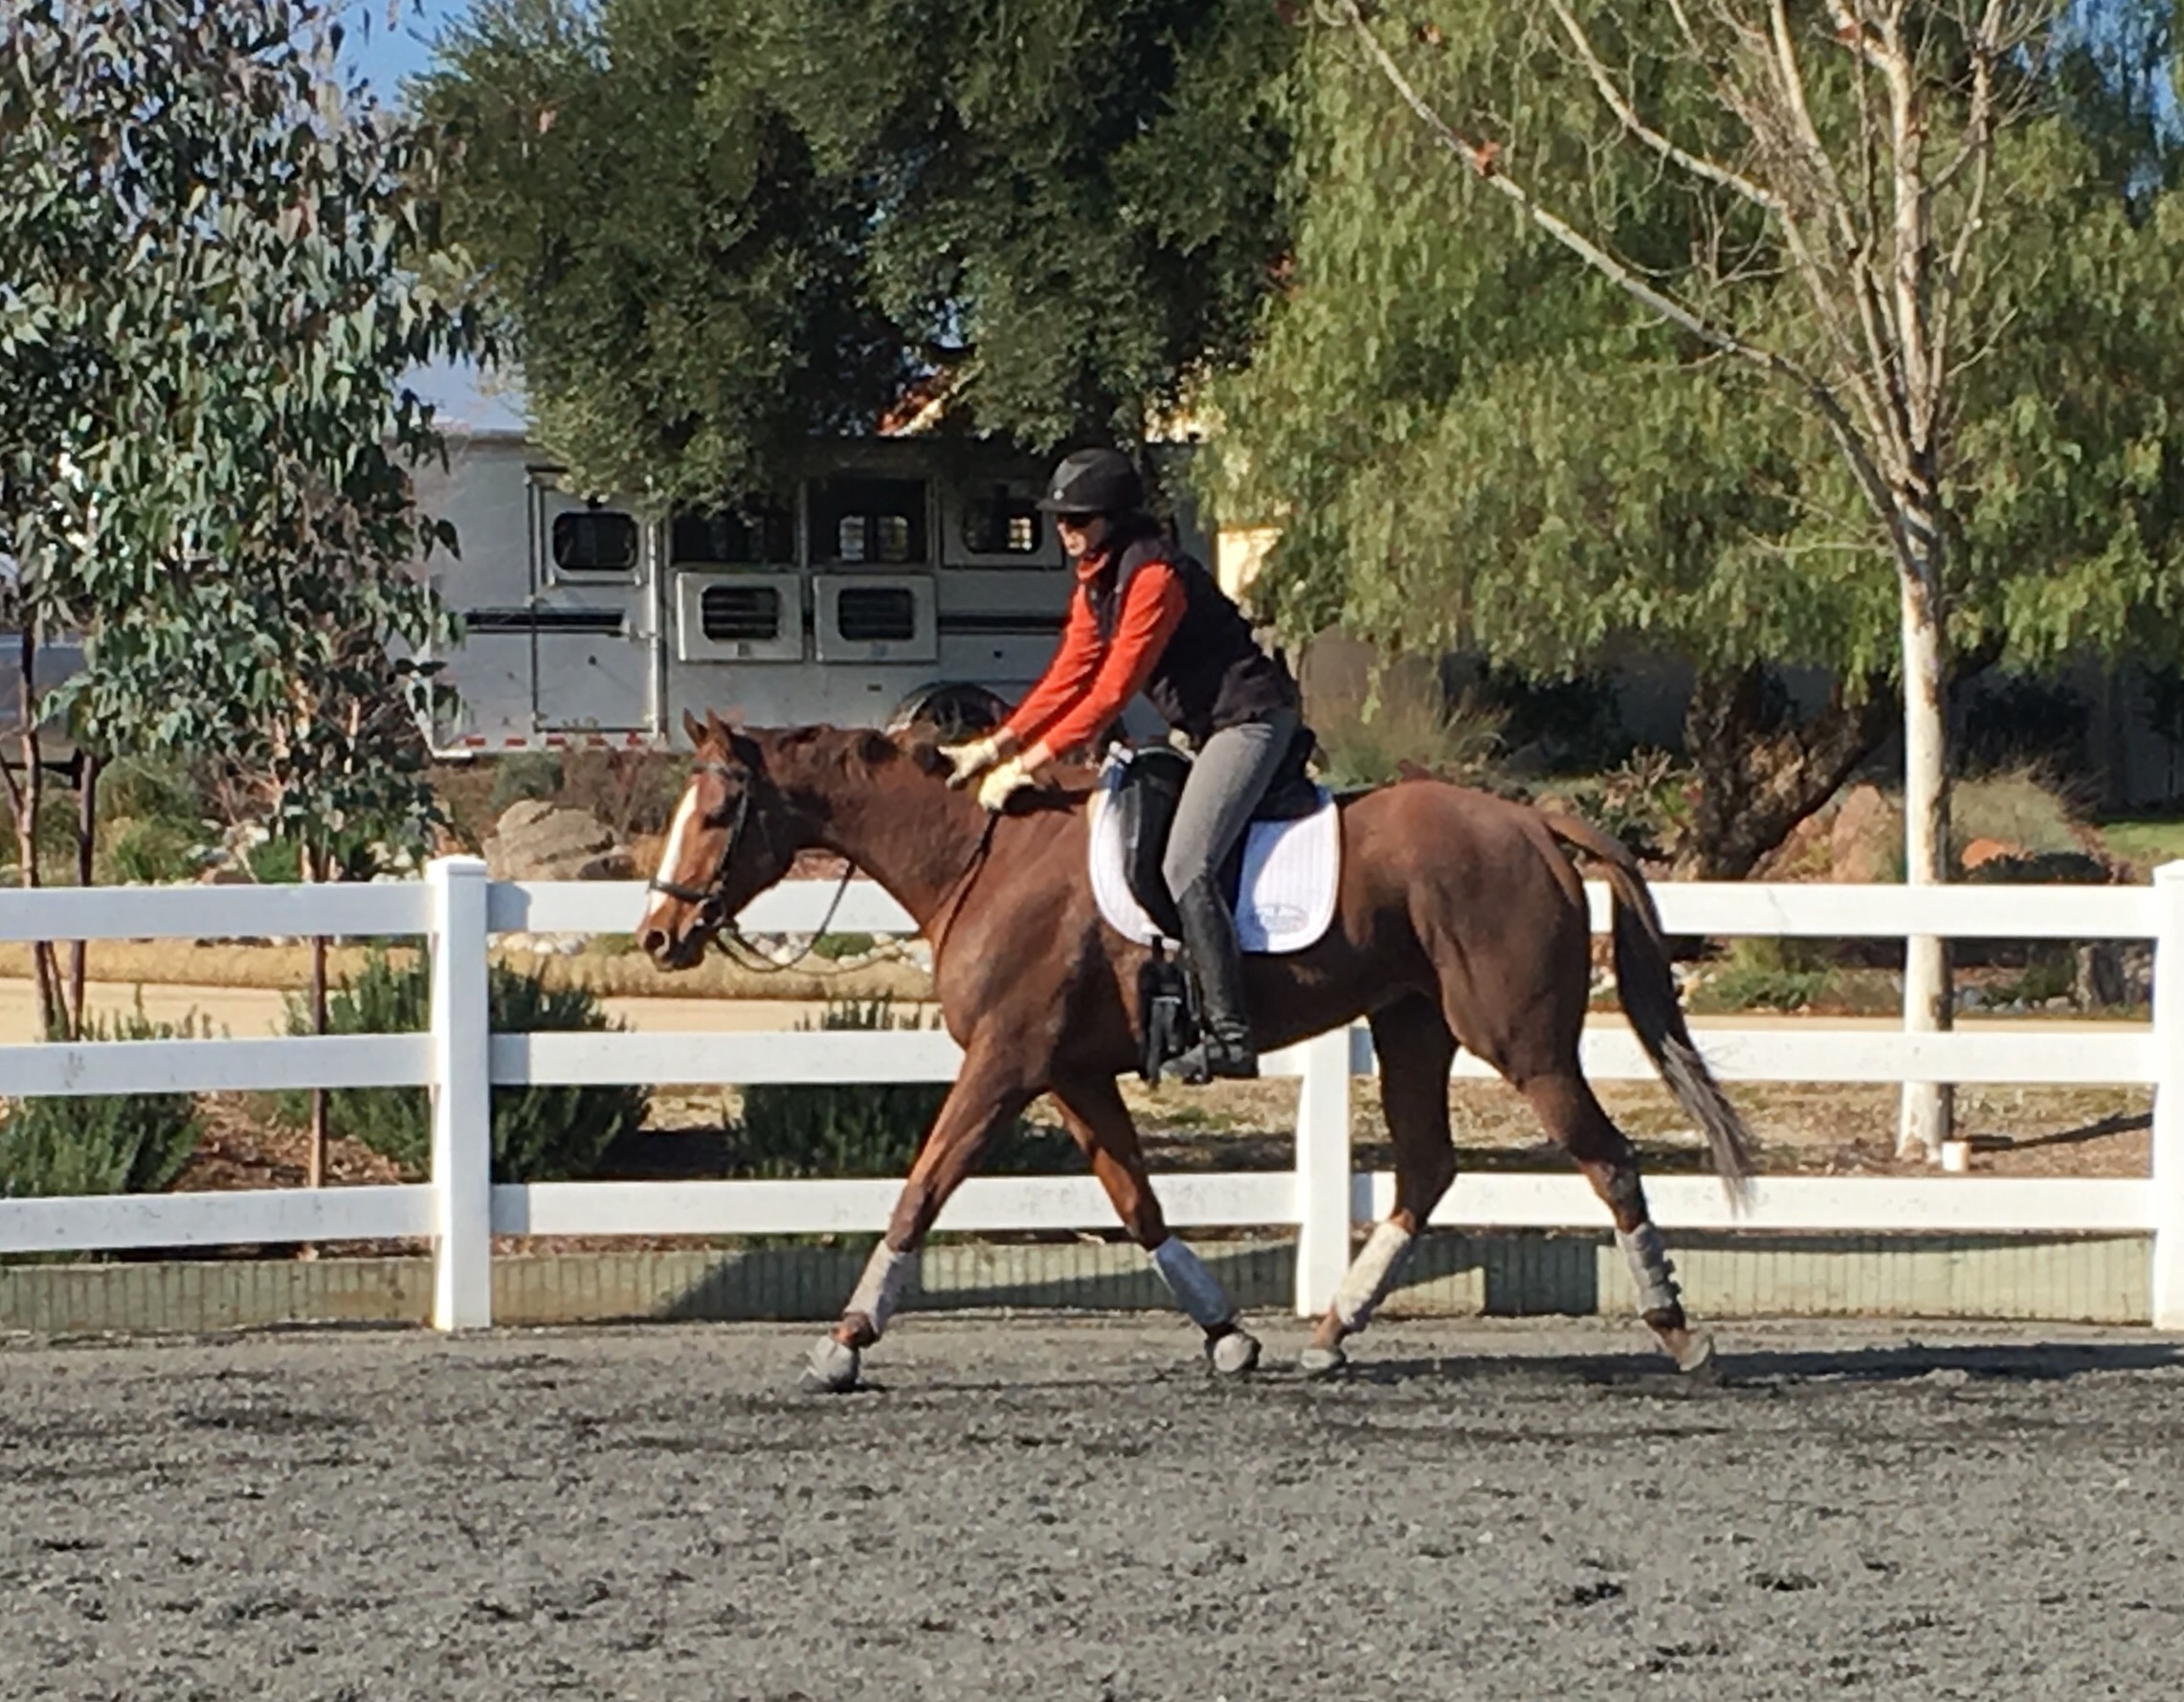
 I’m certainly not winning any equitation contests here, but I am encouraging Blue to lower his neck via direct pressure.  Moving around in the tack is also useful to teach Blue  how to balance with a rider on top of him who is not going to hold him up.
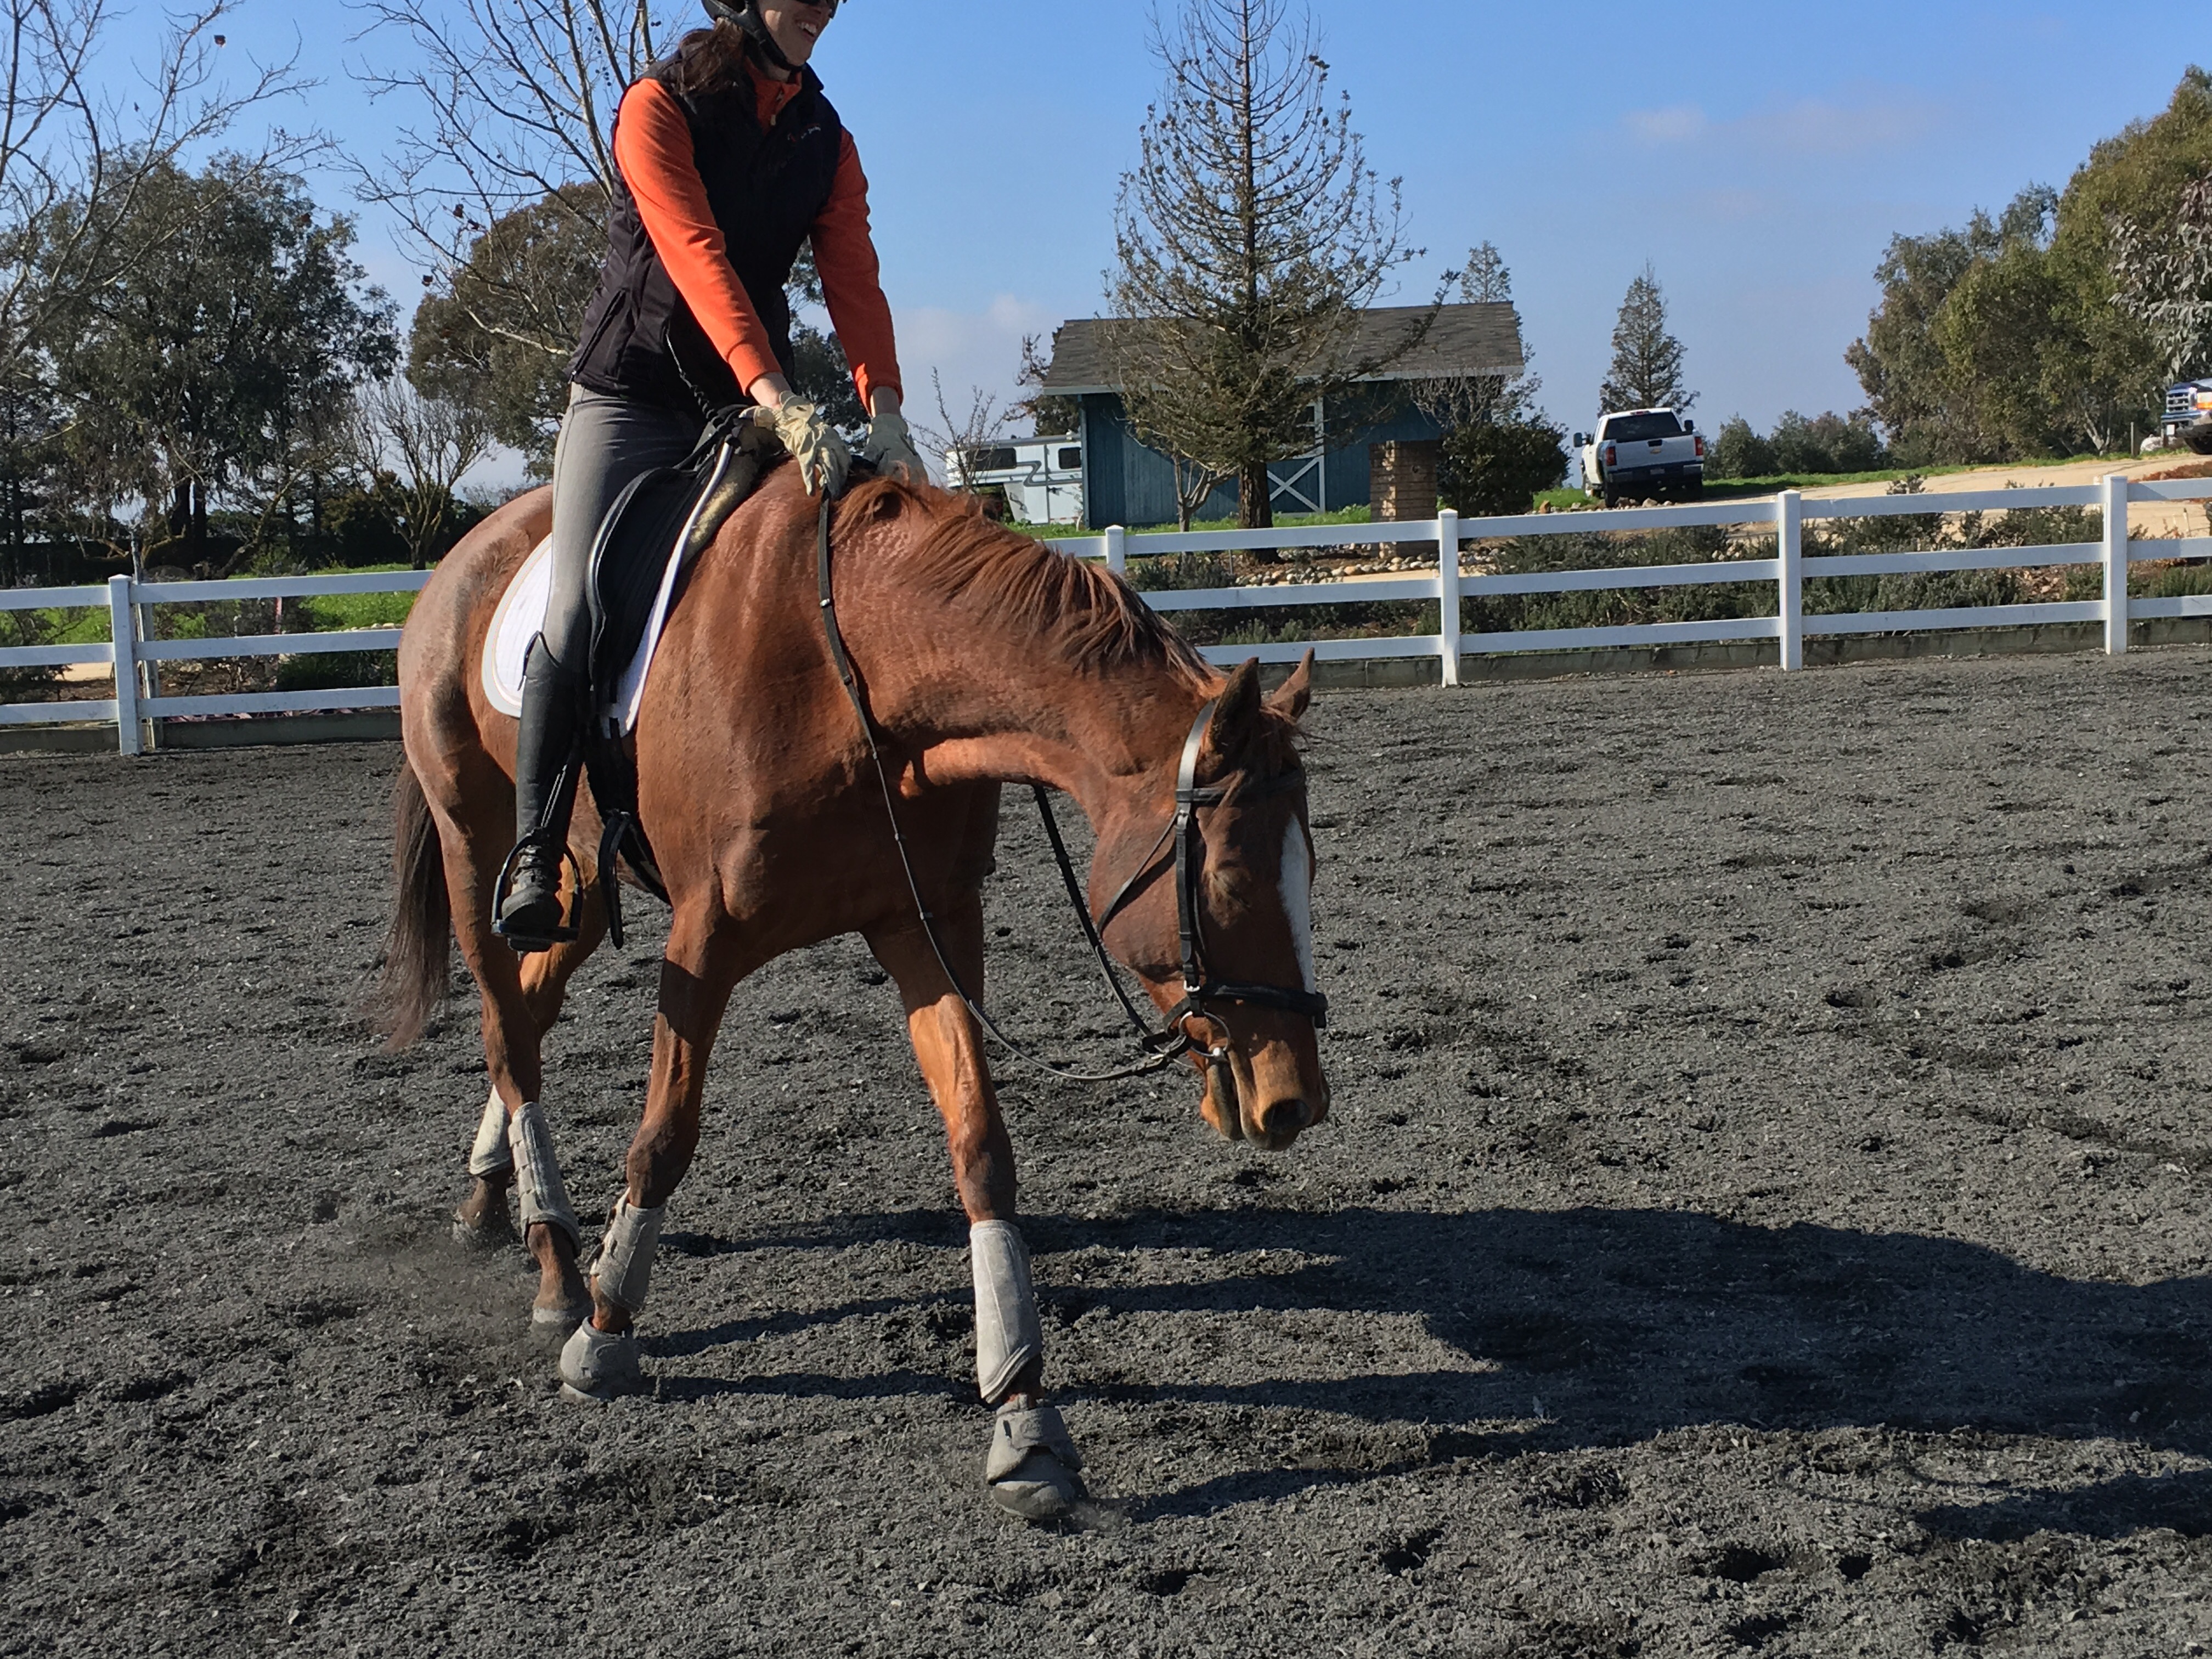
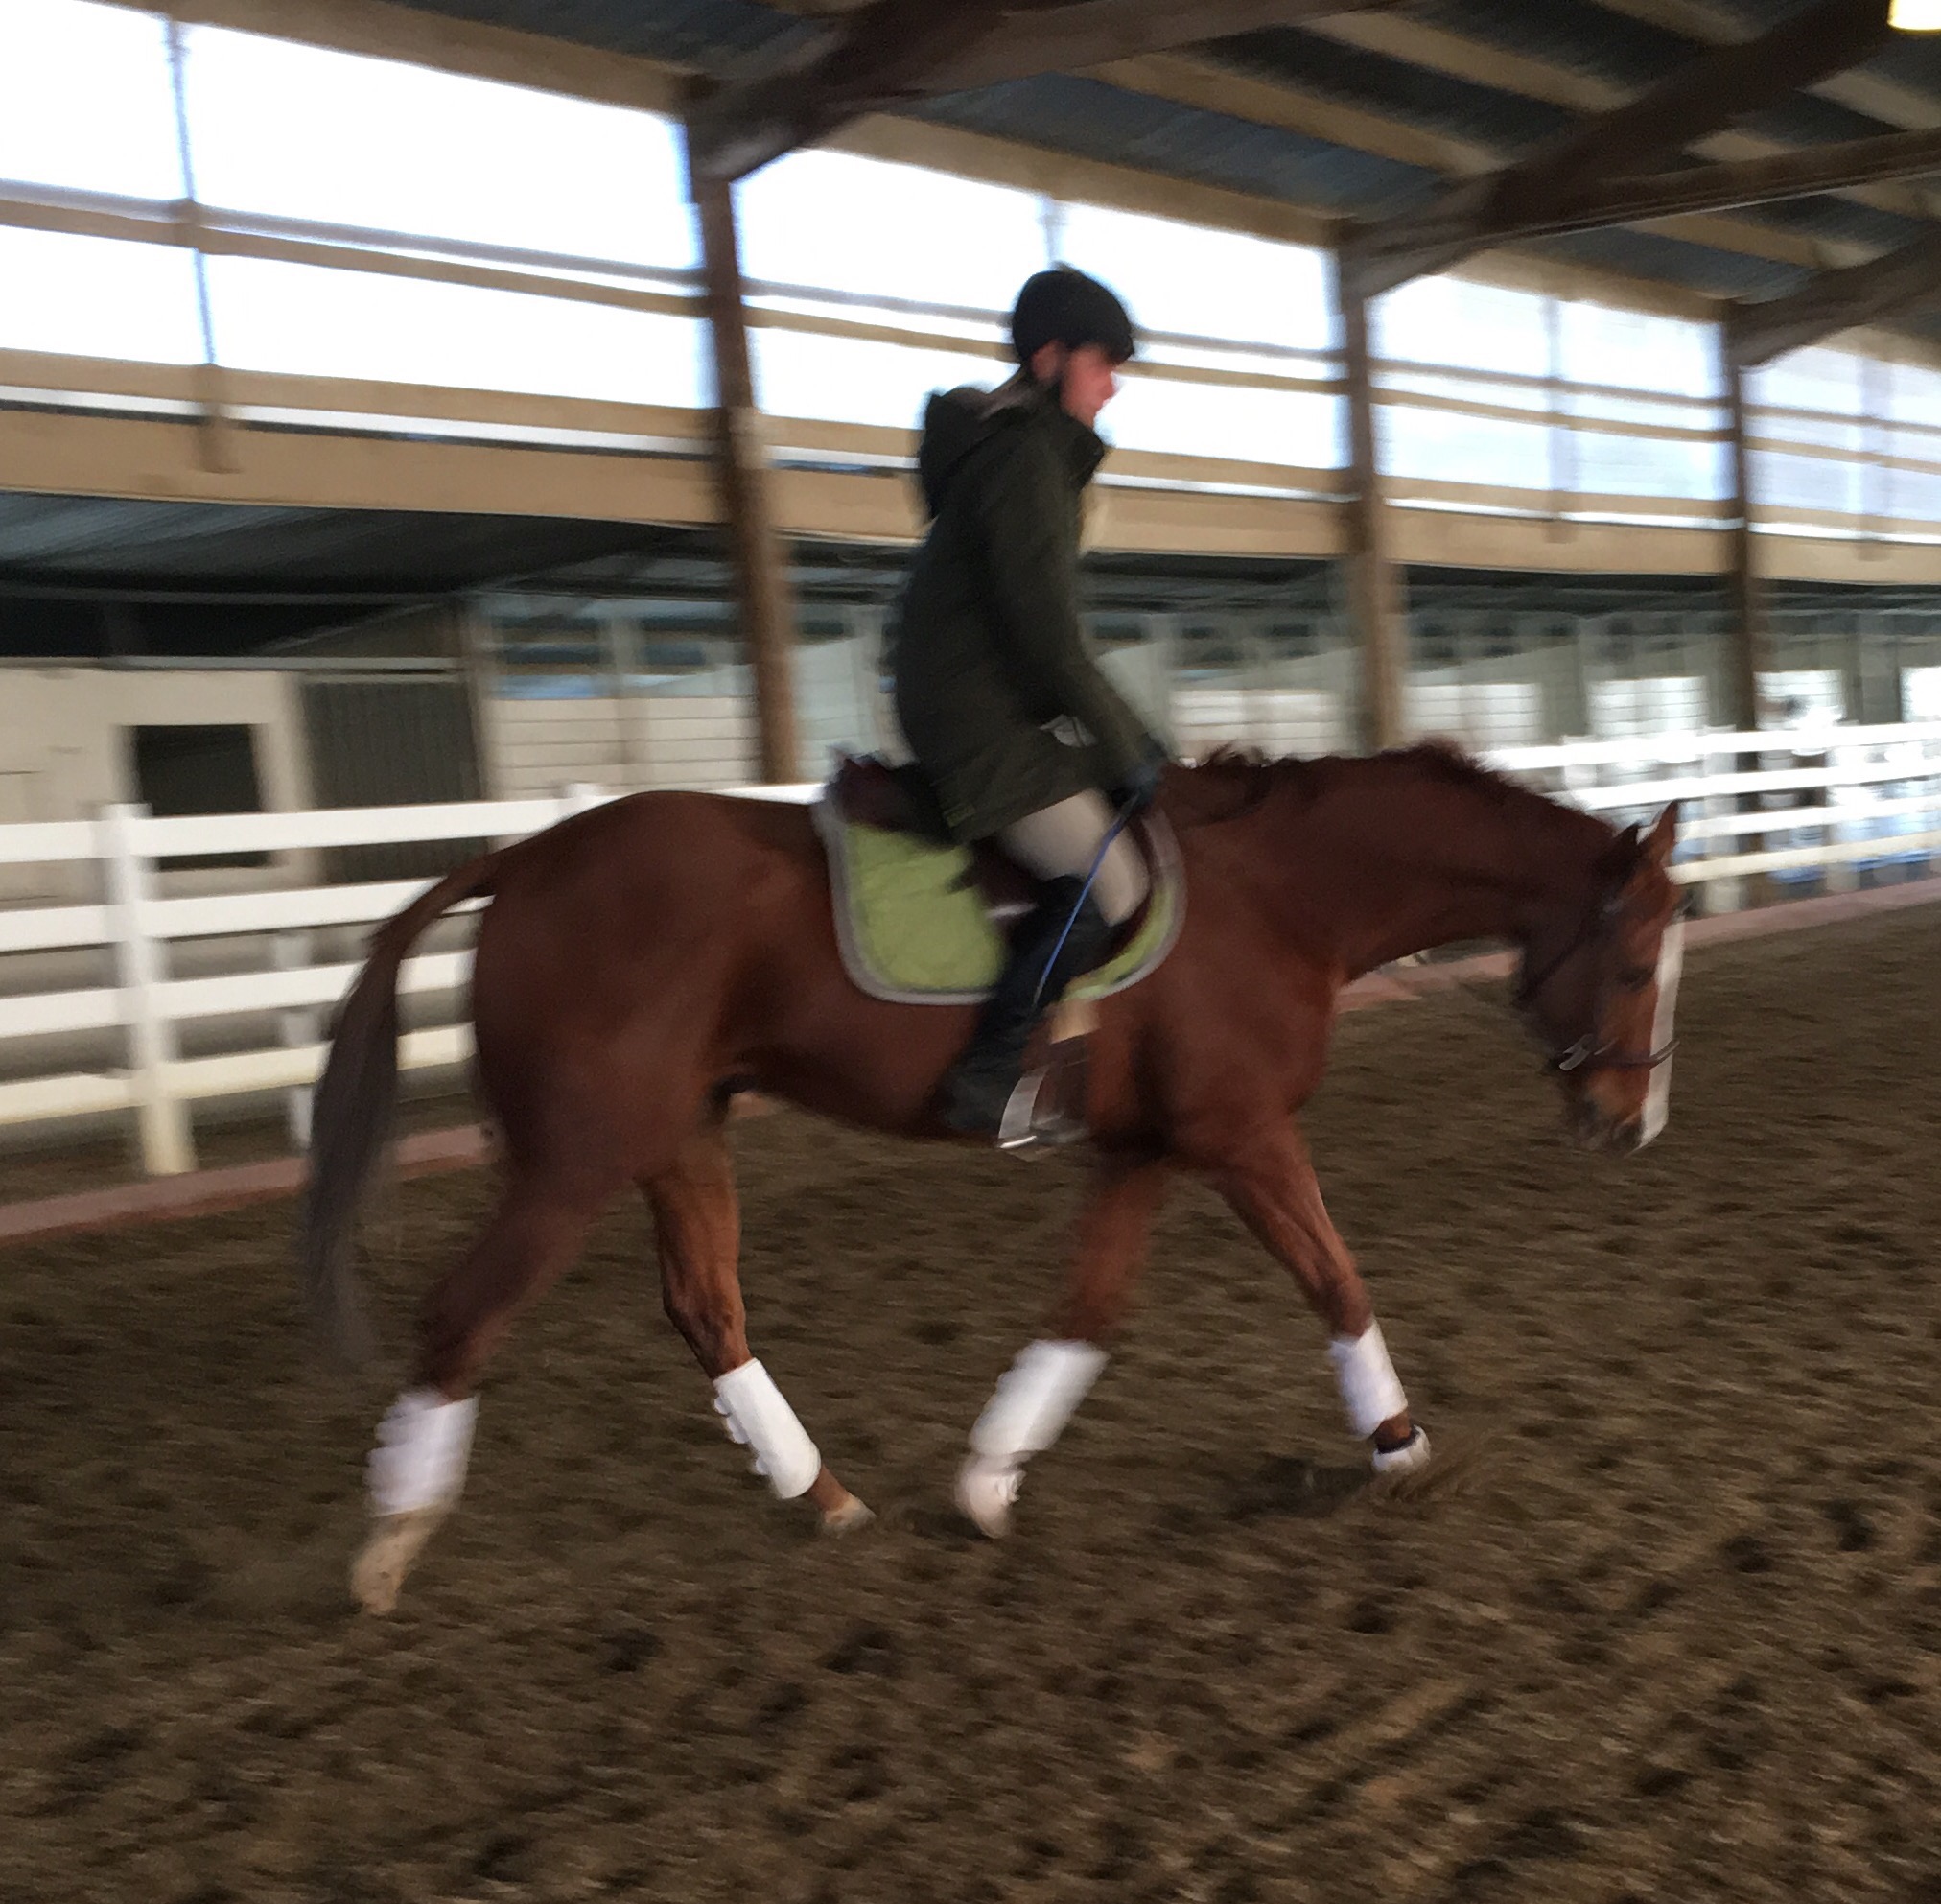
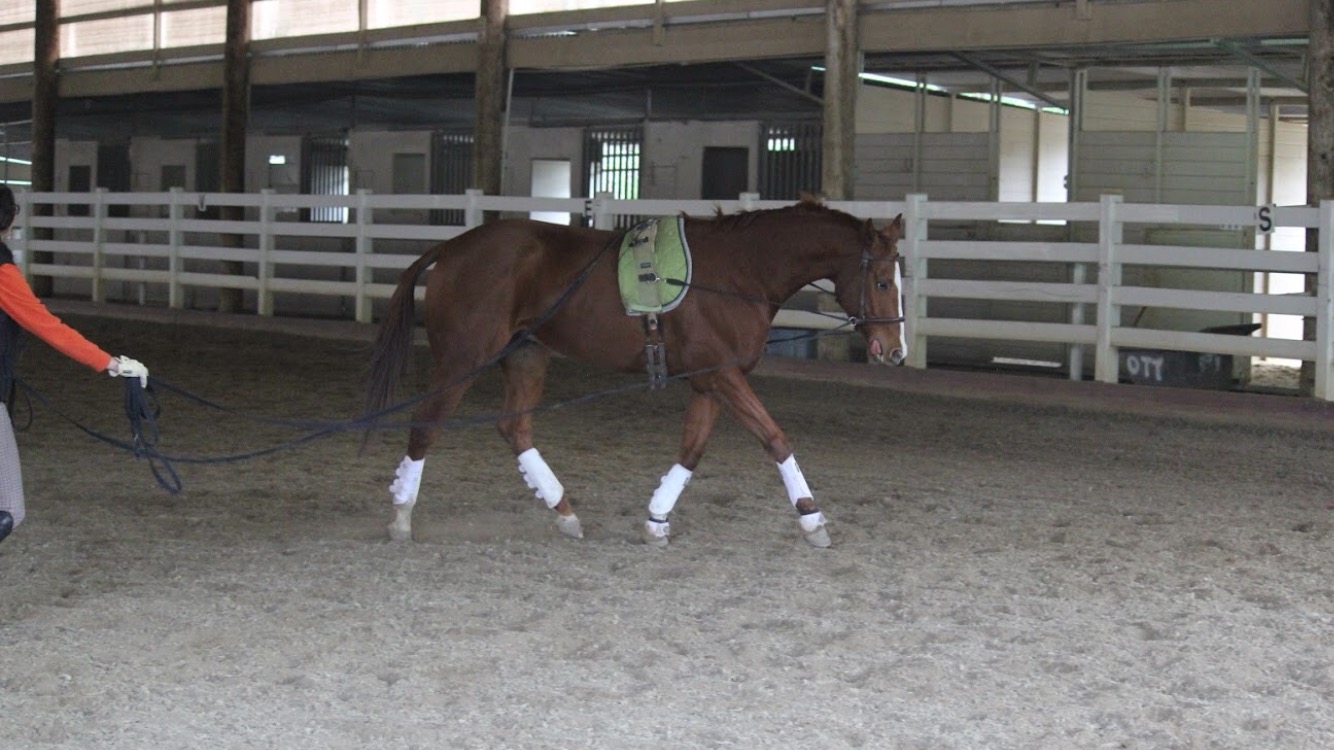
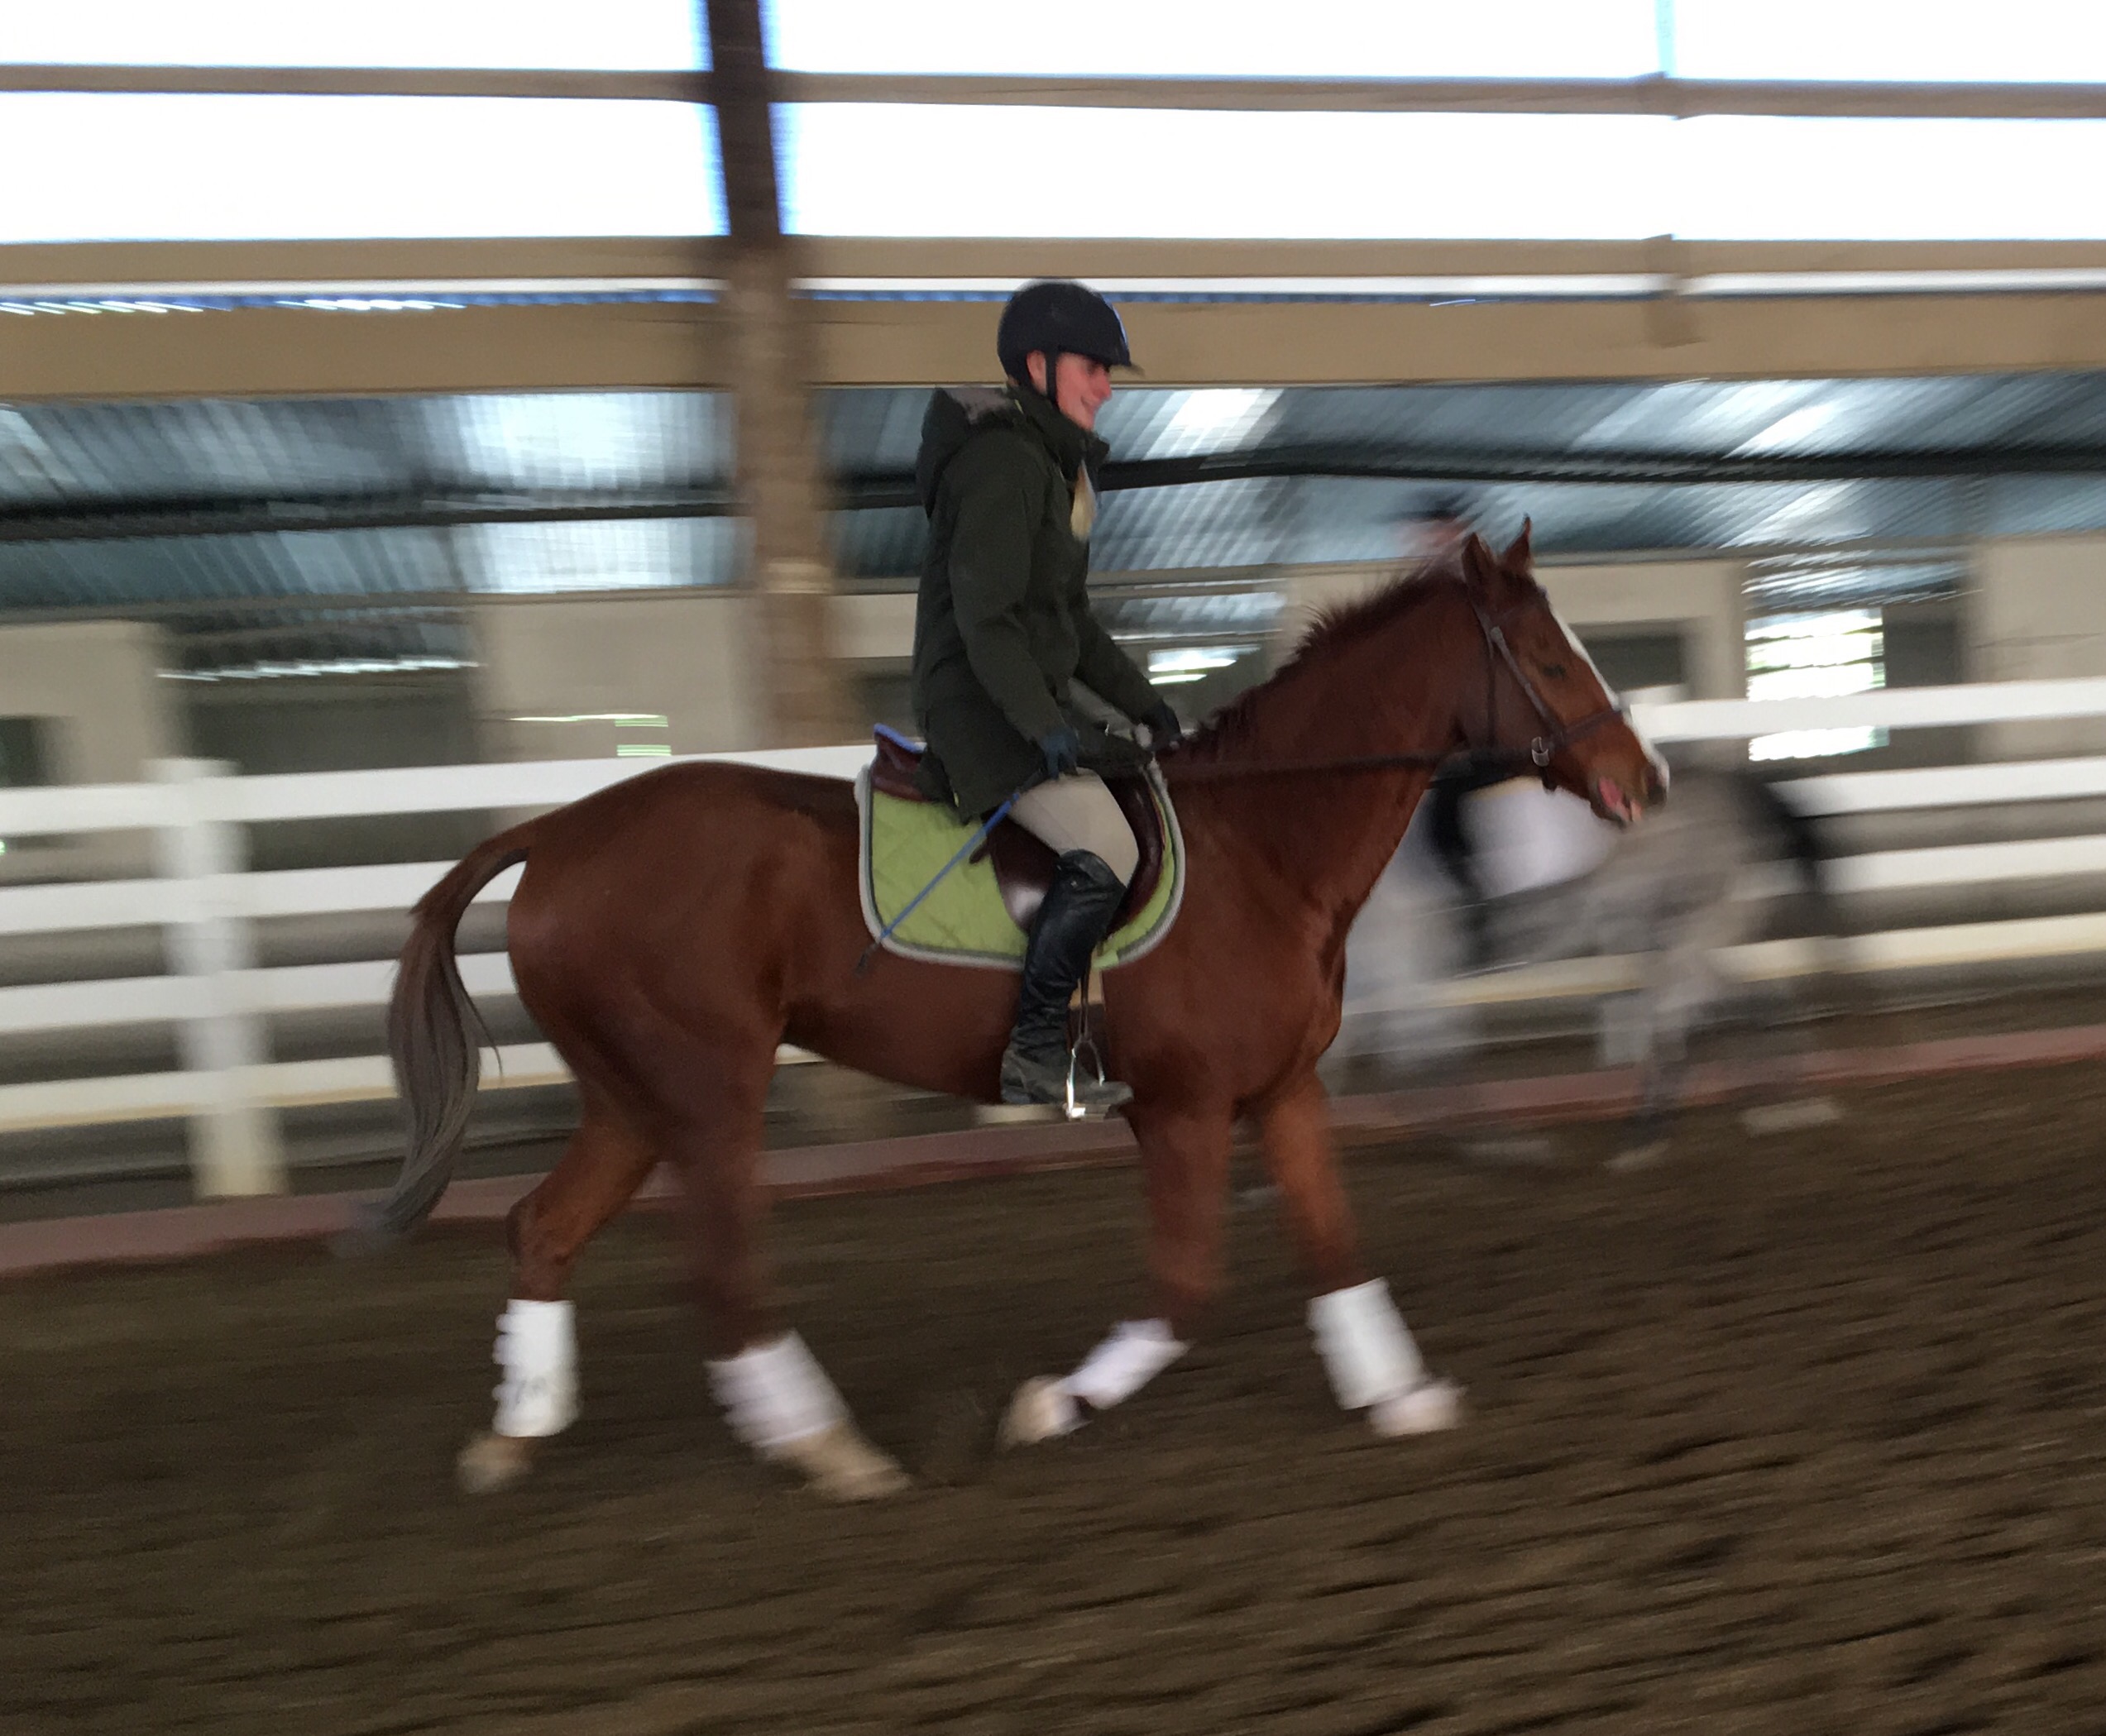
Ah ha! This is what I’m going for!  Blue is stretching his neck down and lifting his back up.  He’s got an energetic trot that isn’t running.  He’s softly following my left rein’s request for turning and bending without leaning in.  If I’m being hyper critical I would like to see his mouth more relaxed.  

That last picture looks like an example of a good stretchy circle as is required in training and first level dressage tests.  In competitive dressage, my reins would have less slack in them, but Blue’s outline would be the same.  The stretchy trot is worth double points because it is demonstrative of having correct basics, just like the ones I’m trying to teach to Blue.

Picture credits to Elise Lalor, who took photos of my ground work lesson with Terry Church, and riding after the lesson at Zorado Fields.
Grunging

Lately I’ve come to think of my longing as longing and groundwork hybrid.  I’ve decided to call it grunging.  In order to grunge properly, I need to put on my flannel shirt, ripped jeans, and converse sneakers.  My horse has far more options on what to wear.  I tried to think of all the setups I do with horses when I work them from the ground, and took pictures of each one.

Attaching to the halter

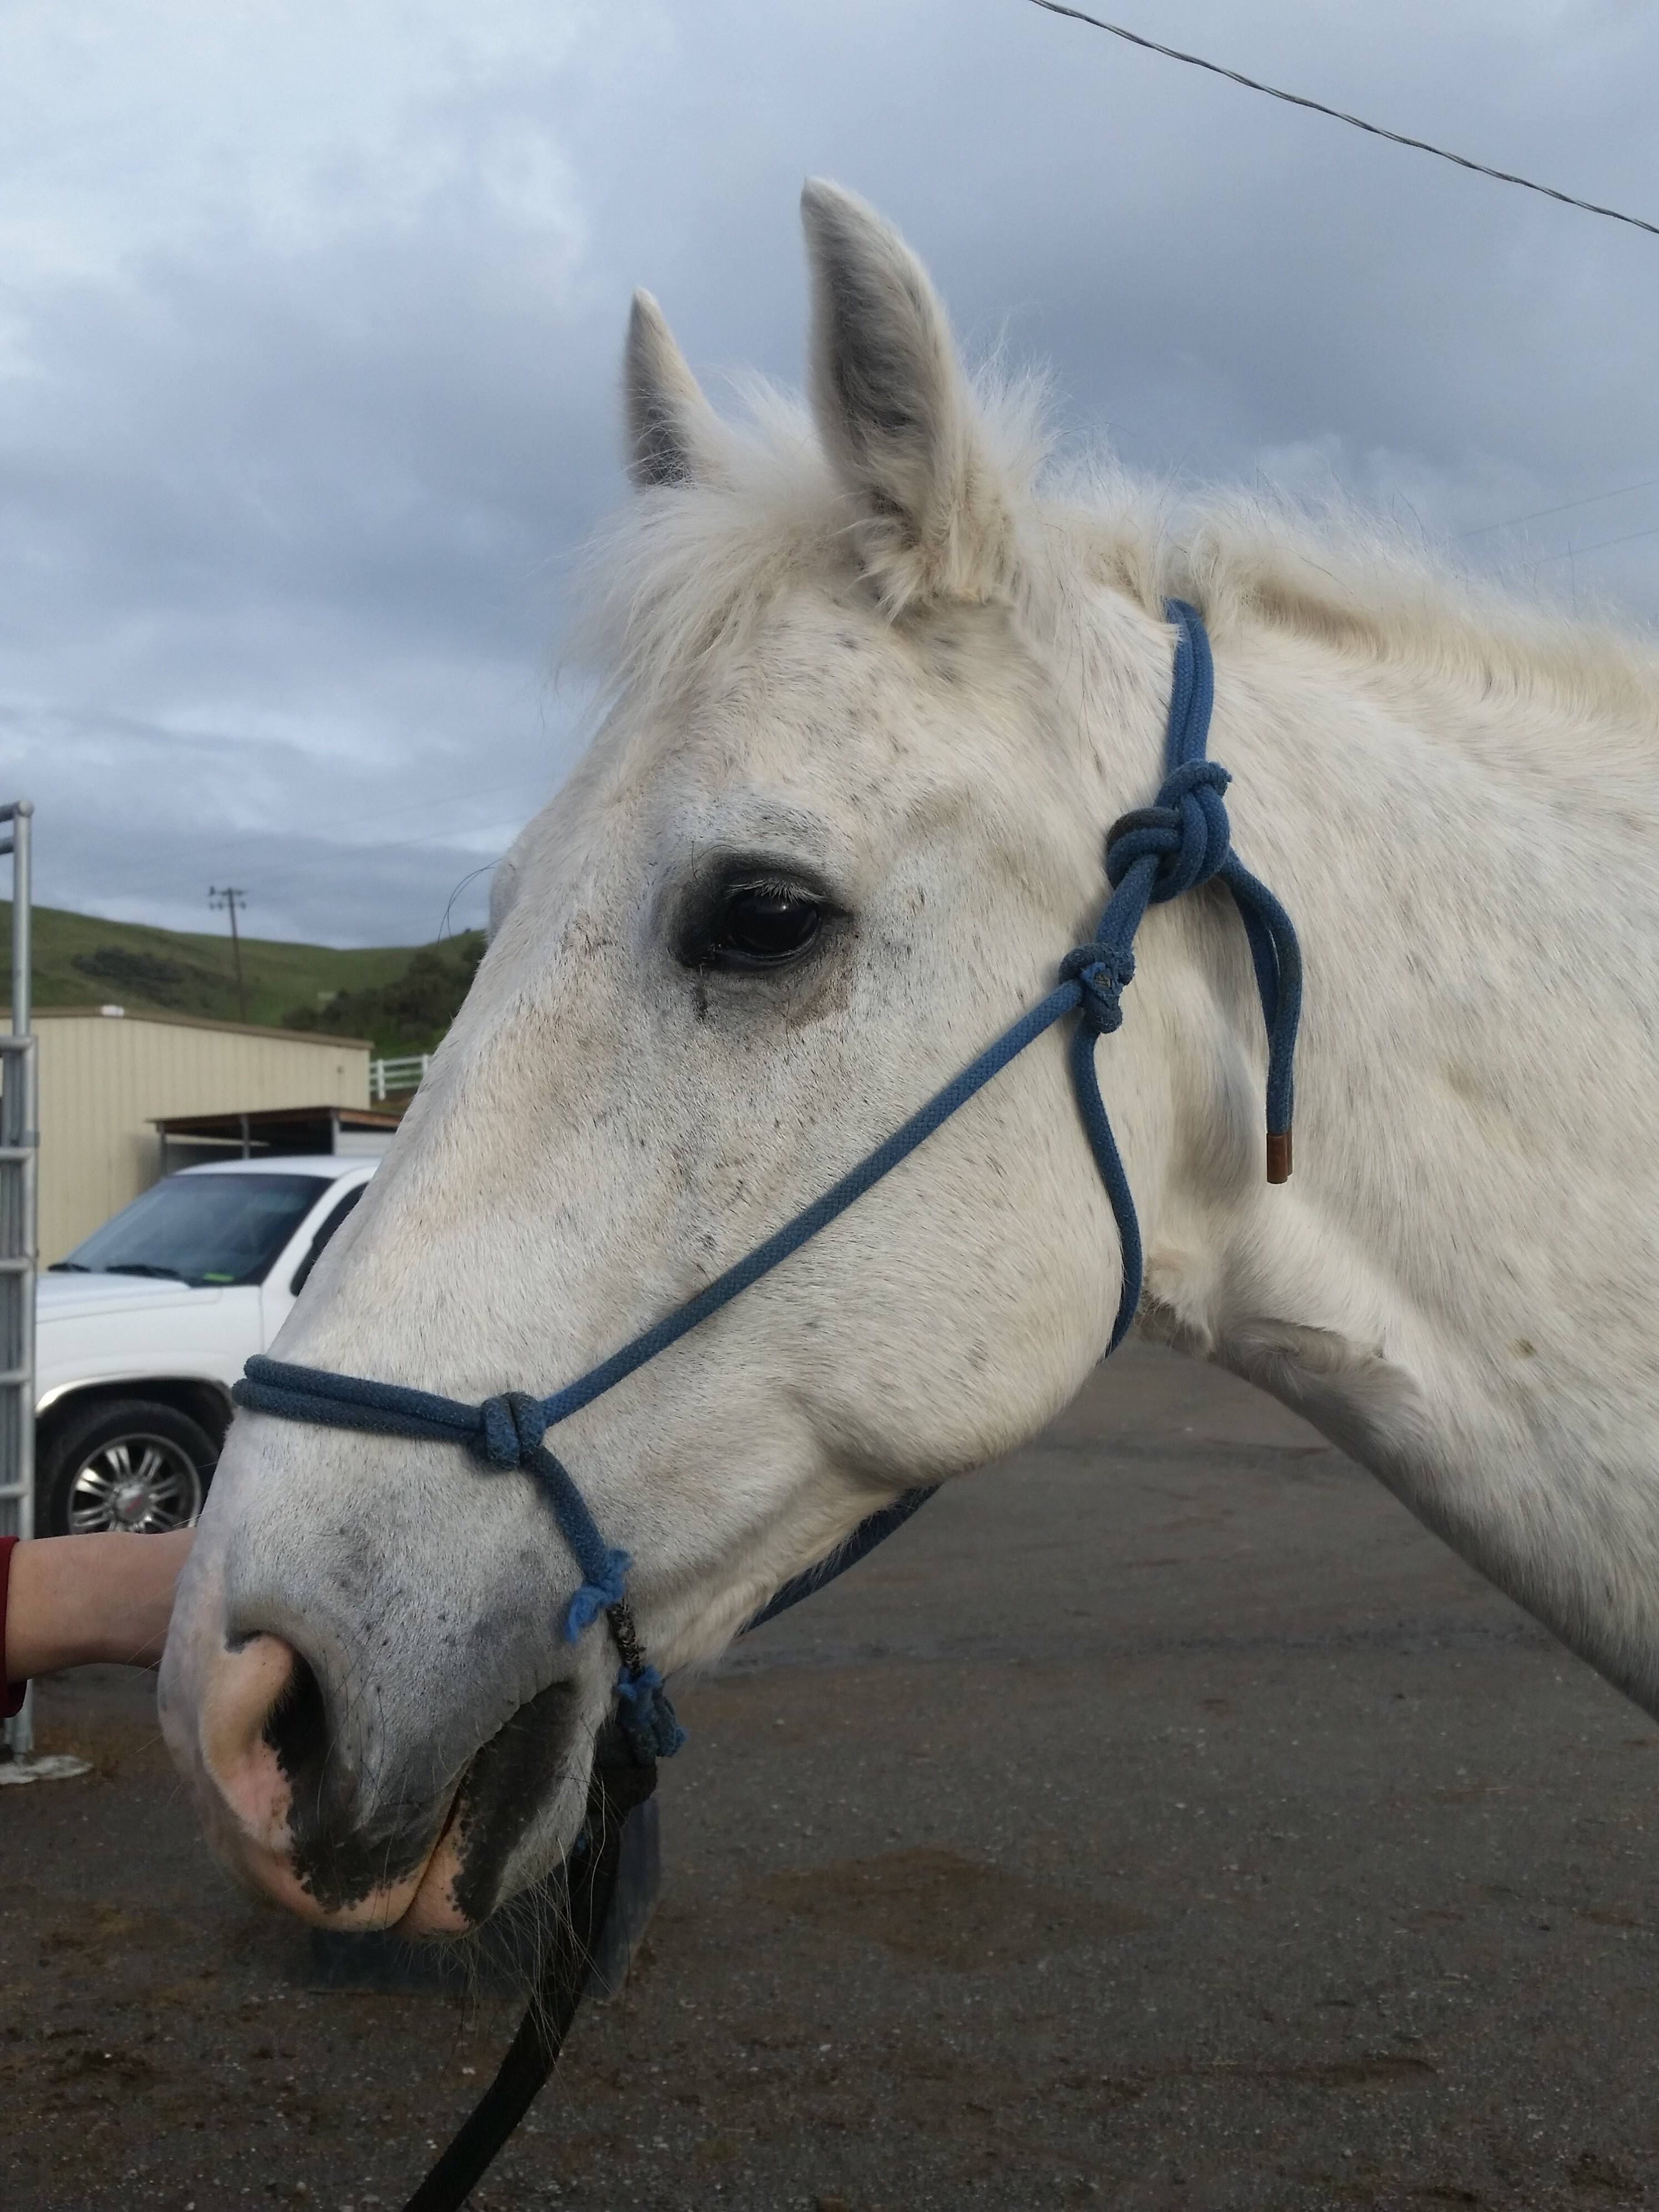
Rope HalterThe vast majority of the time I like to use a rope halter with the line coming off the bottom.  I change directions a lot and this gives me the best feel from side to side.

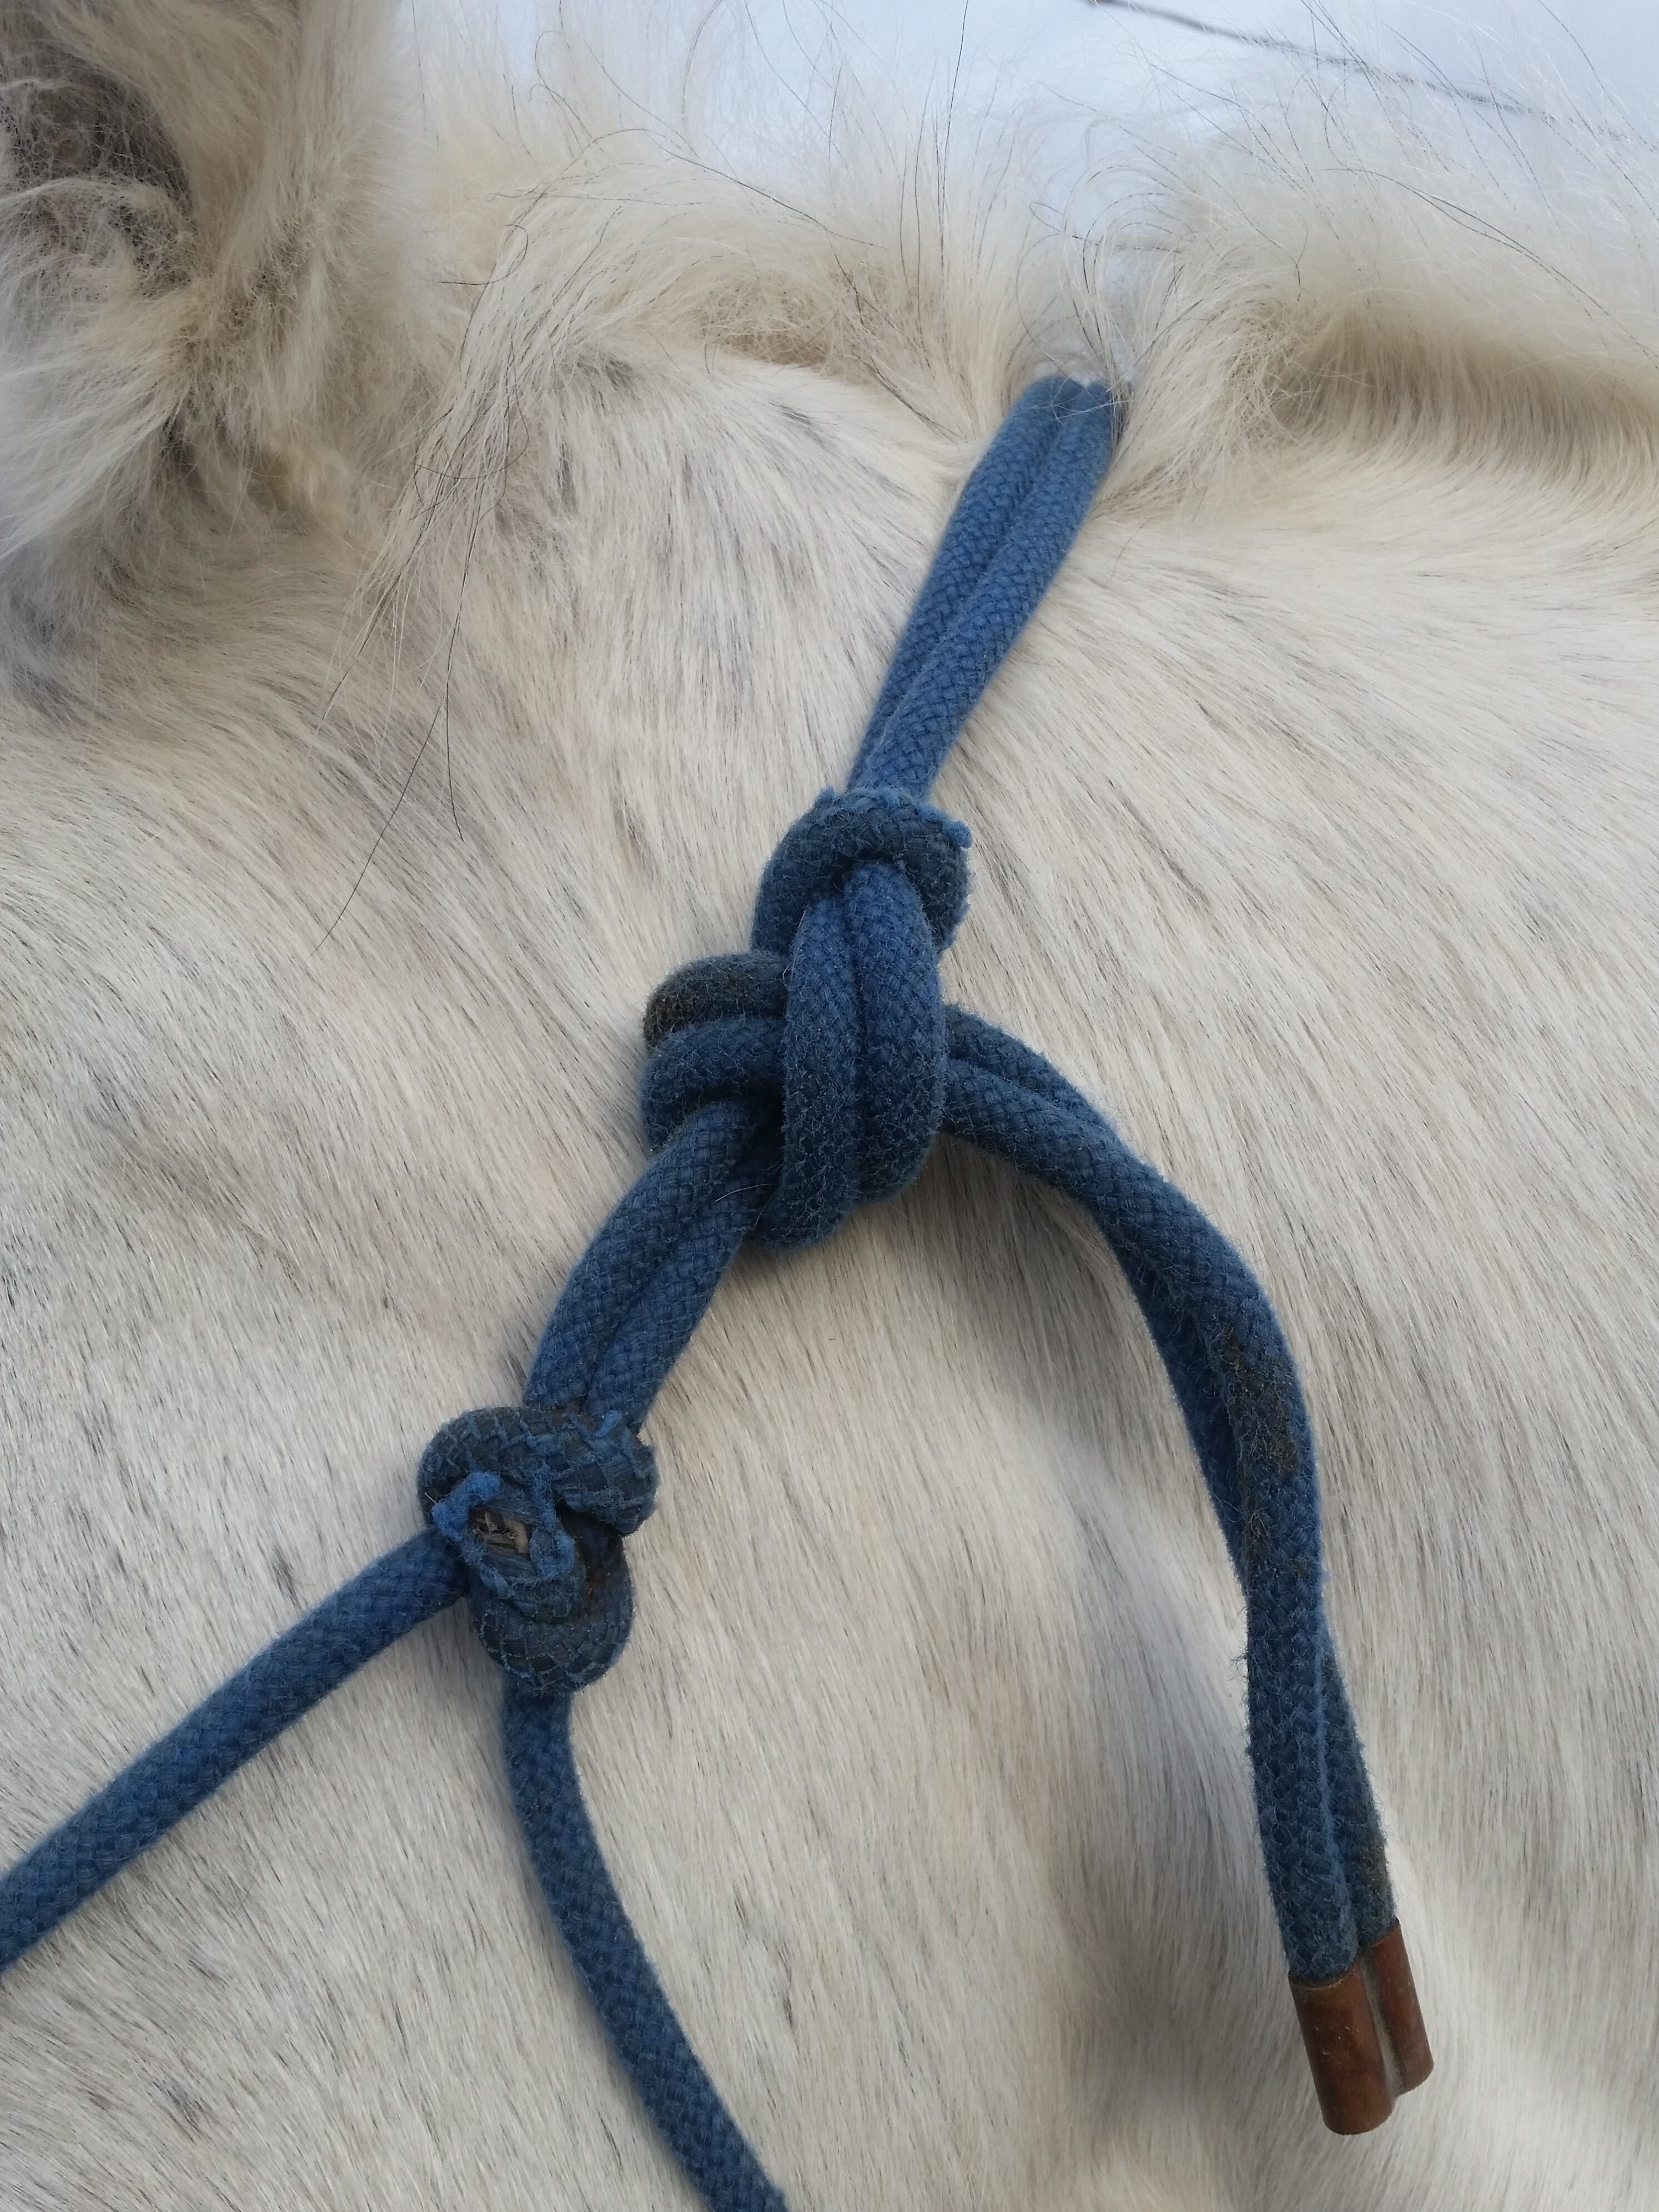
Make sure you tie the halter like this.  The crown piece should tie to the loop, not back on itself.  The excess should point up over the horses withers when you’ve completed your knot.  

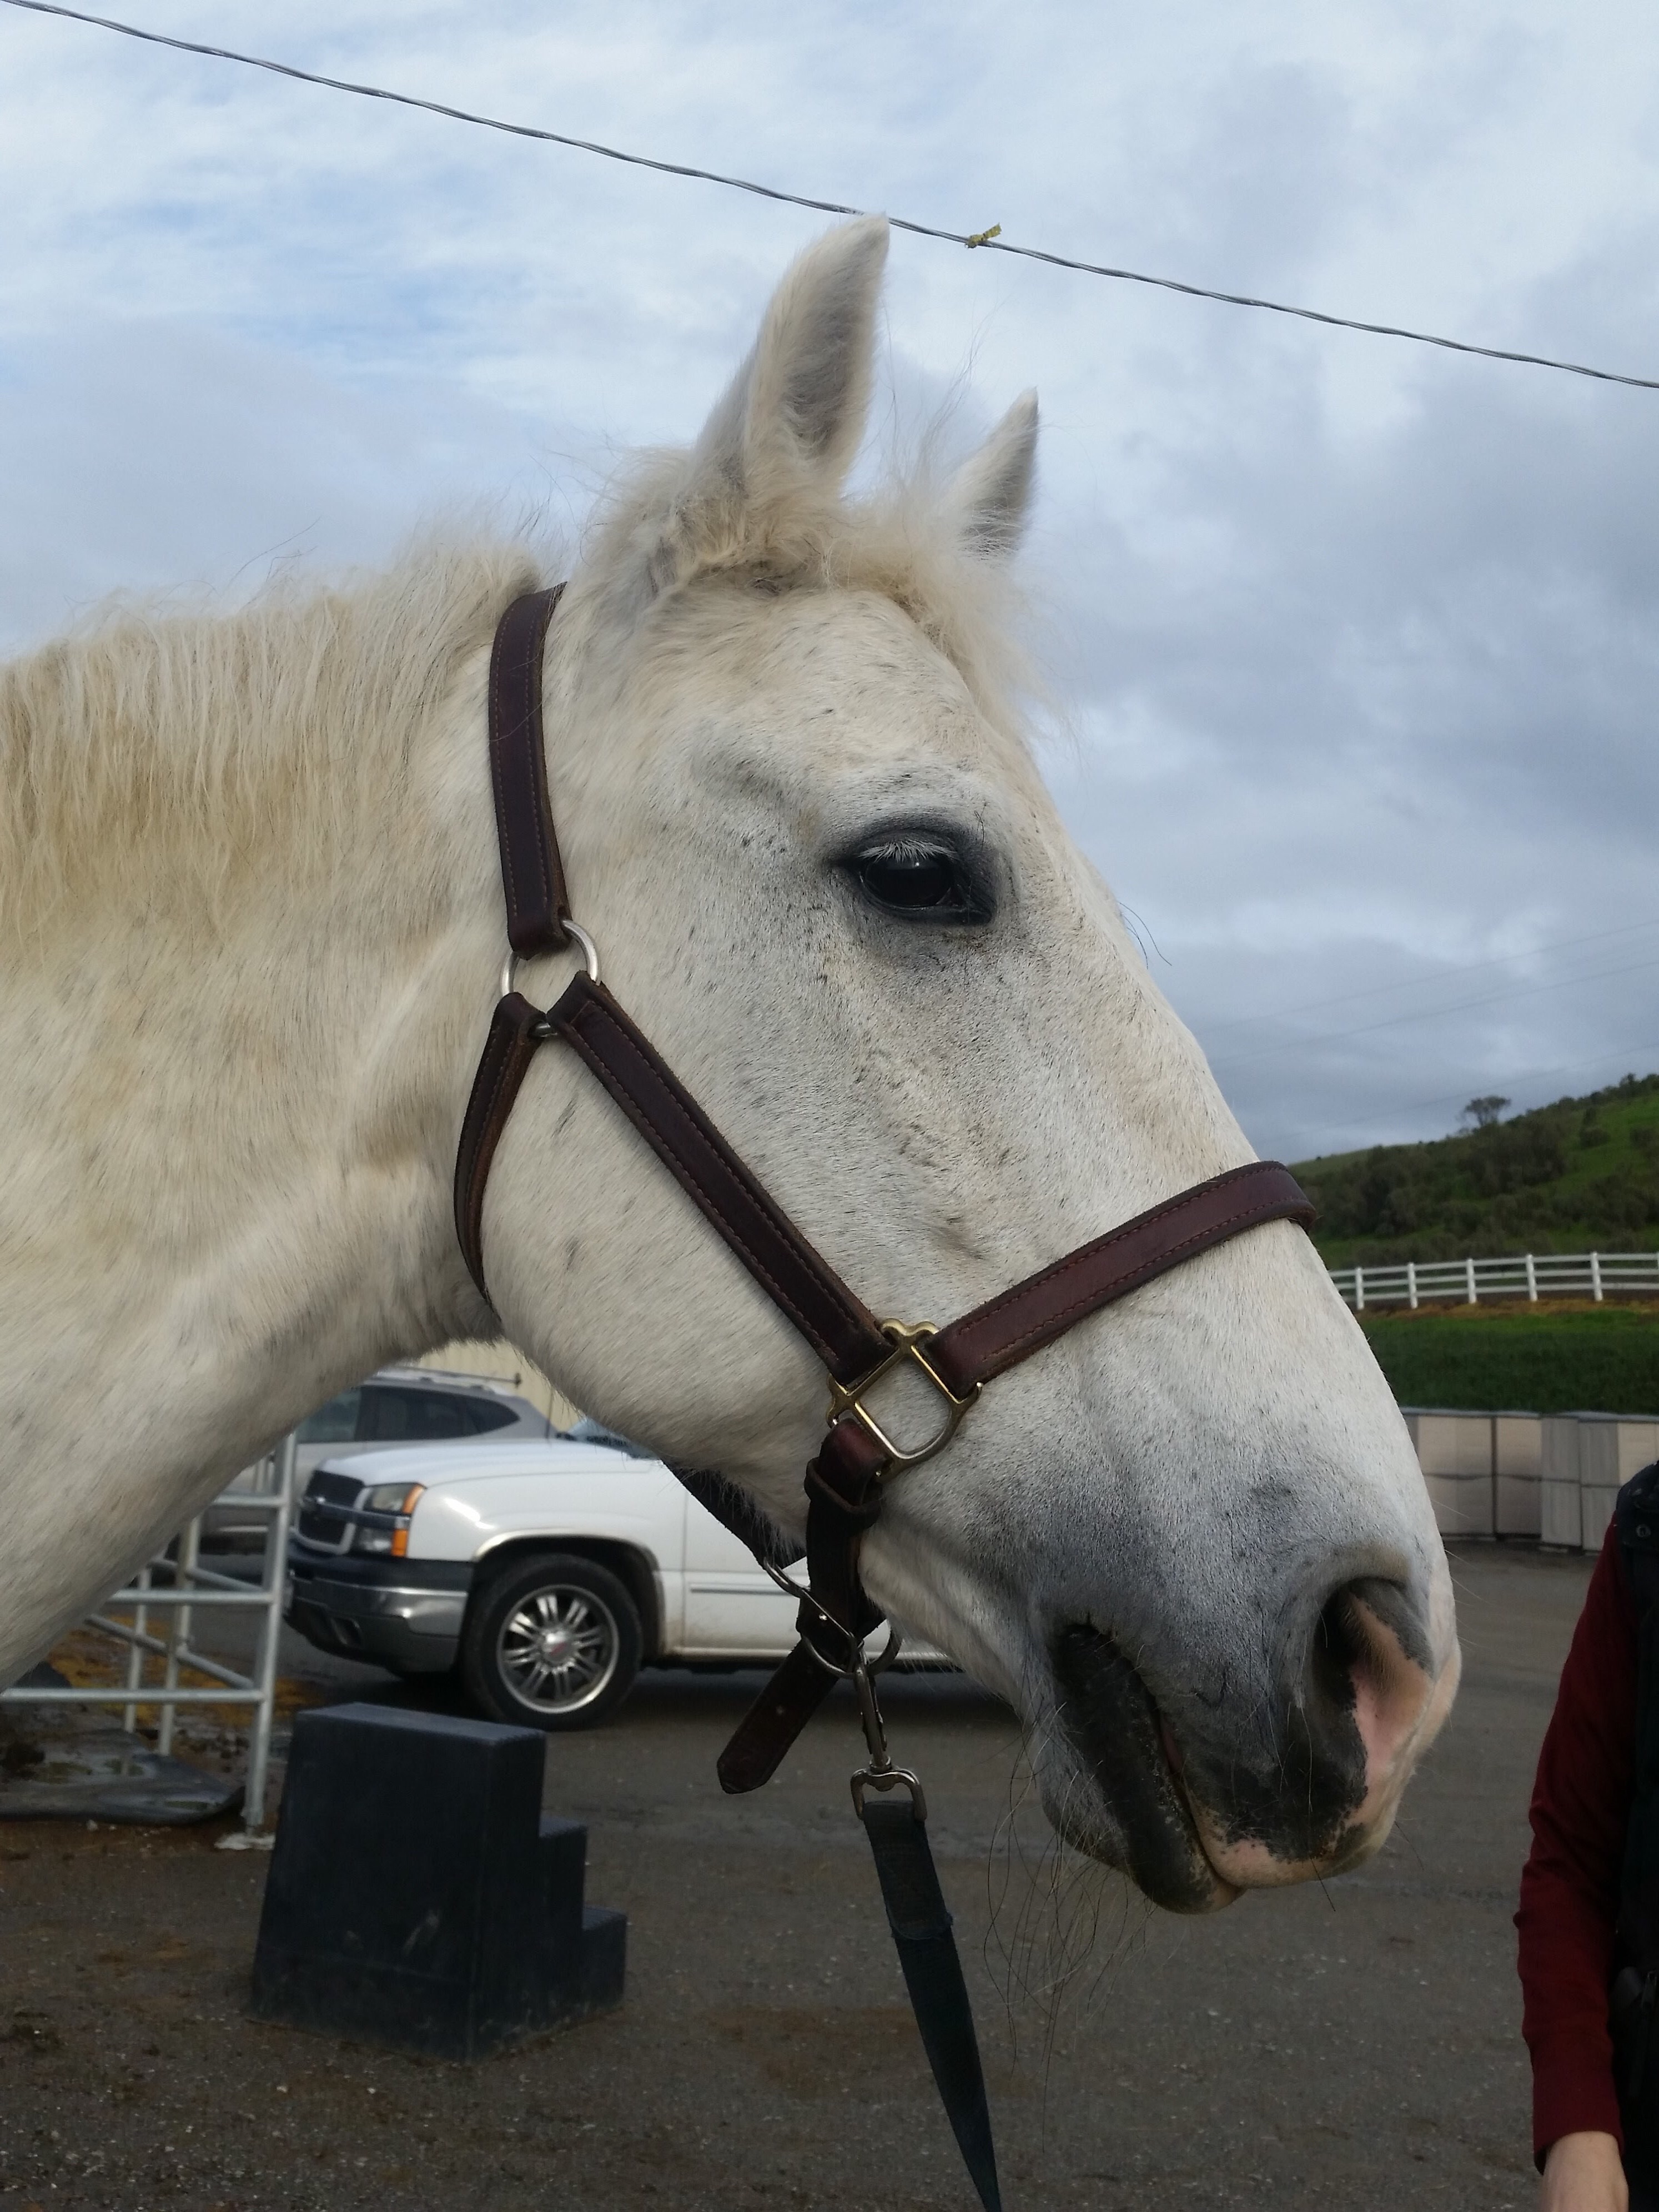
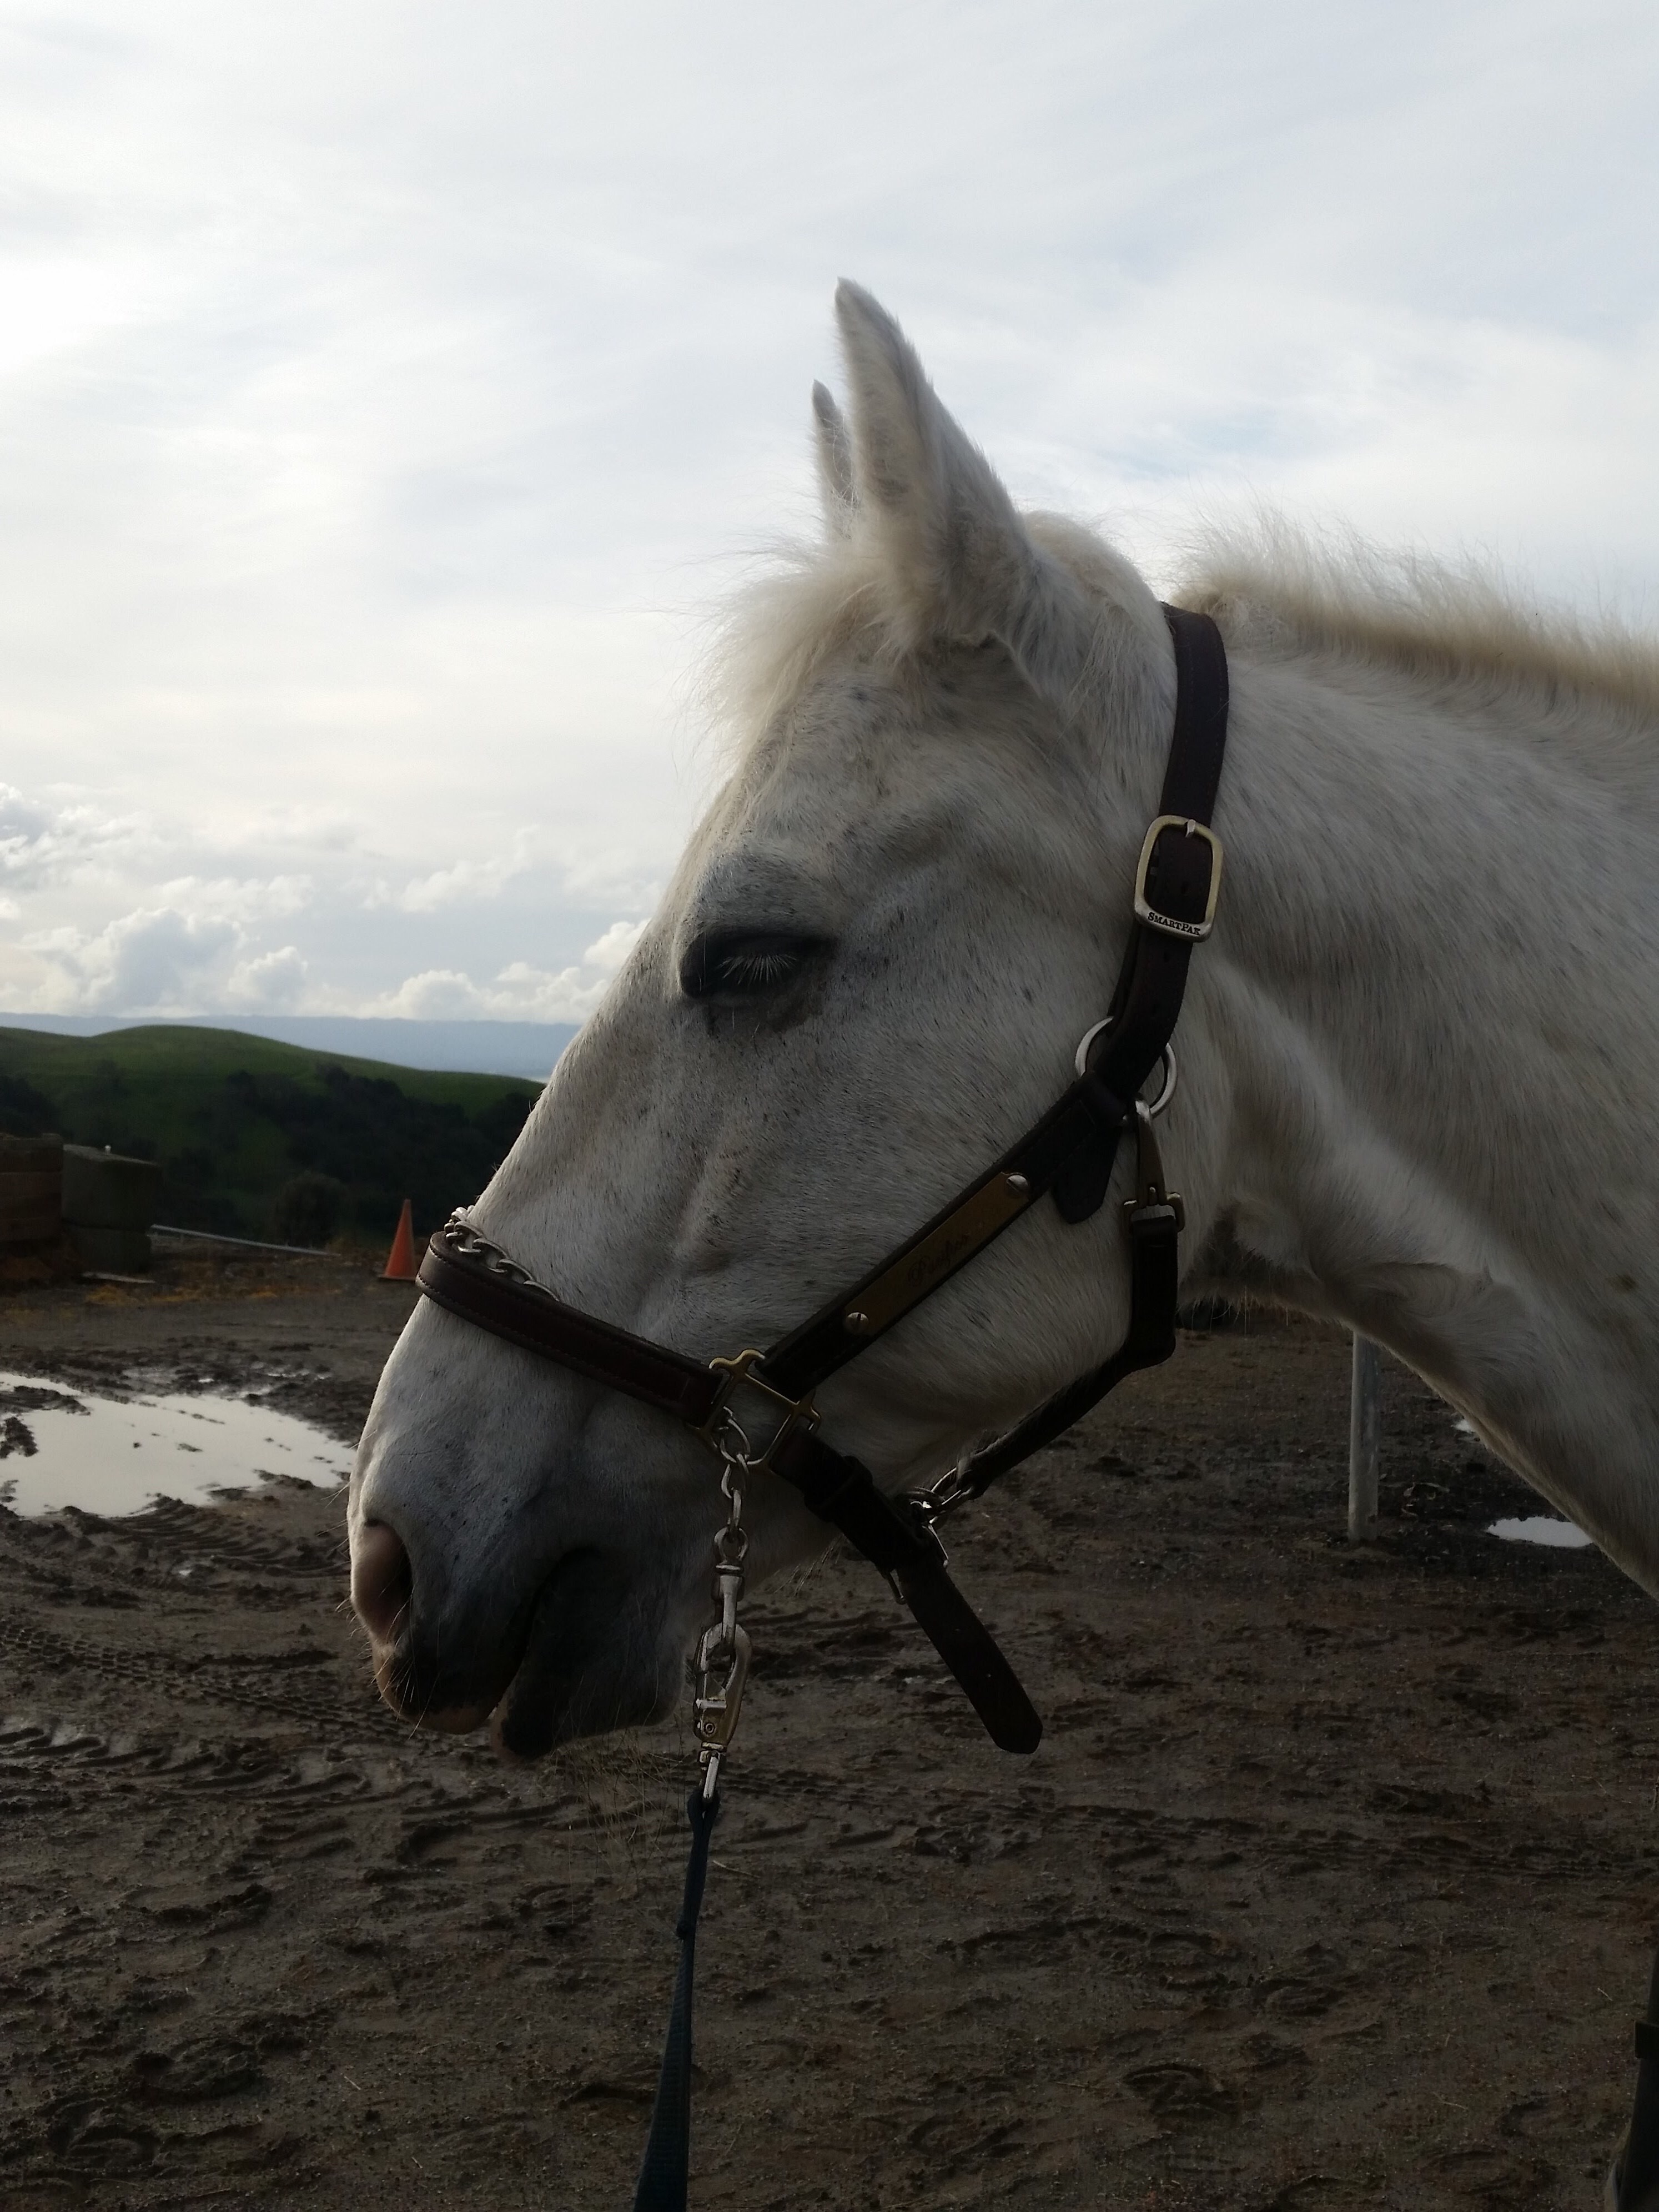
Flat Halter Some horses have heads that are too dainty for rope halters but a flat halter stays in place just fine.  No matter your setup, make sure that your halter doesn’t pull into your horse’s eye while you are working him.  I leave the line attached to the bottom ring of the halter so I can change directions frequently.

Attaching to the bit

If the horse is pulling on me too much in a halter, usually I go to the bridle next.  These ways of attaching the line to the bridle should be switched when you switch direction.  However, you can sometimes get by without switching them if you are a good hand.

Be sure to take the reins off your bridle, or tie them up so your horse doesn’t get his leg through them when he puts his head down. Twist the reins under the horses neck.  Run the throatlatch of your bridle between the reins and buckle normally.

Or toss both reins over one side of your horse’s neck, strangle him with them, and buckle the reins in place. Secure the reins with the throatlatch and make sure they are not pulling on the bit…or actually strangling him.

Under the chinI like to run my line through the bit, loop around the bit ring, then under the chin and clip to the other side.  I find this discourages the horses from hanging on the contact of the longe line and is closest to the feel of the rope halter.  

Gag reinOnce in a while I will have a horse who is too sensitive to the under chin style, so I will use the gag rein style.  Run your line through the bit ring, over your horse’s head, and clip it to the bit ring on the other side.  This keeps the bit off of the bars of the horse’s mouth and transfers it’s action to his lips.

CouplerCouplers clip to the bit on either side.  Pacifico looks like he has the same opinion of couplers as me.  The coupler will probably prevent you from pulling the bit through the horse’s mouth, but really just puts pressure on the far side of the bit.  

Simple ClipThe only time you should just clip the line to the inside bit ring is if you are using side reins.  Otherwise you will likely pull the bit through the horse’s mouth.  I rarely use side reins, so I rarely use this style.

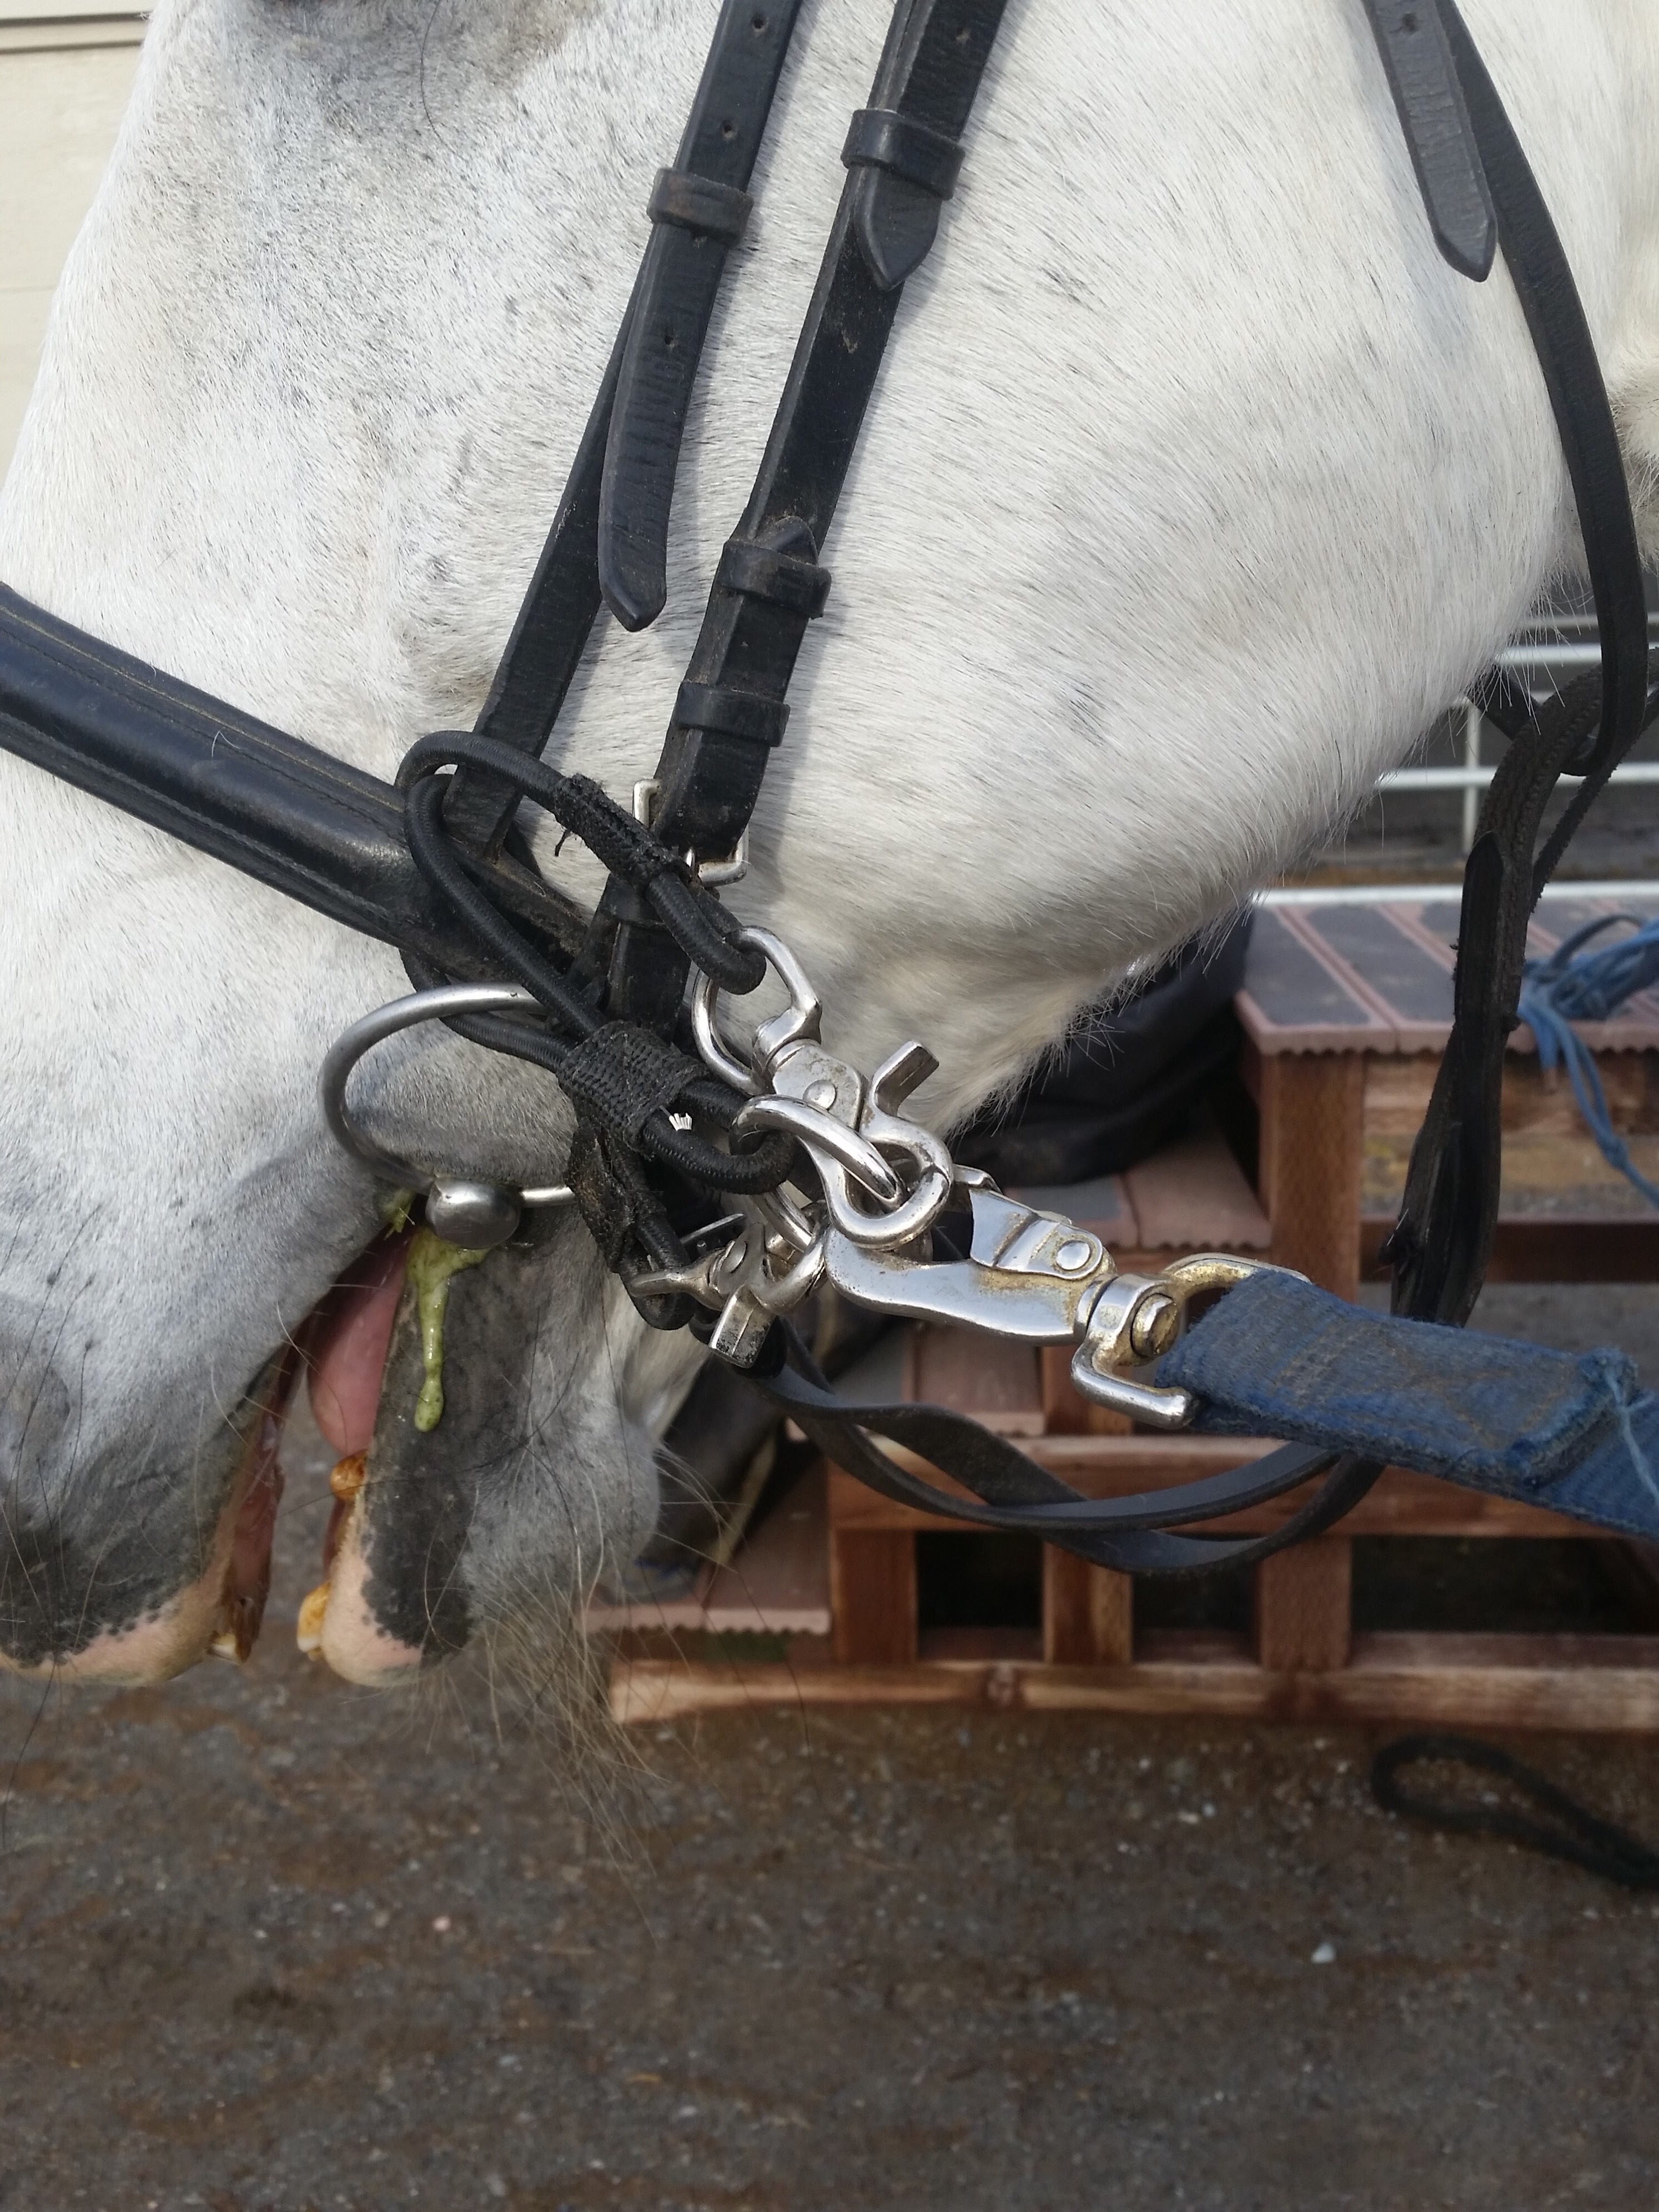
Bit and NosebandI took a longing workshop years ago through the USDF and they advocated using an auxiliary loop to go around the inside bit ring and the noseband.  Personally, I hate the feel of this.  The bit keeps the noseband from being a good point of control and vice versa.  But I guess you won’t pull your horse’s bit through his mouth.  I made this particular attachment from the coupler, though I’ve seen a cat collar work too.
Naughty horses

There are a few styles that I use with a very naughty horse.  I’m talking about the jerks that set their neck against you and pull the rope out of your hands.  I don’t use these set-ups very often because I don’t encounter this level of naughtiness very often.
Lass-rope halter

This looks like a lariat because it is one.  This usually does the trick for me with the horses that pull away.  If the rope went through the mouth instead of over the nose, that would be called  a war bridle.  I’ve heard you can break a horse’s jaw using a war bridle so I’ve never used it.  I’m keeping that idea in my back pocket in case I get a horse too naughty for my other methods one day.

Sliding rein The line runs through the bit and clips to the surcingle on the same side.  This gives you more leverage for the horse that braces his neck against you and tries to pull away.  I think the lass-rope halter works better.

Other styles

Every so often situations arise to necessitate alternate attachment methods.
Stud Chain There are a bunch of ways to attach a stud chain.  That is a topic for a whole other day.  The most mild way of using the stud chain is to have it come over the noseband of your halter.  Every time you run the chain through a ring on the halter, be sure to go from the outside in.  
Longe Cavesson These suckers are heavy and noisy.  They are widely used in European styles of working horses.  It has a similar feel to the halter, but is more restrictive in the jaw.  The line attaches to the center ring on top of the horse’s nose.  

Longe Cavesson and Bridle If you want to use the longe cavesson and the bridle, put the bridle on first, then the longe cavesson over.  Be sure to run your cavesson’s noseband under the cheek pieces of your bridle.  Either remove your bridle’s noseband or be sure the cavesson isn’t sitting on top of it.  Lastly, be sure that the longe cavesson is sitting in your horses nose bone, not his cartilage.  I usually only use all of this when coaching someone for a pony club testing  or USDF longing examination.  

Which style of attachment is right for you and your horse?  That depends on you, your horse, and the exercises you like to do while grunging.  You should experiment to find out what is right for you.  Try some different attachments while working your horse, and see which ones make your horse go the best without making you work too hard.  

Ten commandments of eventing

I was raised as an eventer.  I didn’t have religion at home, so eventing took the place of instilling virtues in me that I’m guessing non-horse people get at church.  Those of us raised in an eventing barn are lucky enough to have had all these experiences and can take them into other facets of our lives.

Toughen up.  We rode in all weather conditions, no matter what.  Weather won’t stop an event, so don’t let it stop your ride.  Downpours?  A good time to practice riding with wet and slippery tack.  Extreme heat?  Better practice your electrolyte recipe.  Windy? A chance to practice your ability to adapt should your jump blow over on your approach.  Aww, you break your finger? Tape it to the next one and keep riding.

Your horse comes first.  We learned to care for our horse before ourselves.  Your horse didn’t sign up for any of this eventing business, performed for you, and didn’t kill you during your ride, even though he could have.  You respect him and put his needs before your own.  Doesn’t matter if you are sick from the sun, you hose your hot horse down before turning the hose on yourself.

Help each other out.  Cheer on all your stable mates at the horse shows, even if you don’t know them or don’t like them.  Did Beth forget to bring her girth to the event?  Lend her yours, even if it means you won’t get much warm up.  Did Stacy break her arm coming off of Dobbin?  Put Dobbin away, give Stacy a ride to the hospital, and add a portion of Dobbin’s care to your routine for the next six weeks. Even if Stacy is not your friend, you still help her and her horse.  

Volunteer.  Event organizers aren’t in it for the money.  Respond to their plea for jump judges. Lots of volunteers are needed to make sure you can compete, do your share to help someone else compete.  Remember to thank the volunteers for their time at the horse shows.

Learn to be thrifty.  Arrange to share a hotel room with three of your stable mates.  Make your own bandages.  Do your own braids.  Repair track instead of replacing it.  Don’t spring for shipping boots, you’ve already got standing wraps.  Add some bell boots and they are now shipping wraps too.

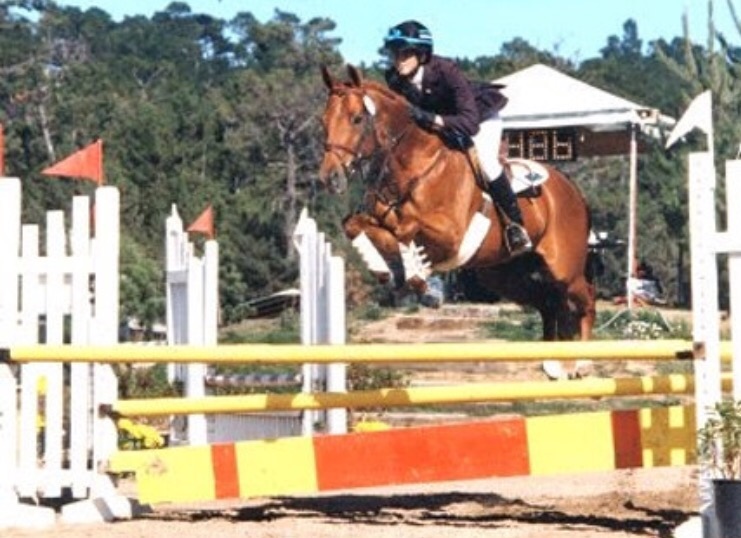
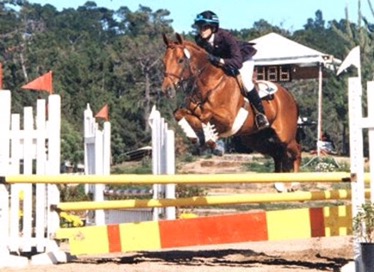
Here I am competing as a teen.  Check out my sweet second hand tack.  My saddle was purchased for $65,  breastplate for $3, girth cover for $1.  My second hand jacket was a man’s coat I had tailored.

Be a barn rat.  This is where your horsemanship will come from.   Watch and ask questions about what others are doing in the barn.  Not only will you learn about horses, but you will learn how to talk to people.  This is a great way to learn what you didn’t know you had to learn.


Don’t let any learning opportunity pass you by.  Attend every clinic in your area. Even if you can’t ride in the clinic, you will learn from auditing.  Go to association meetings, even if you think all the topics will be over your head.  Watch horse shows to see what more advanced riders do.  Read books, subscribe to magazines, watch videos.

Be prepared.  Train a level above your competition level.   School the cross country cost before you sign up for an event at that venue.  Take everything you own to the event.  Bring spare tack, including a spare set of shoes for your horse.  Safety check your tack regularly.  Have that first aid kit (human and horse) and tool kit ready.  Bring sunscreen and rain gear.  Plan for contingencies and don’t count on anyone else to bail you out if you weren’t prepared.

Be observant. Scan the fence line for broken rails whenever walking around.  Be in the lookout for doors, gates, and lids inadvertently left open.  Notice if one of the horse’s isn’t eating hay, or is starting to show signs of illness.  Make sure to act on what you see.  Report or fix the broken fence, close what’s been left open.  Call the trainer and owner of the affected horse and care for the horse until you are relieved.

The trainer’s word is gospel.  Do what your trainer tells you to do, she has your best interest at heart.  The trainer is like the pastor of a church with tighter clothes and worse language.  Hope that you haven’t joined a whack-a-doo cult, where the leader is trying to kill you and take your money.  If so, I hope the others in your community will help you get out.

Theses tenants are the cornerstones of developing grit, community, and resourcefulness.  At my high school graduation party my parents thanked my trainer, Sarah Vernlund, for raising me.  I had spent more Thanksgivings with Sarah than I had with my parents in the previous six years because that’s when the last event of the year was held.  I love the person that I am today because of these lessons, and as a trainer myself, my hope is to instill these values in my students as well.  If they become better riders, that’s icing on the cake.

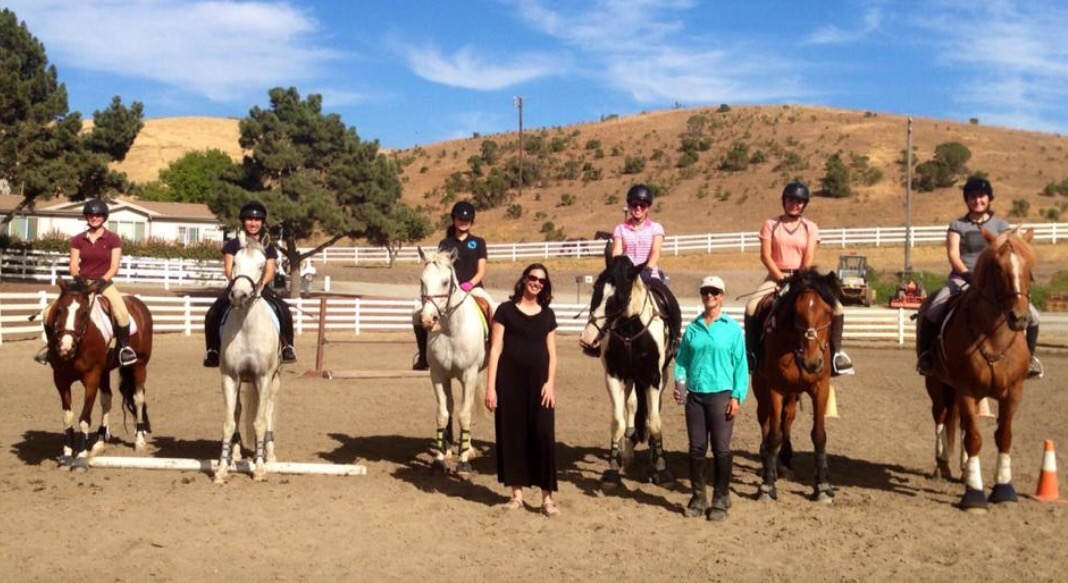
That’s me in the black dress when I was 8 months pregnant.  Sarah Vernlund is on foot next to me.  Sarah taught my students while I was on maternity leave.

Fear and fighting in the farrier shed

Blue and Corny got shod yesterday for the first time since they’ve been in training with me.  The experience didn’t go as I thought it would, and I see opportunities to improve upon it with proper training.  Blue was fine, Corny had a tough time.  This post is going to serve as my post-mortem document so Corny can be better prepared next time.

Our horses get their farrier work done in a separate set of cross ties in what we call the farrier shed.  I kept meaning to get the brothers over there to practice standing in that set of cross ties, but I never quite got around to it.  You’d think with all the standing around training that I do, that I would have made it over there. 

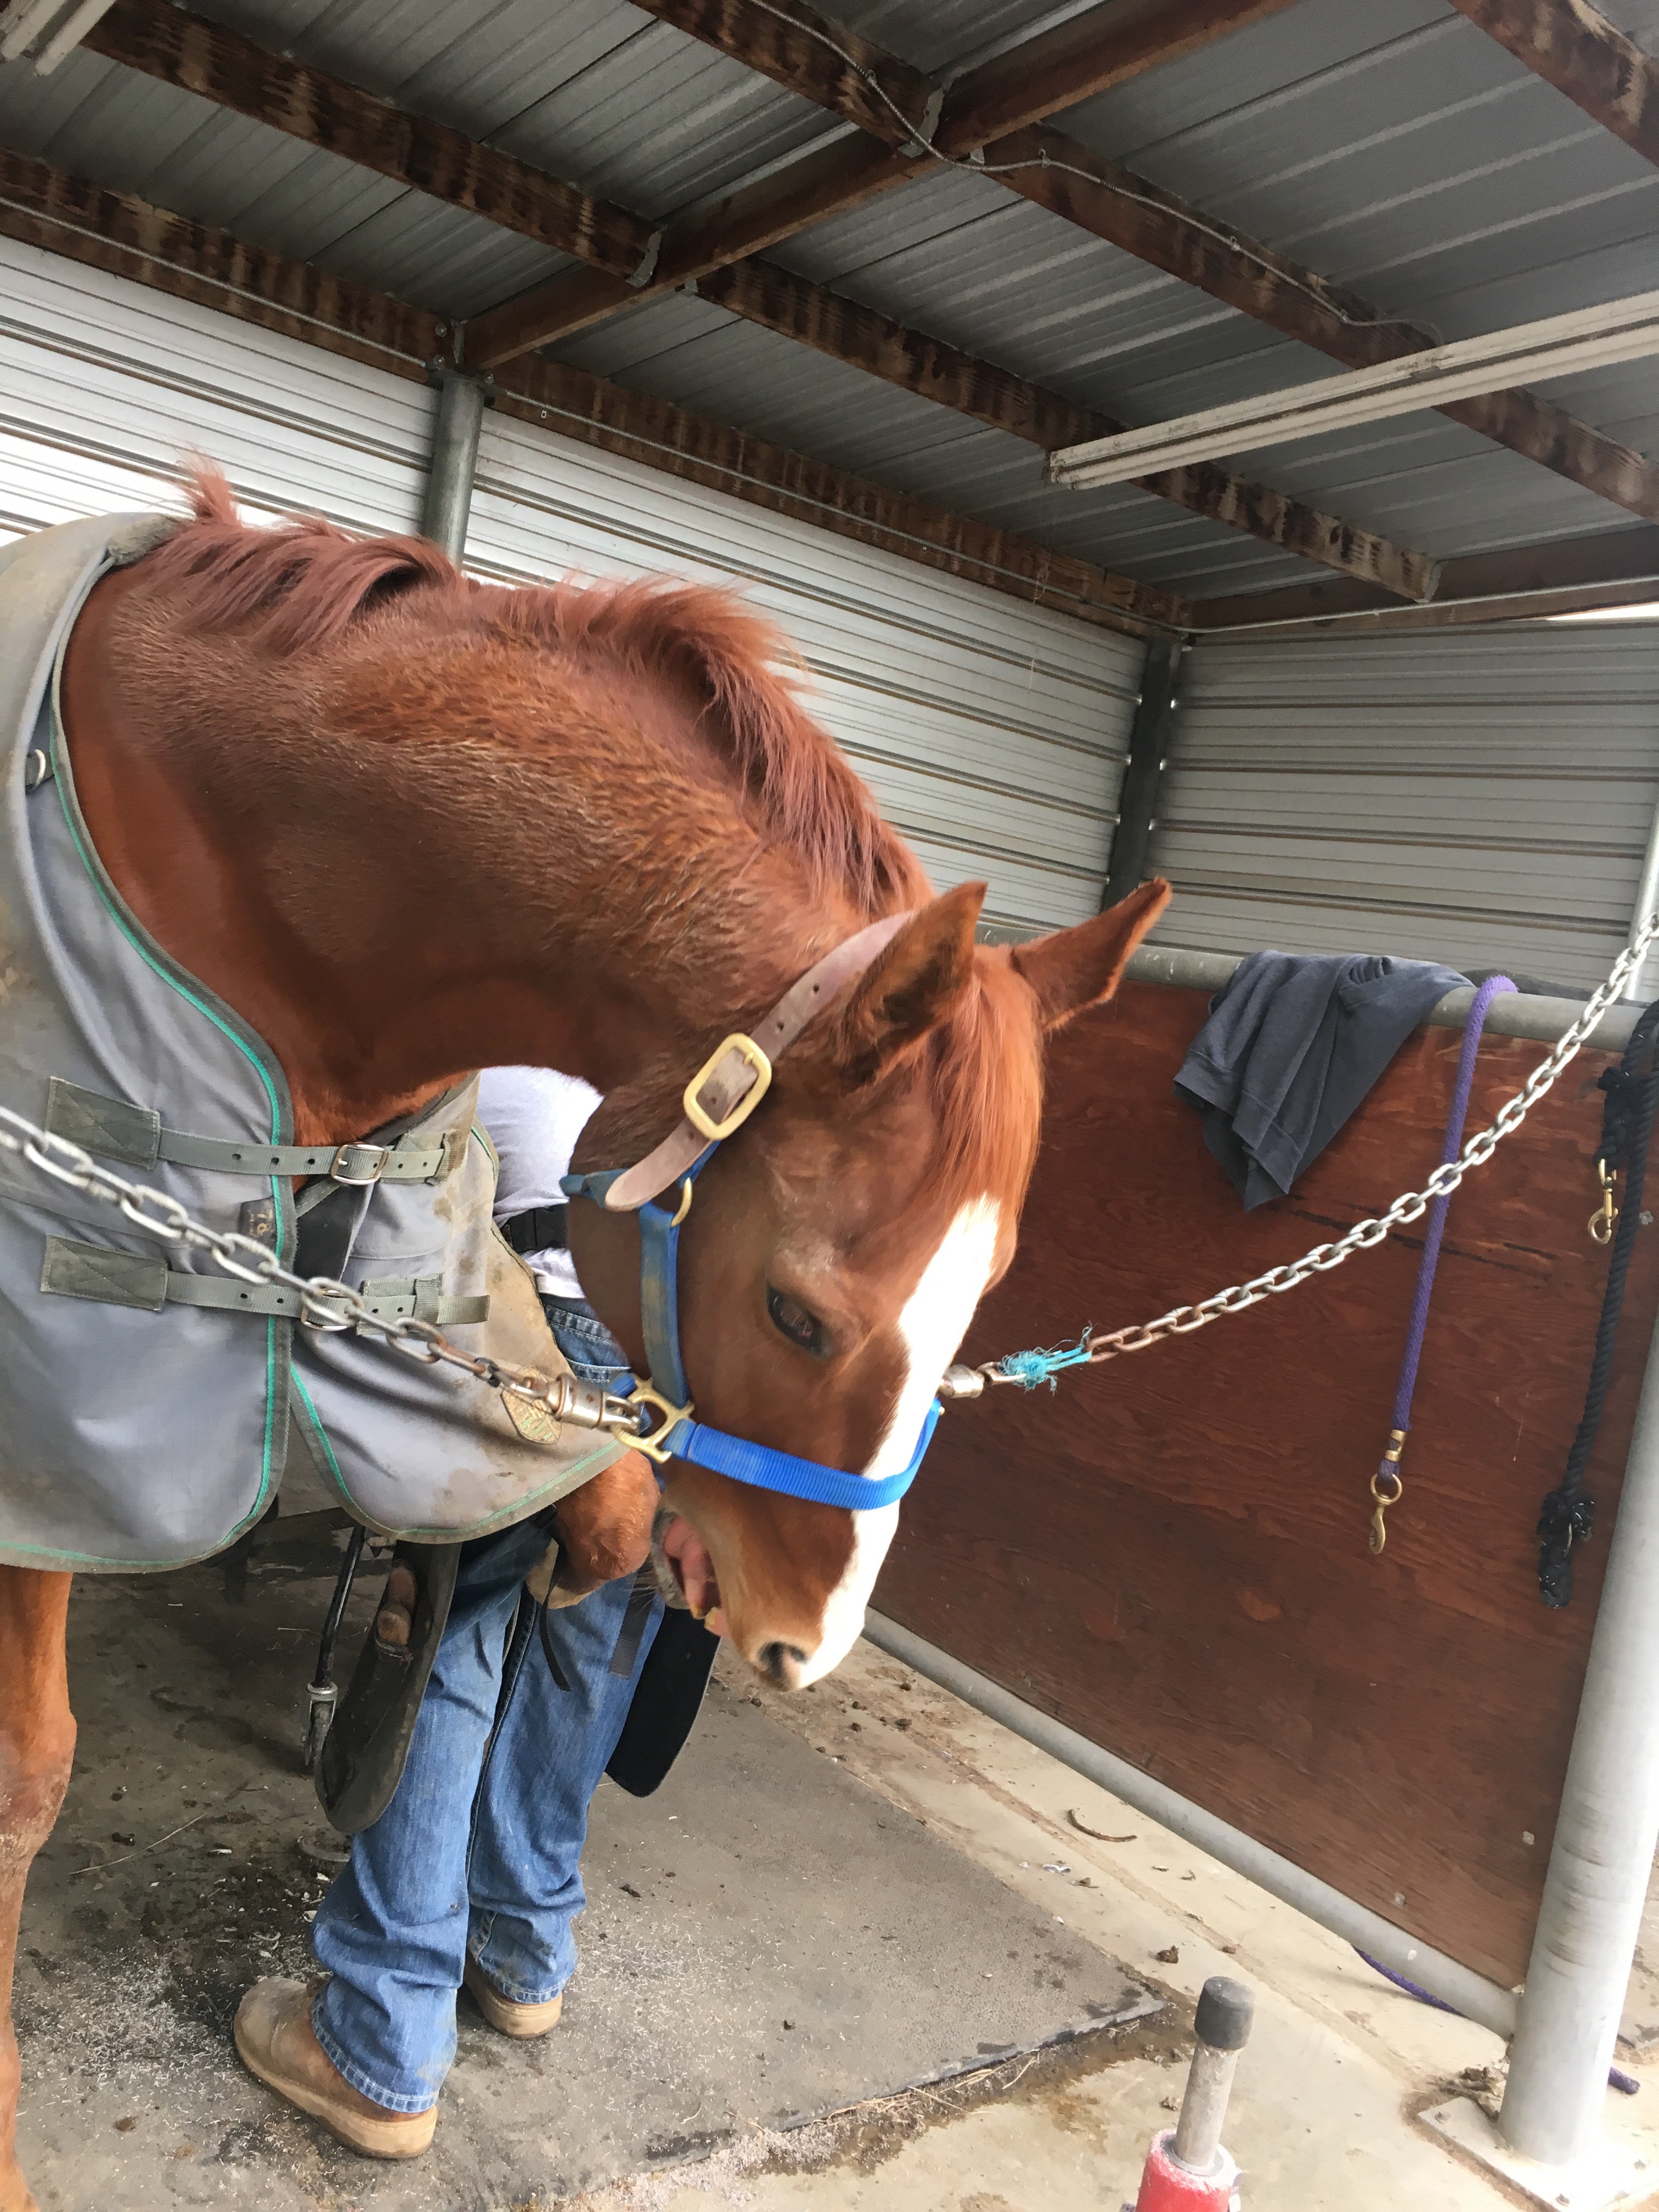
In any case, Corny took to the cross tieing portion of his shoeing experience like a champ.  A win for crosstie training!  We got to the appointment 5 minutes early so we could watch the older horse in front of us behave as a good example.  Corny started stressing with his mouth almost as soon as he was tied up.  By the time Fernando pulled his shoes, he was beginning to shake.

 Corny’s stressed out tongue acrobatics

Fernando and I were patient and reassuring with Corny.  I took Corny out of the cross ties and held him.  I lowered his head a few times to place him in a posture of relaxation.  I did the one T-touch I know.  I kept the older horse that had just finished his shoeing appointment around as a buddy.  Despite all of this, Corny was increasing the intensity of which he was yanking  his feet away from  Fernando.  By the time Fernando had finished trimming and rasping Corny’s feet, Corny was striking out with his front feet.  All of our efforts to help Corny relax weren’t working, so I had to think of a way to get the job done.

So I turned to drugs.  I very rarely sedate horses, but I do keep some Acepromazine around for emergencies.  There problem with Acepromazine though, is that it doesn’t really work once the horse is already excited.  It was all I had, so I tried anyway.  It did practically nothing, but it did give Corny a 30 minutes break.

Meanwhile, Fernando started working on Blue.  This was possibly Blue’s first time being hot shoed.  Don’t worry Blue, you’re only on fire a little bit!

So in an effort to keep Fernando, Corny, and myself safe, I went to the twitch.  I use a humane lip twitch.  If you are unfamiliar with how twitching works, you are not alone!  I haven’t found any definitive research about why lip twitching works.  However, it has been proven to reduce stress in horses during procedures.  Check out this scientific study written up in The Horse.

A blurry photo I took while holding the twitch on Corny’s lip.

Success!  Fernando was able to finish shoeing Corny’s front feet and we didn’t get hurt.  We kept the twitch on for trimming his hind feet, but the effects started to wear off as Fernando was finishing up and he had to dodge a couple kicks.

Drugs and twitching are not a substitute for proper training.  Corny and I have some homework to do before his next farrier appointment in 8 weeks.  Here’s a list of things I will do to prepare for a better experience for Corn Cob.

  1. Practice standing calmly in the farrier shed.  We will try to get Corny to eat some meals in there.  Bonus if there is a horse being shod in there at the time.
  2. More work on foot handling.  We took some backwards steps in that department yesterday.  
  3. Work Corny prior to his shoeing appointment.  I had intended to work him after his shoeing appointment, but he will be more relaxed if I can work him first..
  4. Address suspected gastric ulcers.
  5. Get some more effective sedatives to have on hand from the vet.

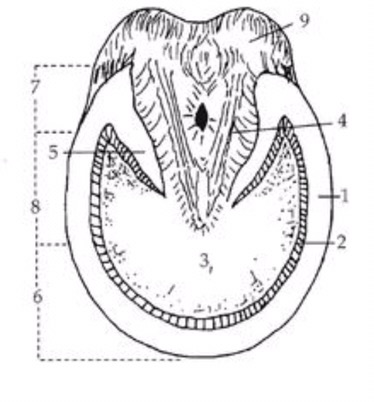
For those of you who are regular readers of this blog, here is some homework for you!  Check your knowledge of parts of the horse’s foot by seeing if you can name parts 1-9 in the diagram here.  Answers will be provided tomorrow, along with some discussion about the brothers’feet.

It’s an arena, not a racetrack!

One thing I consistently noticed in both racehorses and trail horses that come into the arena is misunderstanding.  Both trail riding and racing have a destination specific goal.  Trail horses are typically ridden over the same trail only once or twice in a session.  Racehorses have to travel to a point, then they can slow down.  The concept of the short and fat trail/racetrack that we call an arena is confusing at first to these horses.

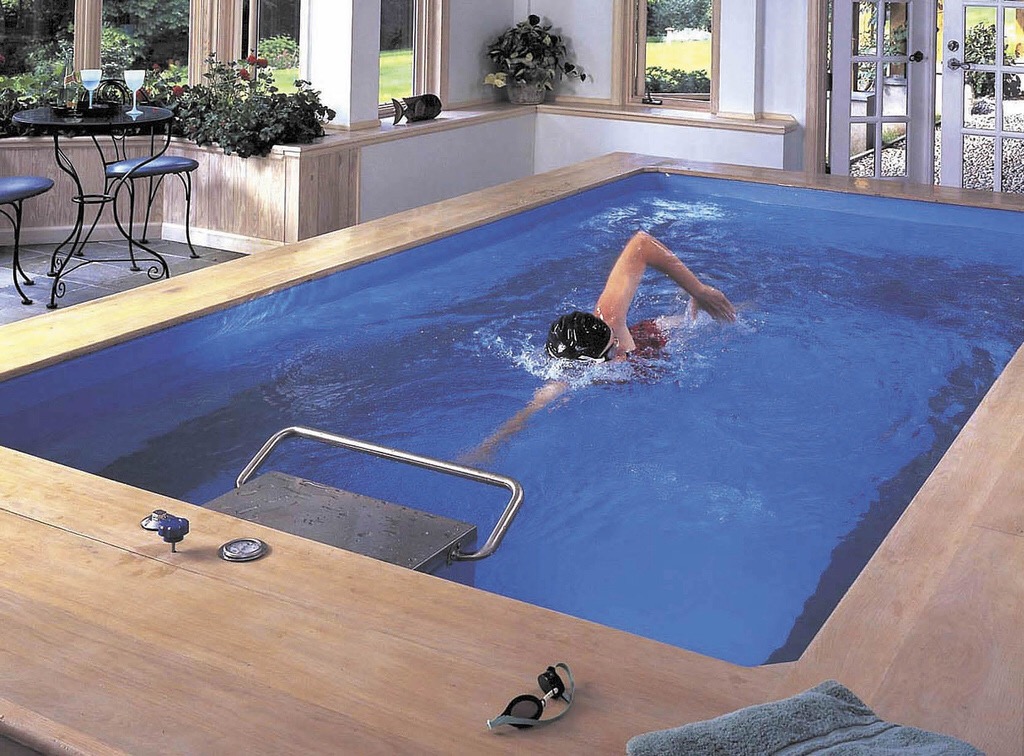
Imagine if you had never heard of an endless swimming pool. If you saw one, you would rely on your previous experience with similar bodies of water.  You might think it’s a weird hot tub, mundane fountain, or comically short lap pool.  

Endless pool

The trail horses and race horses seem to have the same trouble with arenas as the people who haven’t read In Flight magazine might have with endless pools. Often horses who are new to the arena will go slower in one spot, then fast in another.  They will try to stop in certain spots (usually by the gate).  This can often be labeled as gate sour or barn sour, but I think it’s just a misunderstanding about the concept of an arena to these trail and racetrack horses.

So what to do?  Plenty of boring training.  Lots and lots of walking around the arena on a loose rein.  I coach the horses a little bit, like asking them to keep going if they stop, or getting them to walk again if they start jigging.  Otherwise, I leave them alone.  Their tempo will even out eventually.  

This ride with Blue was about 20 minutes walking around the arena before he steadied his tempo, then seven more minutes until he could keep his tempo steady in the opposite direction.  Then I dismounted.  No need to trot until we can walk well consistently.  If we tried to trot before we got the walk steady, we would have the same inconsistent tempo problems in the trot.

Our goal is a steady tempo at the walk early in the ride, which we acheived in the next session, along with my next three goals.  They were relaxation, stretching down, and long walk strides.    This is how we we will learn the free walk.  

When Blue and I compete in Kentucky in the fall, we will be required to ride Training level, test 2.  In this dressage test, the free walk has more clout than any other movement.  It is worth double points, and in the collective marks factors into about 1/3 of the score for the horse’s gaits.  It’s also a key factor in the judges’ scoring of impulsion and submission.  

No matter if you look at developing a good free walk for competition purposes, or for training purposes, it is one of the key basics that we build our foundation if training on.

Parking Brake Instalation

With all the horses I train, I like to spend a lot of time solidifying the basics. It is much easier to progress smoothly through the levels if the basics are firmly in place. Good basics are very boring, many people don’t spend much time on them because they require the patience of a fisherman on quaaludes.

Patience is a necessity for every good horse trainer. It’s also a necessity for any good riding horse. Horses are like people in that some are more naturally patient than others. Just like people can work on their patience, horses can also be trained to be more patient too.

One of my cowboy type teachers told me that his horse needed to stand still well enough for him to smoke an entire cigarette without touching the reins. Yuck, I don’t want to have to smoke cigarettes to train my horse, this is the 21st century! Instead, I train my horses to do something much more modern. They have to stand still long enough for me to write an email on my phone.

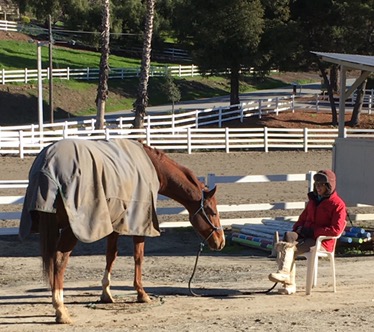
Blue and Corny both need to work on their patience. I start this training by getting them to stand in one spot at a distance from me.  Usually I imagine a circle the size of a hula hoop for the horse’s front feet.  For the purposes of these pictures, I used a spiraled cord to represent the area in which I want the horse to keep his feet.  If the horse moves out of the circle, I stay where I am and put his feet back into the  circle. 

Corny relaxed and focused on me. While sitting in a chair is not generally something that is considered safe to do around horses, I’ve mitigated some of the risk by making sure there are plenty of ways for the horse to go other than over the top of me.

This is a great exercise to do when waiting for something.  It helps there horse gain confidence and respect standing at a distance from his handler.  The handler will get good practice making finely tuned cues to get the horse to go back in his circle.

I’m asking Corny to step back into the circle, without getting up.

Blue and Corny did very well at this exercise!  After a bit, I decided to work on ground trying and walked away. In general, Corny wants to follow me around everywhere and Blue is always looking for an opportunity to walk away.  Even though I intended for the coil on the ground to be a representation of an imagined area for the sake of photos, I think it helped the horses know they were supposed to stay put!  Perhaps the coil is there loosest set of hobbles ever.

It was hard for Corny not to follow me, but he ground tied like a champ.

After the parking brake has been installed on the ground, we move on to mounted installation.  The principle is the same, imagine a hula hoop size area and keep the horses front feet in it.  If the horse steps out of place, move them back in as few steps as possible.  For example, if the horse walked forward out of place, back them into three circle.  If the horse sidestepped left out of the circle, side step him left to get back in the circle.

Blue doing well with his parking brake installation. He has nice relaxed ears and a low neck that tell me that he’s not about to walk off, even if I move around in my tack.

This training will come in handy when trying to have a conversation while mounted, adjusting stirrups, or tightening the girth. For competitive purposes, it will help the horse be immobile in their halts, and wait politely for their turn to show. In a more big picture approach, it will help them to wait for their rider’s cues.

Corny’s catch rider

My last post talked about how I use long lining (double longe) to help Corny out with his misconception about how to respond to pressure in the bridle.  Corny was under the impression that he should raise his head and lower his back when he feels pressure on the bridle.  This led to a bad ride for me that I had emotional difficulties with. Given that my back isn’t doing that great right now, I decided to enlist the help of one of my students.

Kate Little is an eventing trainer a couple of towns over.  She has taken a couple lessons with me, and I see her at the horse shows.  I’ve been looking for an assistant to replace the one I lost 3 years ago, and while she isn’t interested in the job, she has told me that she would be happy to help me out in the short term.  She also says that she will ride anything, which is a policy that is dramatically different from mine!

Anyway, Kate came out and did a fantastic job with Corny.  I started him in the long lines to remind him about the concept of yielding to pressure in the bridle and going forward at the same time.  Kate was able to duplicate this response under saddle with better timing than I was able to produce in my Ride with Corny.

Kate noticed that Corny didn’t understand that using the leg means go faster.  She worked on creating that response with him, then added some intermittent pressure in the bridle to encourage him to lower his neck.

I had a good time watching Corny try hard and process this information.  I took some (wretched) photos in burst mode to see how he processed pressure on the bridle.

This sequence is from the beginning of the ride

Corny still reacted to pressure by lifting his head at first.  Then he remembered what he learned on the long lines and lowered his neck and brought his back up slightly.

We are off to a good start!  Corny is a good guy. This next sequence is how he reacted to pressure 10 minutes later at the end of his ride:


This end result makes me very happy.  Kate and I were both congratulating Corny for how good and how clever he is.  He’s elongating his neck, lifting his back more and learning how to keep going all at the same time!

We are going to continue in this vein for Corny, alternating between riding and long lining.  My goal right now is to get him to understand that the rider’s leg means go, and the rider’s hand means follow.  I’m hoping this will relax him enough so that he can keep his tongue in his damn mouth!

Corny called me fat

I had my first bad ride on Corny.   When I asked Corny to trot, he’d fling his head back and get light in front like he wanted to rear.  If he did start trotting, he’d take a hoppy step to get from walk to trot.  His trotting seemed labored, like me and my equipment were way heavier than anything else he’d had to trot a circle in.
So I decided to do was to go back to the long lines.  I want educate him that he doesn’t have to raise his head whenever he feels lateral pressure on a rein…even if he is moving.  I also want to help him build his top line more.

You may wonder why I don’t just put some side reins on him.  I’m not a big fan of training in side reins because you can’t give a release like you can with  long lining.  Horses in my program really only use side reins of they are giving a longe lesson or participating in a side rein mandated pony club lesson.

I kept the jumping cavesson on Corny and arranged my lines to encourage him to stretch down.  The inside line goes from my hand, through the bit ring, and clips to the middle ring of the surcingle.  The outside rein goes from my hand, over his back, through the top surcingle ring, through the bit ring, and clips to the lowest surcingle ring.  This set up is called the flying W.

Inside rein of the flying W set up
Outside rein of the flying W set up

Here’s a series of photos that show me asking for Corny to flex to the inside and correcting his response to fling his head up.

This is a picture of a hollow horse.  Corny feels pressure on the bridle, pushes the bottom of his neck forward and drops his back behind the withers Corny is still fighting the pressure though maybe his head isn’t so high now.  His stress indicator is now showing (his tongue) Corny is beginning to experiment by taking his head a bit laterally to yield to the rein pressure Corny’s neck is still constricted, but he’s softened the muscles on the bottom side of his neck Corny has figured out how to stretch down when the inside rein is applied now, but he’s still quite tight in his back muscles Corny has elongated his neck and is moving forward now
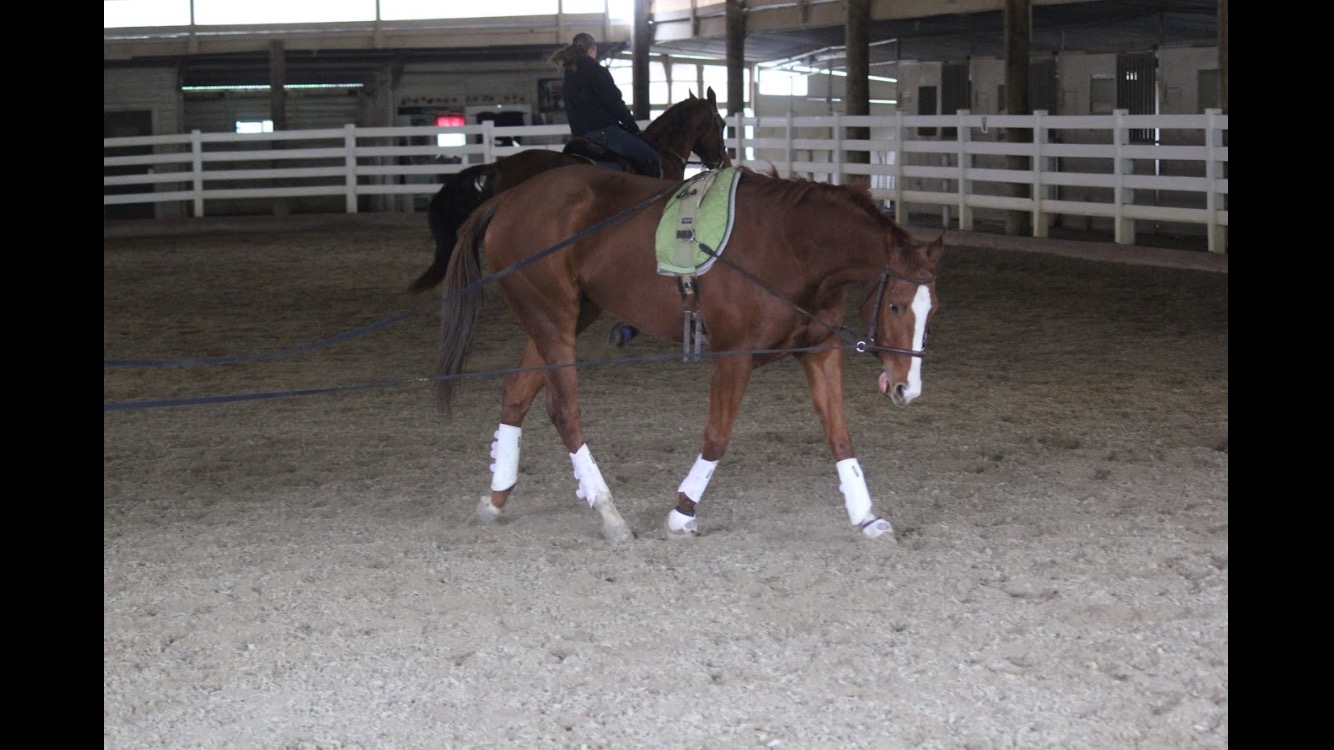
Corny is stretching to a light contact with soft back muscles.  This is a good success from when we started the session

Tomorrow’s post will talk about how we take what we achieved on there long lines into a more positive response under saddle.

Baby, it’s cold outside

Yesterday’s post talked about strategies for keeping a rider warm in the winter.  Today, let’s talk about keeping our beloved equine partners warm too.

Two common issues I see with horses that come in to work on cold days are stiffness and excessive friskiness.  Both can be somewhat mitigated by some changes in routine.

For clipped horses, don’t unblanket them and make them stand still in the cold for 30 minutes while you tack up.  Groom them with their blankets still on.  Undo all the straps on your blanket before you begin this technique.  Then you can pull back the front of the blanket from the forequarters:

Brushing the forequarters of a clipped and blanketed horse

When it’s time to move on to the hindquarters, rotate the blanket so it covers the forequarters and exposes the hindquarters.
Marie brushing Pacifico’s  clipped hindquarters


The horse can be fully covered while you are applying leg wraps and cleaning hooves.

Remove the blanket for saddling, but then throw a cooler over your horse’s back. 

Buddy wearing a cooler over his saddle

Once it’s time to ride, you can undo the front of the cooler and use it to cover  your chili thighs while it acts as a quarter sheet.  Your cooler is tucked under your legs to stay in place, so be aware of it as you are doing your walk warm up.  When it’s time to trot, carefully remove the cooler.

All snuggly and ready to start my walk warm up

Consider your horse’s mouth.  Would you like to put a freezing cold piece of metal in your mouth on a cold day?

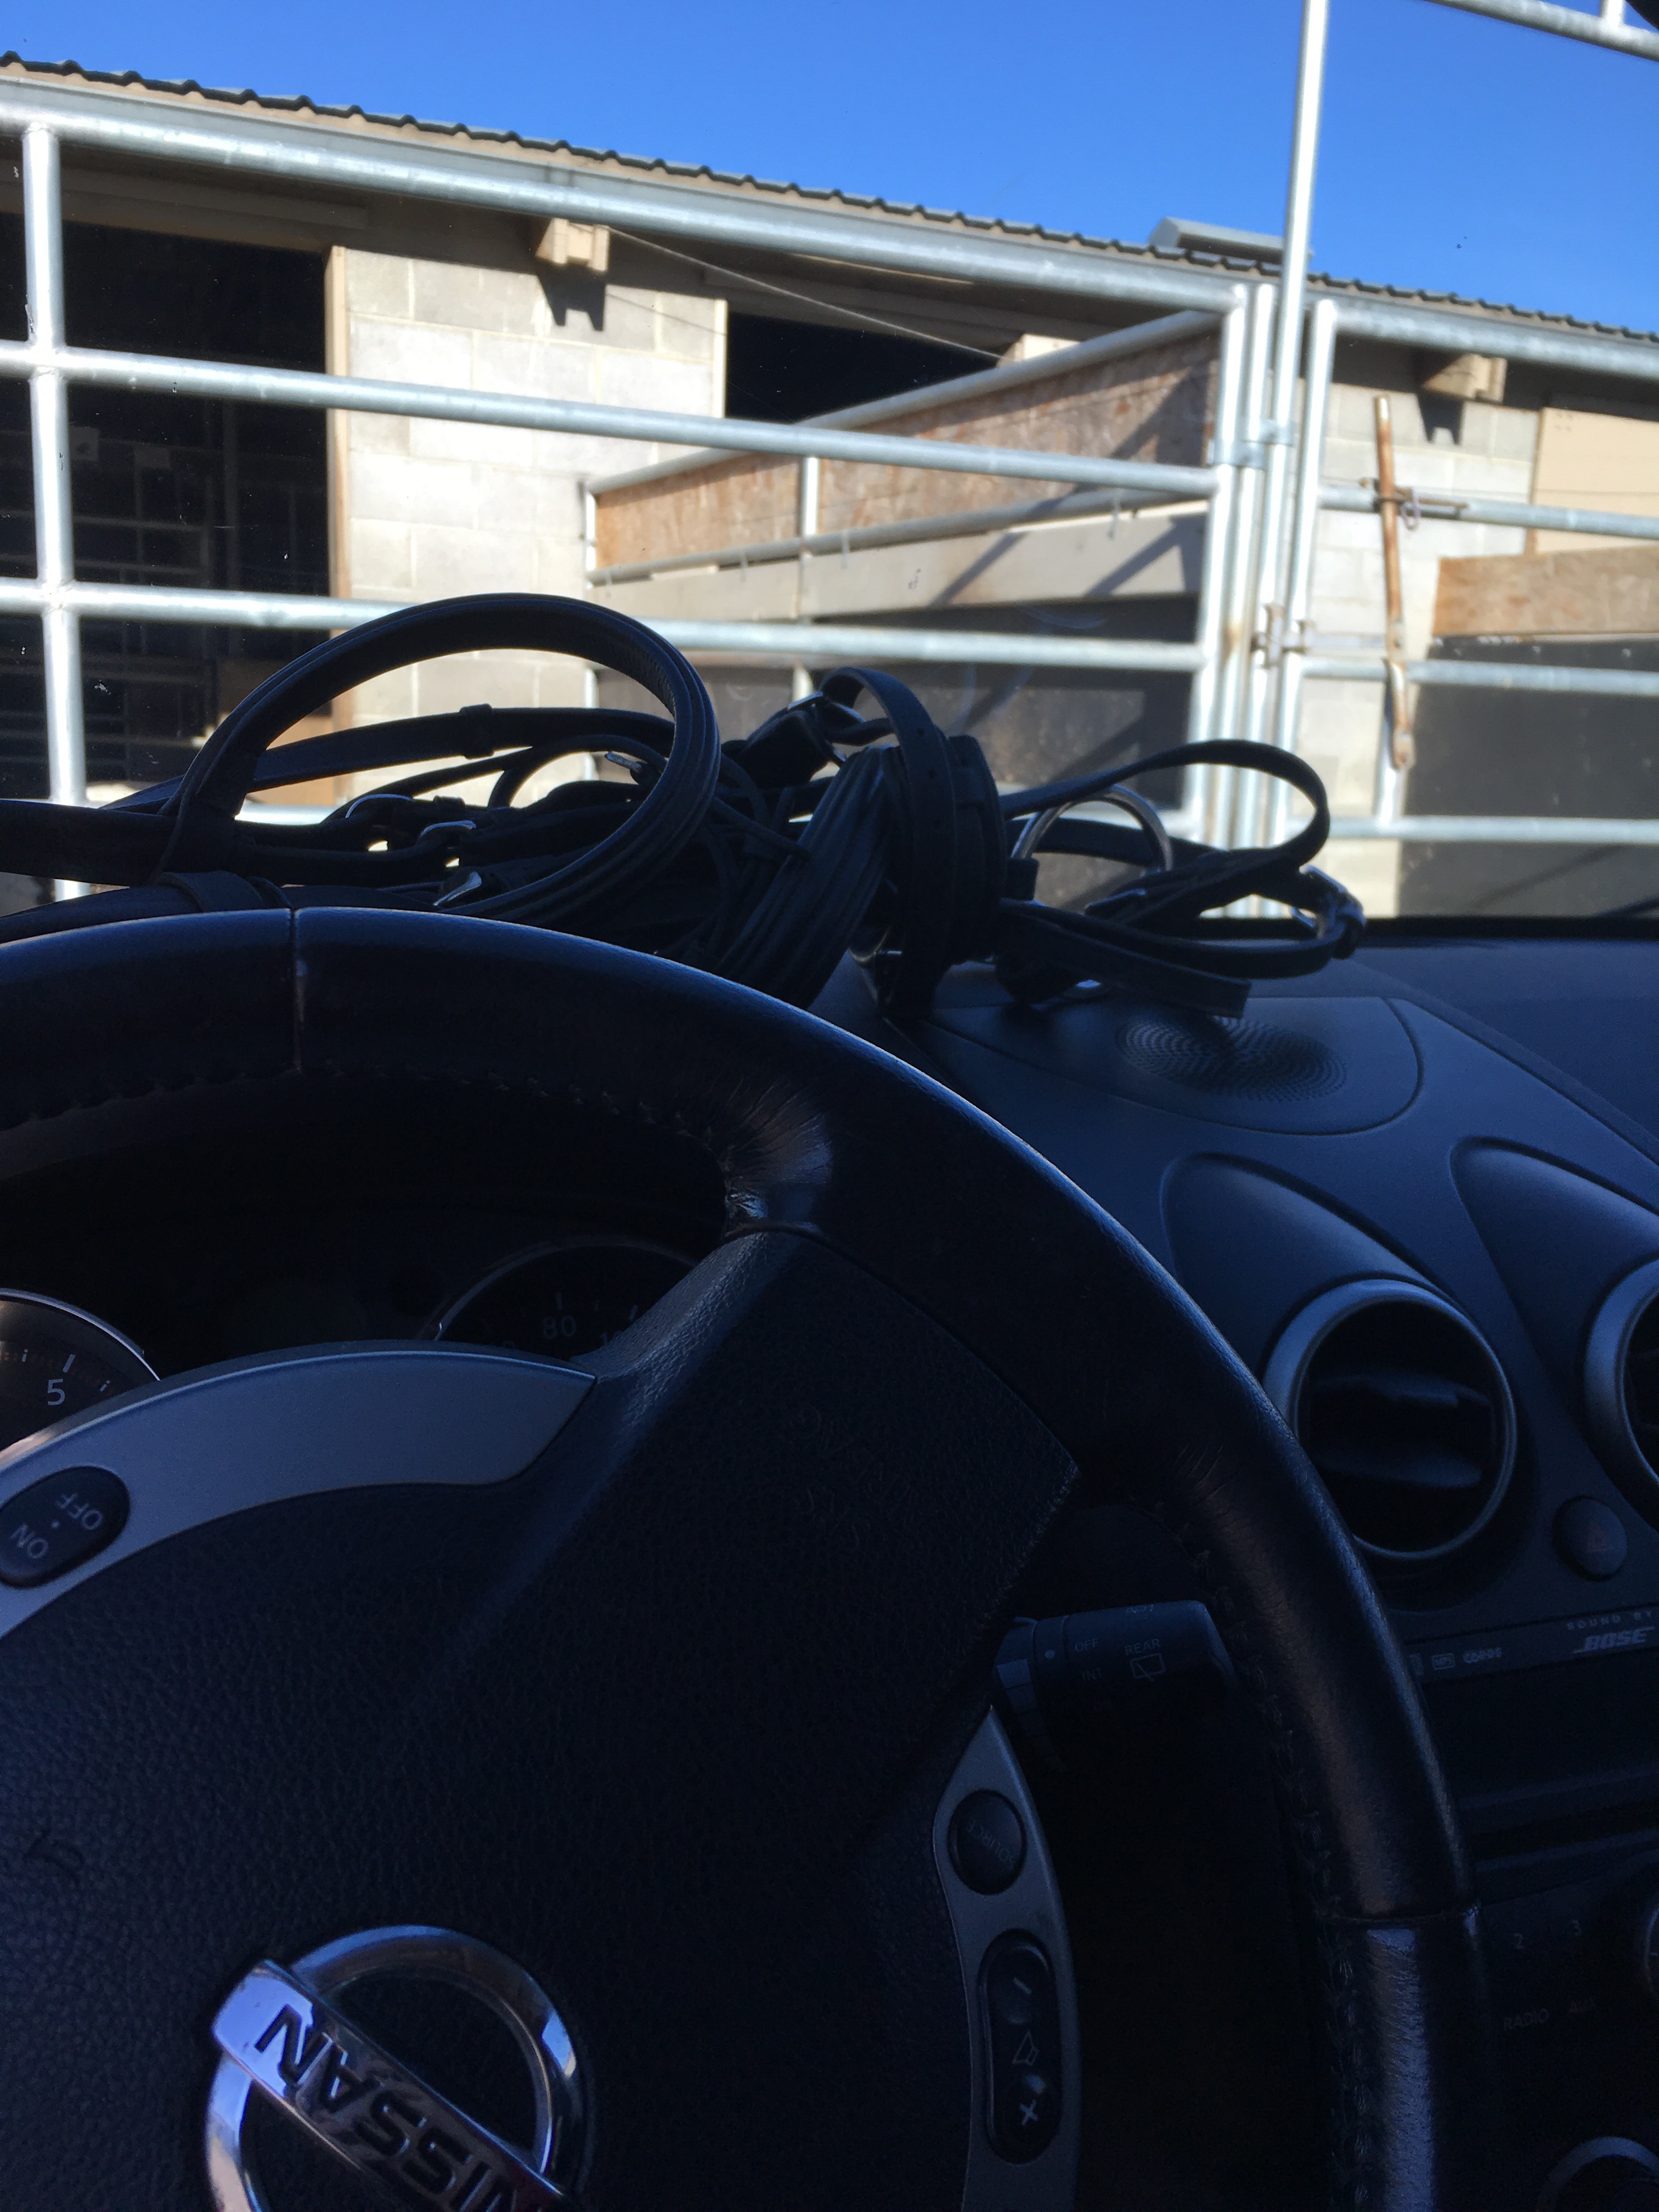
No, you wouldn’t.  So when you arrive at the barn, take your bridle to your car and put your bridle on your dashboard.  If it is sunny, the heat should warm up the bit.  If it’s not sunny, pop your hood and put your bit on the engine block.

If I’m the only one riding my horse, I store his bridle on the passenger foot well of my car and let the heater warm the bit on my way to the barn.


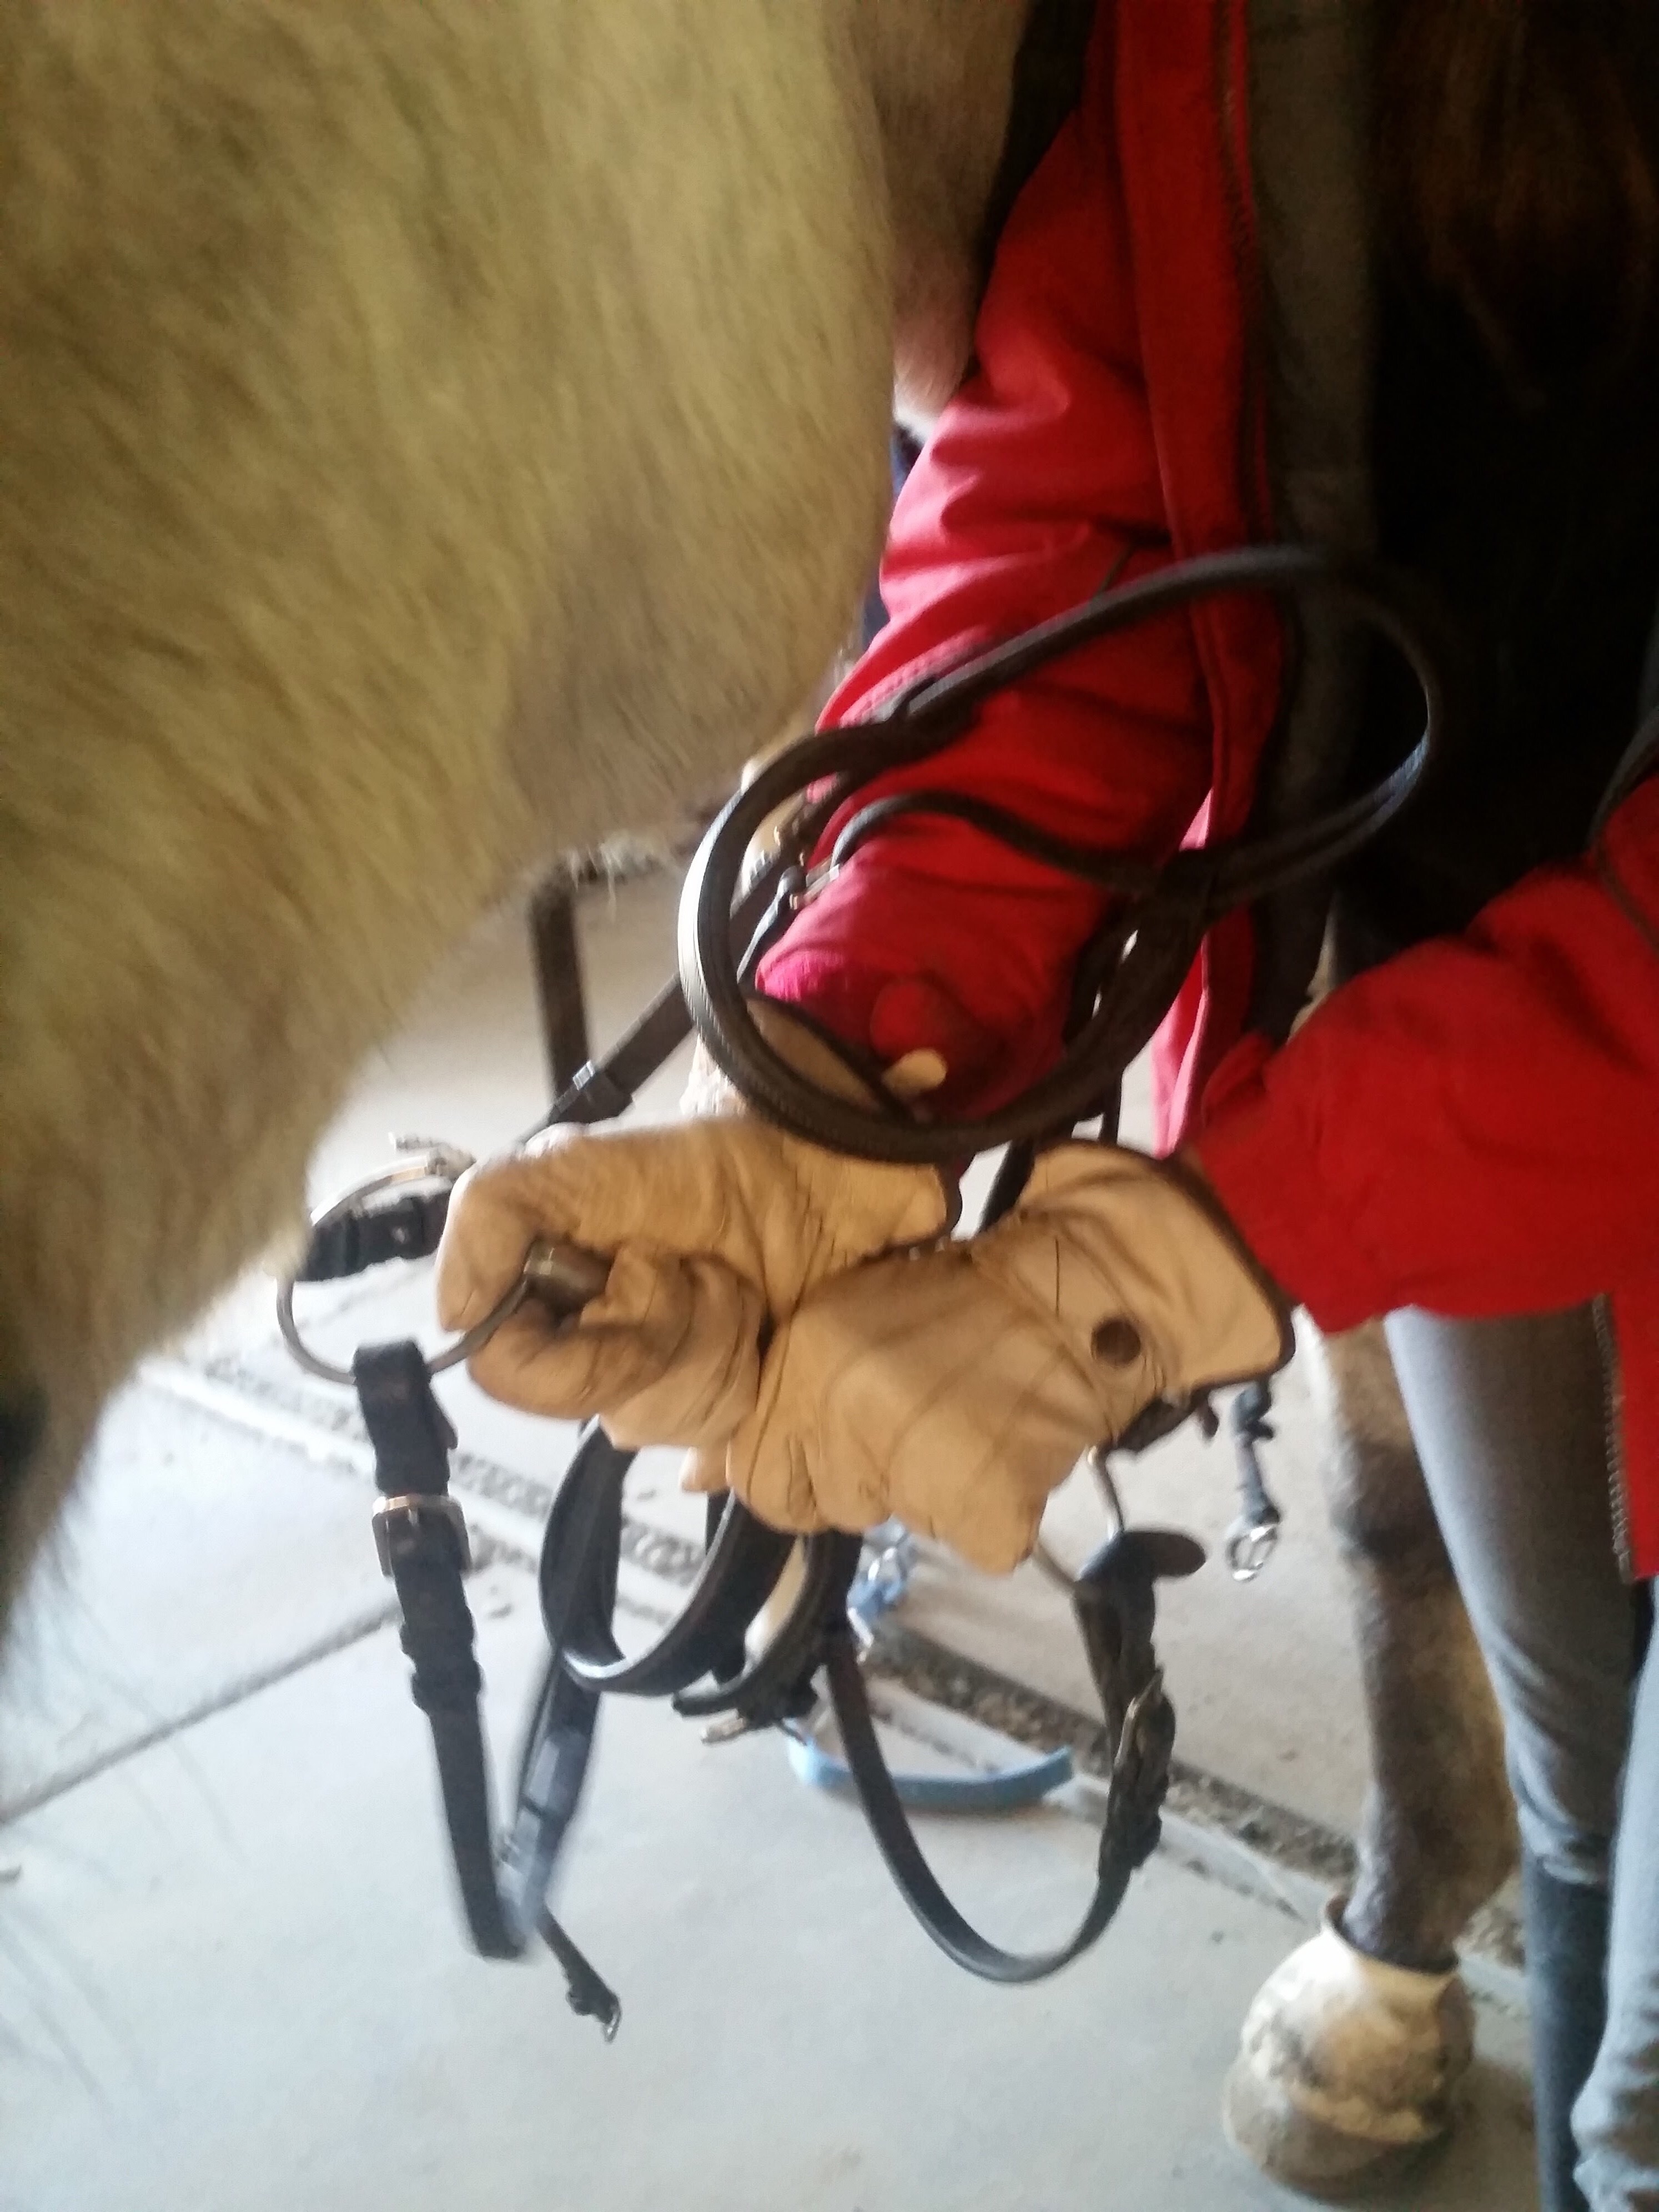
At the very least, try to warm the bit in your hands for a minute or so before bridling.

 Manually warming the bit is better than nothing


The last point to consider is if your horse is feeling cold.  If your horse is keeping his tail clamped between his legs, he’s probably cold.  Skip the long walk warm up, and trot right away to help him warm up his body.  When his tail comes away from his butt crack, he’s probably warm enough.  Sometimes horses jump around as an attempt to warm themselves on a cold day, much to their riders’ displeasure.

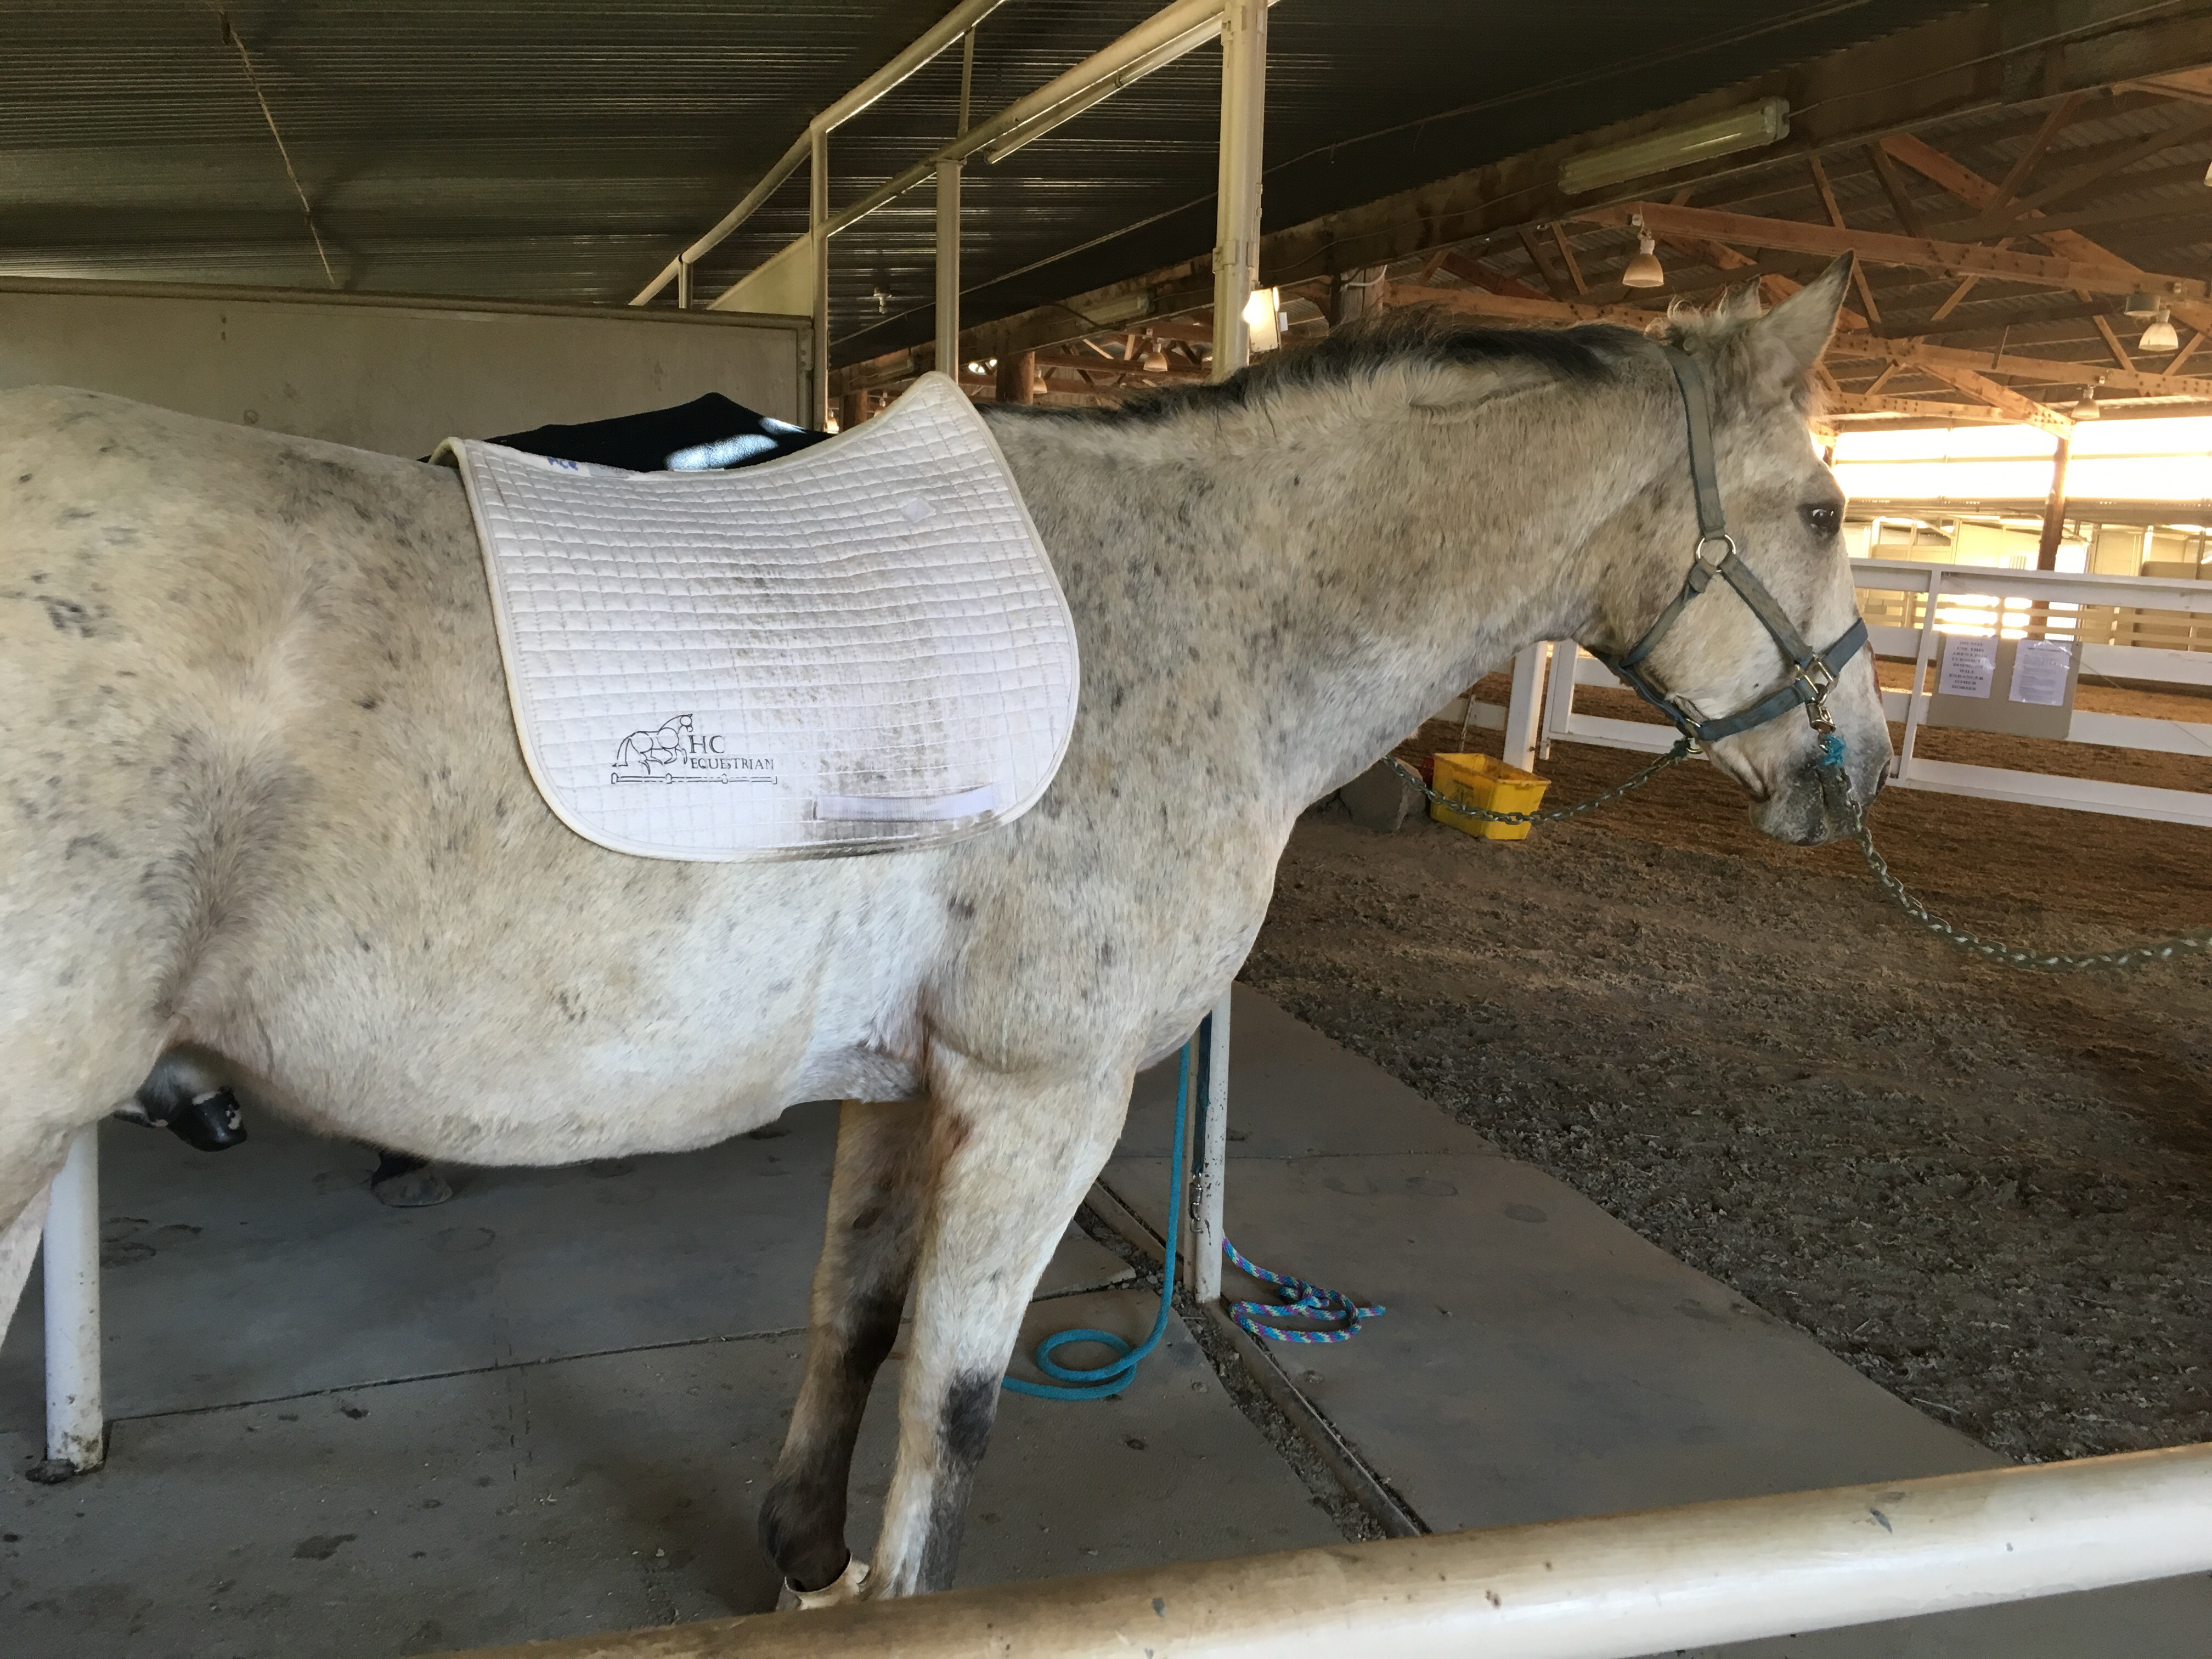
Once you are done riding, keep your horses back covered! Put a cooler on until it’s time for his blanket to go back on.  At the very least, leave his saddle pad on until his back cools down slowly.  You can still groom under the saddle pad.

Buddy is unclipped and unblanketed in the winter, as is evident from his beige coat. I keep the pad on his back after I ride to help his large muscles cool down more slowly and not get stiff.


Follow these tips to help your horse, and you, have a comfortable winter.

I can dress myself! (Winter Edition)

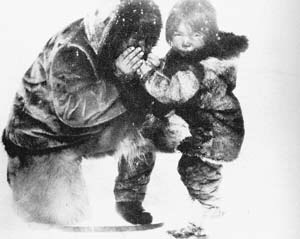
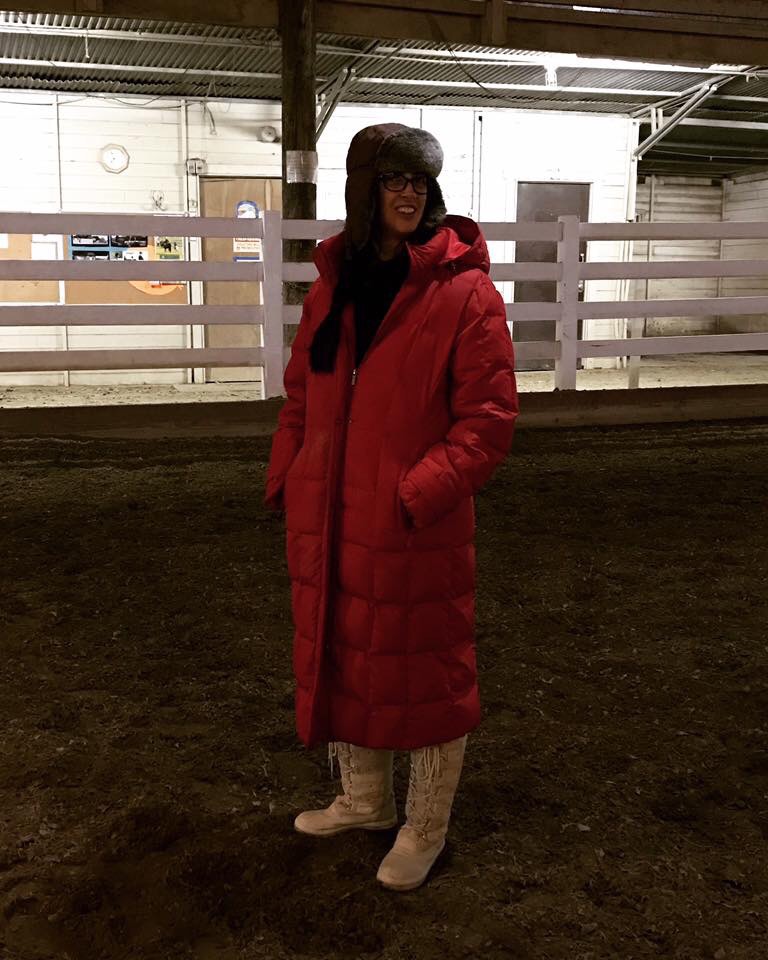
Most of my clients are from somewhere else. That’s the nature of having my business in the silicon valley.  People get a job here, move to the area, and then break my heart when they decide to go back home or move somewhere more affordable.  My students from cooler climates usually poke fun at me when I show up to their lessons looking like Nanook of the North and it’s only 50 degrees out.

Nanook of the North and his sweet outfit!

My look when I teach a lesson and it’s below 50 

After a year in California, my transplanted students usually get soft and start to complain about the cold at increasingly higher temperatures.  I like to consider myself an expert on dressing for cold weather comfort at the barn.  Here is how I do it:

First start with your base layer.  Wear your usual bra(s), and then put on a smartwool shirt and smart wool socks.  Unlike cotton, smartwool won’t get cold if it gets sweaty.  I asked for a smartwool sports bra for Christmas, to avoid clammy boobs, naturally.  My non horsey sister was confused by this request, and was convinced that I made a typo and meant to ask for a white bra.  

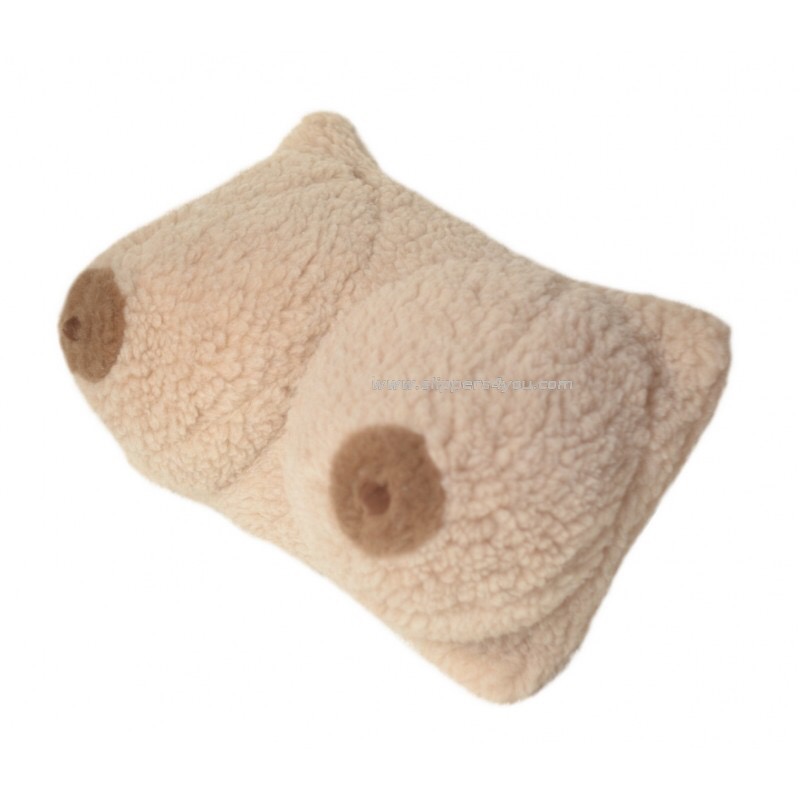
This is not a smartwool bra, but it is what you get if you do a google image search for “sheep boobs”.  You’re welcome.

Now that you have your wooly base layer, add your breeches and a fleece pullover.  There are other technical sweatshirts that are great too, I just like my quarter zip pullover here.

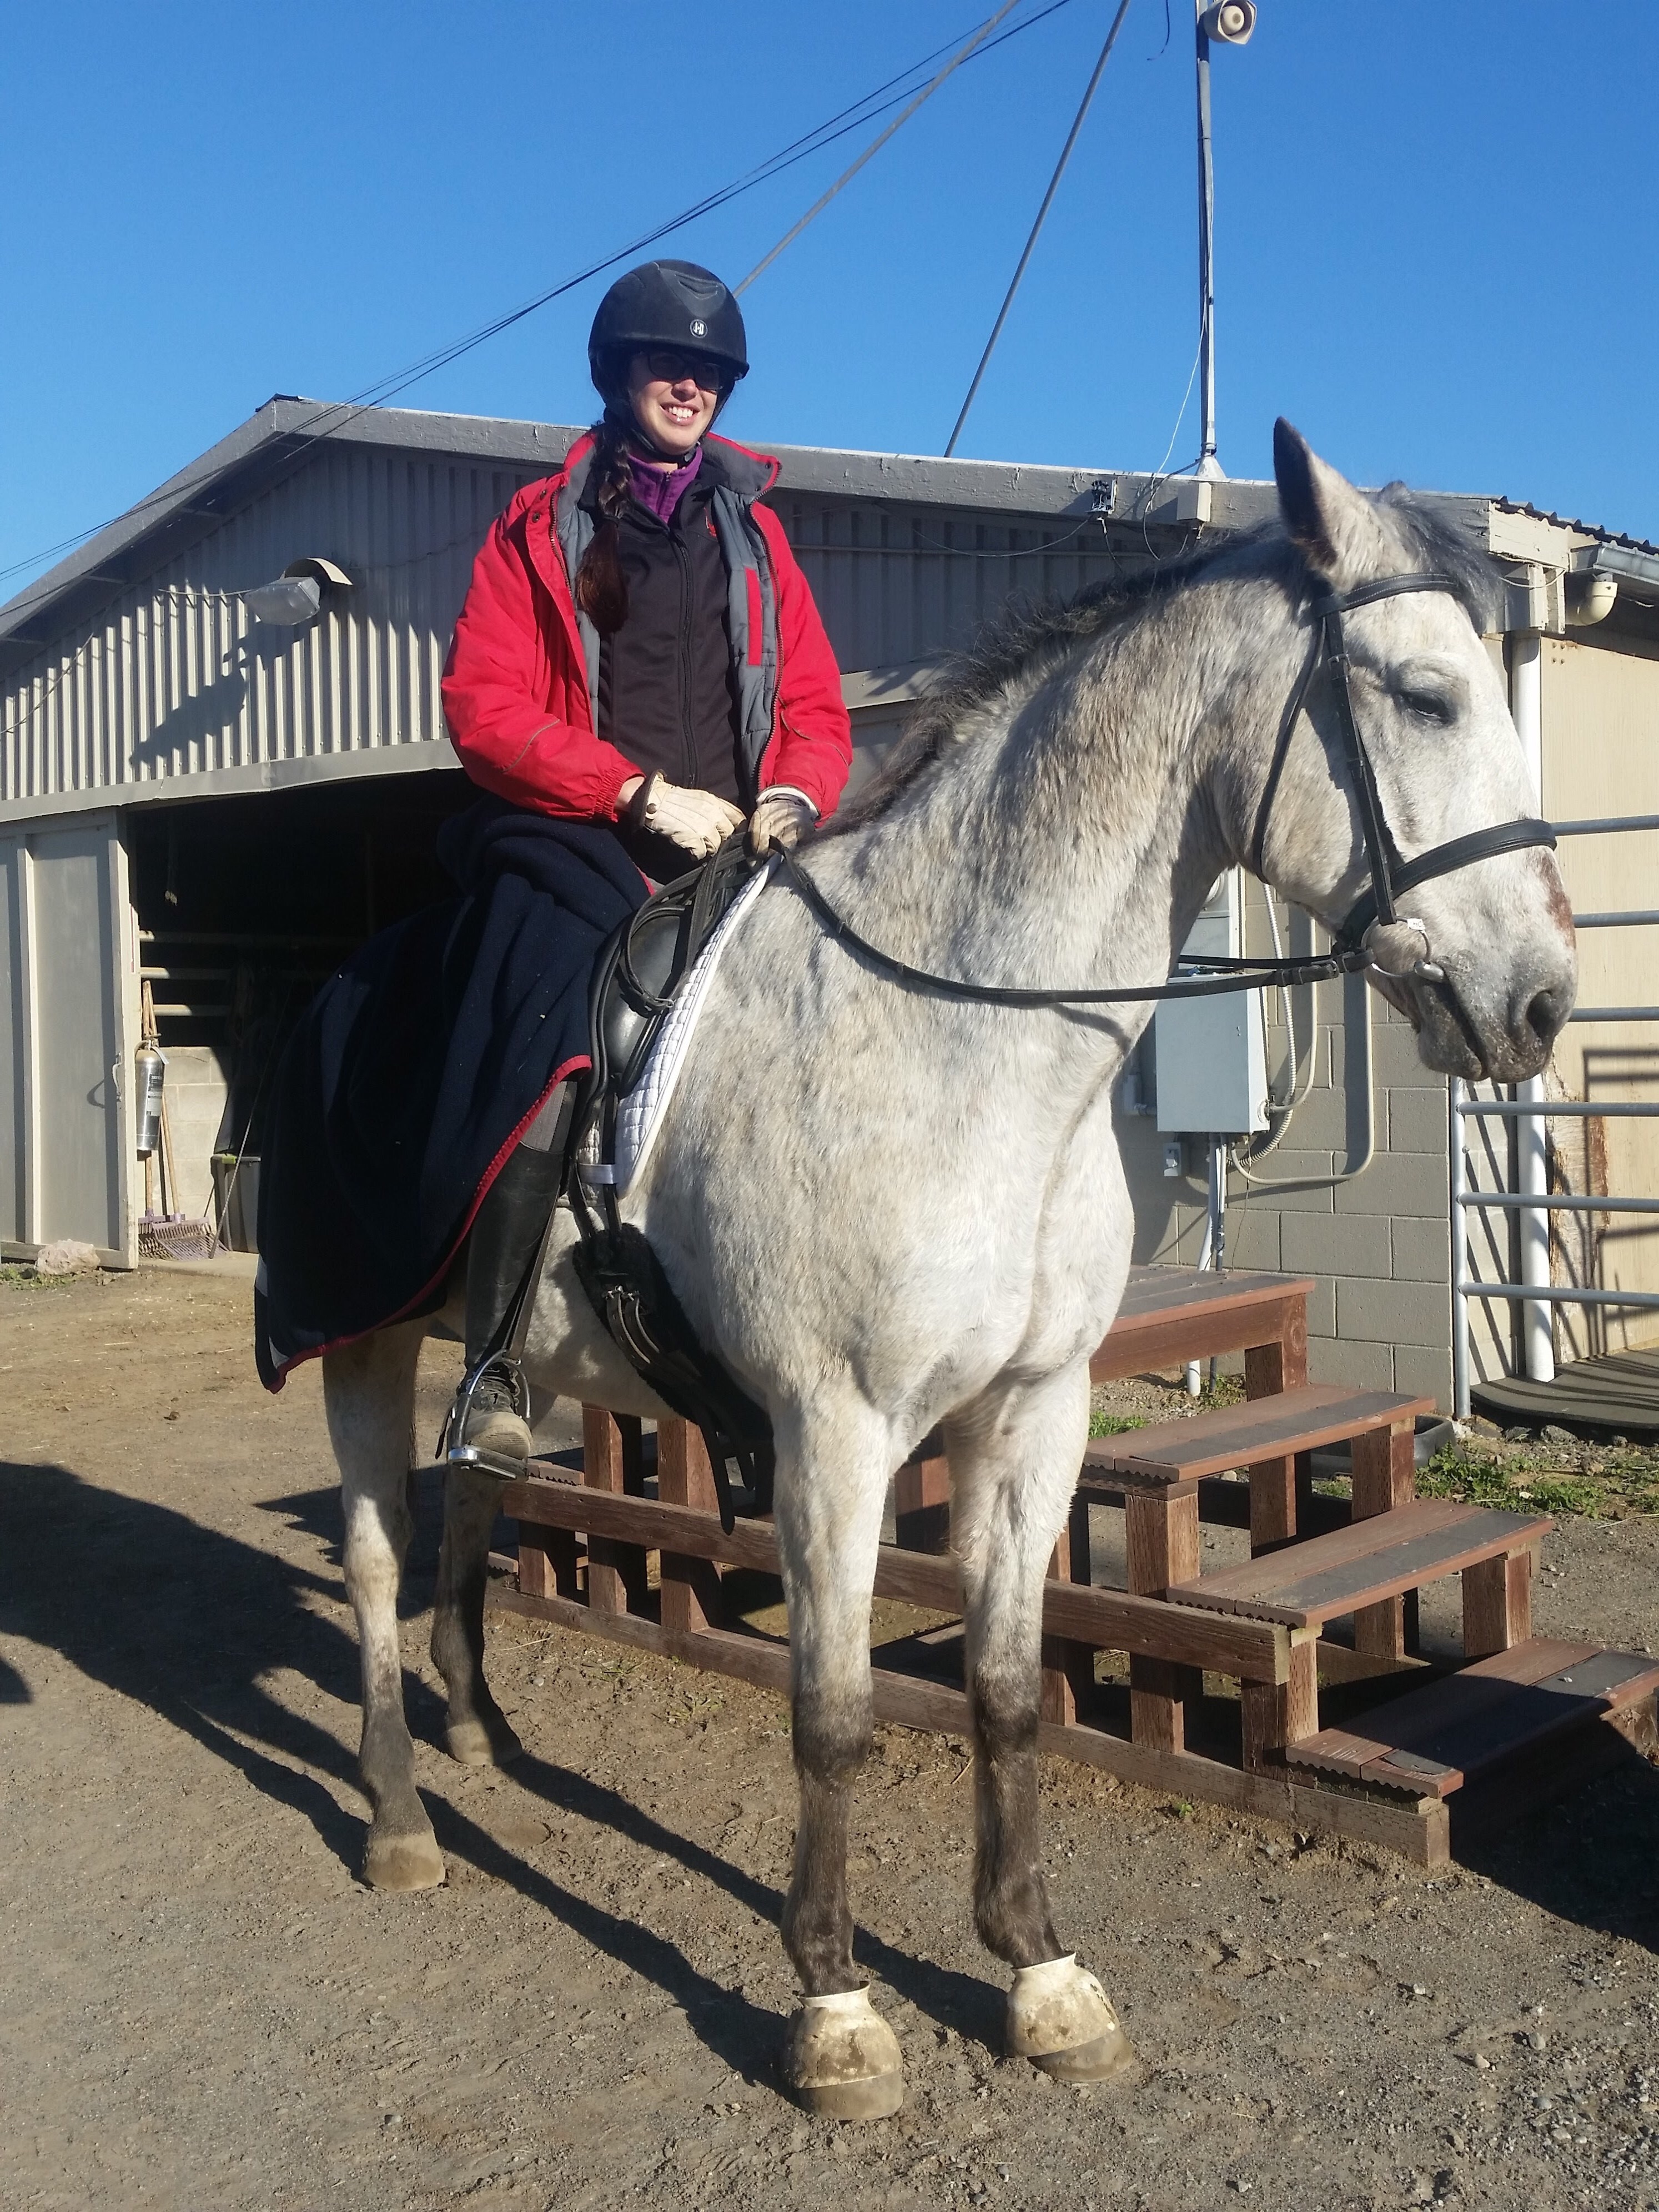
Next, I wear my air bag vest, which is pretty warm.  If I didn’t wear the air bag, I would wear a down vest.  Finally, I put on my jacket.  Unzipped of course, I don’t want to impead my air vest if it is activated.

My winter riding look

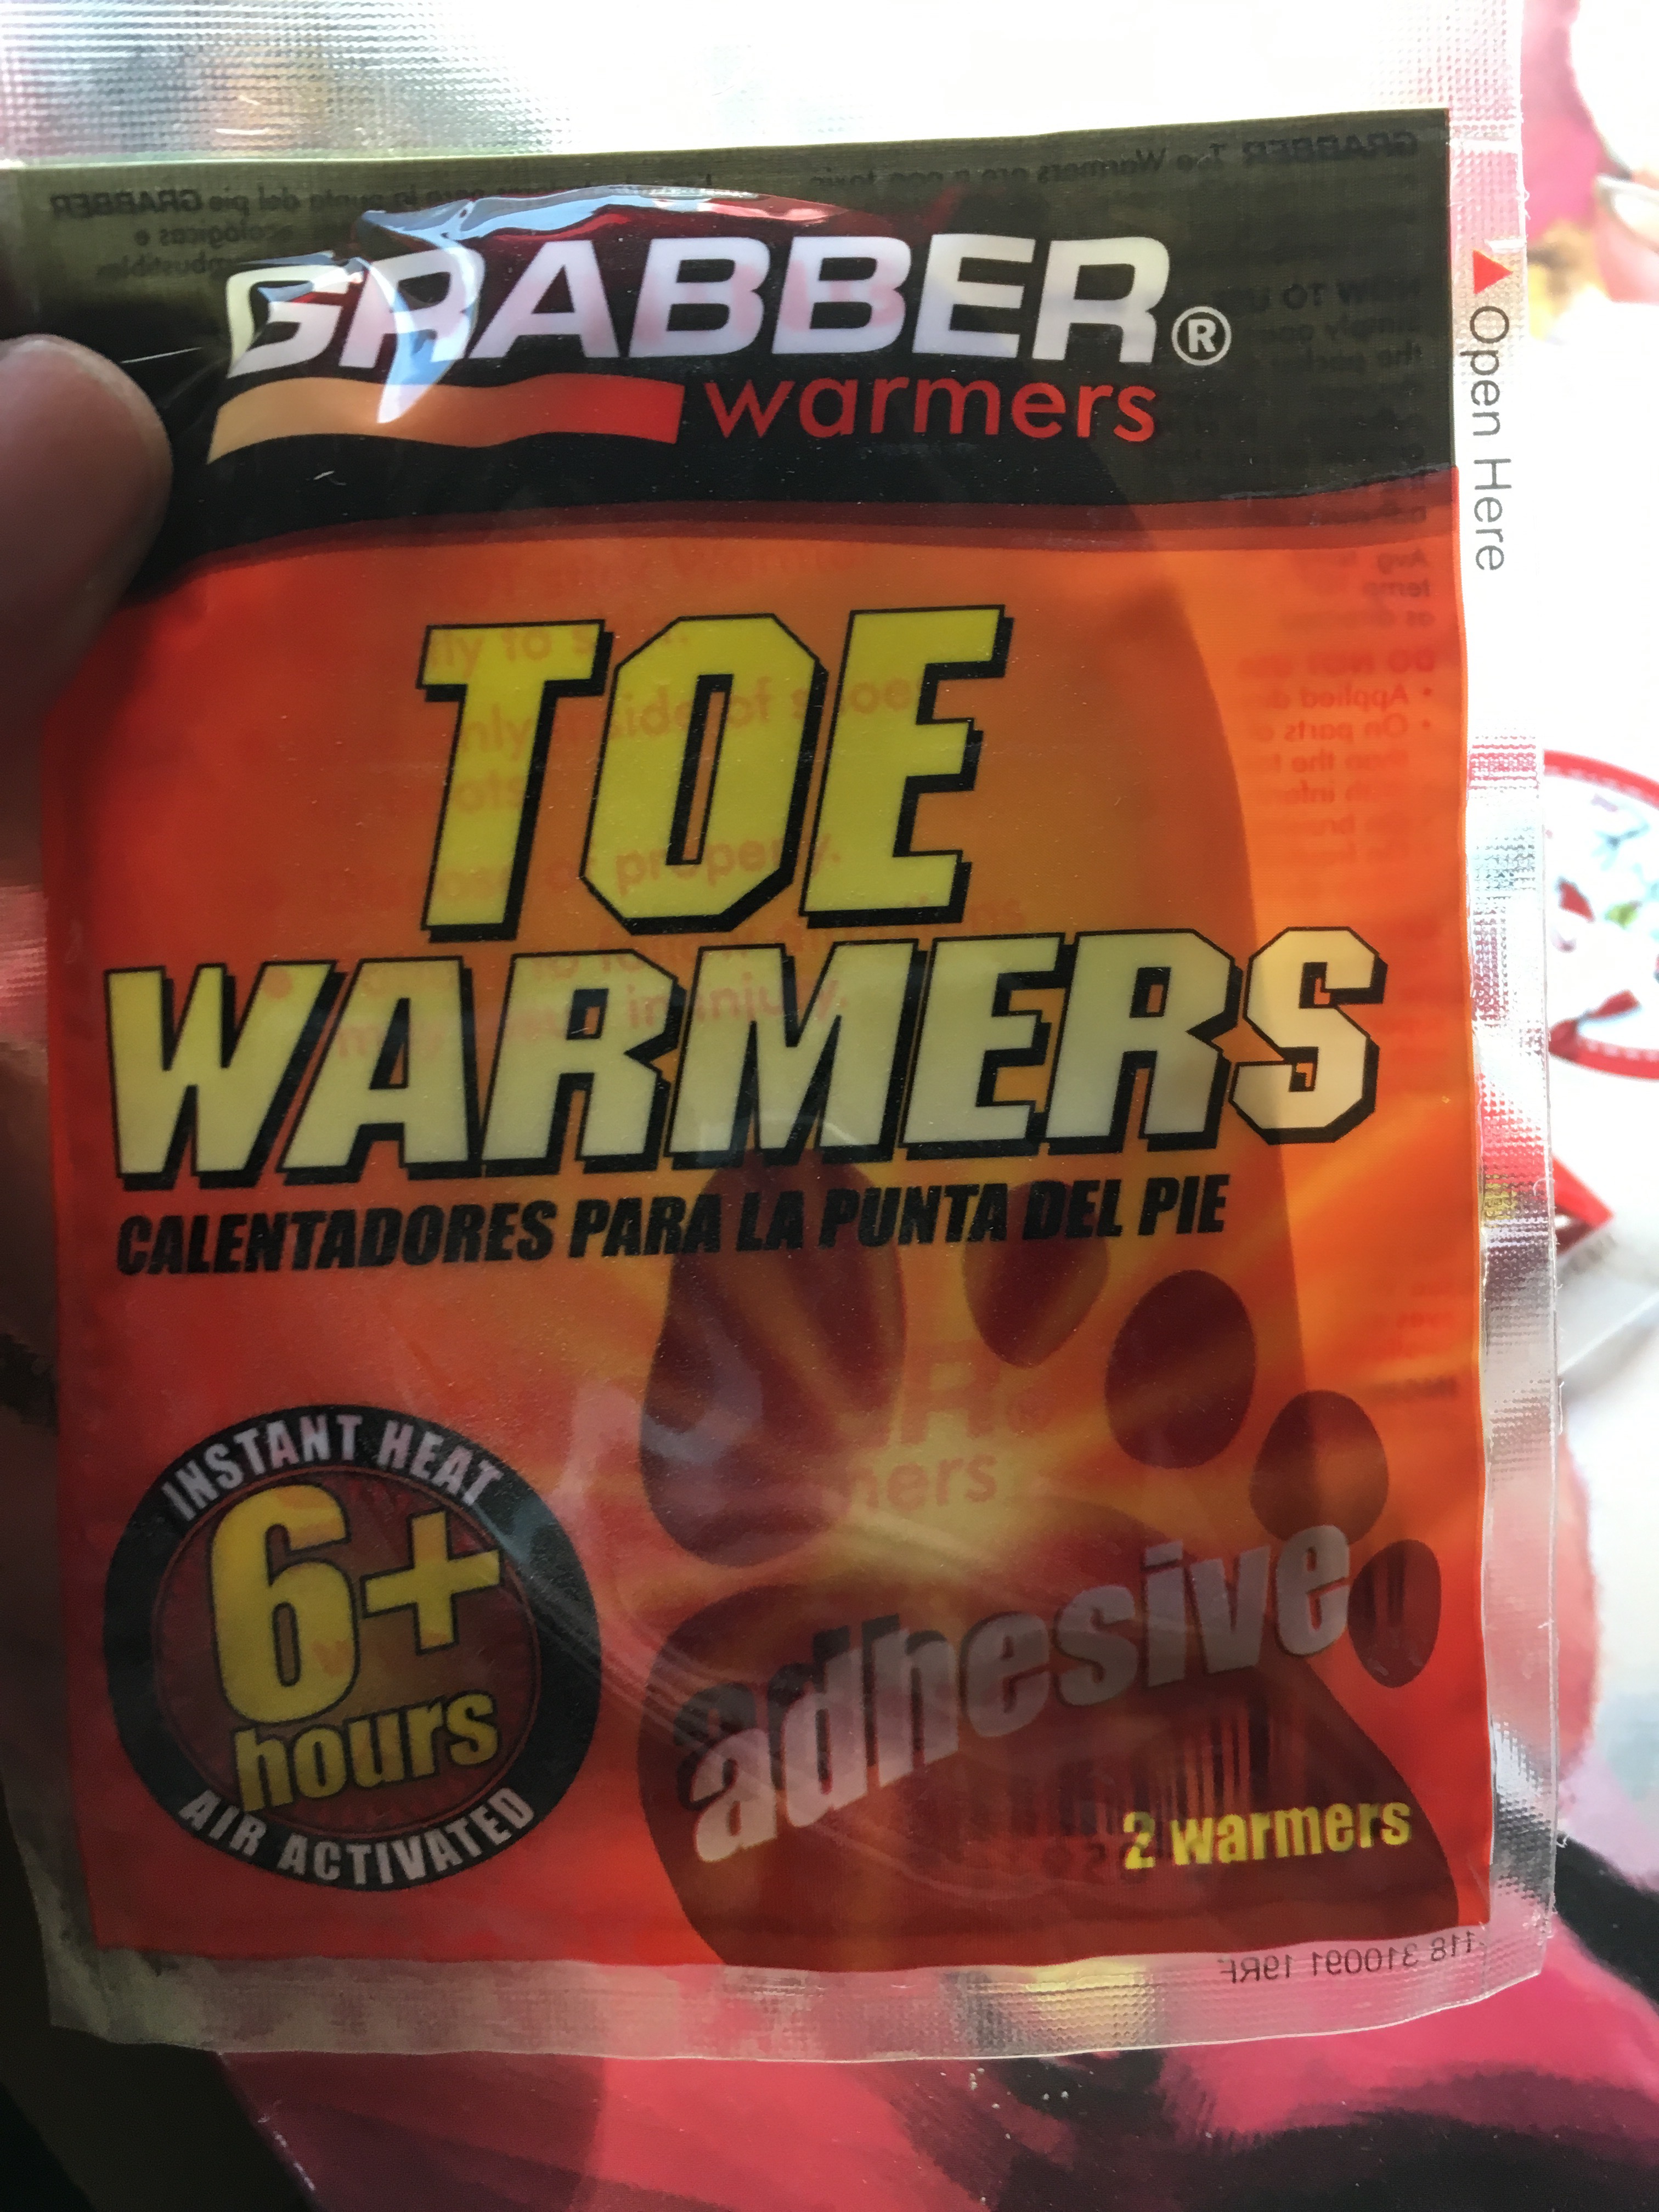
Other details are my insulated riding gloves, and disposable toe warmers.  

These stick to your socks like a maxi pad and ward off frozen toes.

I don’t like to ride in a scarf, but have been known to ride in a cowl pulled up over my face.  Ear warmers are also nice, but my long hair does an adequate job for me right now.  Insulated breeches are a thing, as are insulated riding boots.  I tend to prefer layers to make adjustments throughout the day.

Tomorrow, I will talk about ways of keeping your equine partner toasty warm as well.