Fear and fighting in the farrier shed

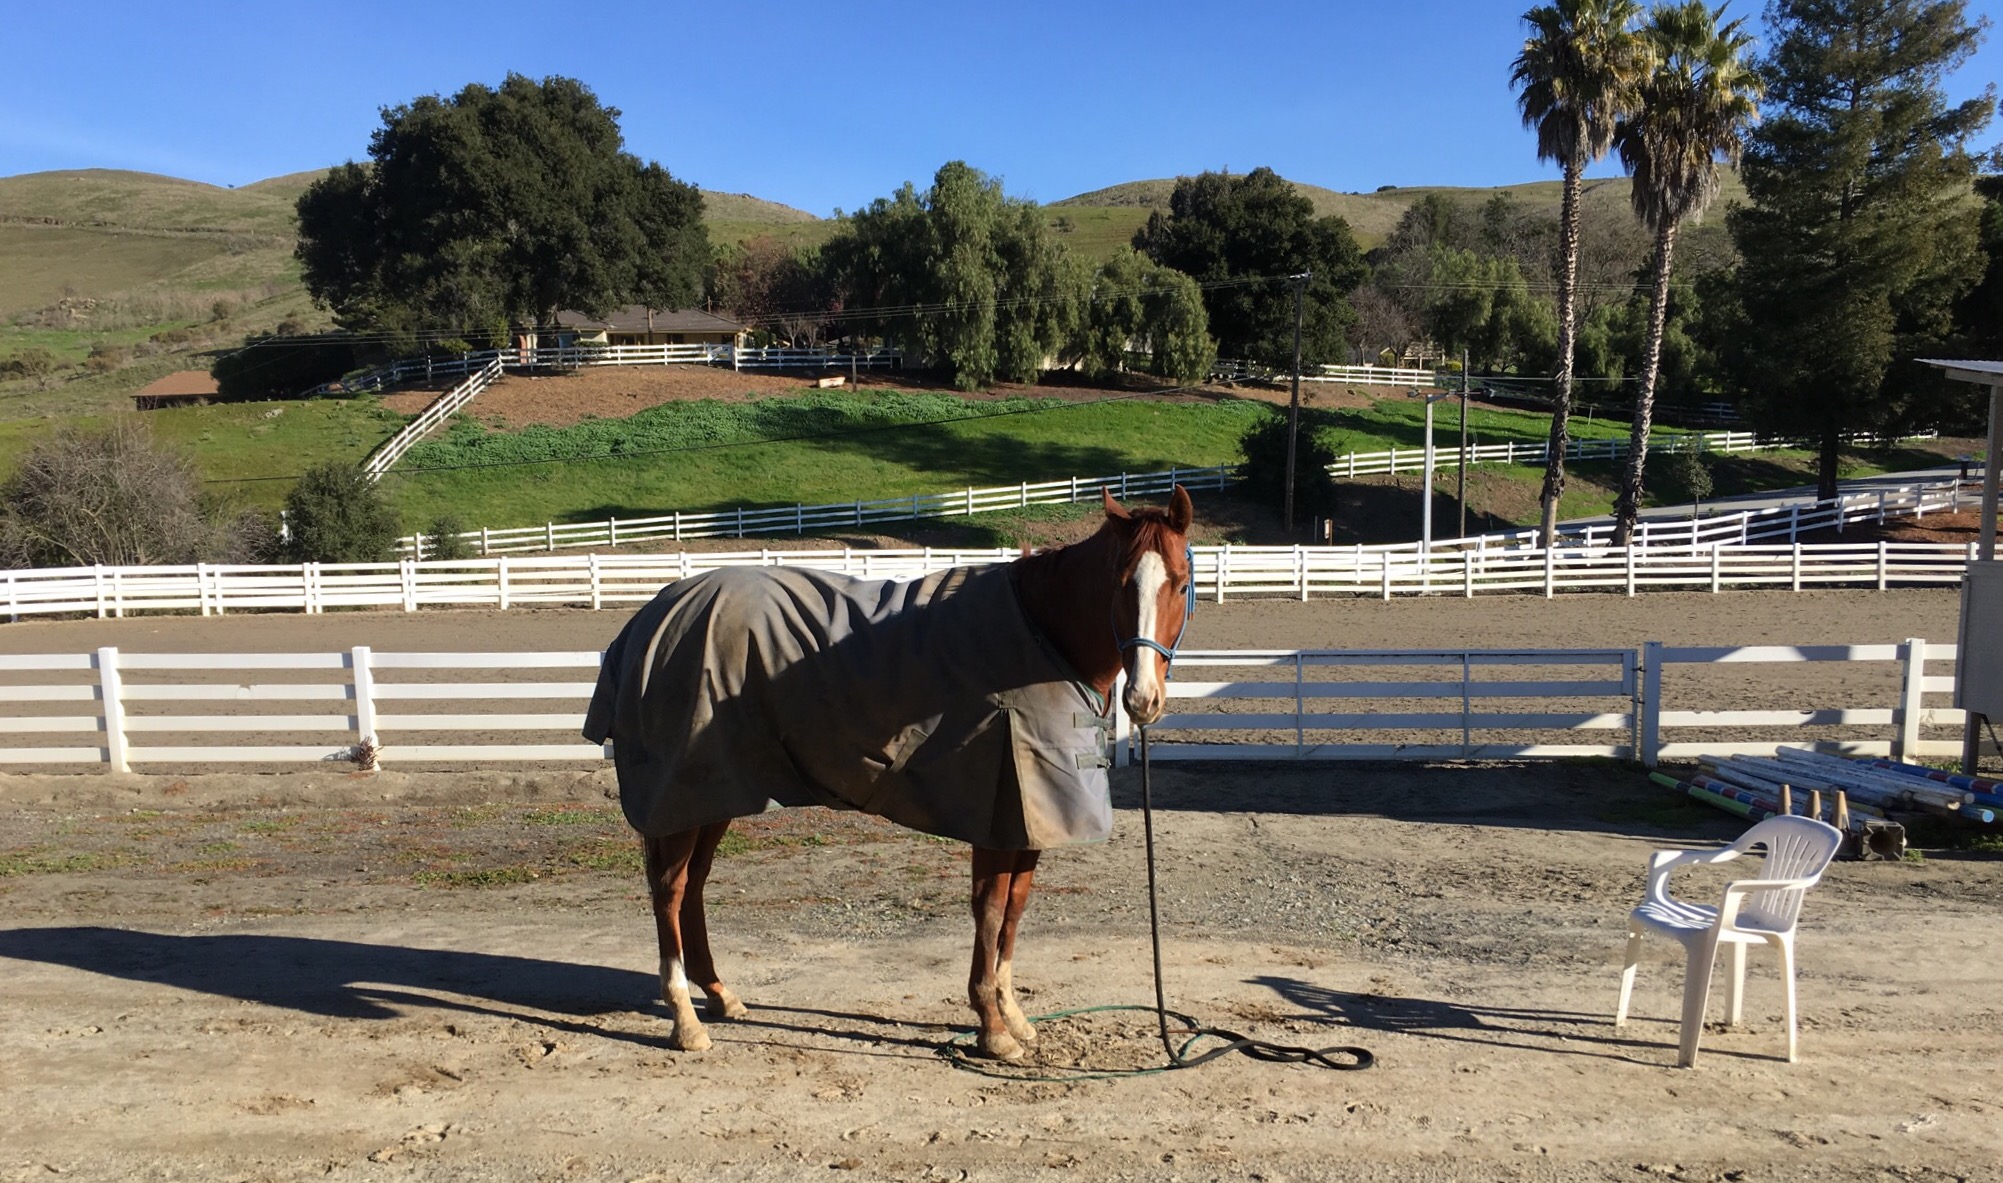
Blue and Corny got shod yesterday for the first time since they’ve been in training with me.  The experience didn’t go as I thought it would, and I see opportunities to improve upon it with proper training.  Blue was fine, Corny had a tough time.  This post is going to serve as my post-mortem document so Corny can be better prepared next time.

Our horses get their farrier work done in a separate set of cross ties in what we call the farrier shed.  I kept meaning to get the brothers over there to practice standing in that set of cross ties, but I never quite got around to it.  You’d think with all the standing around training that I do, that I would have made it over there. 

In any case, Corny took to the cross tieing portion of his shoeing experience like a champ.  A win for crosstie training!  We got to the appointment 5 minutes early so we could watch the older horse in front of us behave as a good example.  Corny started stressing with his mouth almost as soon as he was tied up.  By the time Fernando pulled his shoes, he was beginning to shake.

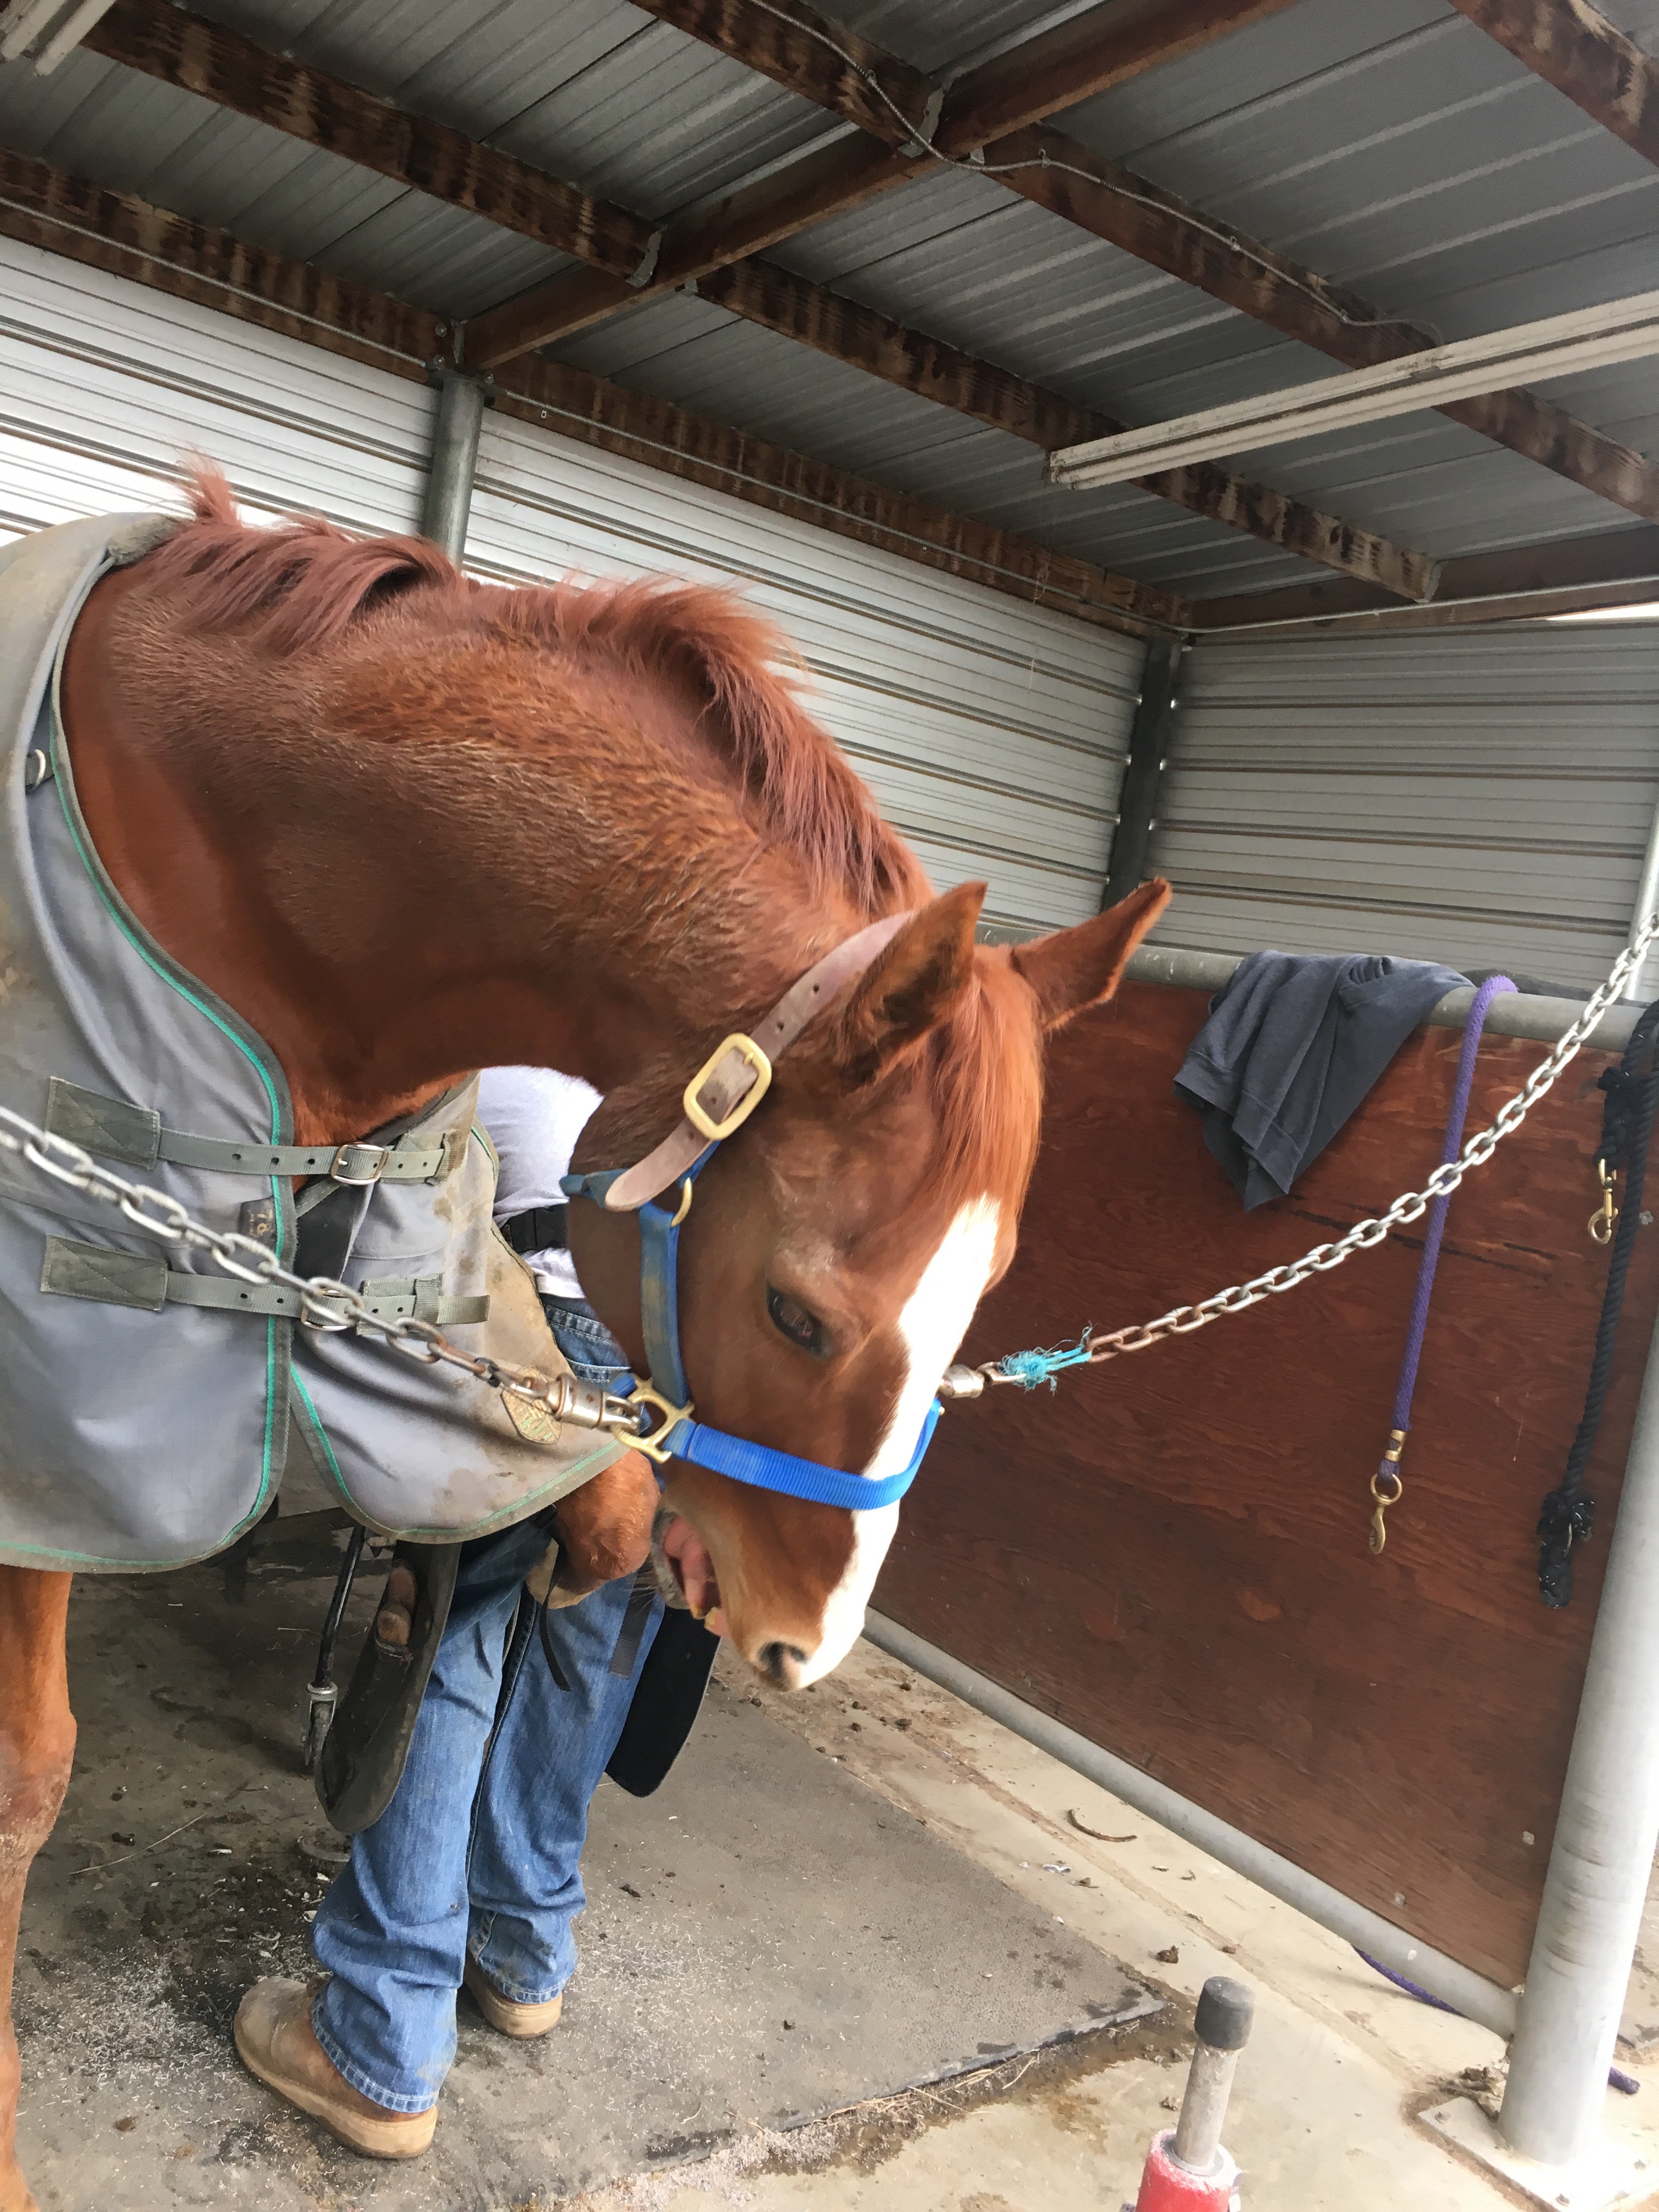
 Corny’s stressed out tongue acrobatics

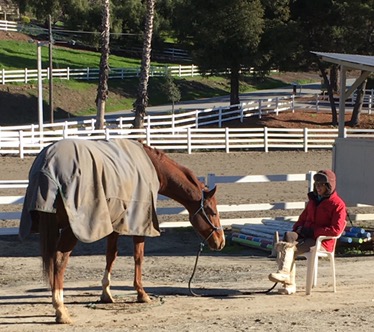
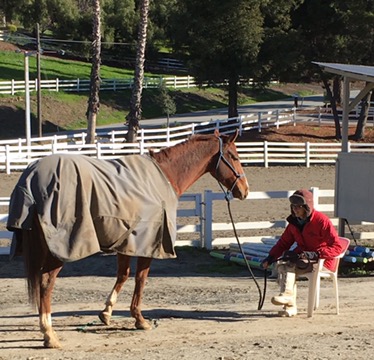
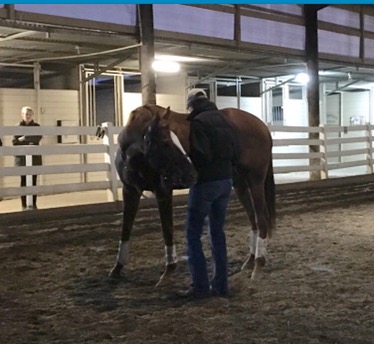
Fernando and I were patient and reassuring with Corny.  I took Corny out of the cross ties and held him.  I lowered his head a few times to place him in a posture of relaxation.  I did the one T-touch I know.  I kept the older horse that had just finished his shoeing appointment around as a buddy.  Despite all of this, Corny was increasing the intensity of which he was yanking  his feet away from  Fernando.  By the time Fernando had finished trimming and rasping Corny’s feet, Corny was striking out with his front feet.  All of our efforts to help Corny relax weren’t working, so I had to think of a way to get the job done.

So I turned to drugs.  I very rarely sedate horses, but I do keep some Acepromazine around for emergencies.  There problem with Acepromazine though, is that it doesn’t really work once the horse is already excited.  It was all I had, so I tried anyway.  It did practically nothing, but it did give Corny a 30 minutes break.

Meanwhile, Fernando started working on Blue.  This was possibly Blue’s first time being hot shoed.  Don’t worry Blue, you’re only on fire a little bit!

So in an effort to keep Fernando, Corny, and myself safe, I went to the twitch.  I use a humane lip twitch.  If you are unfamiliar with how twitching works, you are not alone!  I haven’t found any definitive research about why lip twitching works.  However, it has been proven to reduce stress in horses during procedures.  Check out this scientific study written up in The Horse.

A blurry photo I took while holding the twitch on Corny’s lip.

Success!  Fernando was able to finish shoeing Corny’s front feet and we didn’t get hurt.  We kept the twitch on for trimming his hind feet, but the effects started to wear off as Fernando was finishing up and he had to dodge a couple kicks.

Drugs and twitching are not a substitute for proper training.  Corny and I have some homework to do before his next farrier appointment in 8 weeks.  Here’s a list of things I will do to prepare for a better experience for Corn Cob.

  1. Practice standing calmly in the farrier shed.  We will try to get Corny to eat some meals in there.  Bonus if there is a horse being shod in there at the time.
  2. More work on foot handling.  We took some backwards steps in that department yesterday.  
  3. Work Corny prior to his shoeing appointment.  I had intended to work him after his shoeing appointment, but he will be more relaxed if I can work him first..
  4. Address suspected gastric ulcers.
  5. Get some more effective sedatives to have on hand from the vet.

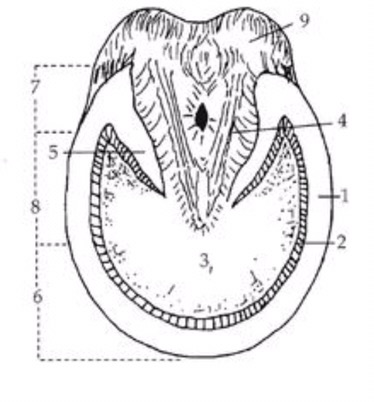
For those of you who are regular readers of this blog, here is some homework for you!  Check your knowledge of parts of the horse’s foot by seeing if you can name parts 1-9 in the diagram here.  Answers will be provided tomorrow, along with some discussion about the brothers’feet.

Blue the Land Yacht

When I was a teenager in the 1996, I was often assigned to drive my dad’s 1981 Lincoln Town Car.  While driving a fifteen year old car really doesn’t sound that bad, I’m pretty sure Adam Sandler wrote a song about this particular Piece of Shit Car. Incidentally, this song came out the year I got my driver’s lisence, and I heard it for the first time while I was piloting the land yacht up highway 680 in Walnut Creek.

This is a 1981 Lincoln Town Car.

While my friends were listening to Nine Inch Nails on their cars’ CD players, I was bumping  Floyd Cramer on the 8-track.  I couldn’t listen to the way cooler Best of Blondie 8-track because old Floyd was stuck in there forever and never coming out.


Oh, you don’t know who Floyd Cramer is?  I’ve never met anyone who was into him born after 1931.  My dad listened to him while driving his RV, and my grandpa listened to him while getting drunk in his garage.  I listened to him while being a subversive goth teenager on my way to Catholic all-girls school.

I digress.  I drove this leviathan of a car, which was often mistaken for a limo.  I once got 13 people in it!  The gas gauge didn’t work, the driver’s window didn’t open, and the head liner sagged and tickled my head.  Good thing I wasn’t a tree-head goth, my hair wouldn’t have fit in the car.

Robert Smith of the Cure is the quintessential tree head

In the winter the sun roof leaked on me, and in the summer my black polish would melt off my fingers if I had to drive up the grade to Clayton… If I didn’t turn the heater on, the car would overheat.  Every time I drove the car, I had to lift the hood to put power steering fluid in.  Stops had to be planned out a quarter mile in advance.   I even had a mouse that lived in the door panel, and would jump out, then back in, whenever I shut the door.

I don’t know who decided to call this behemoth a “town car”.  Maybe a town with large parking spaces and no traffic.  What reason could there possibly be for having a seven foot long hood?  Why does each revolution of the steering wheel only turn the car thirty degrees?

Right now Blue reminds me of this ’81 Town Car.  His neck is really long like the hood of that car.  I need to check on his power steering with rein yields before I mount every time.  Even so, the steering is still quite loose, with large moves required to turn the slightest amount.  Stops have to be planned for well in advance, even still we often overshoot the mark.

A big move for not a lot of turn

The cool thing about horse training is that I get to make Blue better.  While my dad’s car declined into a project for the local high school autoshop class, Blue is going to advance and become very fined tuned.  One day I’m going to be comparing him to the 2017 Lincoln Town Car.  Blue will have tight and subtle steering.  He will stop cleanly on short notice.  His body will become rounder, more balanced, and more beautiful.  Best of all, riding him will be a relaxing experience, and I will be humming Floyd Cramer as we ride around in elegant harmony.

2017 Lincoln Tow Car 

Happy Birthday

Happy 5th birthday to Olympic Maize and Happy 7th birthday to Olympic Blue!

For the purposes of keeping track of all racehorses’ ages, they are all considered to have their birthday on January 1.  This means if a foal is born on January 2, 2016, he will officially be one year old today.  It also means that if a foal was born on December 31, 2016, her would also be officially one year old today (even though he’s actually only a few hours old!).

Olympic Blue as a foal circa February 2010 (Dixon, CA)

Corny was born in January and Blue was born in February.  That’s a cold time of the year to be a baby horse!  However, when it is time to race as 2 and 3 year olds, Blue and Corny would have potentially been bigger, stronger, and more mature, than their competition that was born in the spring.

Some other breeds have adopted the January 1 birthday rule as well.  Mostly breeds that compete in racing or futurities.  Breeders who aren’t concerned about these type of competitions tend to have foals in the late spring and summer months.  That way they don’t have to be as concerned about keeping a tiny foal warm, and it’s easier to get a mare pregnant in the spring, summer, and fall.

That’s the way we do it in the northern hemisphere.  In the southern hemisphere, all racehorses are given August 1 birthdays.

Selfies!

I’ve had a bunch of horses recently with really big heads.  That made it very difficult to take selfies with them.  My arms simply weren’t long enough to get their entire head, and my head, in frane.  The thoroughbred brothers have comparatively little heads so we took some selfies!  They really show off their personalities.

Me and the noble Olympic Blue 

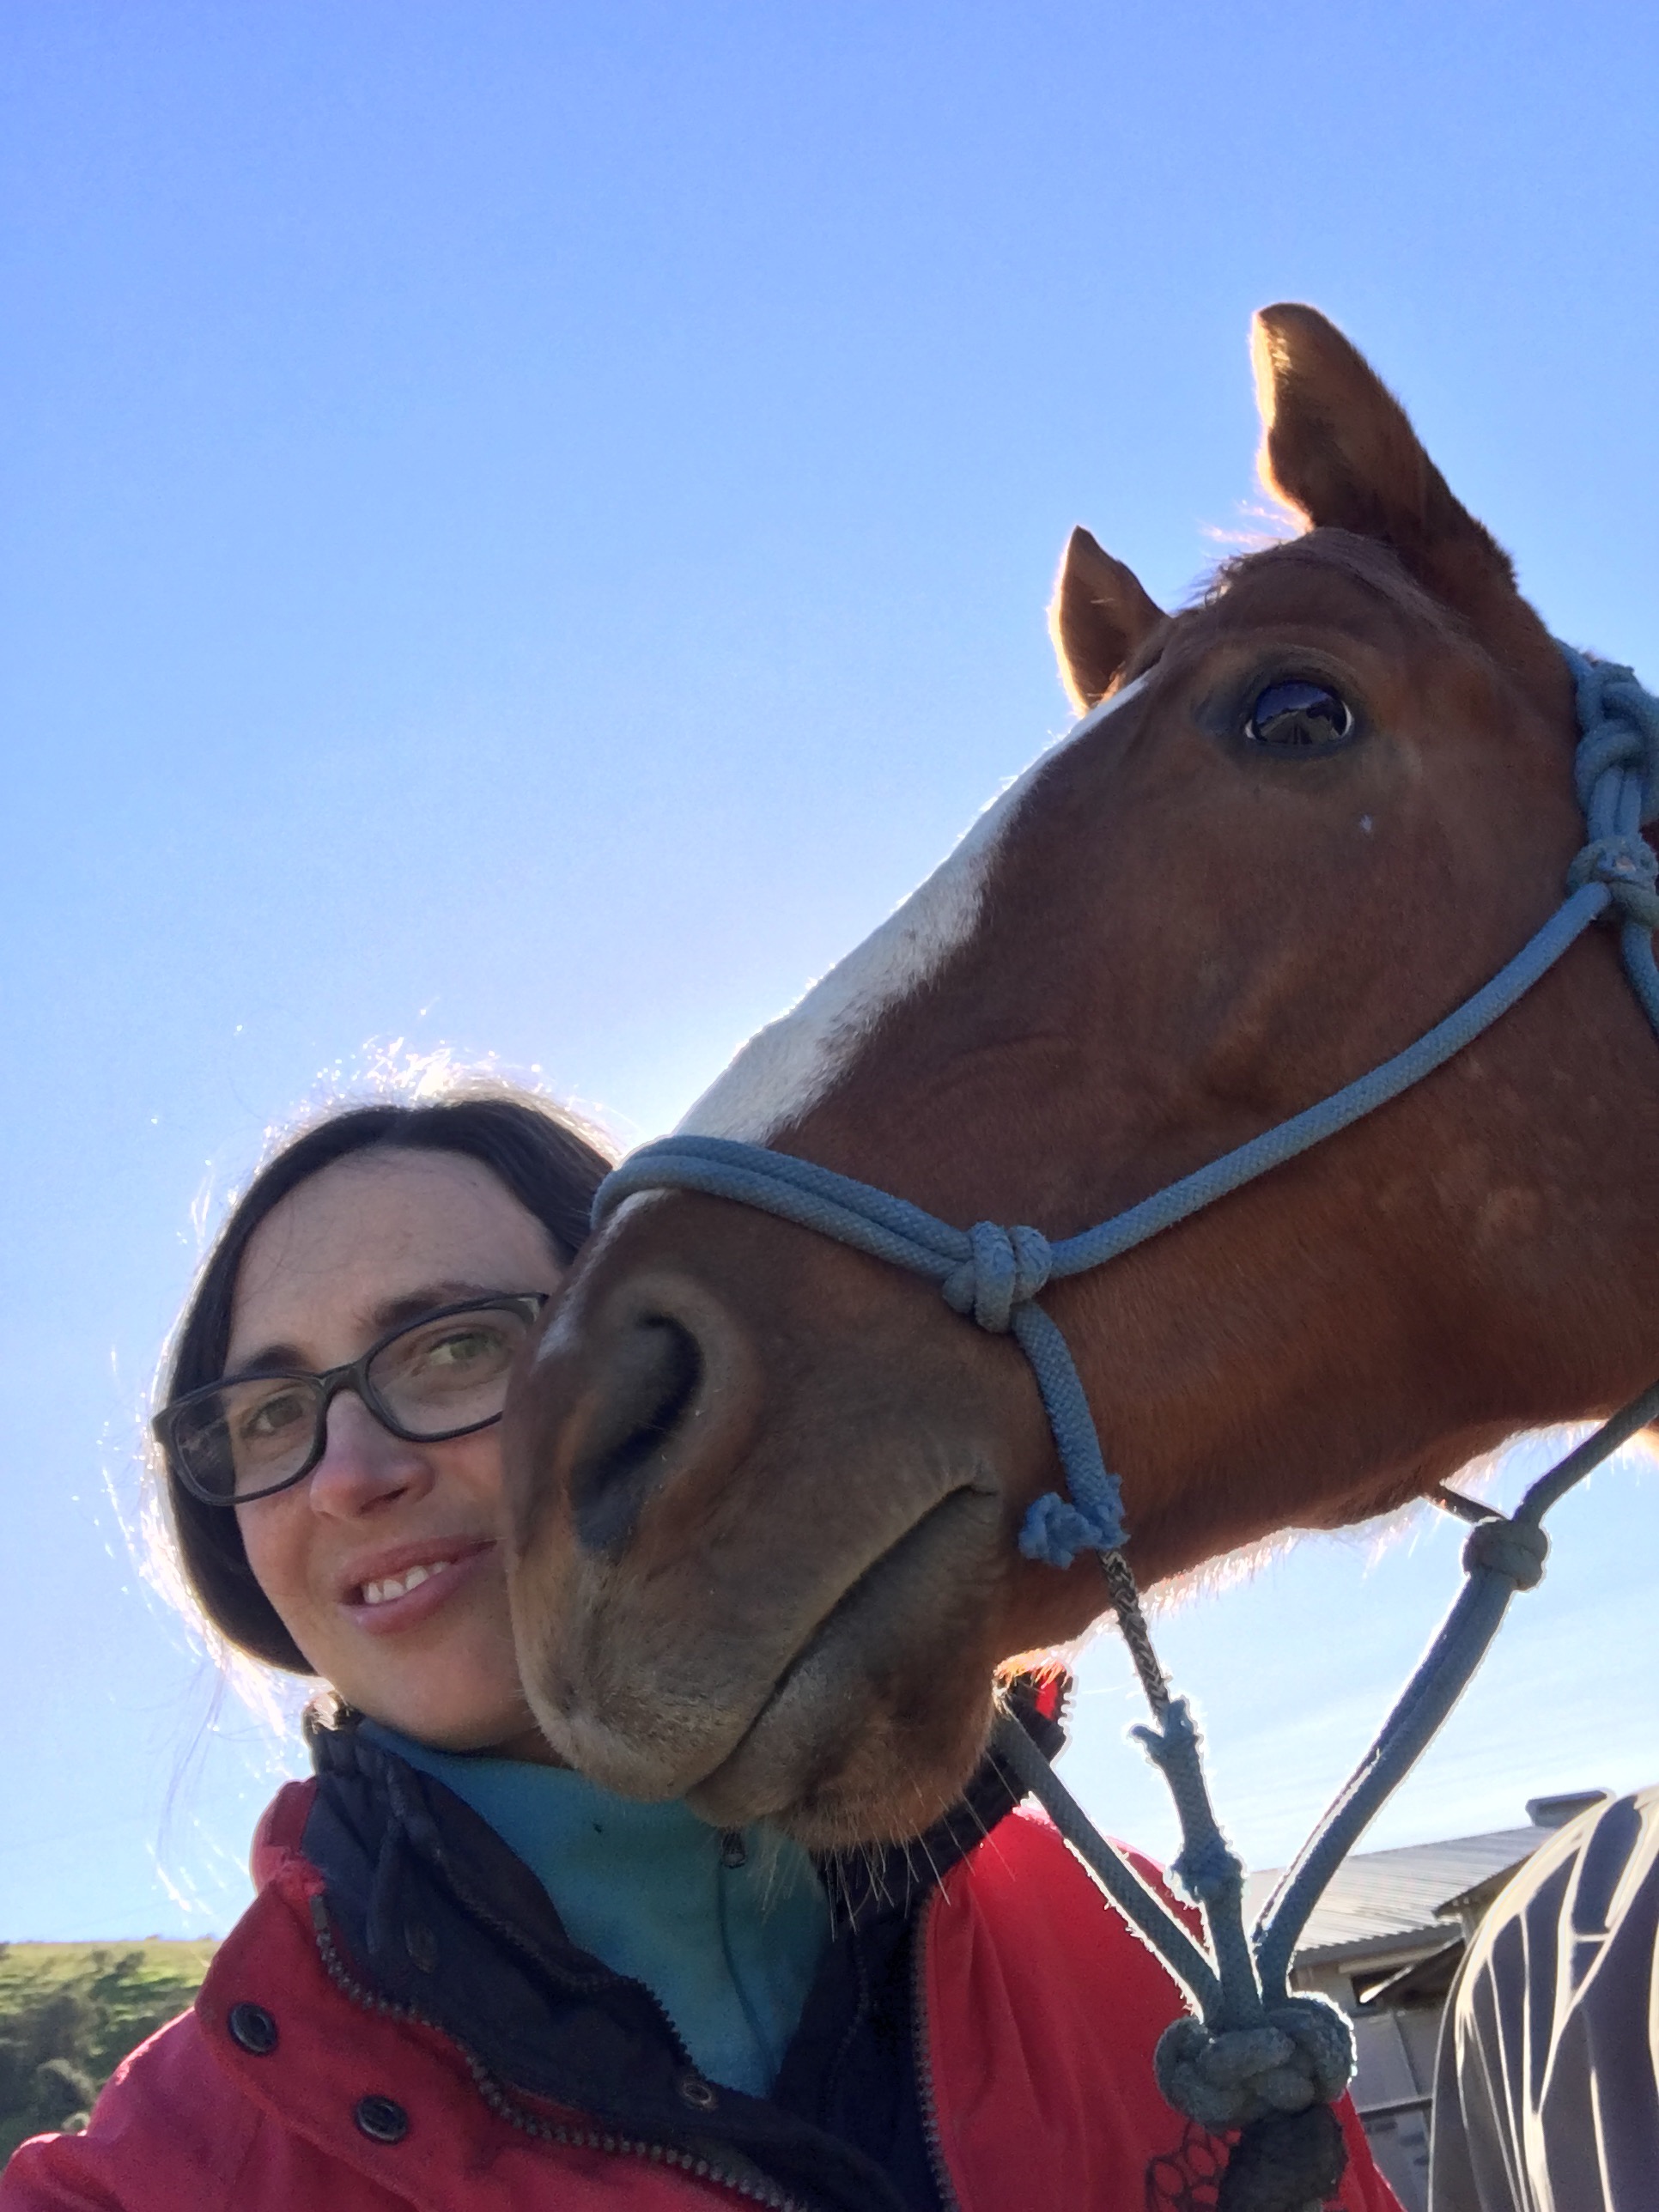
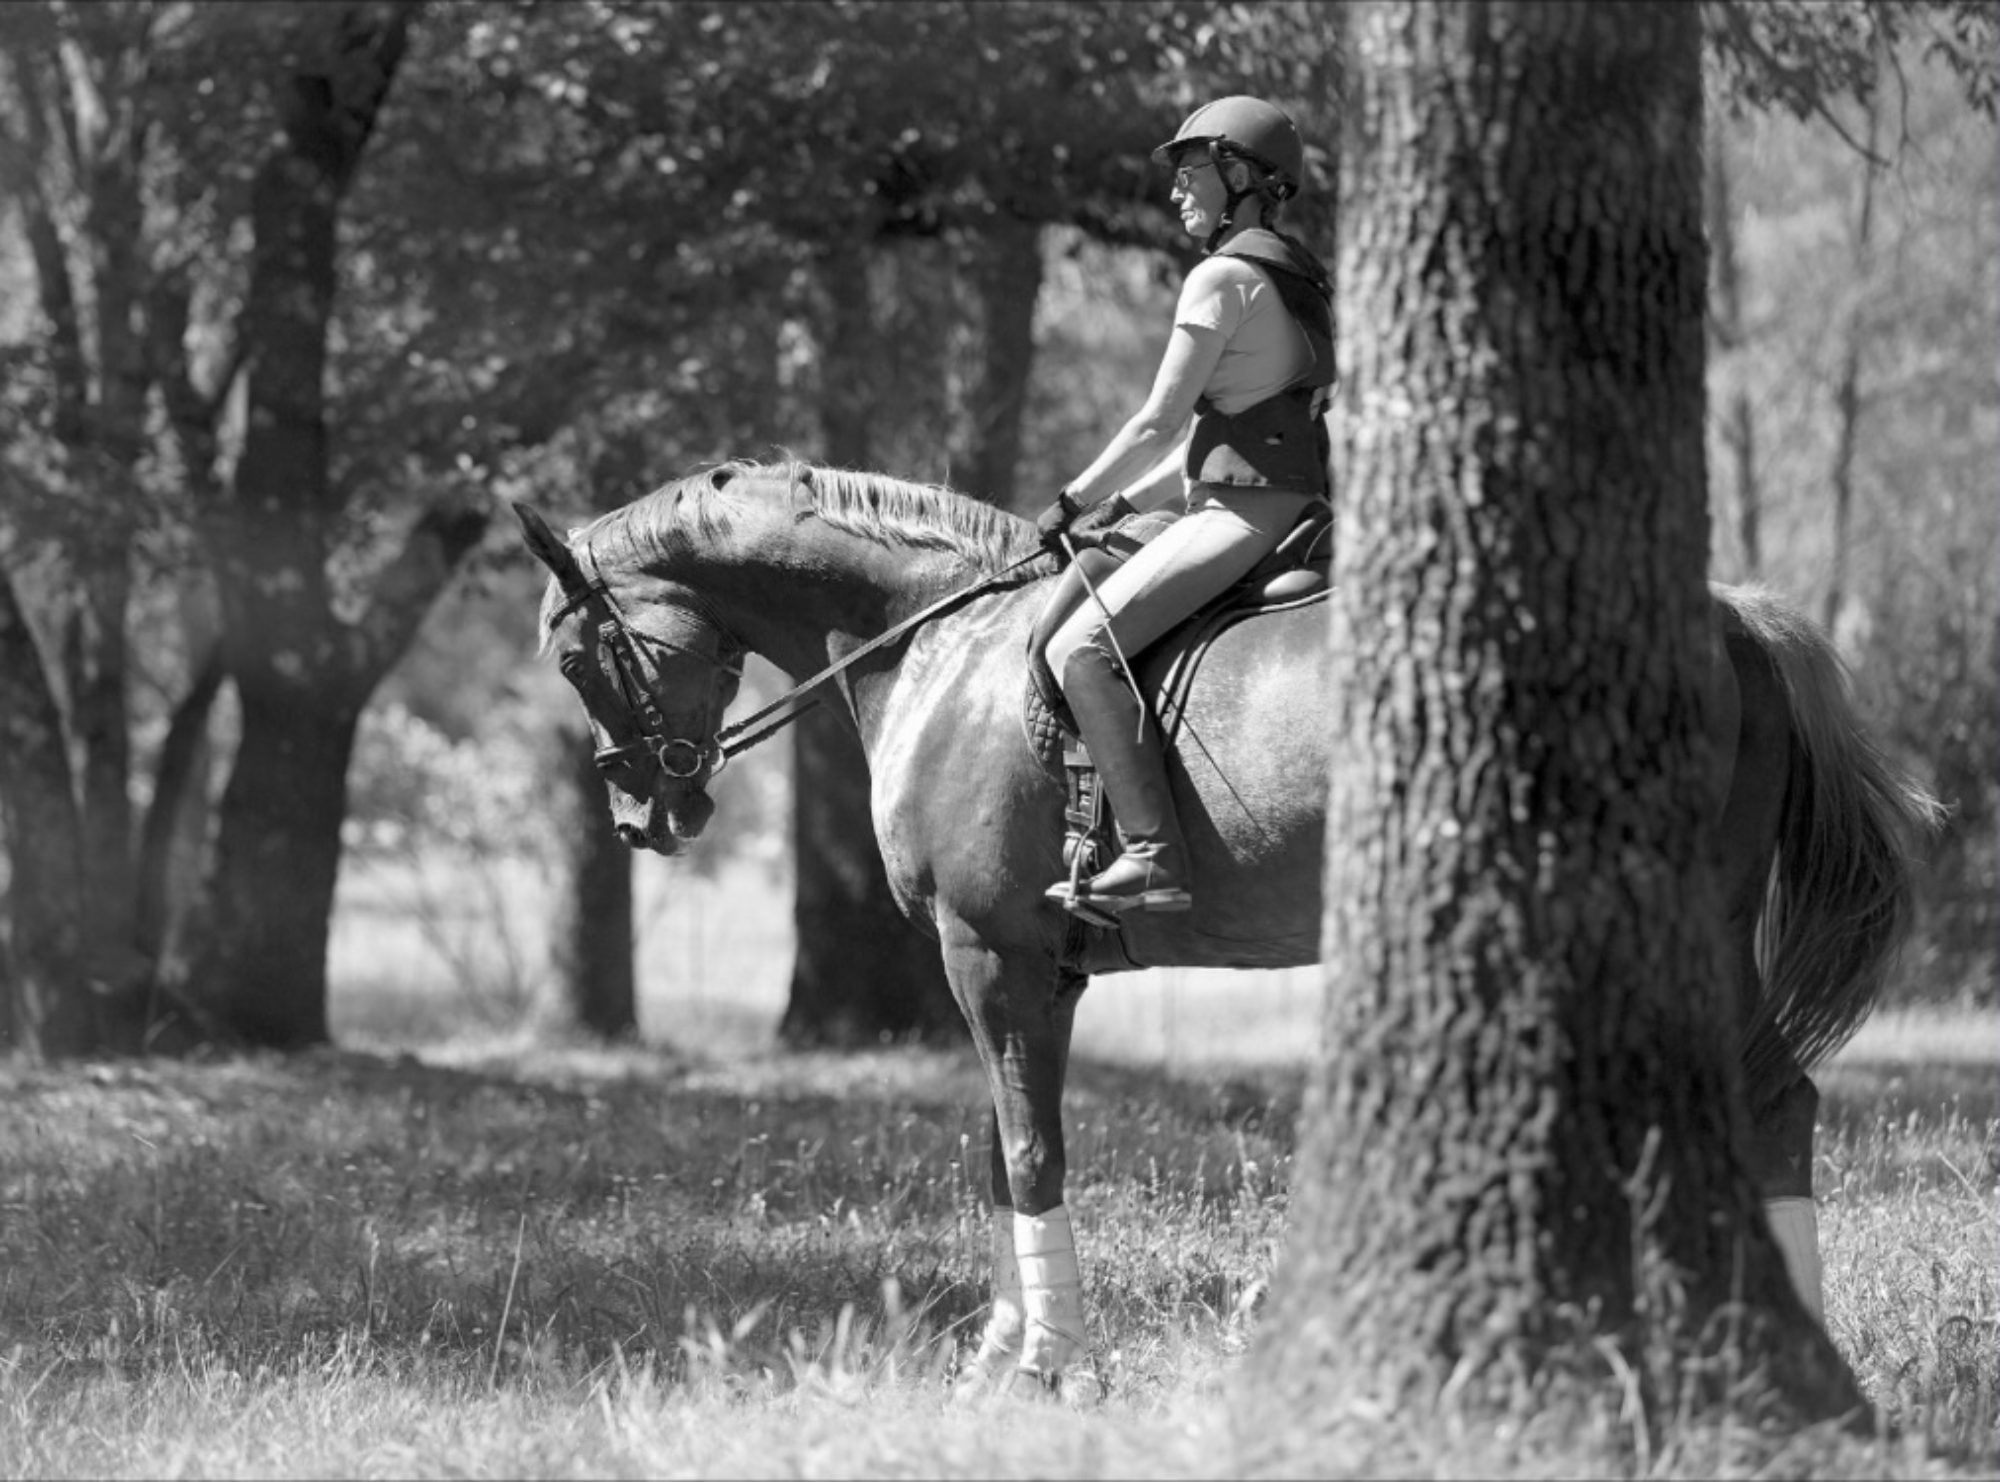
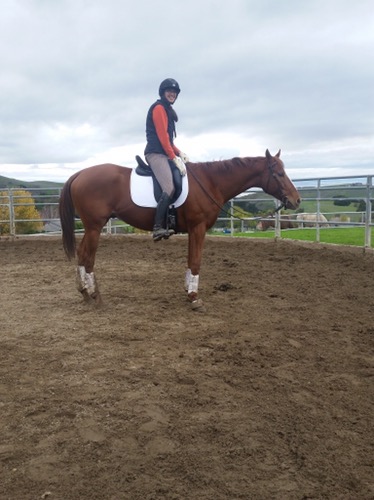
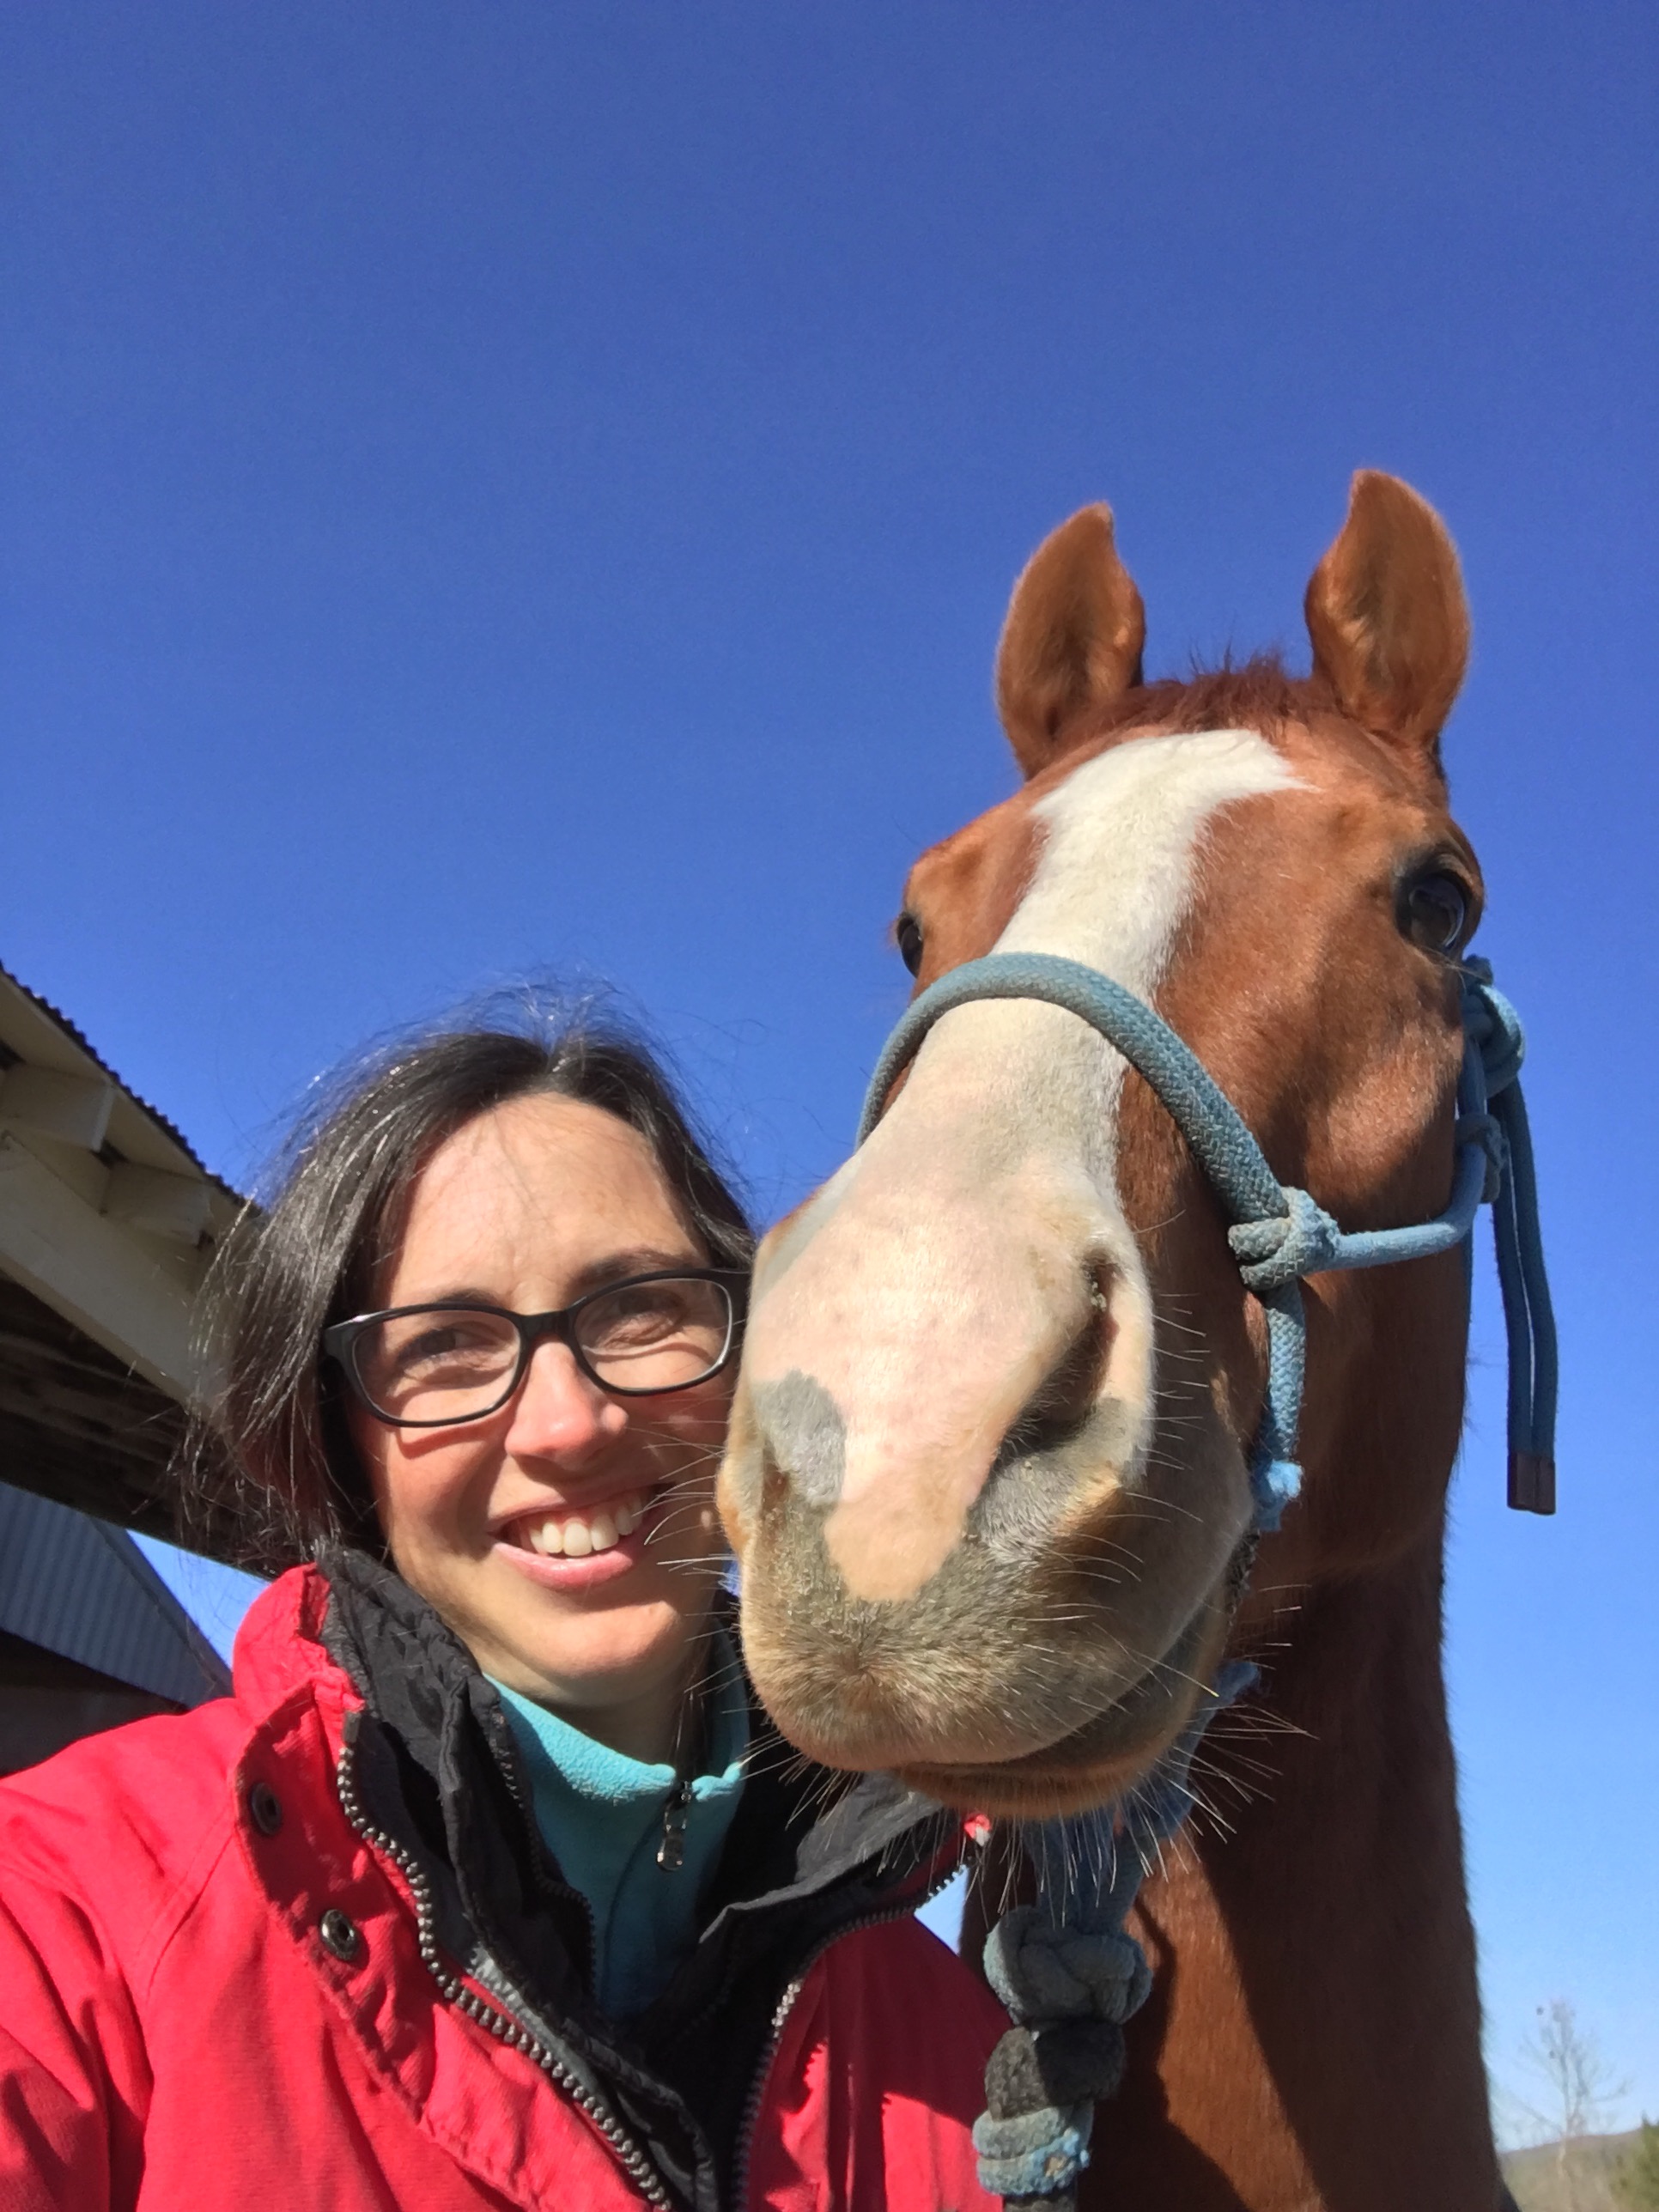
Me and Olympic Maize We don’t call him Corny for nothing!

It’s an arena, not a racetrack!

One thing I consistently noticed in both racehorses and trail horses that come into the arena is misunderstanding.  Both trail riding and racing have a destination specific goal.  Trail horses are typically ridden over the same trail only once or twice in a session.  Racehorses have to travel to a point, then they can slow down.  The concept of the short and fat trail/racetrack that we call an arena is confusing at first to these horses.

Imagine if you had never heard of an endless swimming pool. If you saw one, you would rely on your previous experience with similar bodies of water.  You might think it’s a weird hot tub, mundane fountain, or comically short lap pool.  

Endless pool

The trail horses and race horses seem to have the same trouble with arenas as the people who haven’t read In Flight magazine might have with endless pools. Often horses who are new to the arena will go slower in one spot, then fast in another.  They will try to stop in certain spots (usually by the gate).  This can often be labeled as gate sour or barn sour, but I think it’s just a misunderstanding about the concept of an arena to these trail and racetrack horses.

So what to do?  Plenty of boring training.  Lots and lots of walking around the arena on a loose rein.  I coach the horses a little bit, like asking them to keep going if they stop, or getting them to walk again if they start jigging.  Otherwise, I leave them alone.  Their tempo will even out eventually.  

This ride with Blue was about 20 minutes walking around the arena before he steadied his tempo, then seven more minutes until he could keep his tempo steady in the opposite direction.  Then I dismounted.  No need to trot until we can walk well consistently.  If we tried to trot before we got the walk steady, we would have the same inconsistent tempo problems in the trot.

Our goal is a steady tempo at the walk early in the ride, which we acheived in the next session, along with my next three goals.  They were relaxation, stretching down, and long walk strides.    This is how we we will learn the free walk.  

When Blue and I compete in Kentucky in the fall, we will be required to ride Training level, test 2.  In this dressage test, the free walk has more clout than any other movement.  It is worth double points, and in the collective marks factors into about 1/3 of the score for the horse’s gaits.  It’s also a key factor in the judges’ scoring of impulsion and submission.  

No matter if you look at developing a good free walk for competition purposes, or for training purposes, it is one of the key basics that we build our foundation if training on.

Parking Brake Instalation

With all the horses I train, I like to spend a lot of time solidifying the basics. It is much easier to progress smoothly through the levels if the basics are firmly in place. Good basics are very boring, many people don’t spend much time on them because they require the patience of a fisherman on quaaludes.

Patience is a necessity for every good horse trainer. It’s also a necessity for any good riding horse. Horses are like people in that some are more naturally patient than others. Just like people can work on their patience, horses can also be trained to be more patient too.

One of my cowboy type teachers told me that his horse needed to stand still well enough for him to smoke an entire cigarette without touching the reins. Yuck, I don’t want to have to smoke cigarettes to train my horse, this is the 21st century! Instead, I train my horses to do something much more modern. They have to stand still long enough for me to write an email on my phone.

Blue and Corny both need to work on their patience. I start this training by getting them to stand in one spot at a distance from me.  Usually I imagine a circle the size of a hula hoop for the horse’s front feet.  For the purposes of these pictures, I used a spiraled cord to represent the area in which I want the horse to keep his feet.  If the horse moves out of the circle, I stay where I am and put his feet back into the  circle. 

Corny relaxed and focused on me. While sitting in a chair is not generally something that is considered safe to do around horses, I’ve mitigated some of the risk by making sure there are plenty of ways for the horse to go other than over the top of me.

This is a great exercise to do when waiting for something.  It helps there horse gain confidence and respect standing at a distance from his handler.  The handler will get good practice making finely tuned cues to get the horse to go back in his circle.

I’m asking Corny to step back into the circle, without getting up.

Blue and Corny did very well at this exercise!  After a bit, I decided to work on ground trying and walked away. In general, Corny wants to follow me around everywhere and Blue is always looking for an opportunity to walk away.  Even though I intended for the coil on the ground to be a representation of an imagined area for the sake of photos, I think it helped the horses know they were supposed to stay put!  Perhaps the coil is there loosest set of hobbles ever.

It was hard for Corny not to follow me, but he ground tied like a champ.

After the parking brake has been installed on the ground, we move on to mounted installation.  The principle is the same, imagine a hula hoop size area and keep the horses front feet in it.  If the horse steps out of place, move them back in as few steps as possible.  For example, if the horse walked forward out of place, back them into three circle.  If the horse sidestepped left out of the circle, side step him left to get back in the circle.

Blue doing well with his parking brake installation. He has nice relaxed ears and a low neck that tell me that he’s not about to walk off, even if I move around in my tack.

This training will come in handy when trying to have a conversation while mounted, adjusting stirrups, or tightening the girth. For competitive purposes, it will help the horse be immobile in their halts, and wait politely for their turn to show. In a more big picture approach, it will help them to wait for their rider’s cues.

Corny’s catch rider

My last post talked about how I use long lining (double longe) to help Corny out with his misconception about how to respond to pressure in the bridle.  Corny was under the impression that he should raise his head and lower his back when he feels pressure on the bridle.  This led to a bad ride for me that I had emotional difficulties with. Given that my back isn’t doing that great right now, I decided to enlist the help of one of my students.

Kate Little is an eventing trainer a couple of towns over.  She has taken a couple lessons with me, and I see her at the horse shows.  I’ve been looking for an assistant to replace the one I lost 3 years ago, and while she isn’t interested in the job, she has told me that she would be happy to help me out in the short term.  She also says that she will ride anything, which is a policy that is dramatically different from mine!

Anyway, Kate came out and did a fantastic job with Corny.  I started him in the long lines to remind him about the concept of yielding to pressure in the bridle and going forward at the same time.  Kate was able to duplicate this response under saddle with better timing than I was able to produce in my Ride with Corny.

Kate noticed that Corny didn’t understand that using the leg means go faster.  She worked on creating that response with him, then added some intermittent pressure in the bridle to encourage him to lower his neck.

I had a good time watching Corny try hard and process this information.  I took some (wretched) photos in burst mode to see how he processed pressure on the bridle.

This sequence is from the beginning of the ride

Corny still reacted to pressure by lifting his head at first.  Then he remembered what he learned on the long lines and lowered his neck and brought his back up slightly.

We are off to a good start!  Corny is a good guy. This next sequence is how he reacted to pressure 10 minutes later at the end of his ride:


This end result makes me very happy.  Kate and I were both congratulating Corny for how good and how clever he is.  He’s elongating his neck, lifting his back more and learning how to keep going all at the same time!

We are going to continue in this vein for Corny, alternating between riding and long lining.  My goal right now is to get him to understand that the rider’s leg means go, and the rider’s hand means follow.  I’m hoping this will relax him enough so that he can keep his tongue in his damn mouth!

Corny called me fat

I had my first bad ride on Corny.   When I asked Corny to trot, he’d fling his head back and get light in front like he wanted to rear.  If he did start trotting, he’d take a hoppy step to get from walk to trot.  His trotting seemed labored, like me and my equipment were way heavier than anything else he’d had to trot a circle in.
So I decided to do was to go back to the long lines.  I want educate him that he doesn’t have to raise his head whenever he feels lateral pressure on a rein…even if he is moving.  I also want to help him build his top line more.

You may wonder why I don’t just put some side reins on him.  I’m not a big fan of training in side reins because you can’t give a release like you can with  long lining.  Horses in my program really only use side reins of they are giving a longe lesson or participating in a side rein mandated pony club lesson.

I kept the jumping cavesson on Corny and arranged my lines to encourage him to stretch down.  The inside line goes from my hand, through the bit ring, and clips to the middle ring of the surcingle.  The outside rein goes from my hand, over his back, through the top surcingle ring, through the bit ring, and clips to the lowest surcingle ring.  This set up is called the flying W.

Inside rein of the flying W set up
Outside rein of the flying W set up

Here’s a series of photos that show me asking for Corny to flex to the inside and correcting his response to fling his head up.

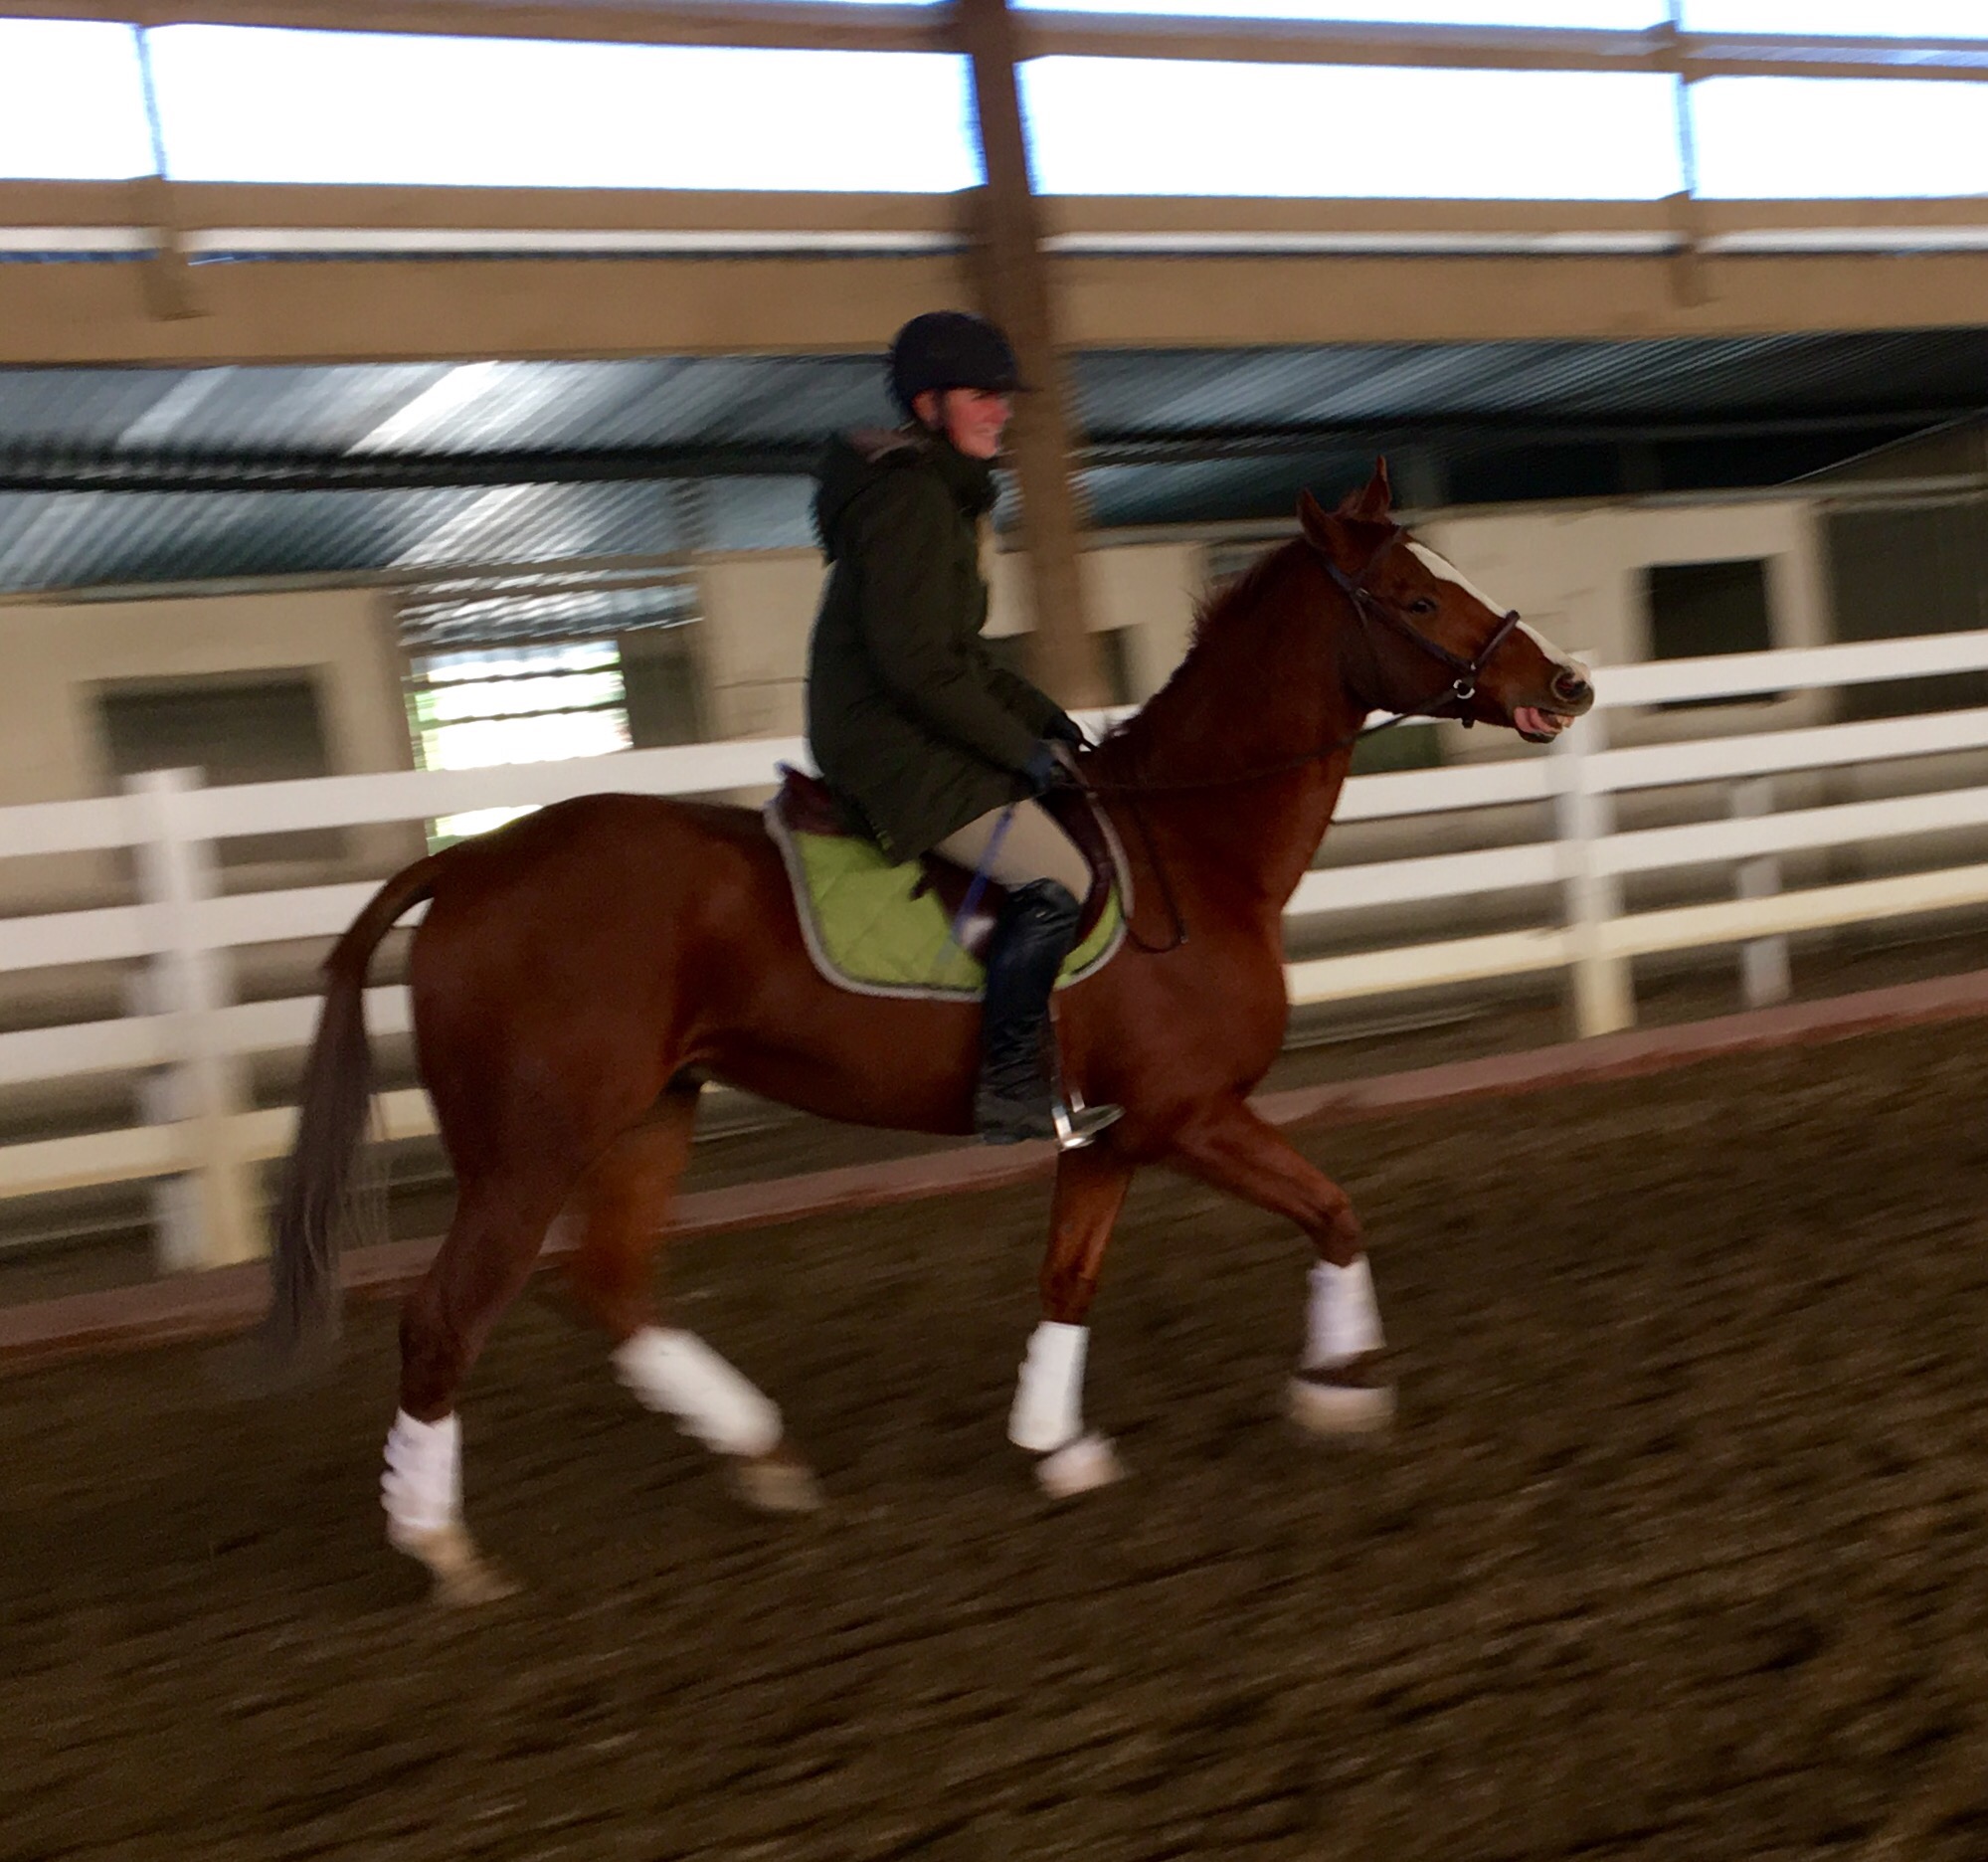
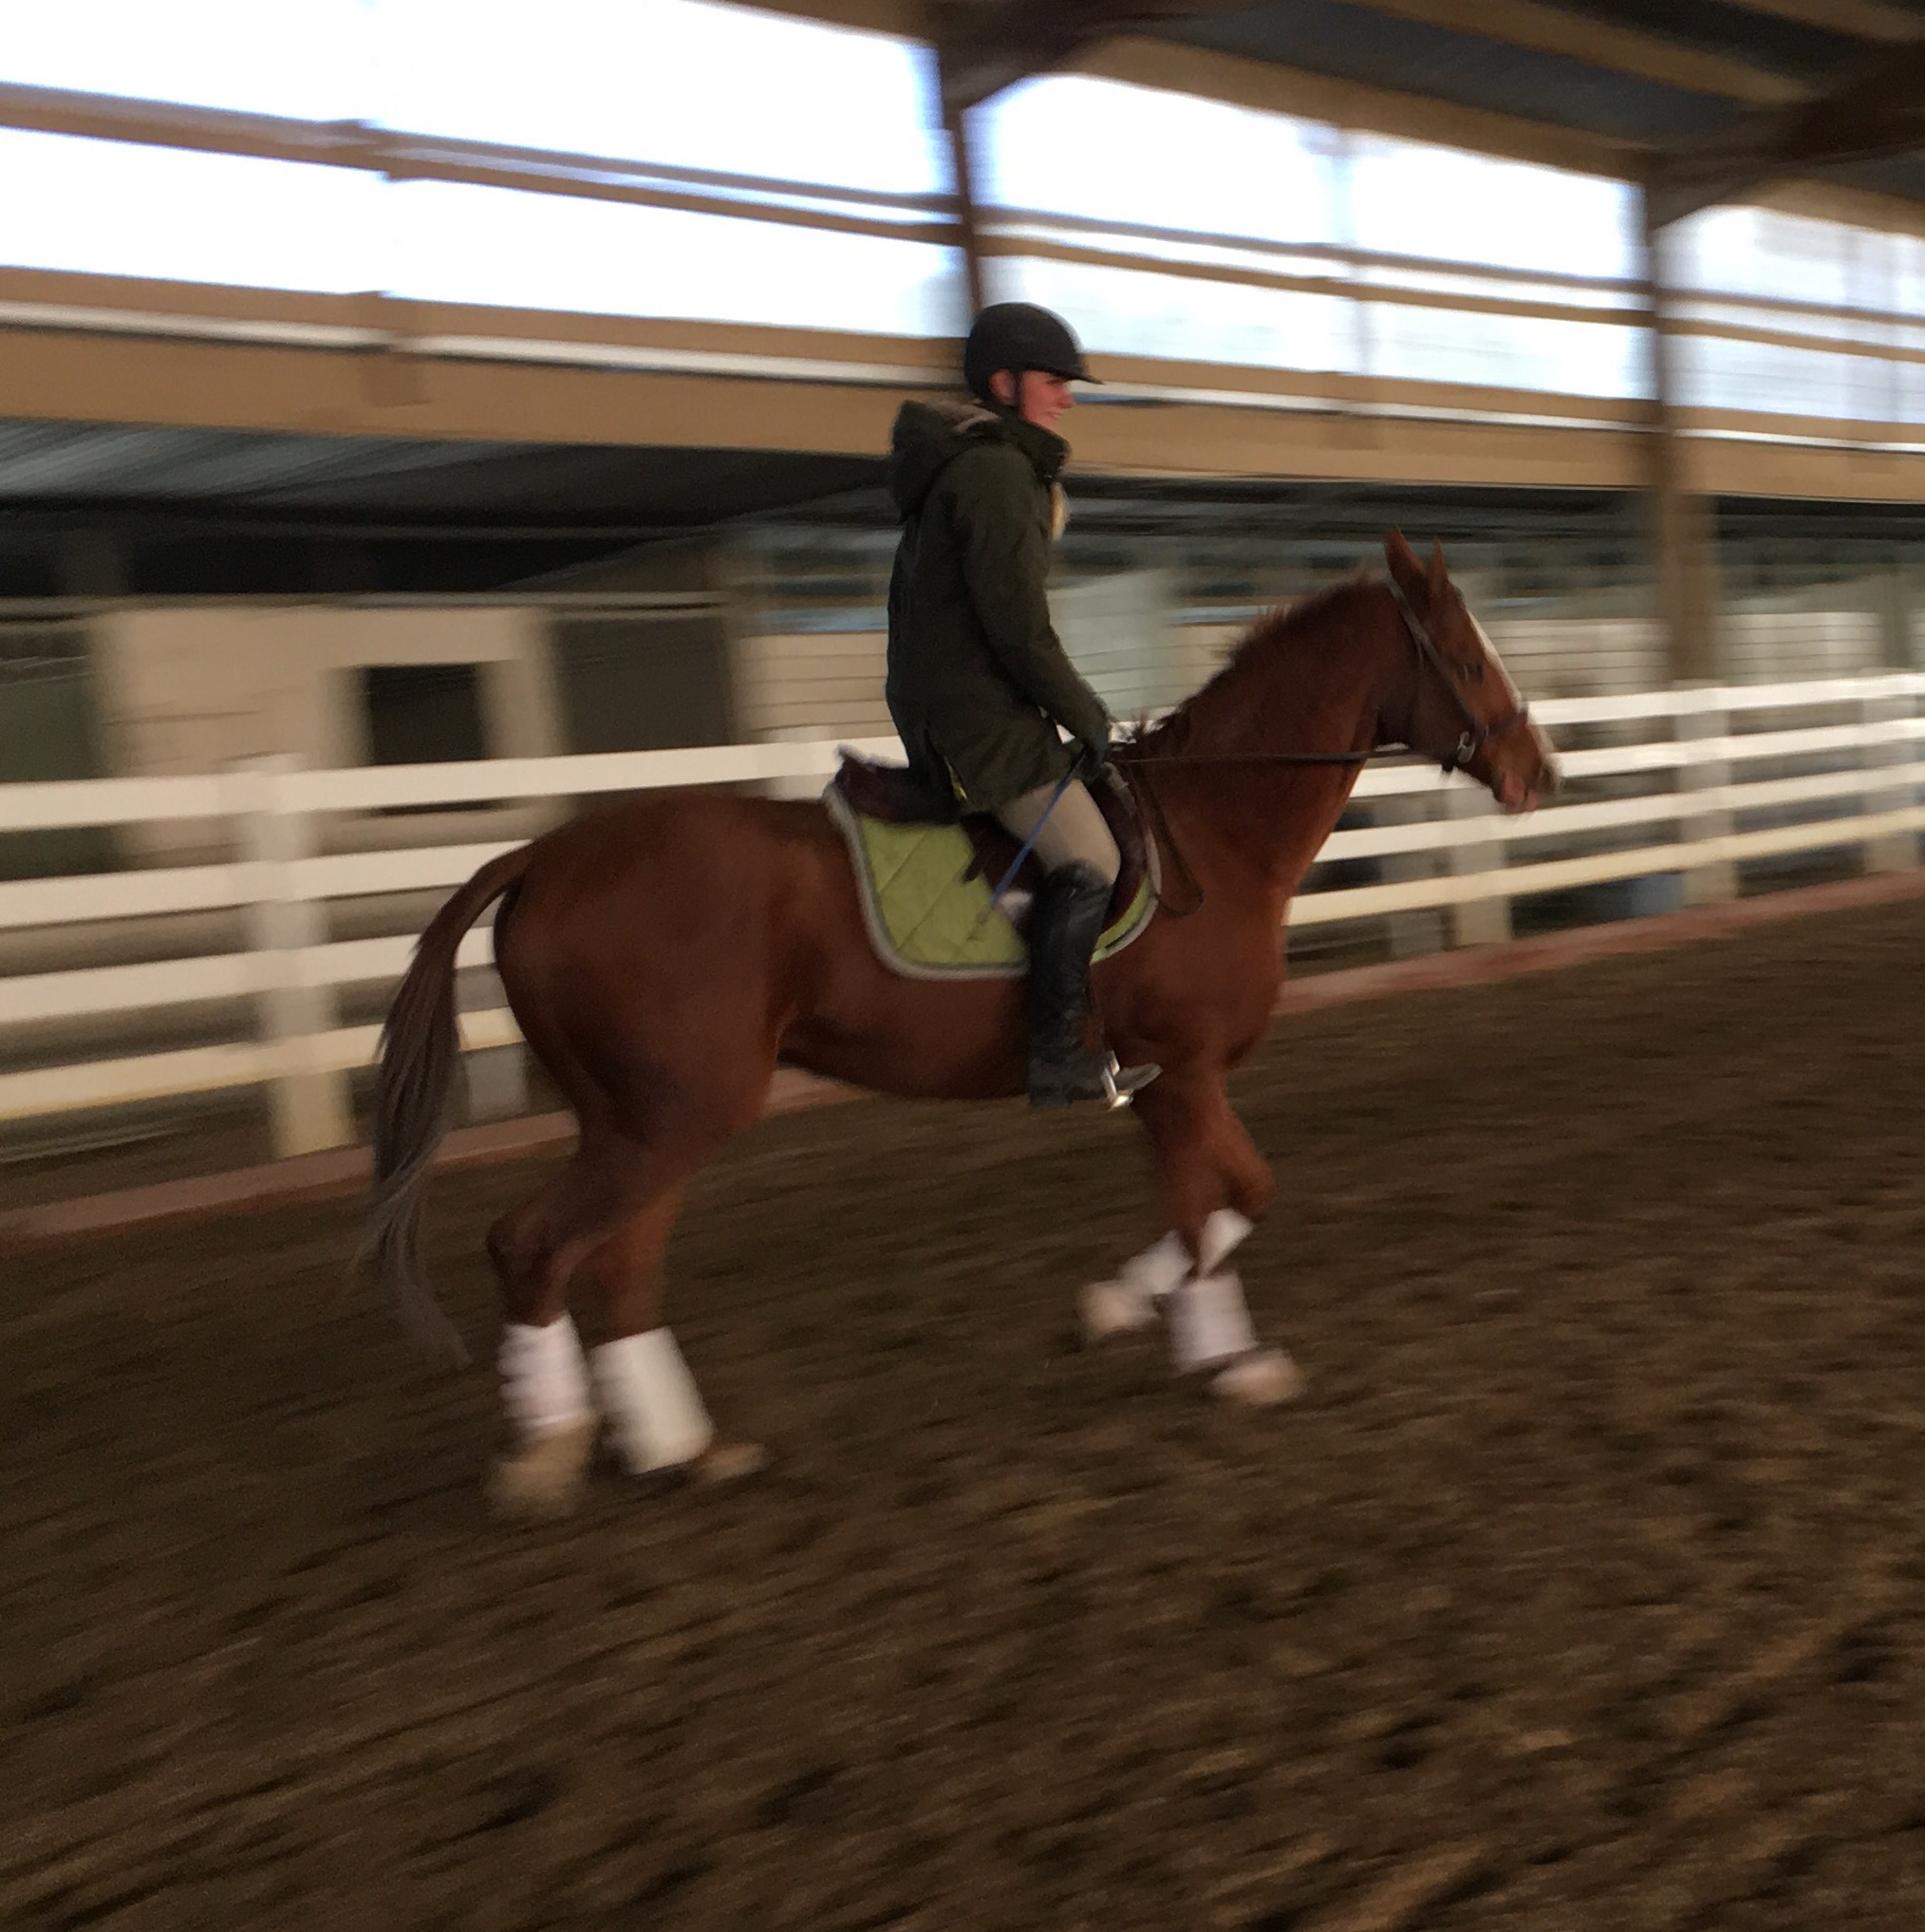
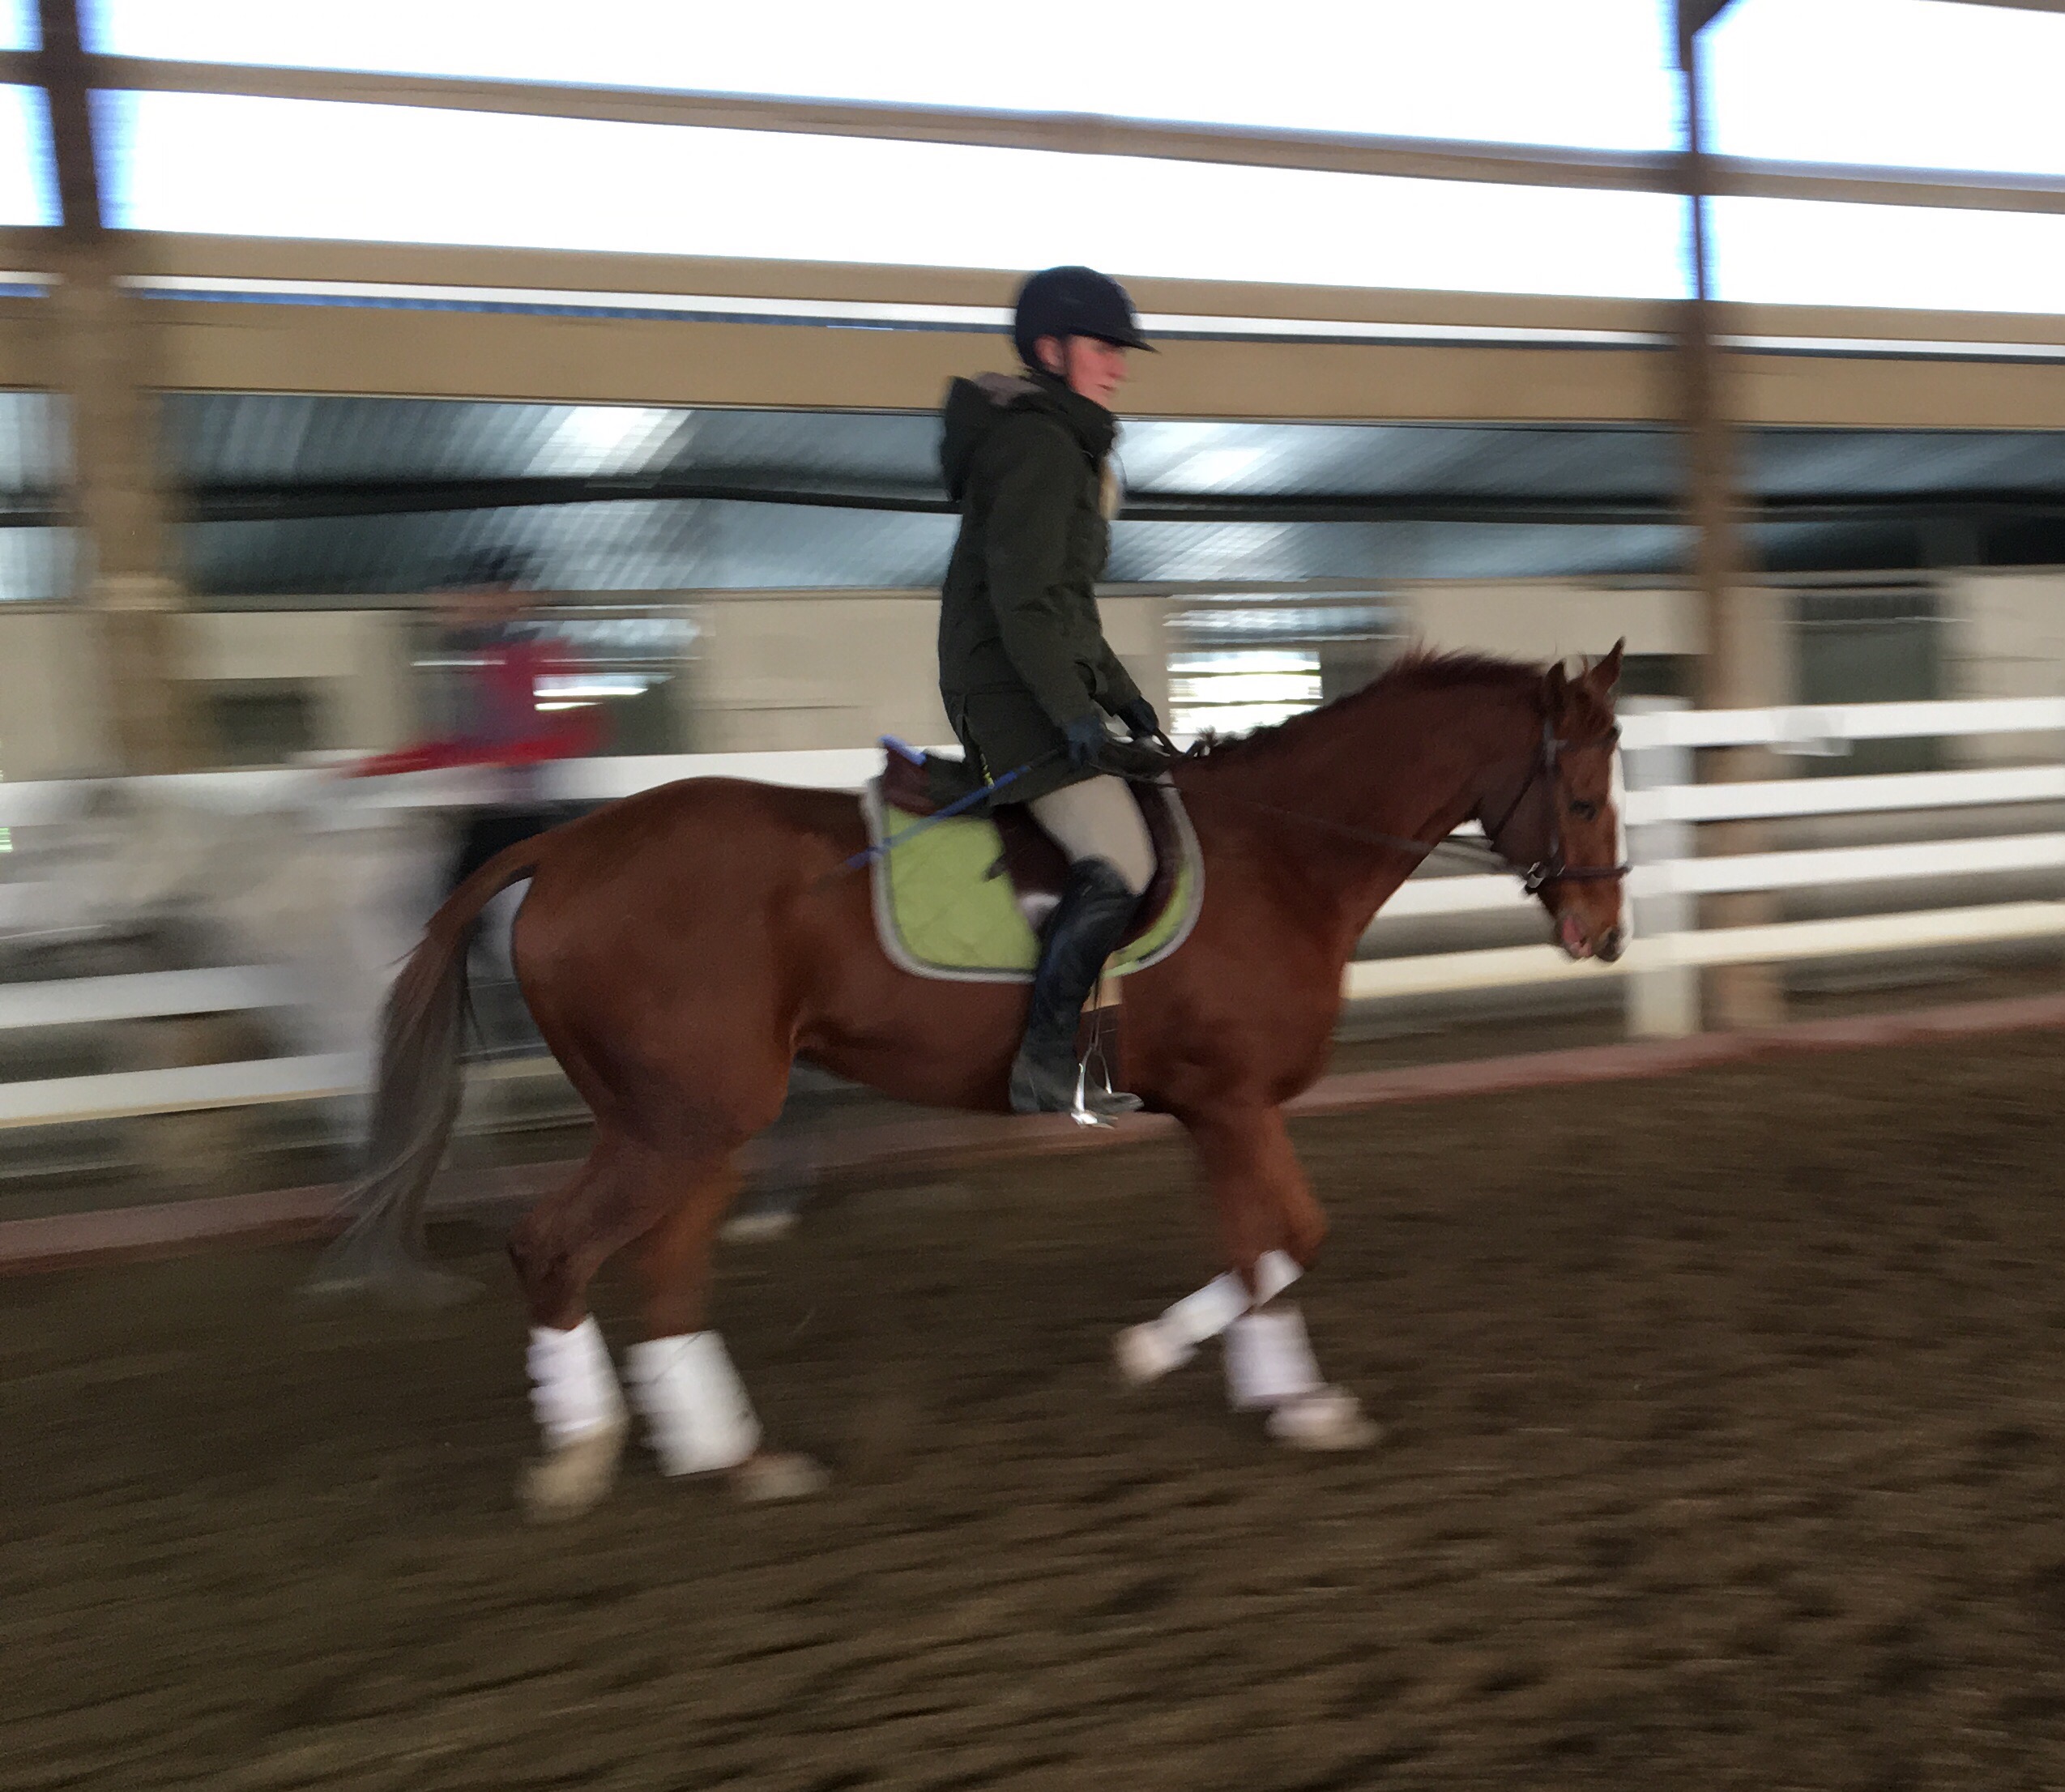
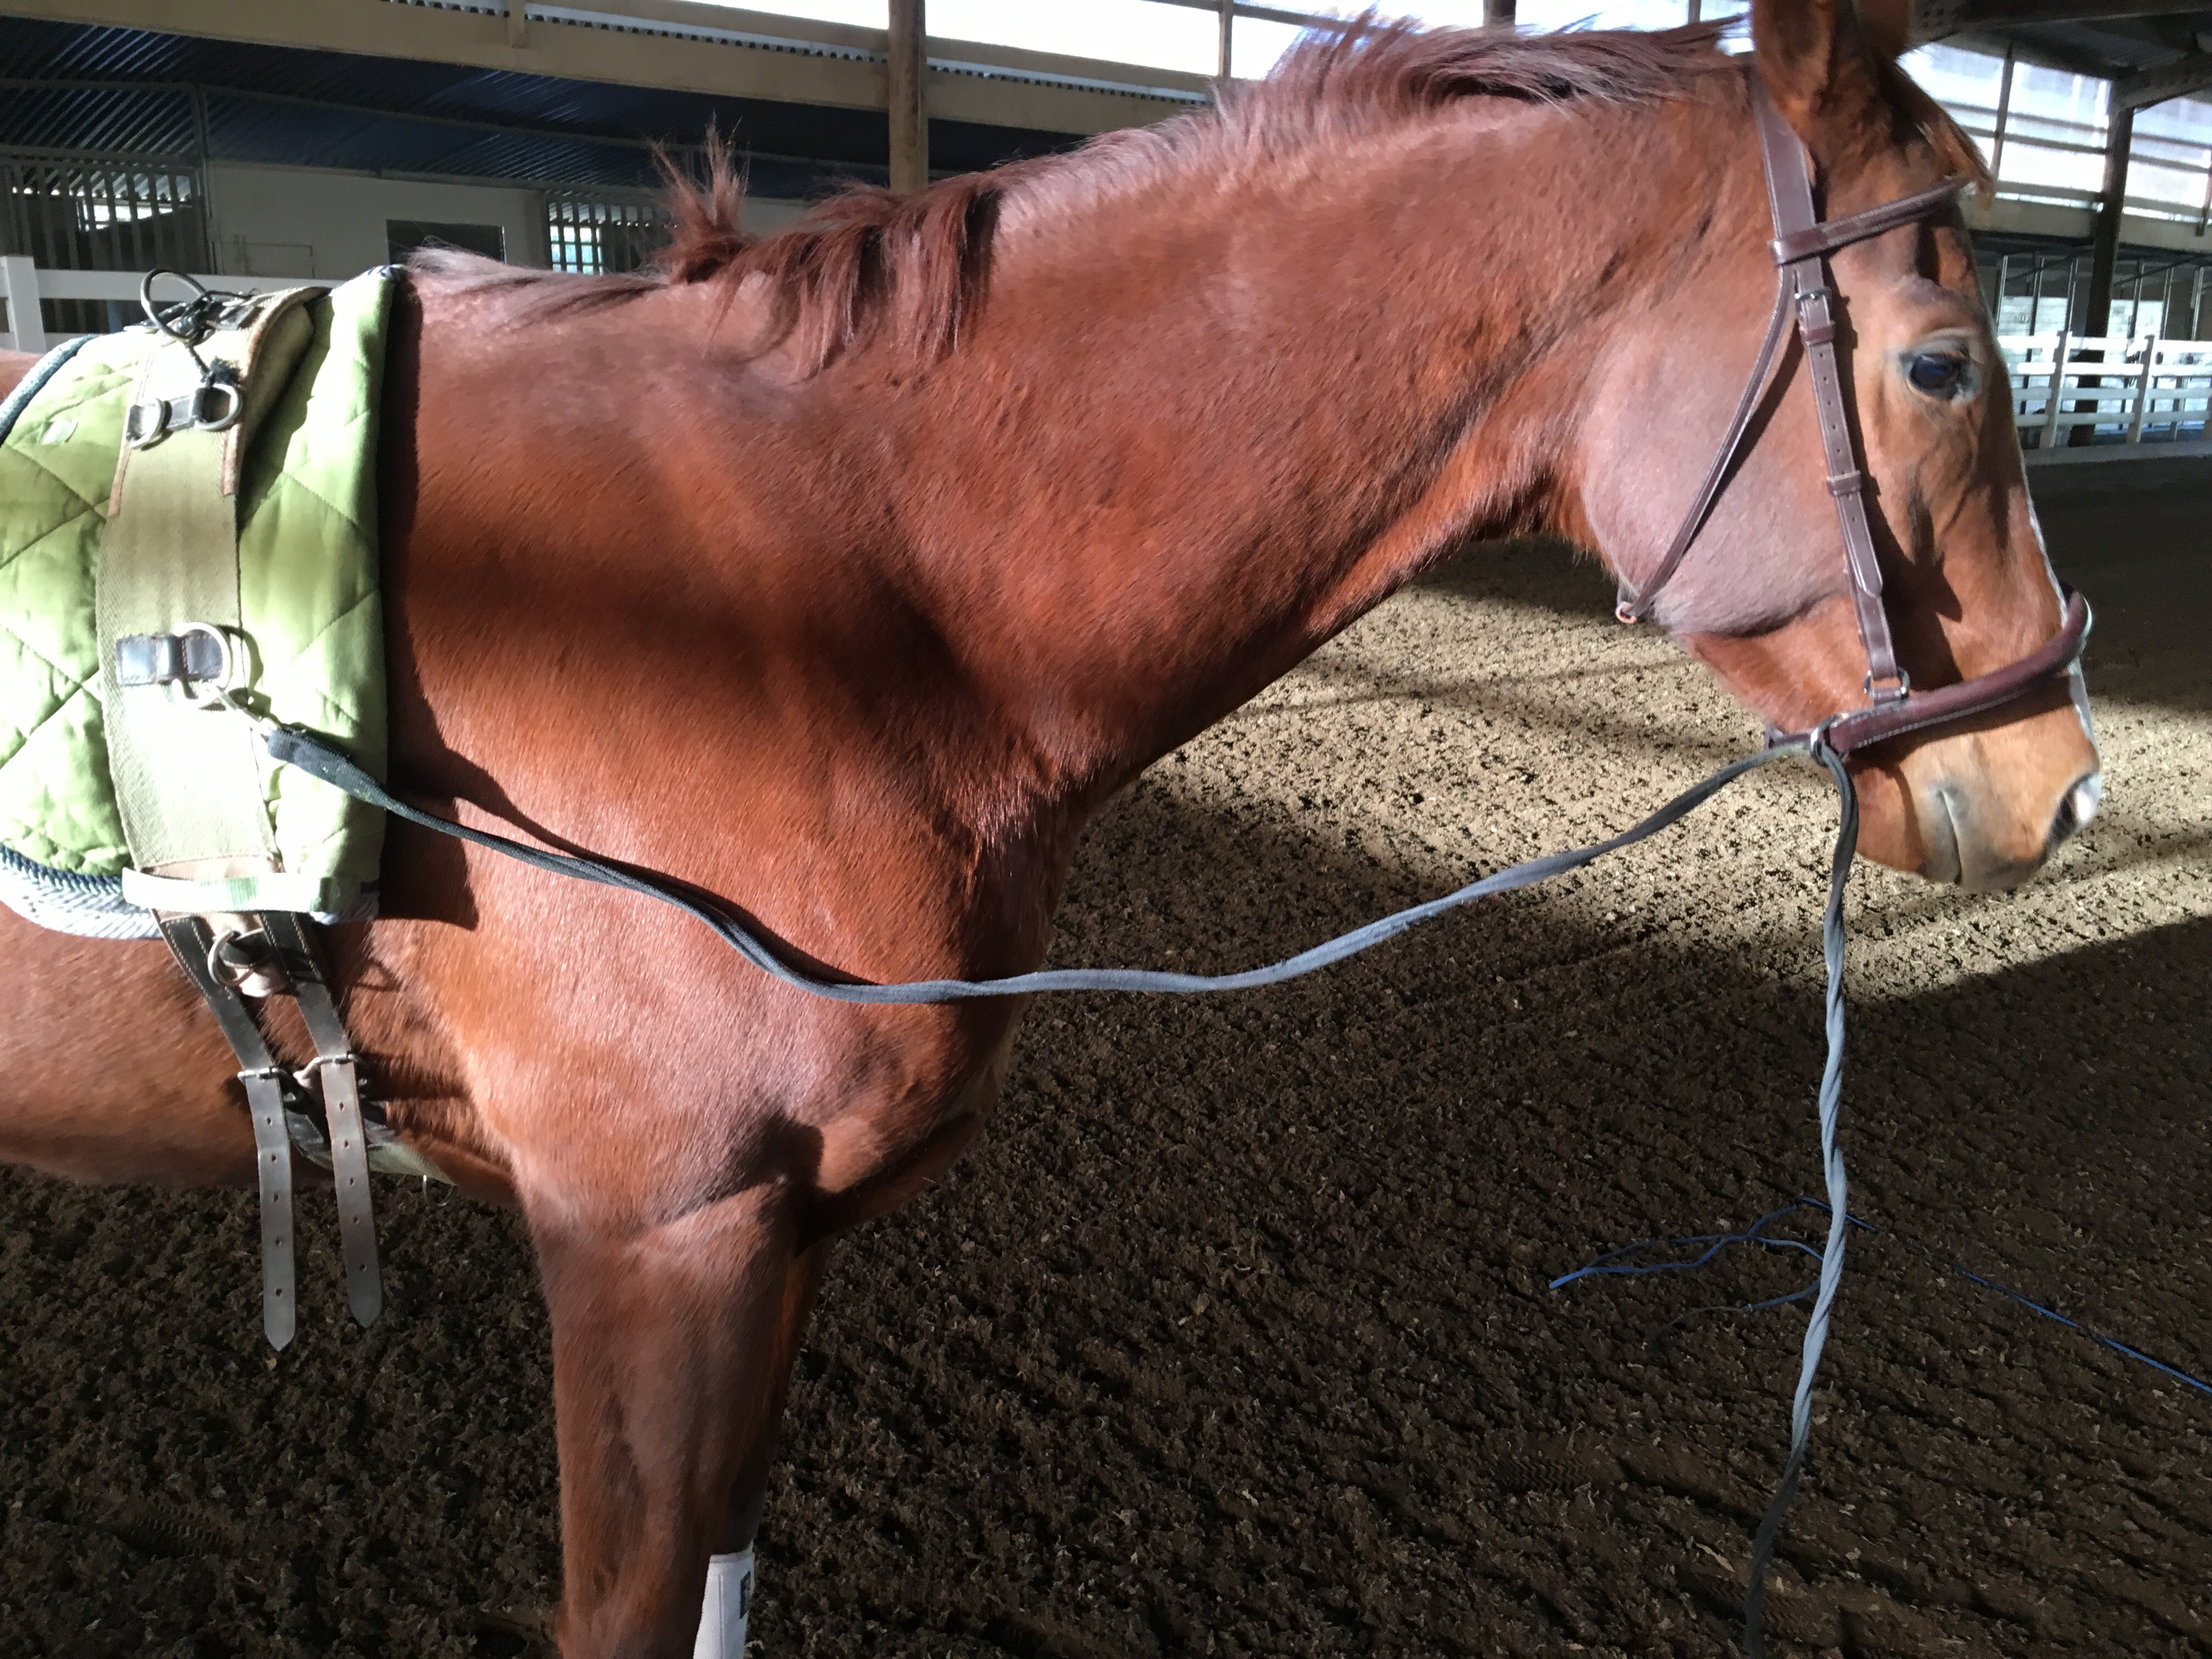
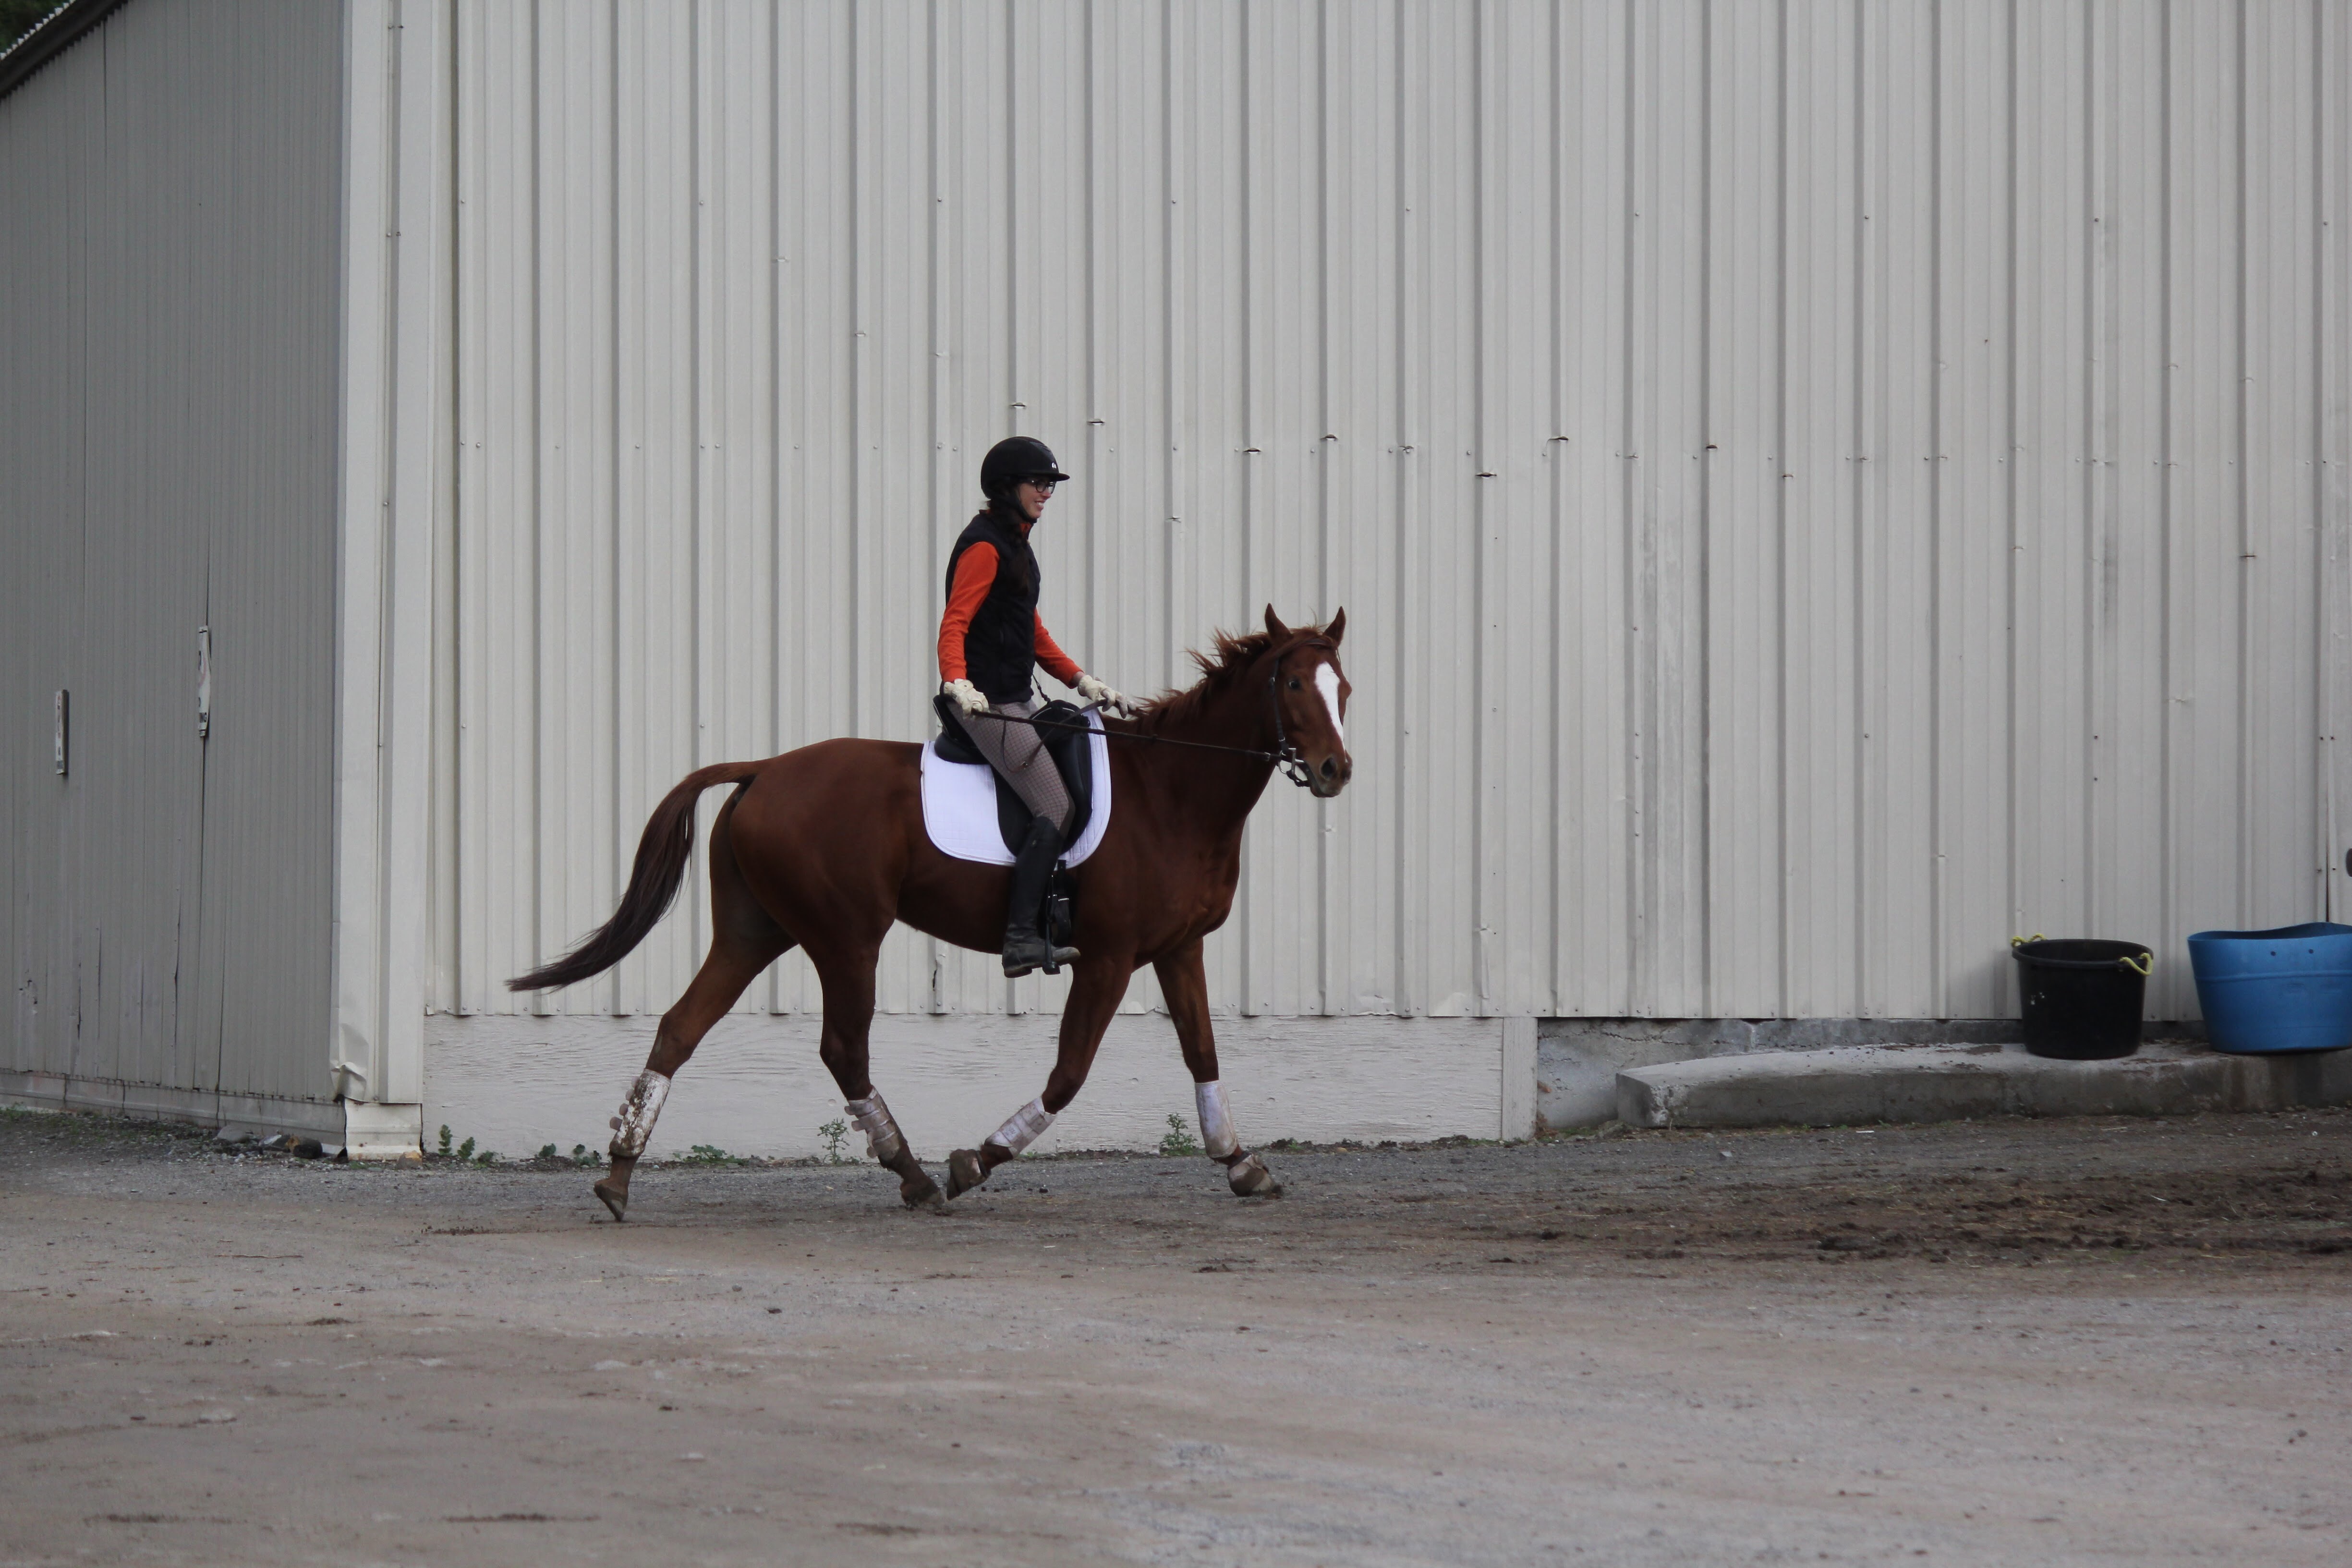
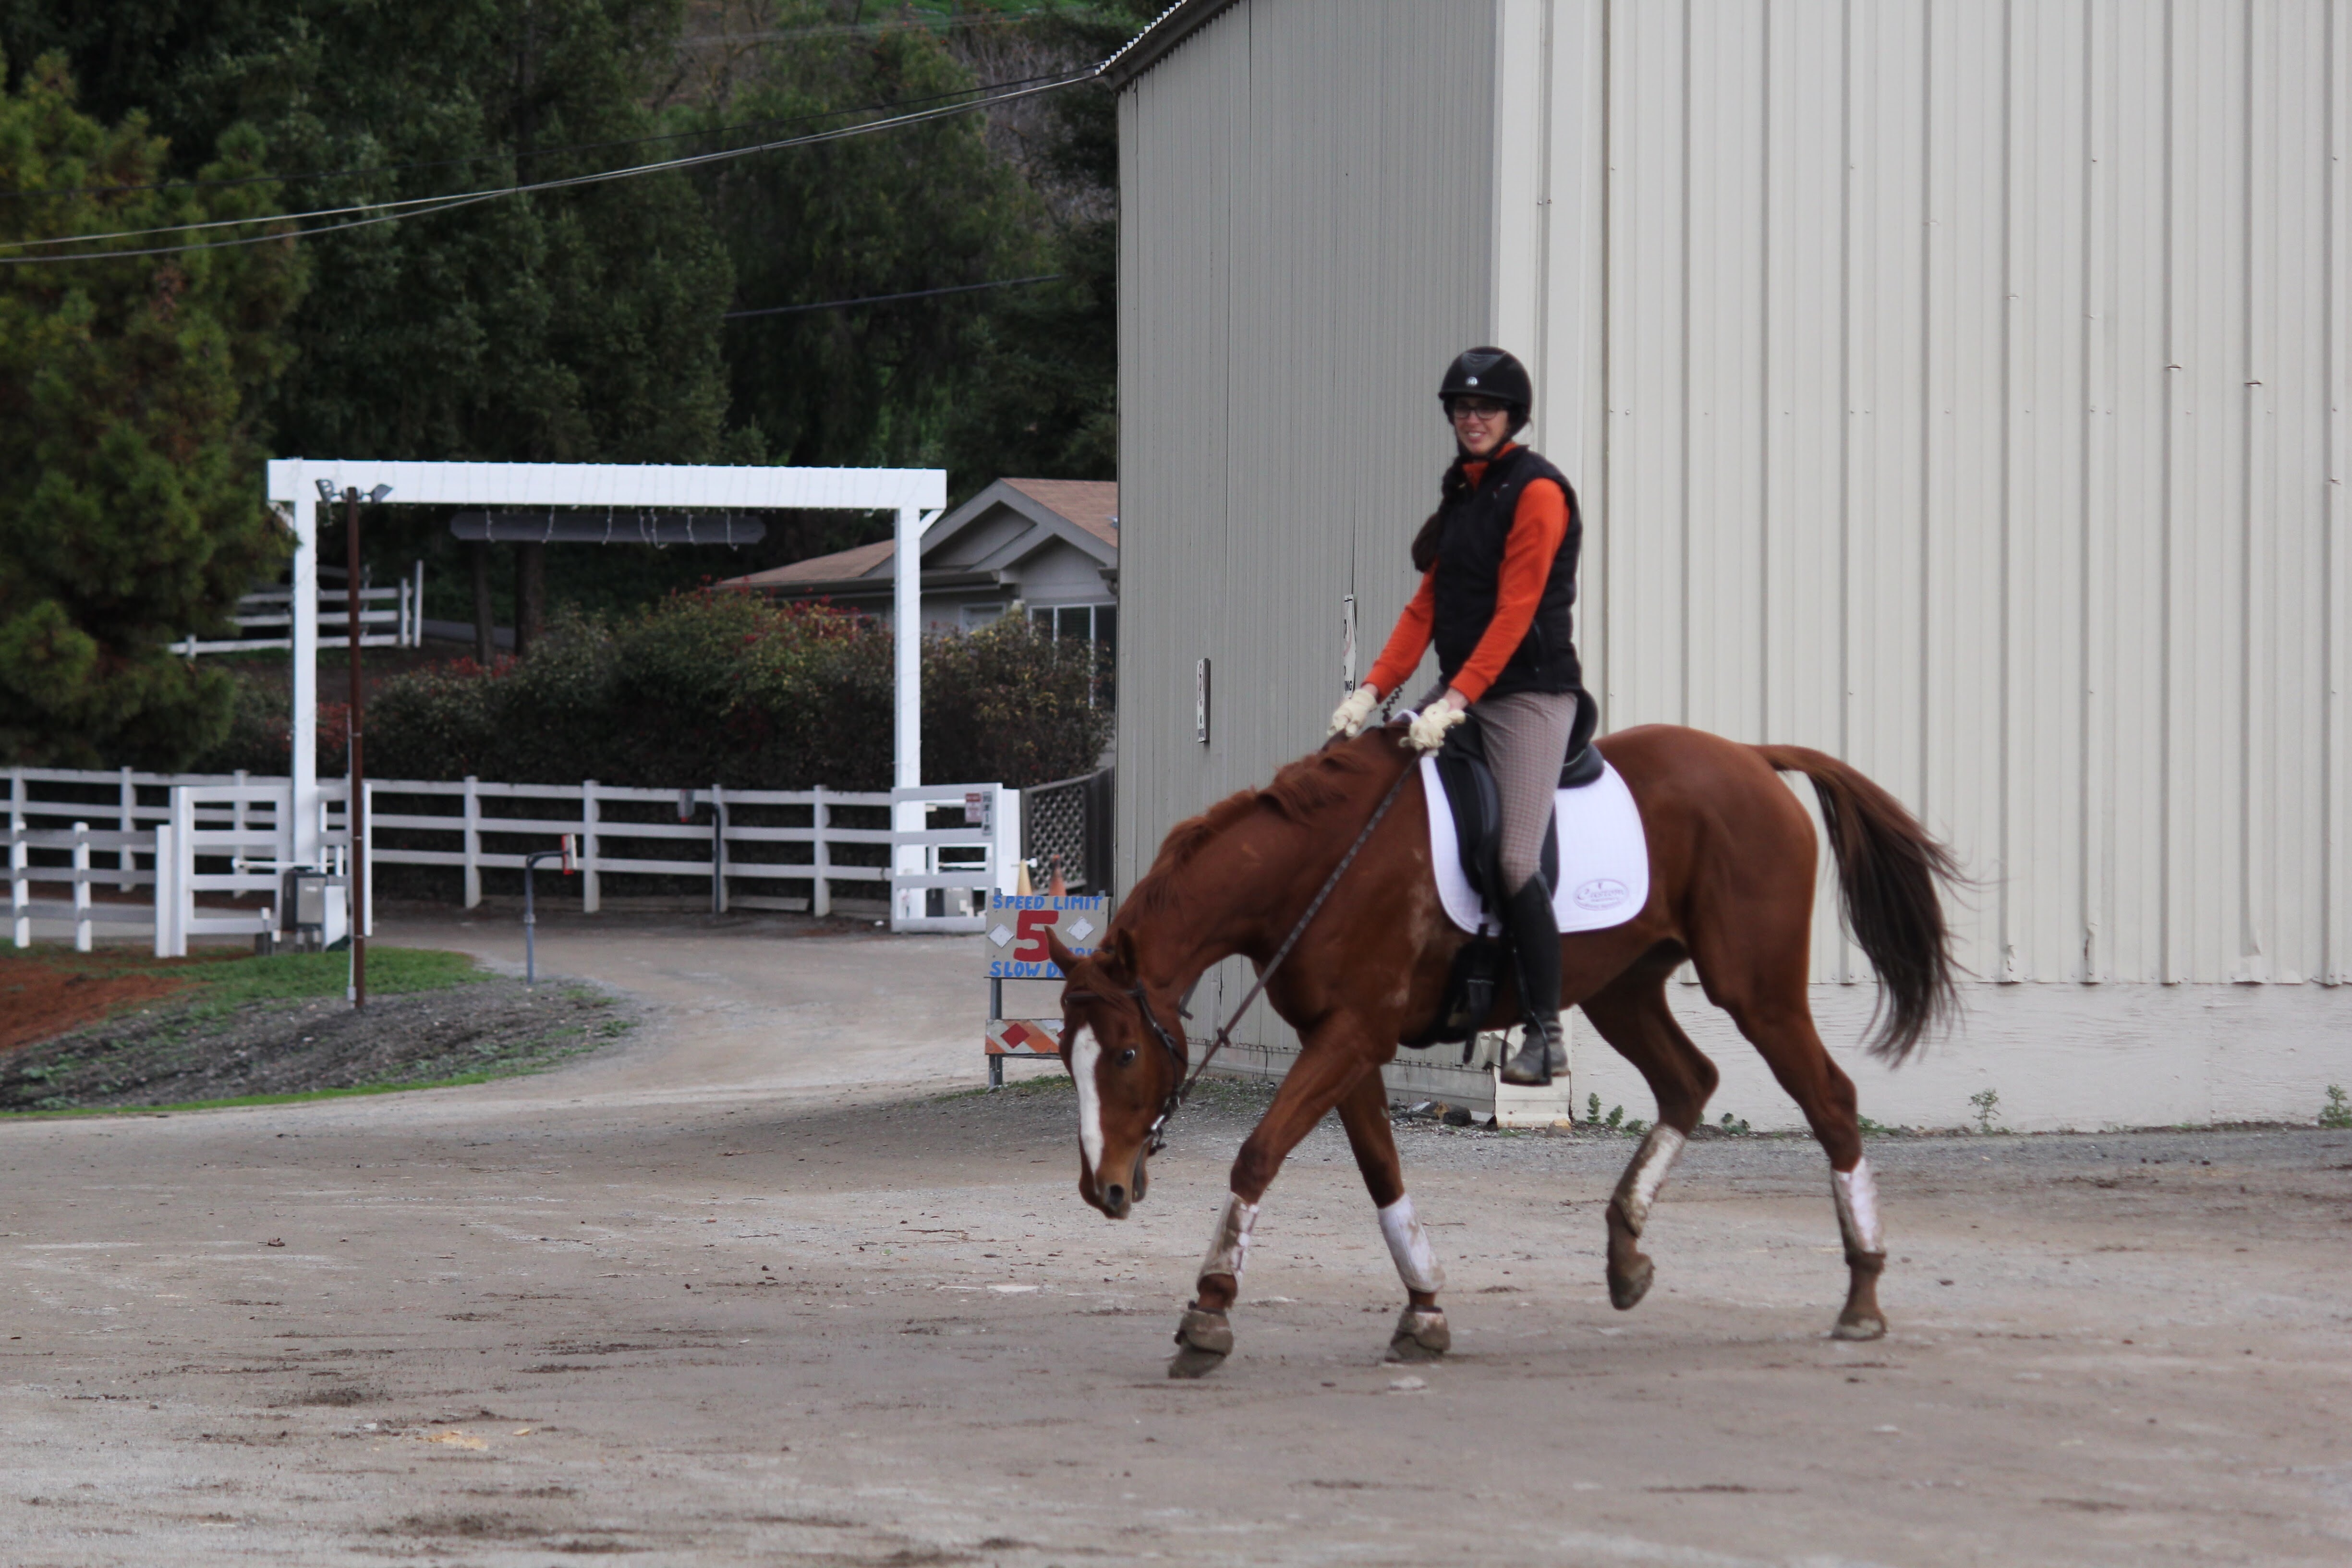
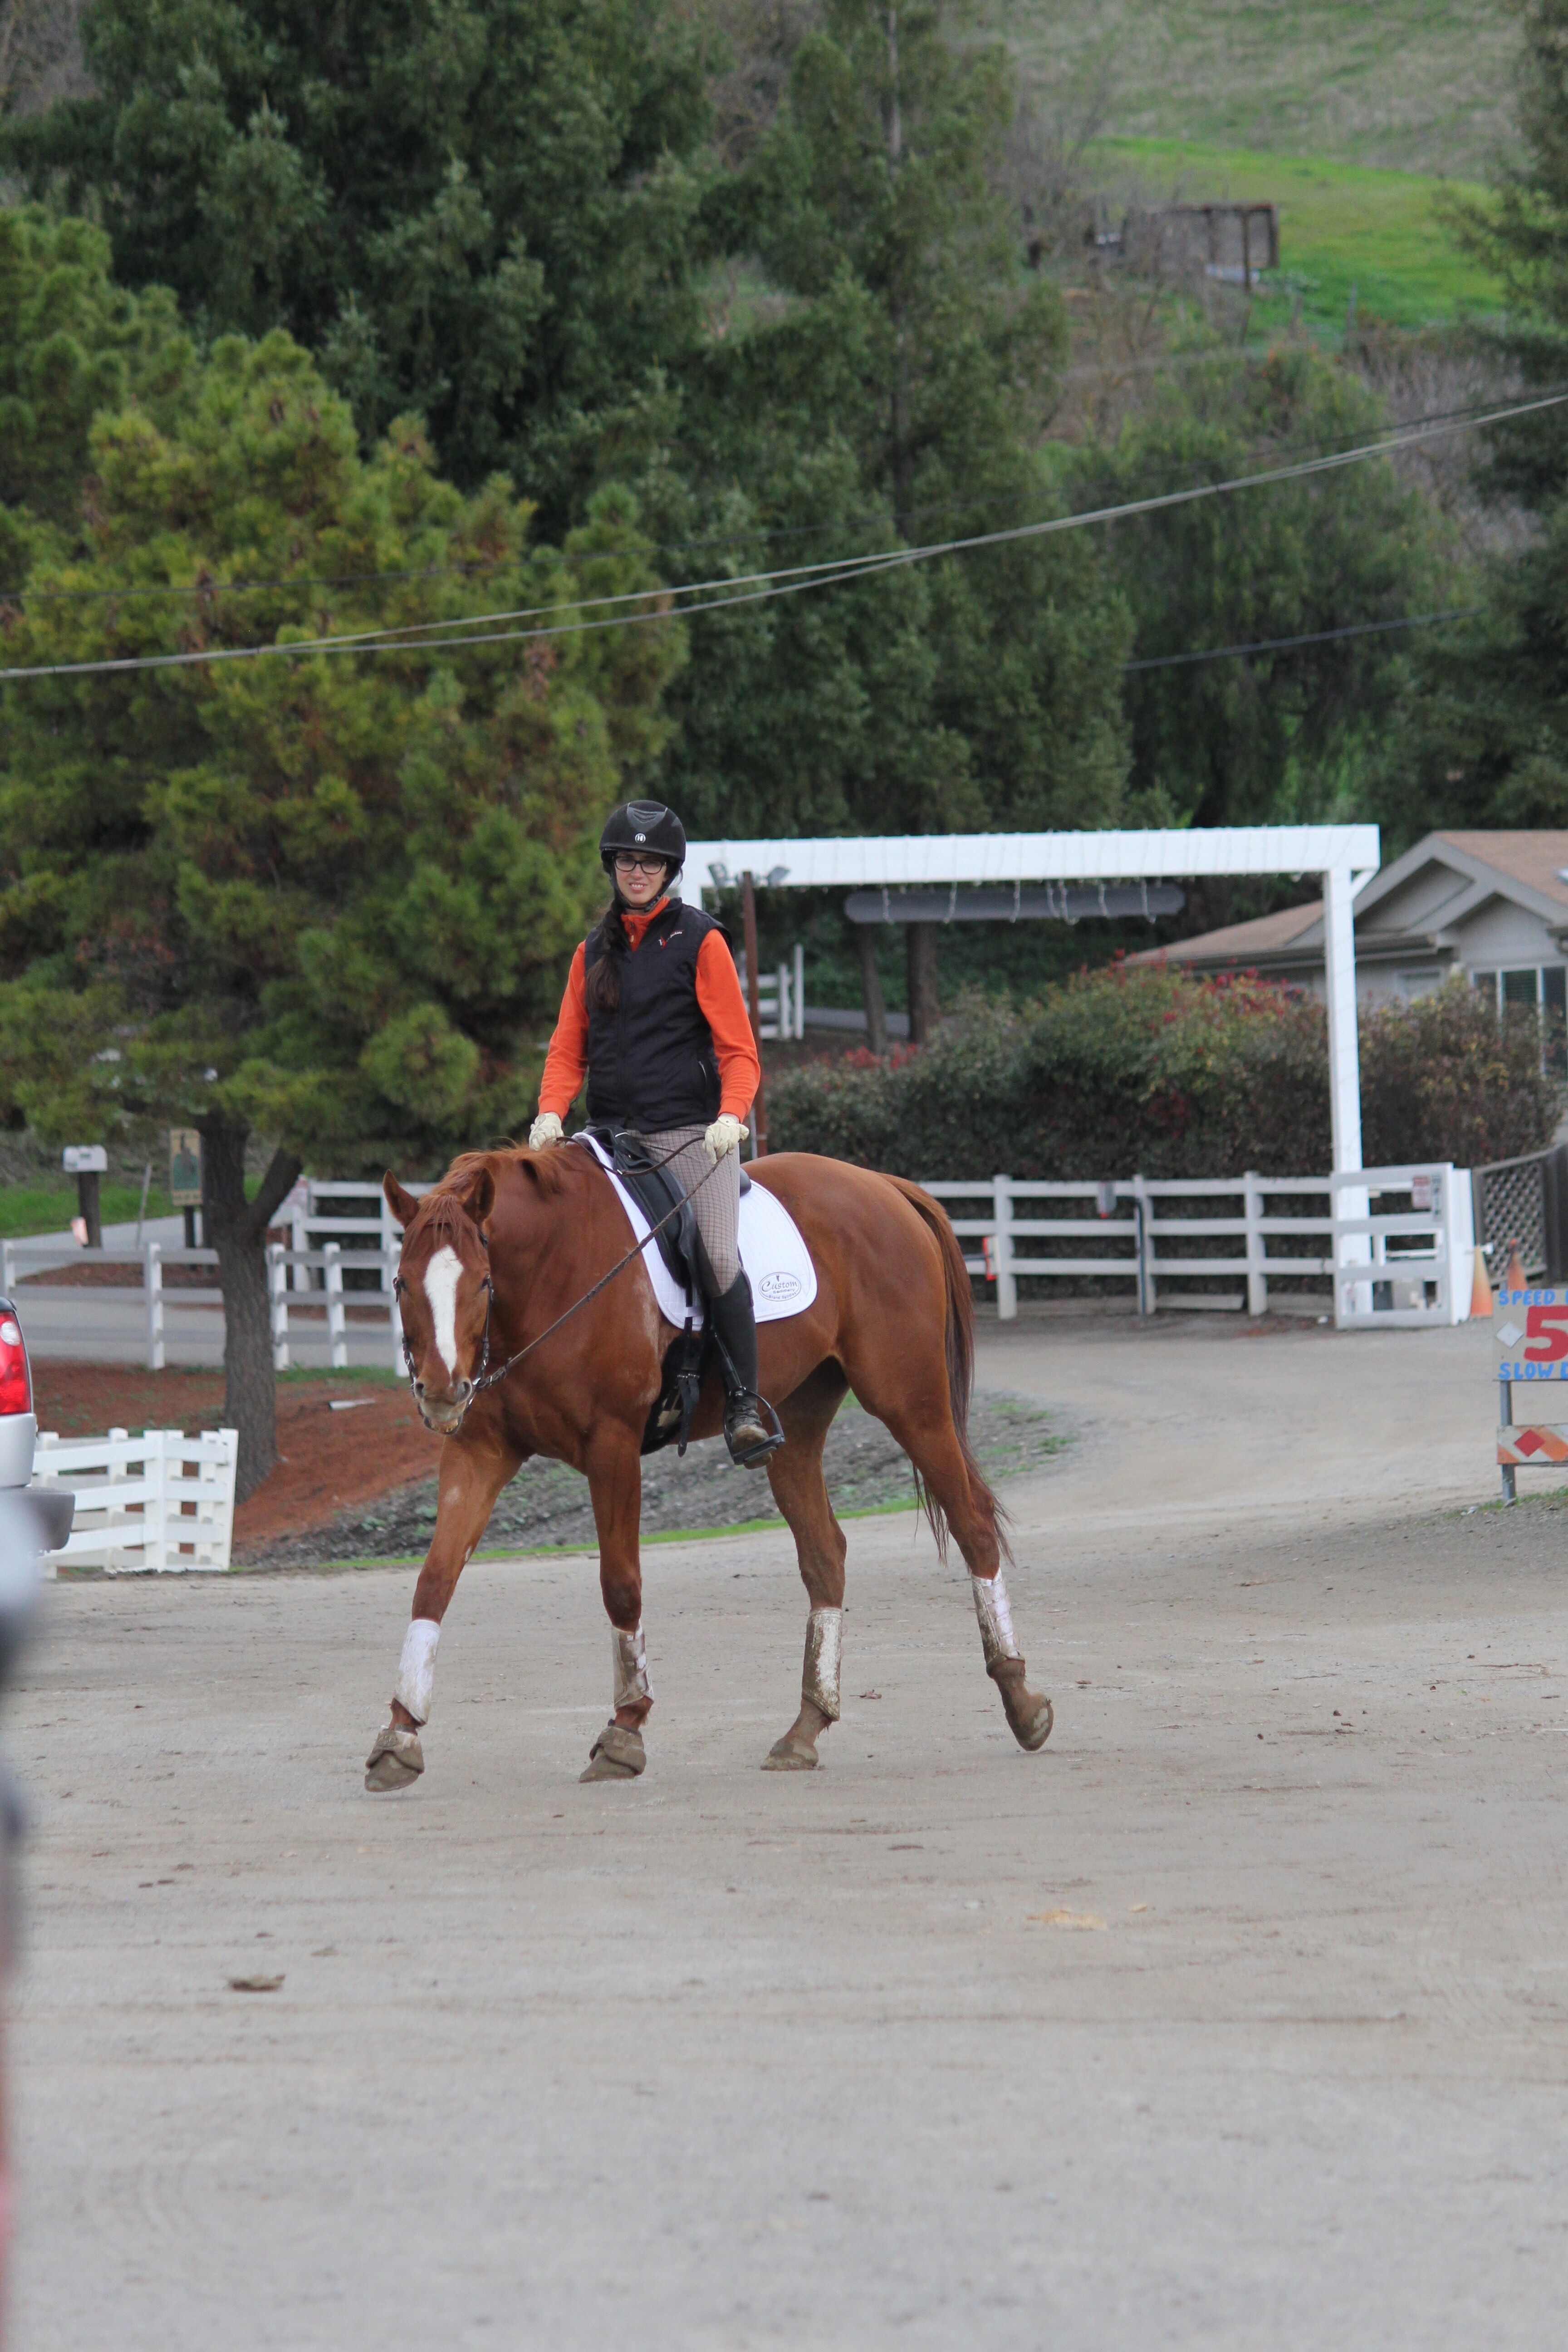
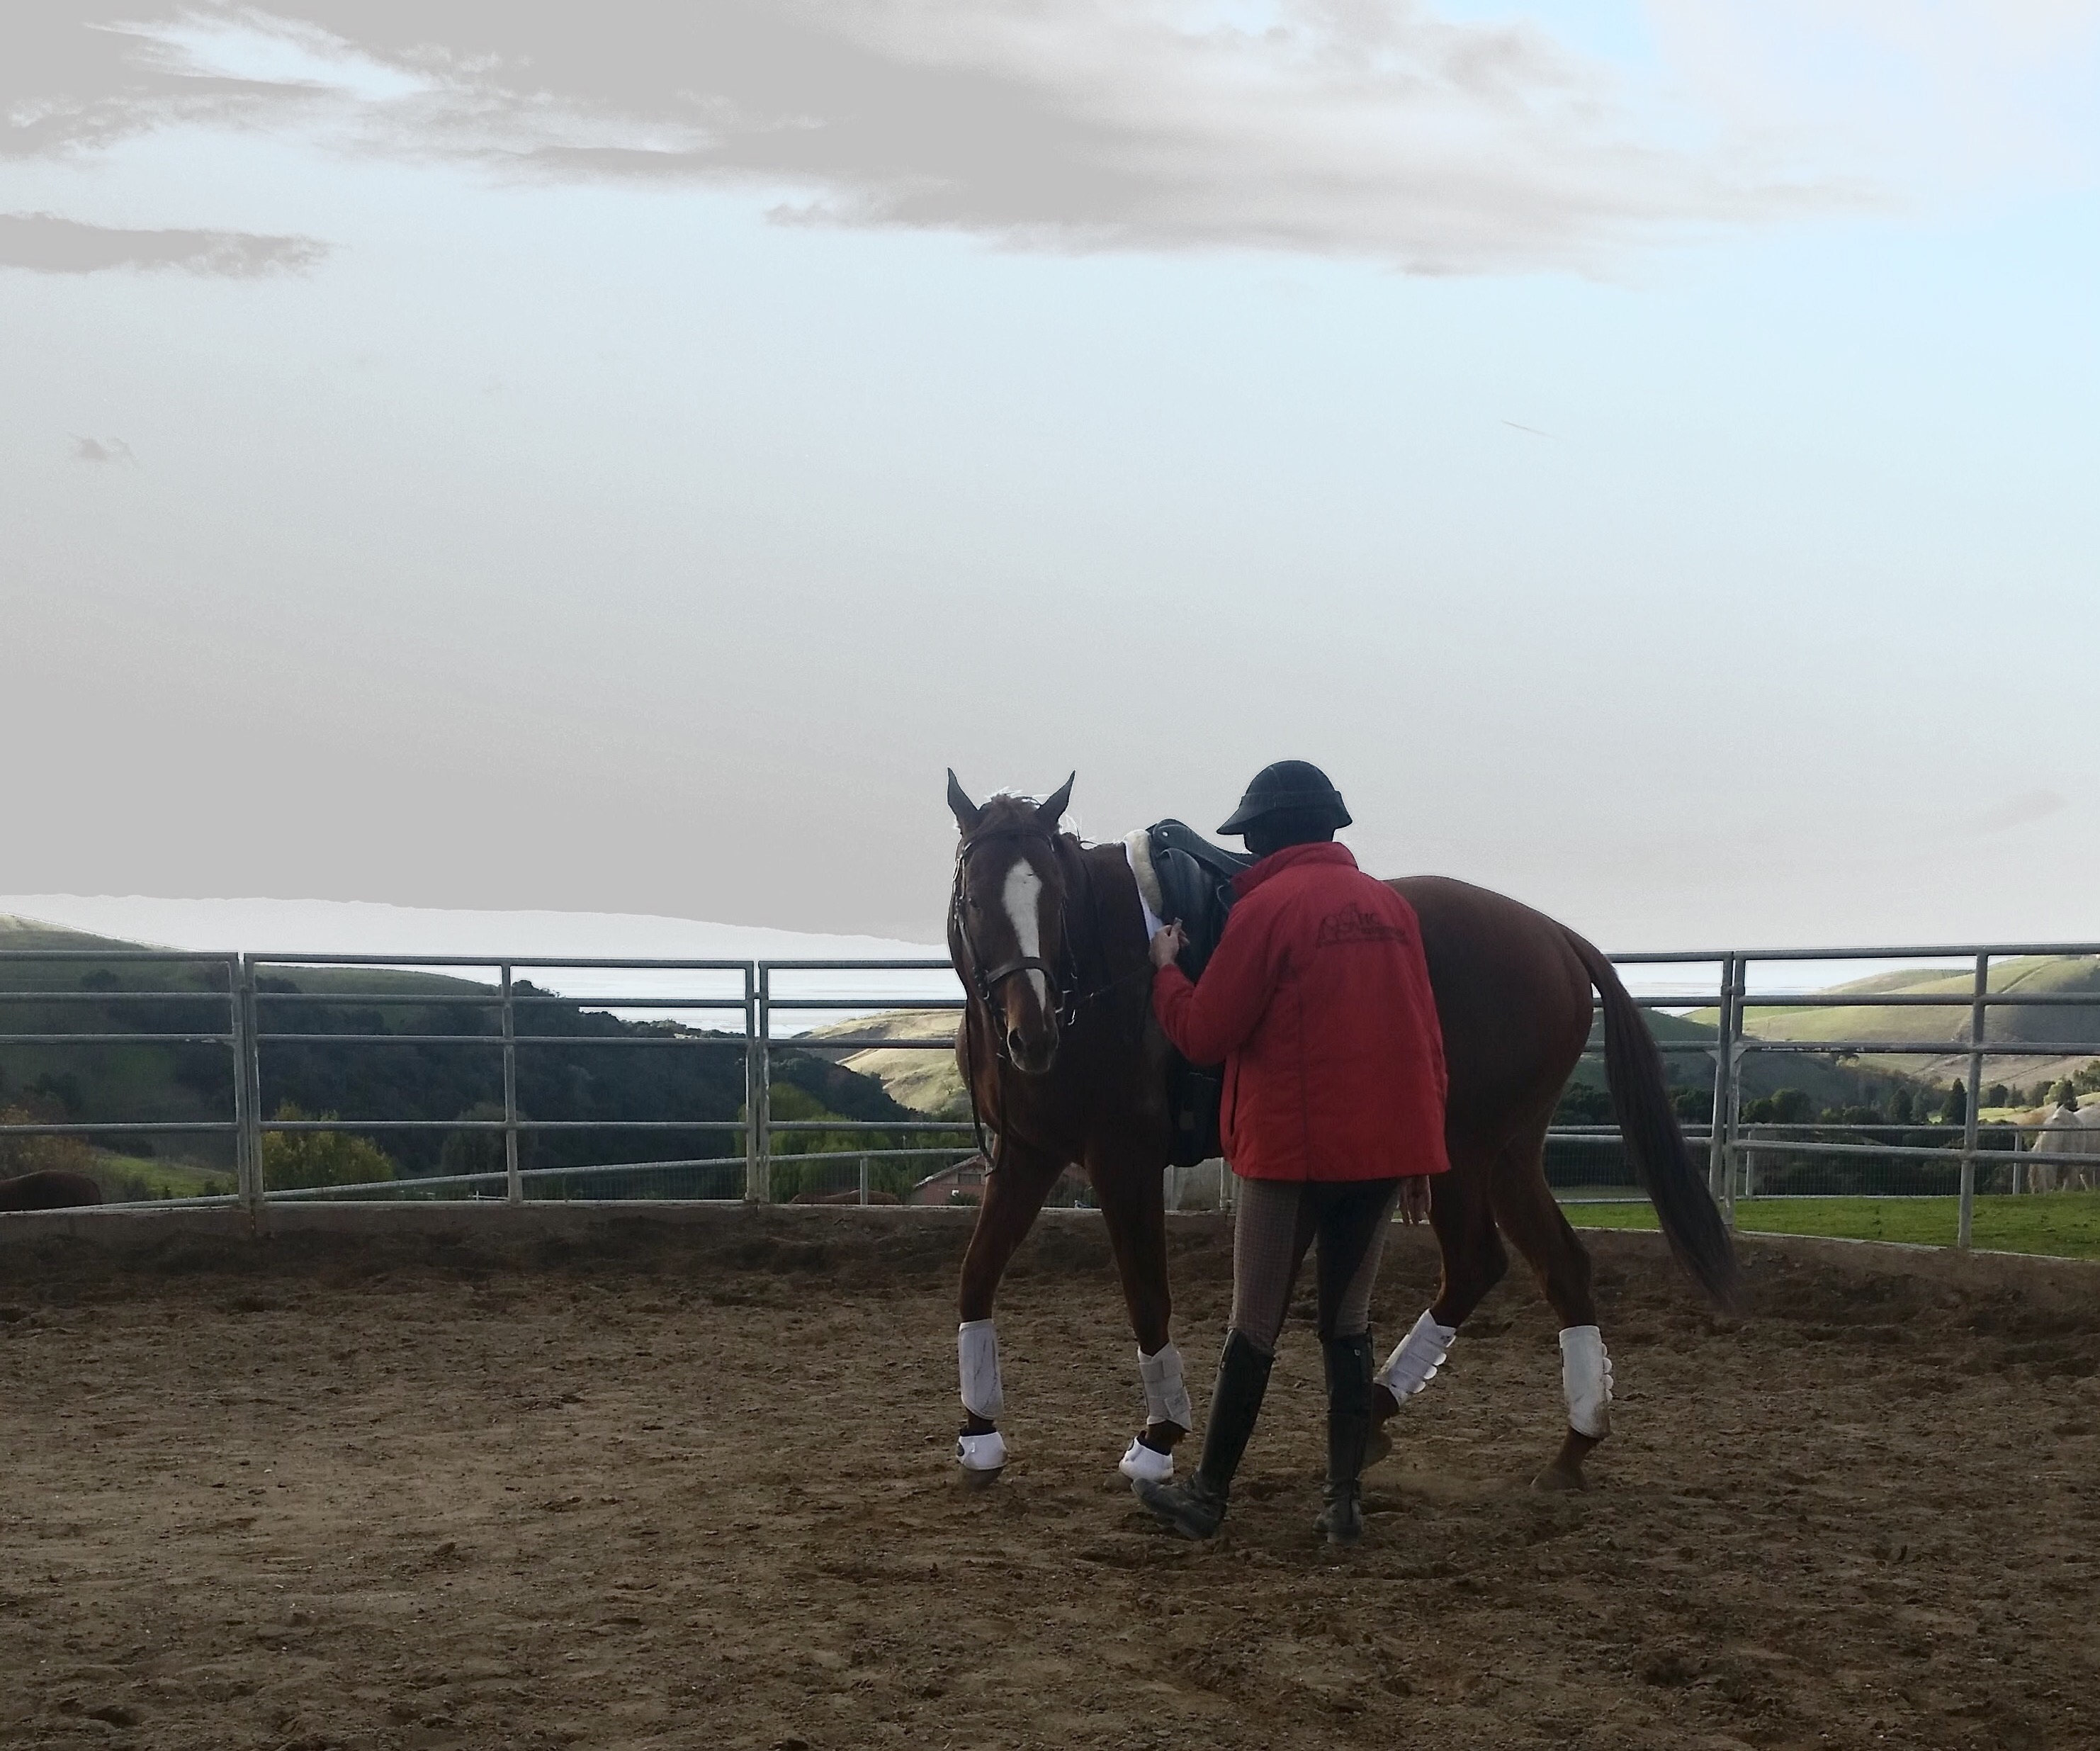
This is a picture of a hollow horse.  Corny feels pressure on the bridle, pushes the bottom of his neck forward and drops his back behind the withers 
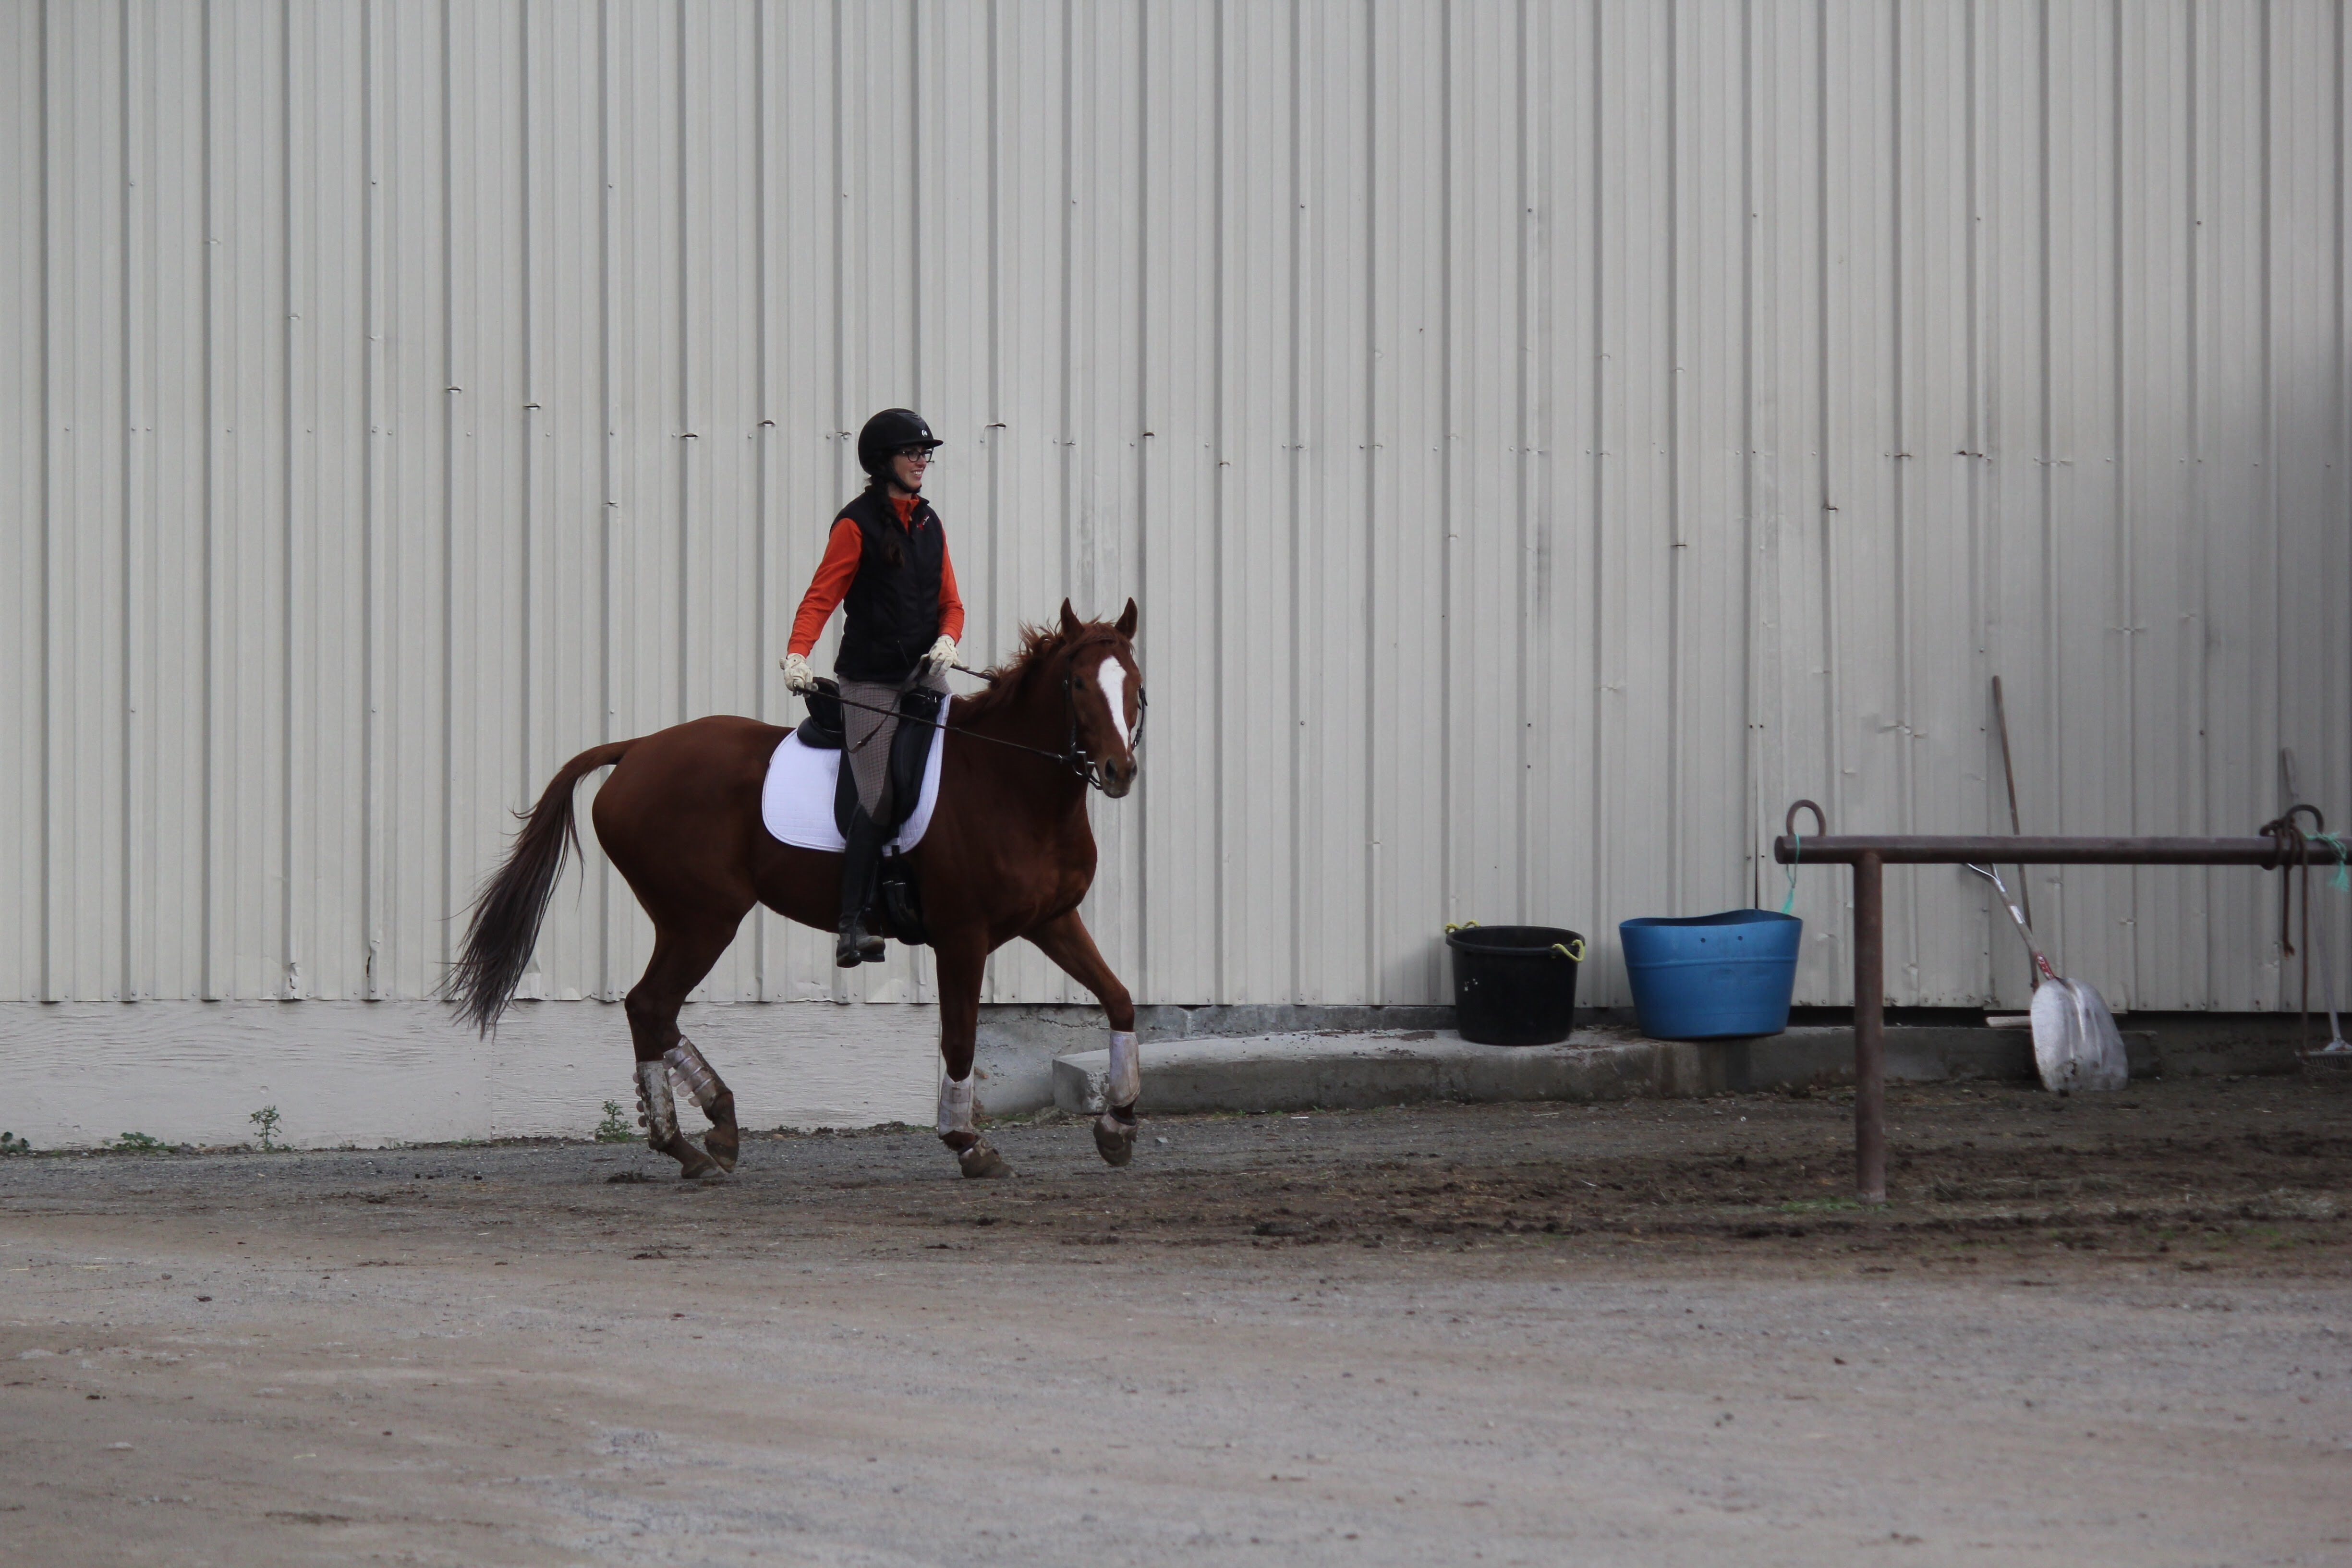
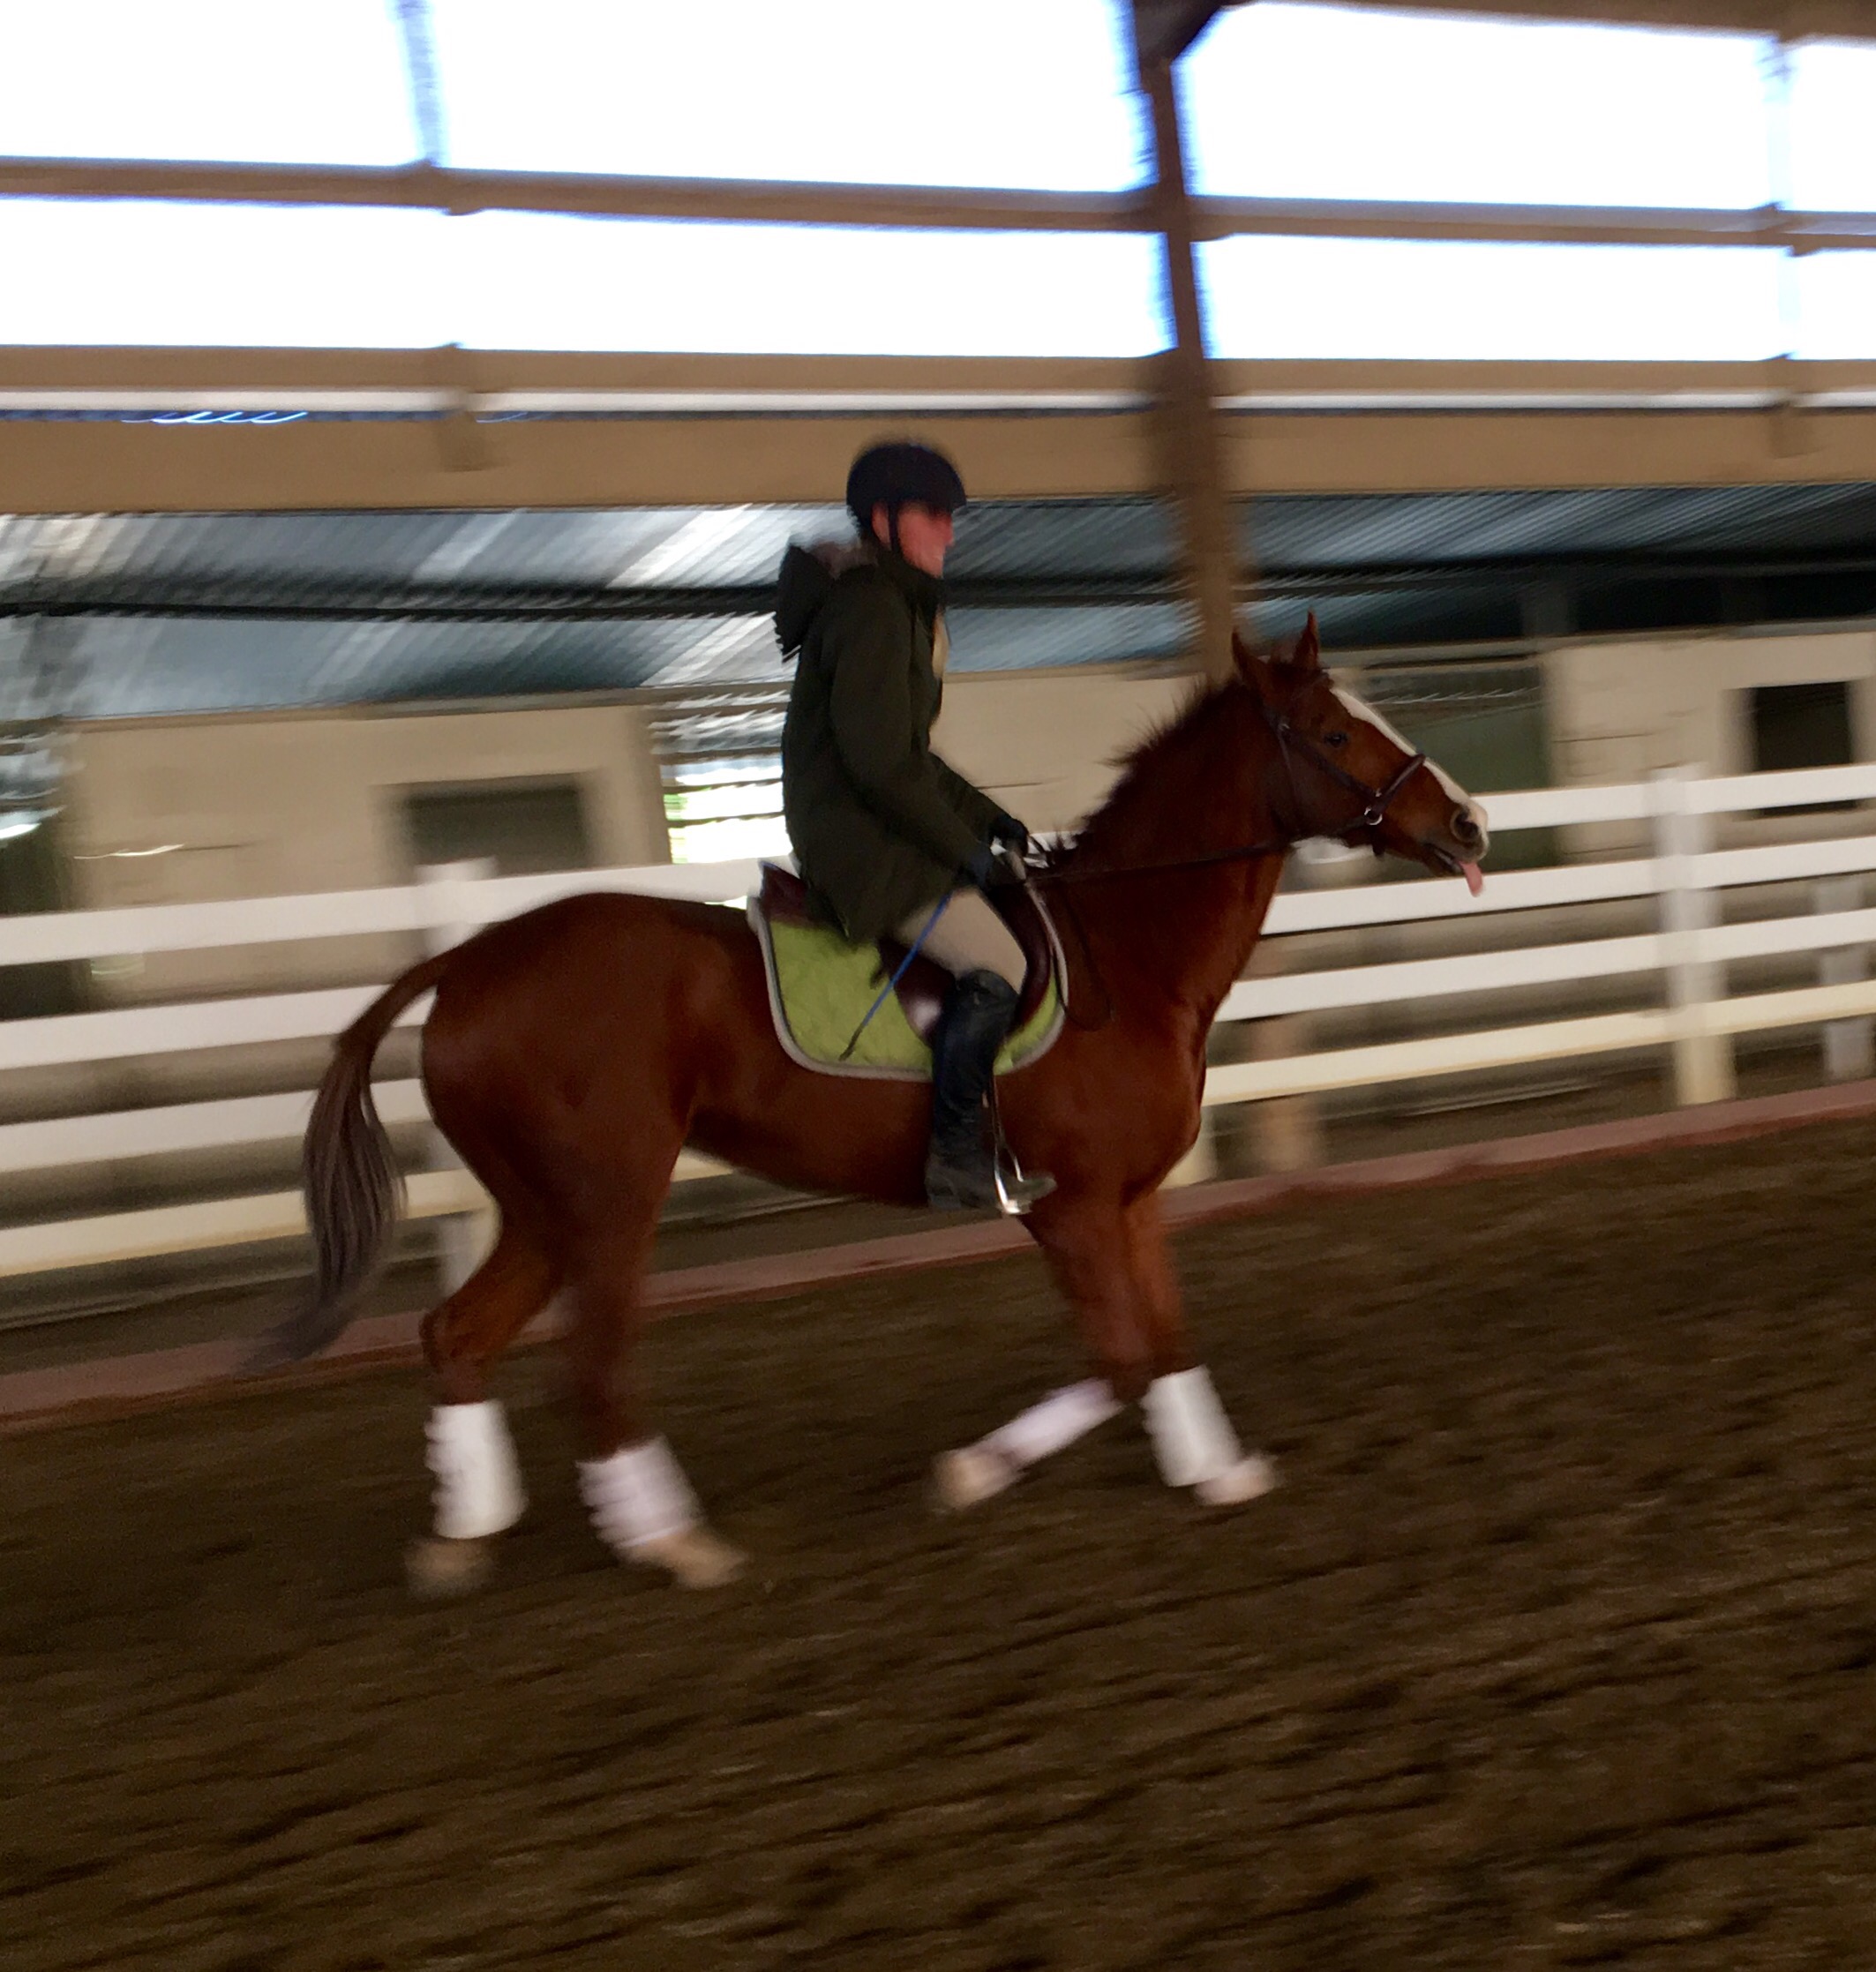
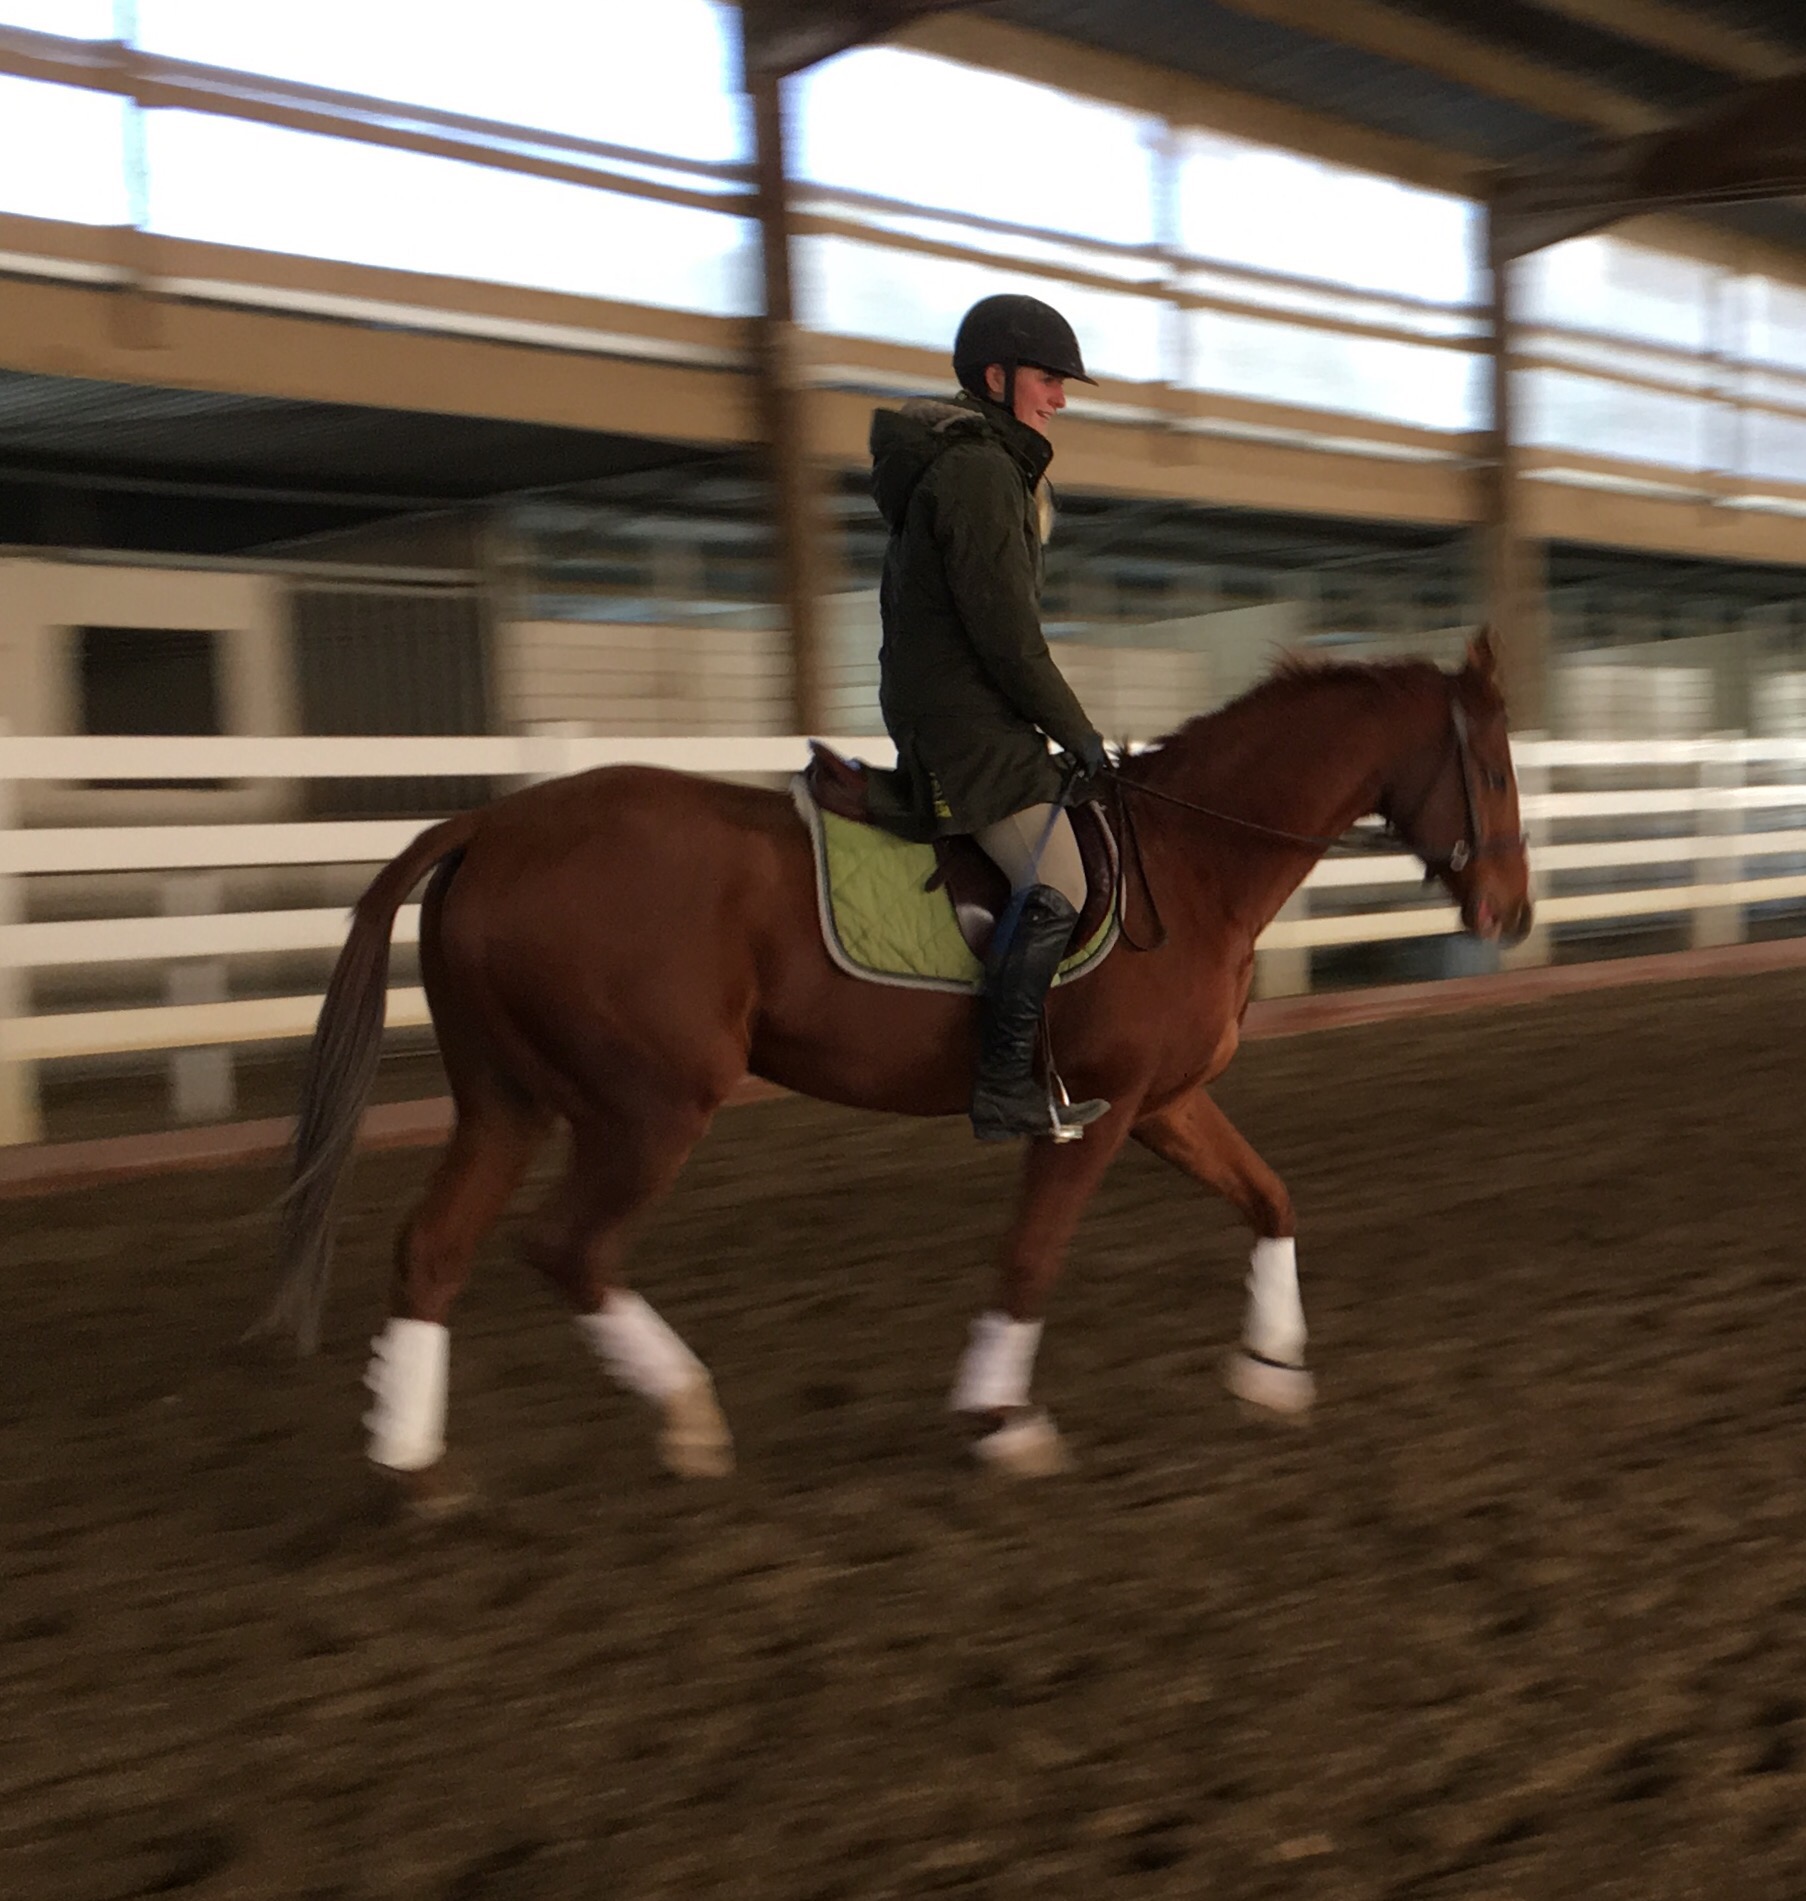
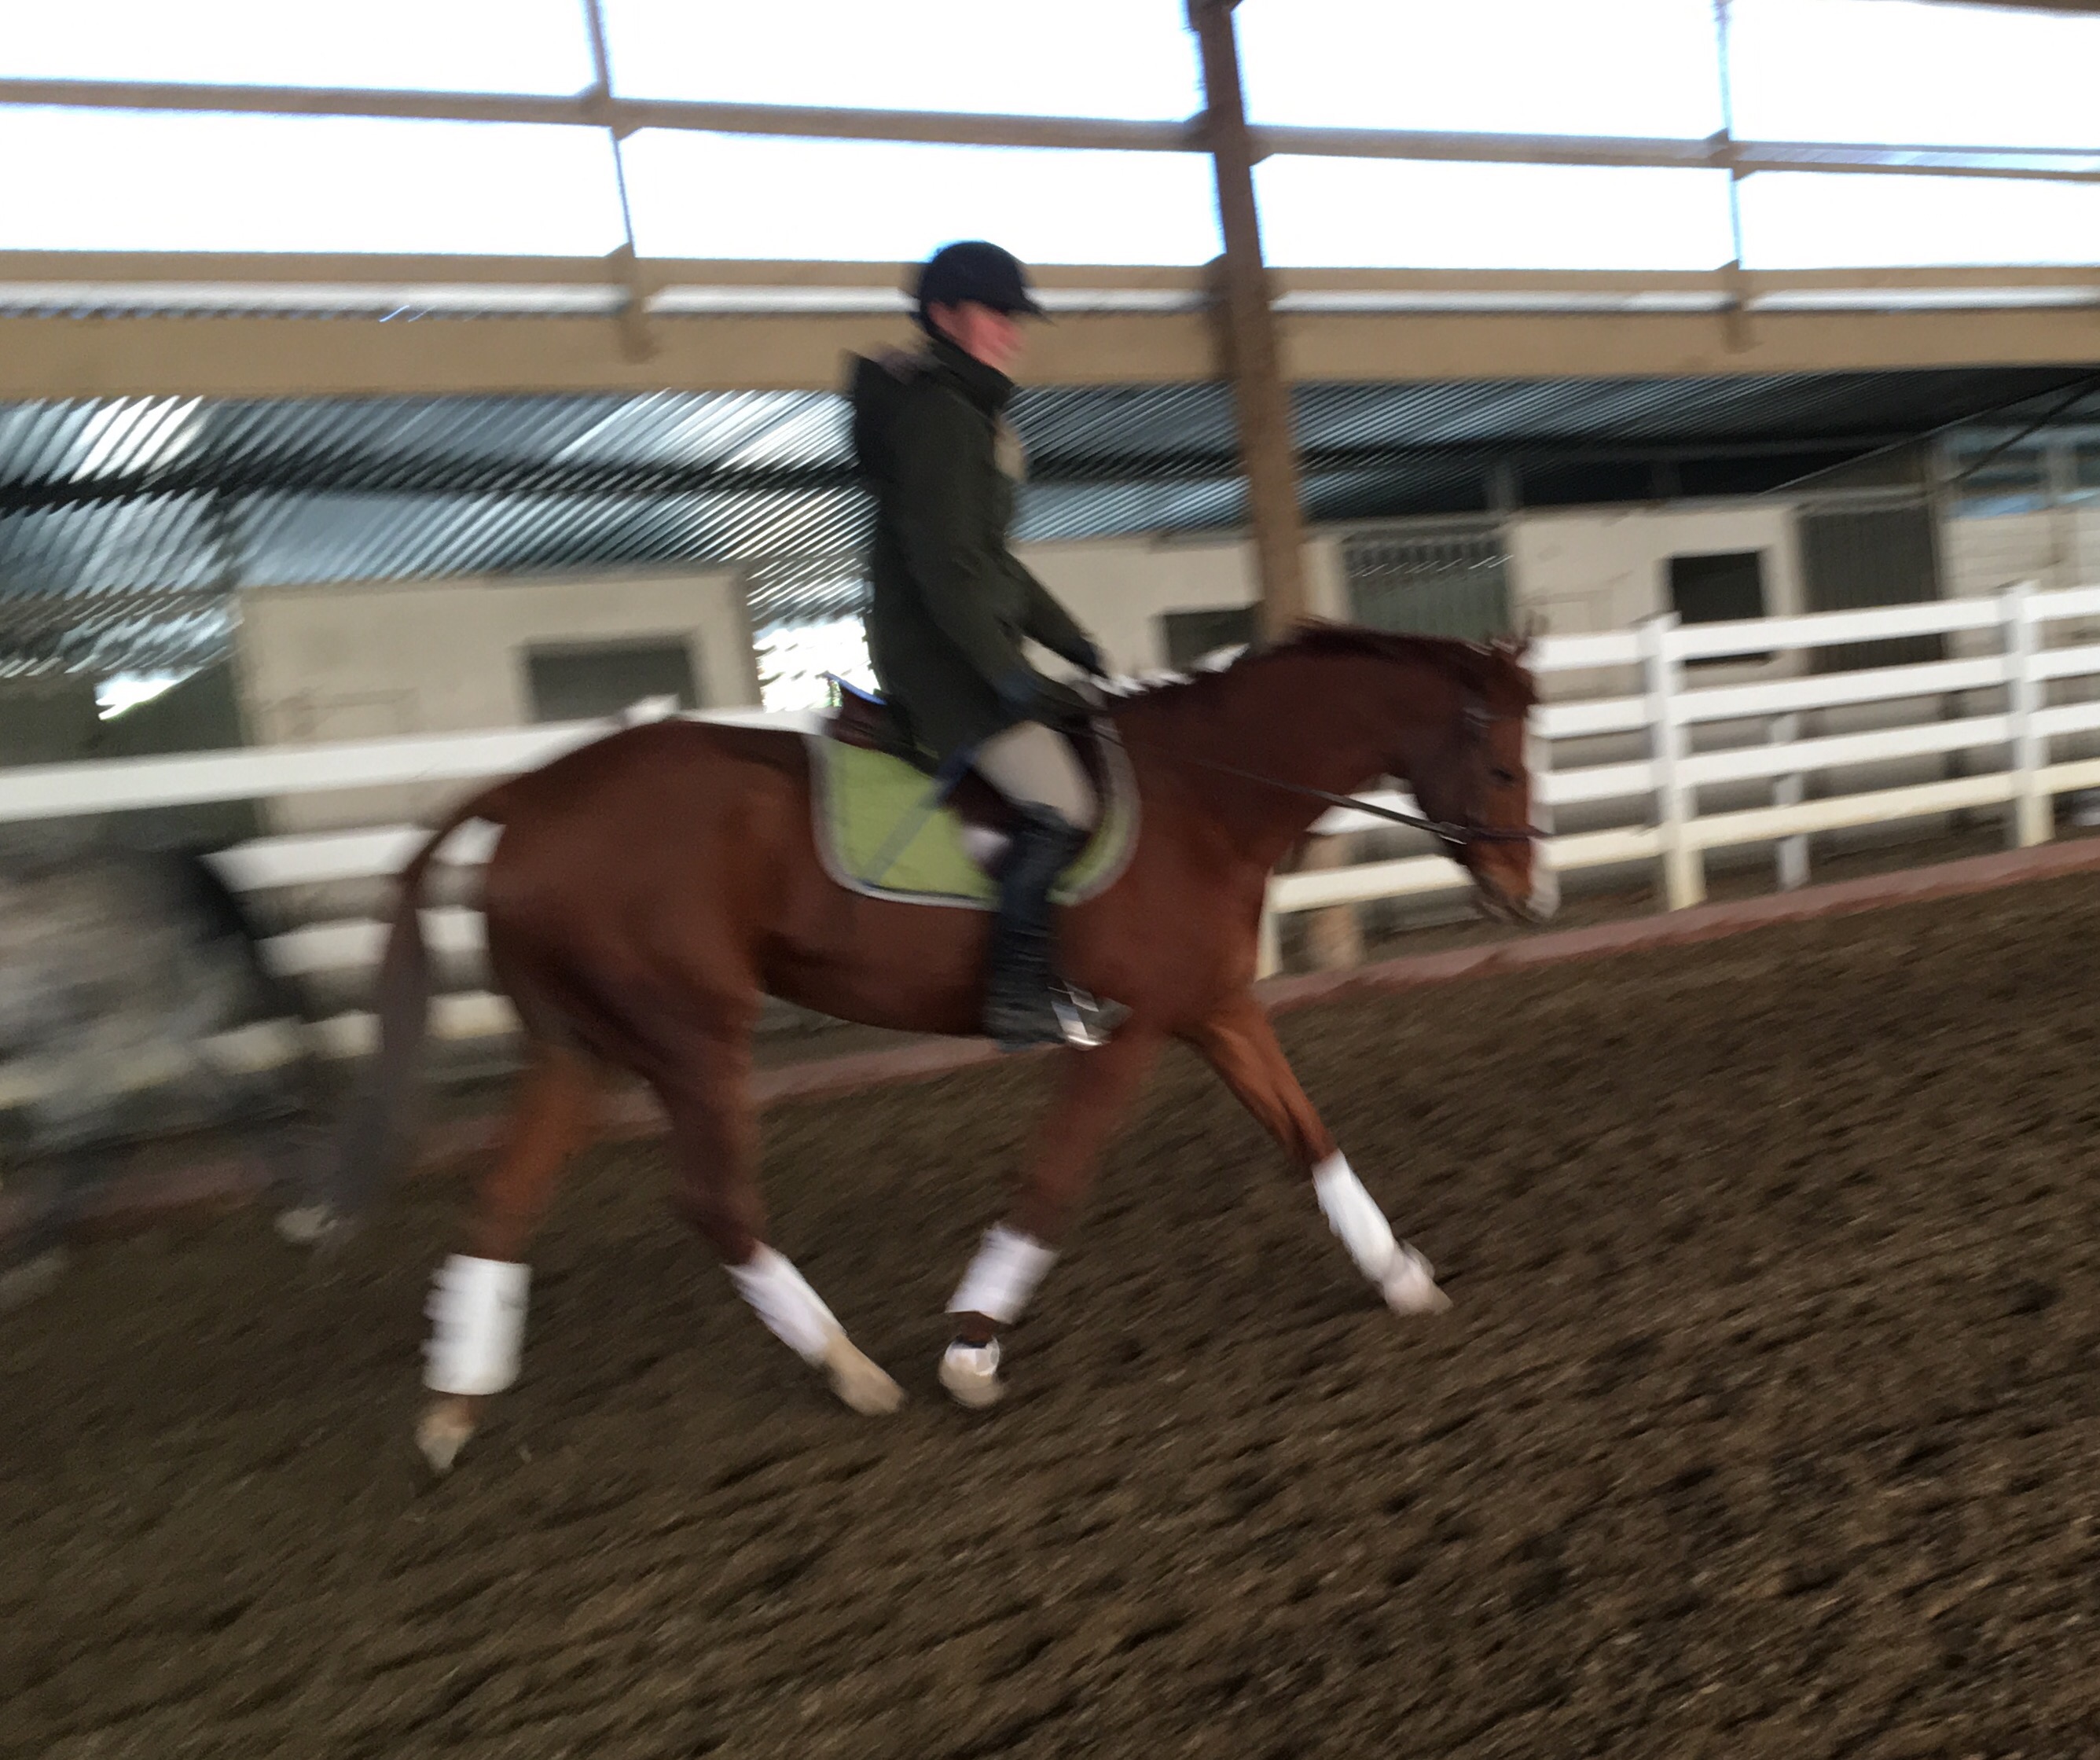
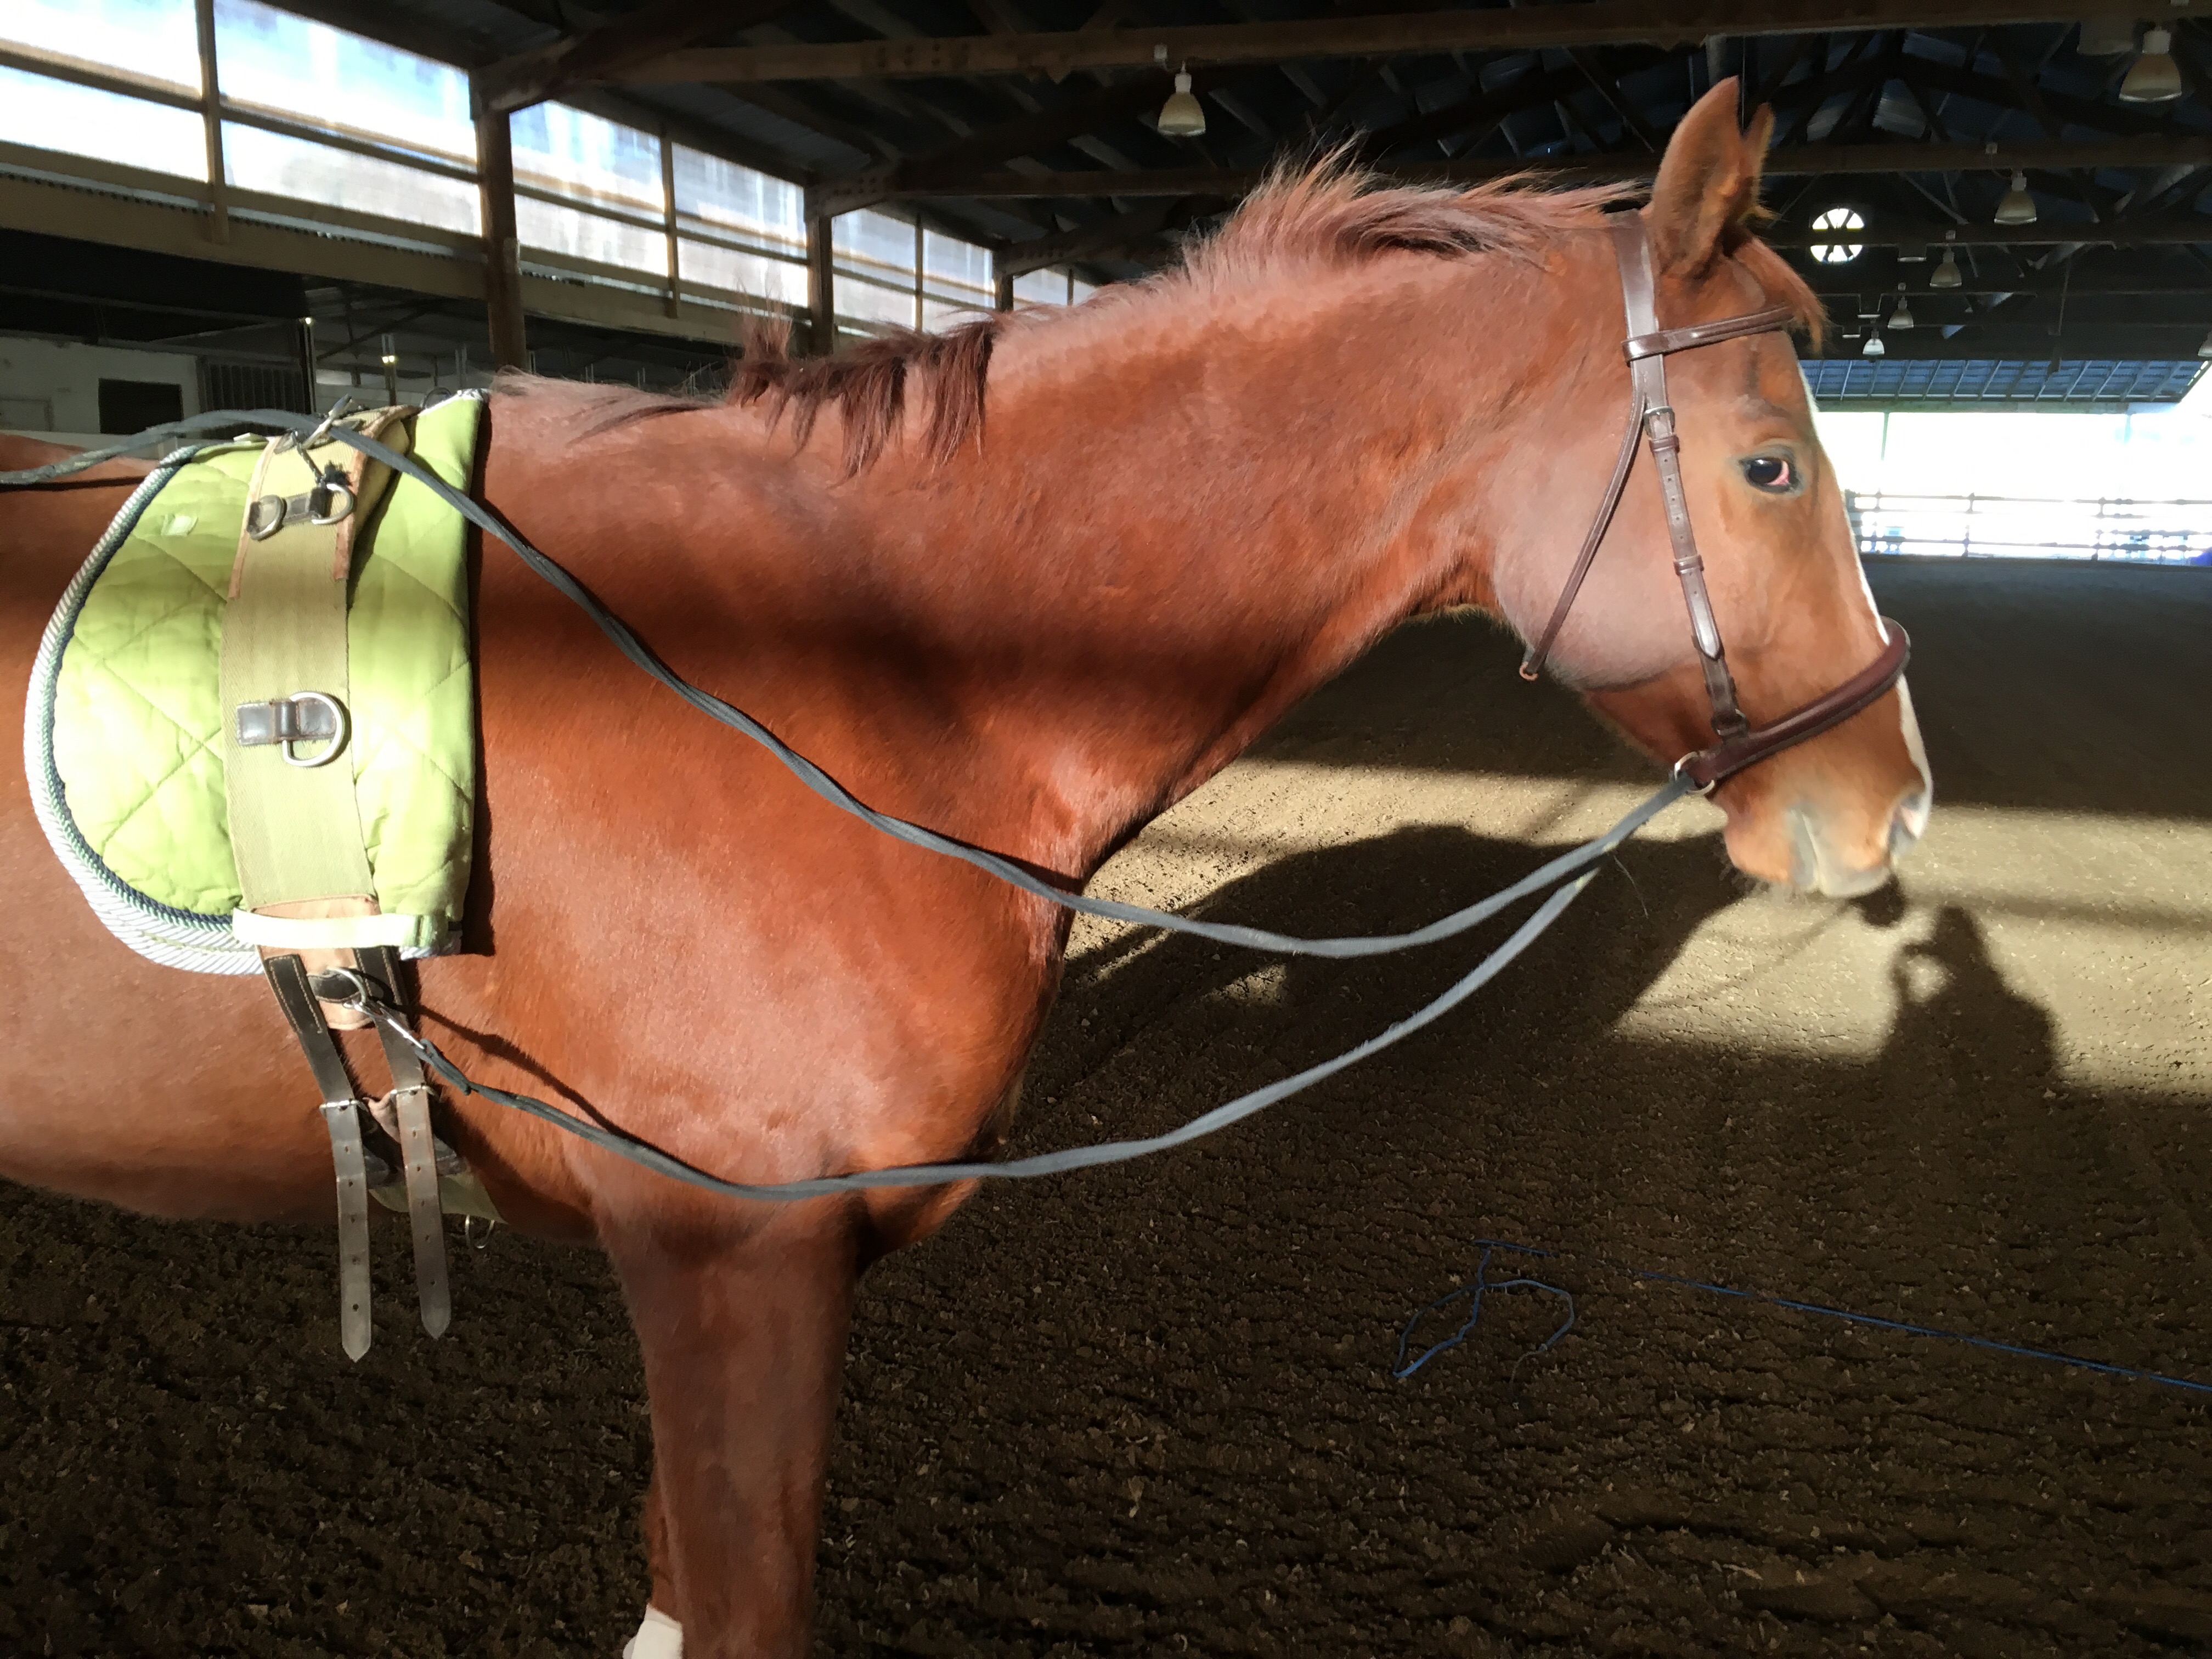
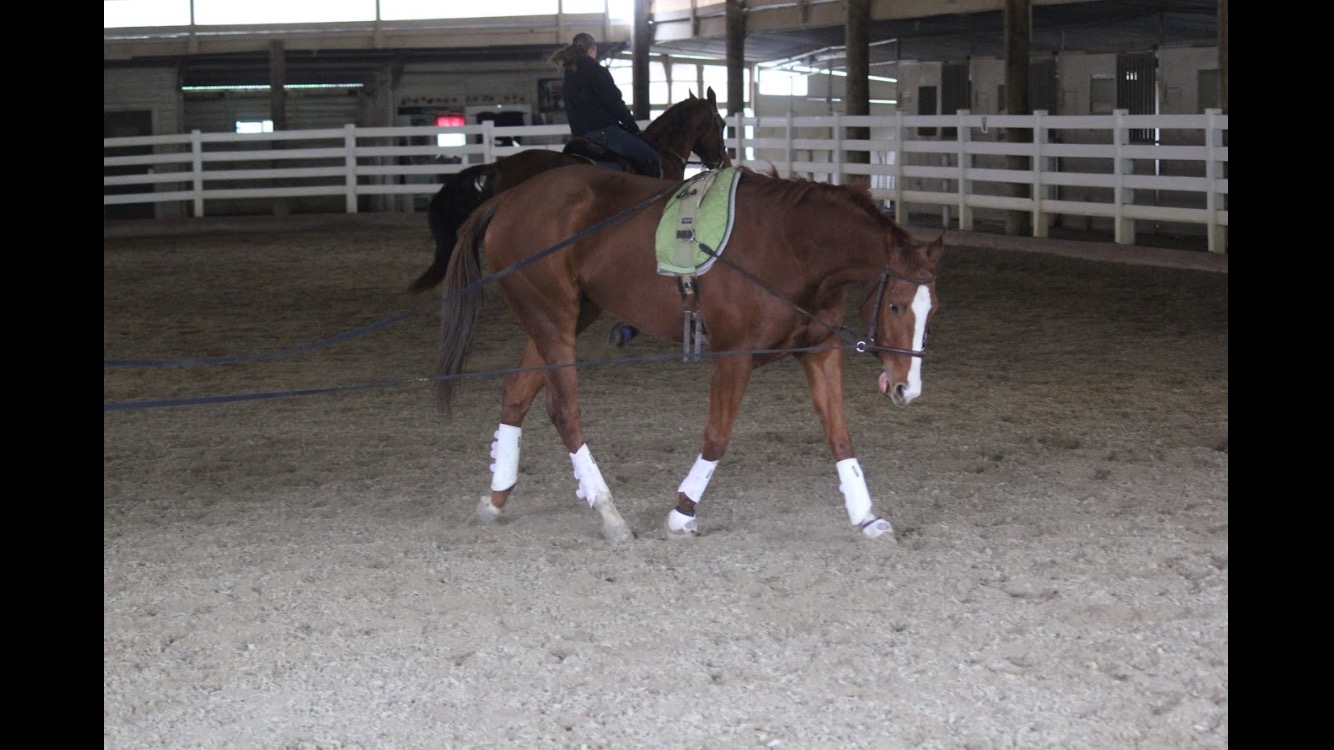
Corny is still fighting the pressure though maybe his head isn’t so high now.  His stress indicator is now showing (his tongue) 
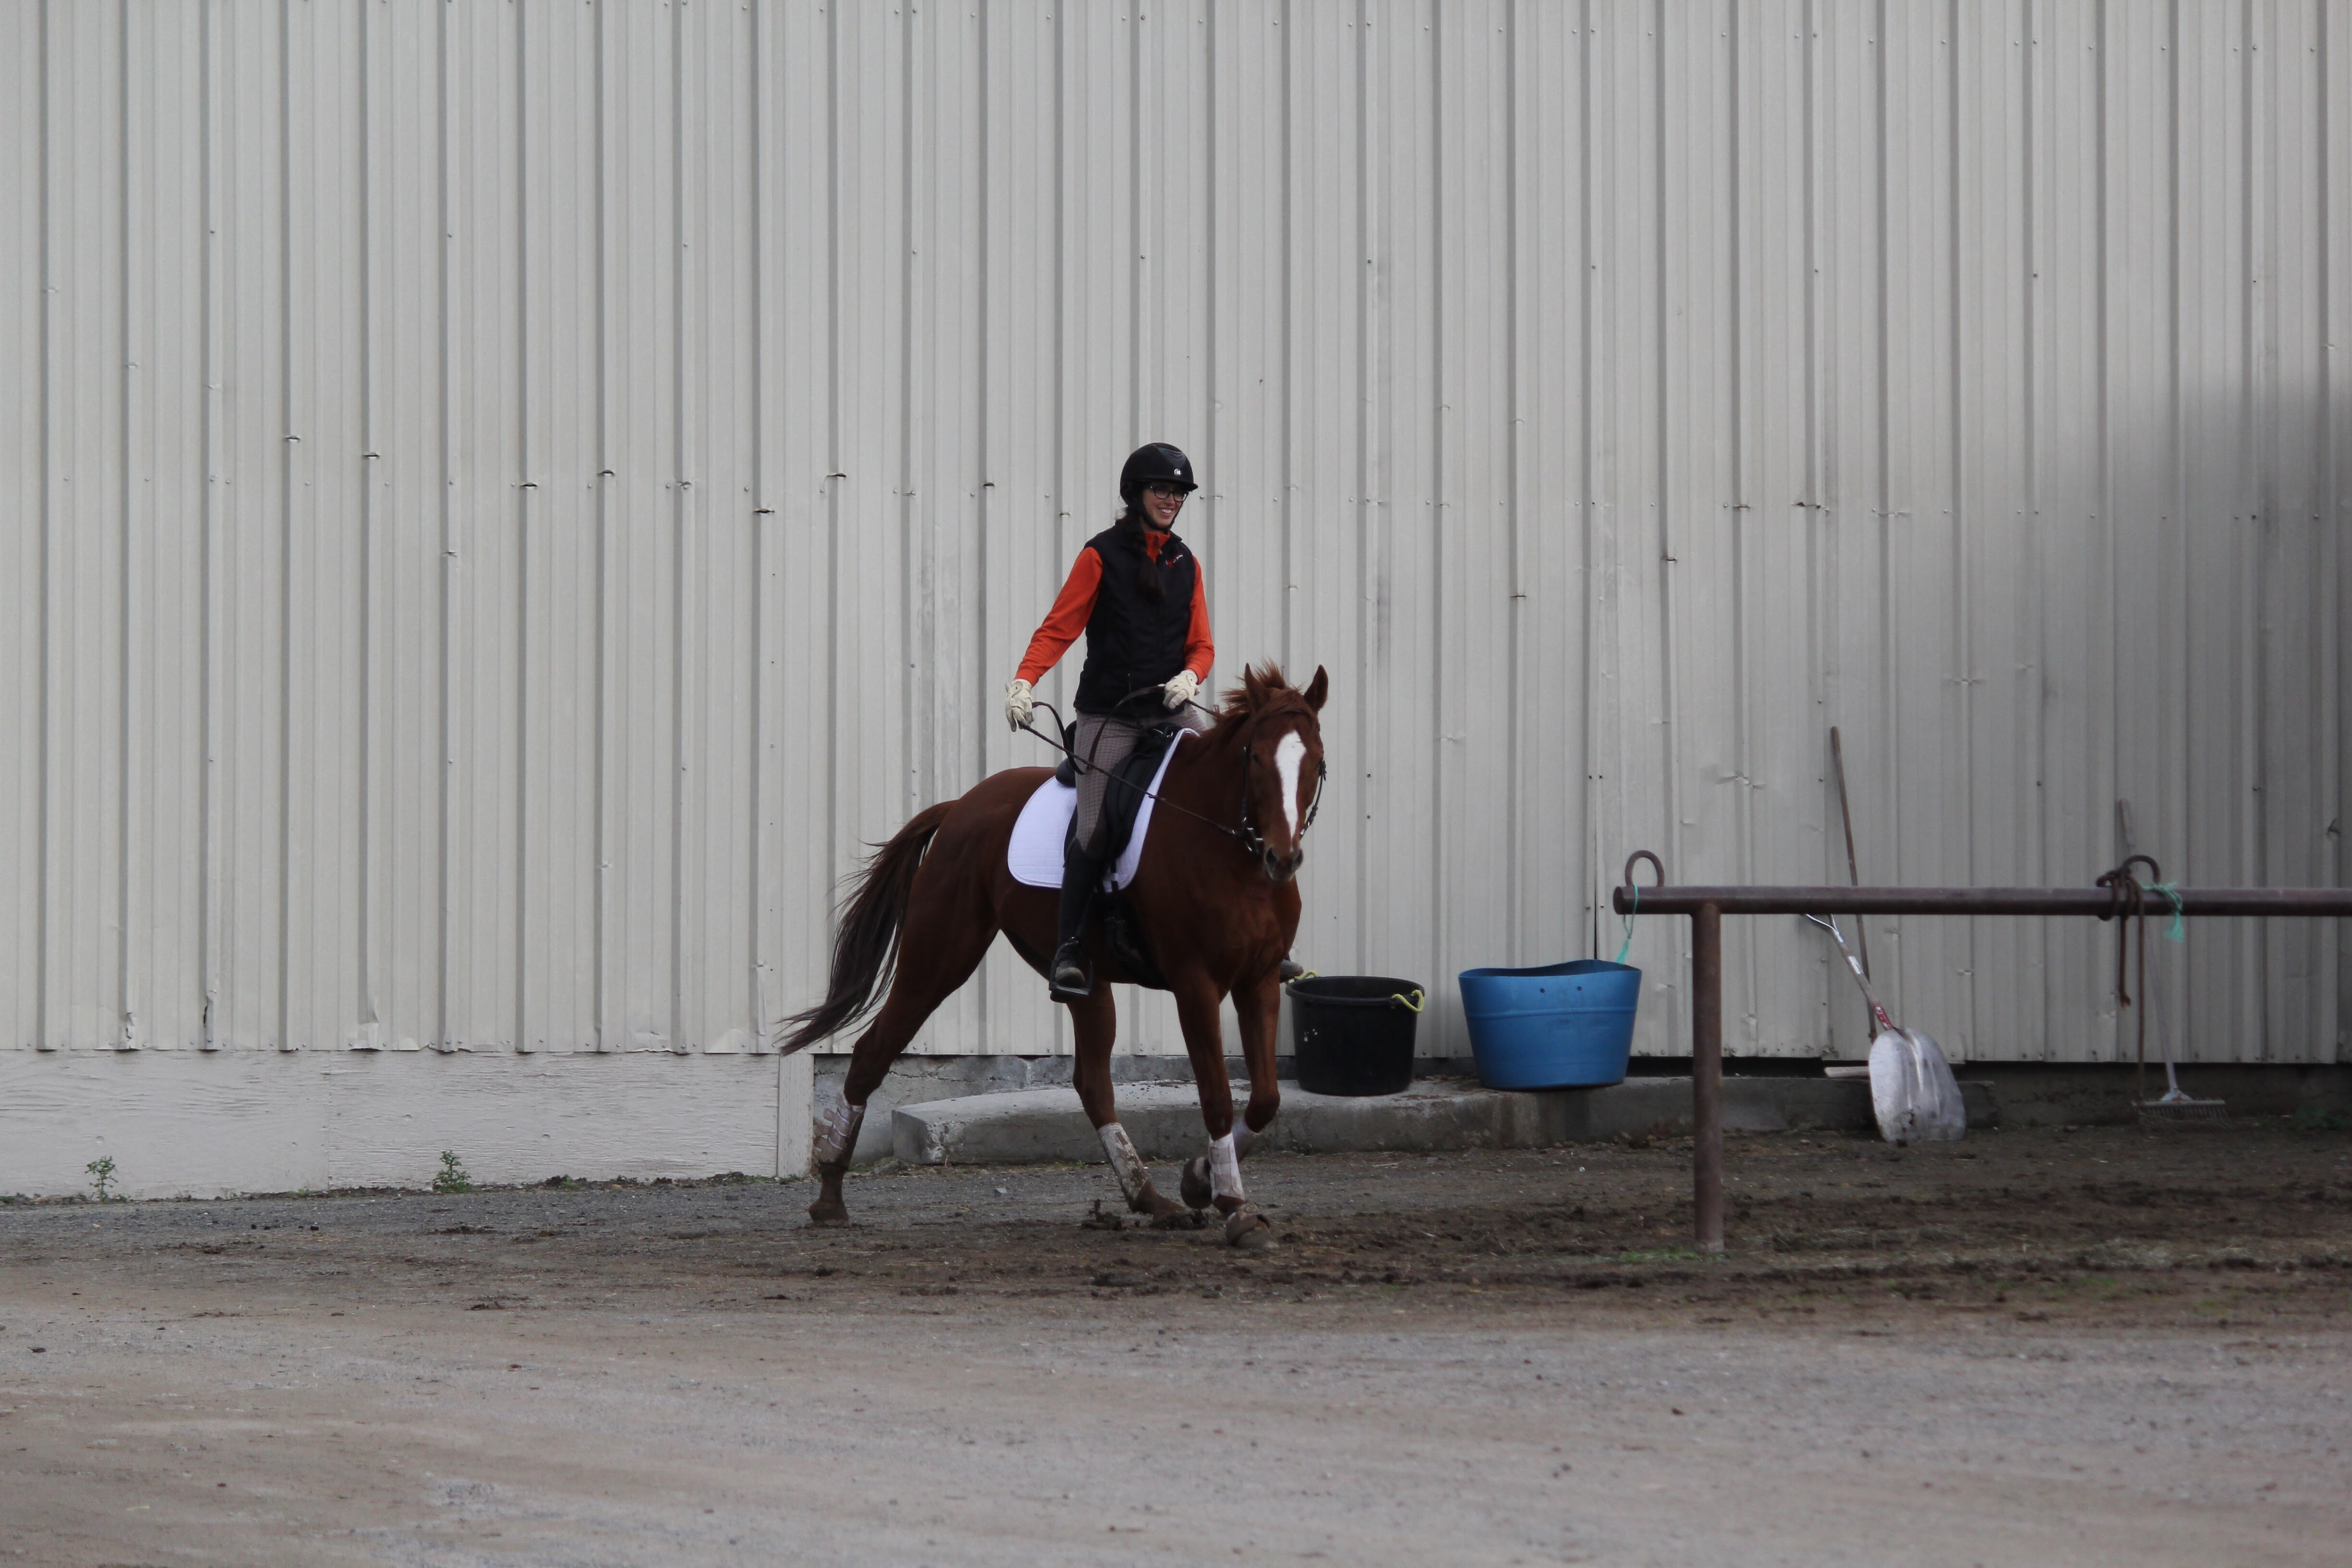
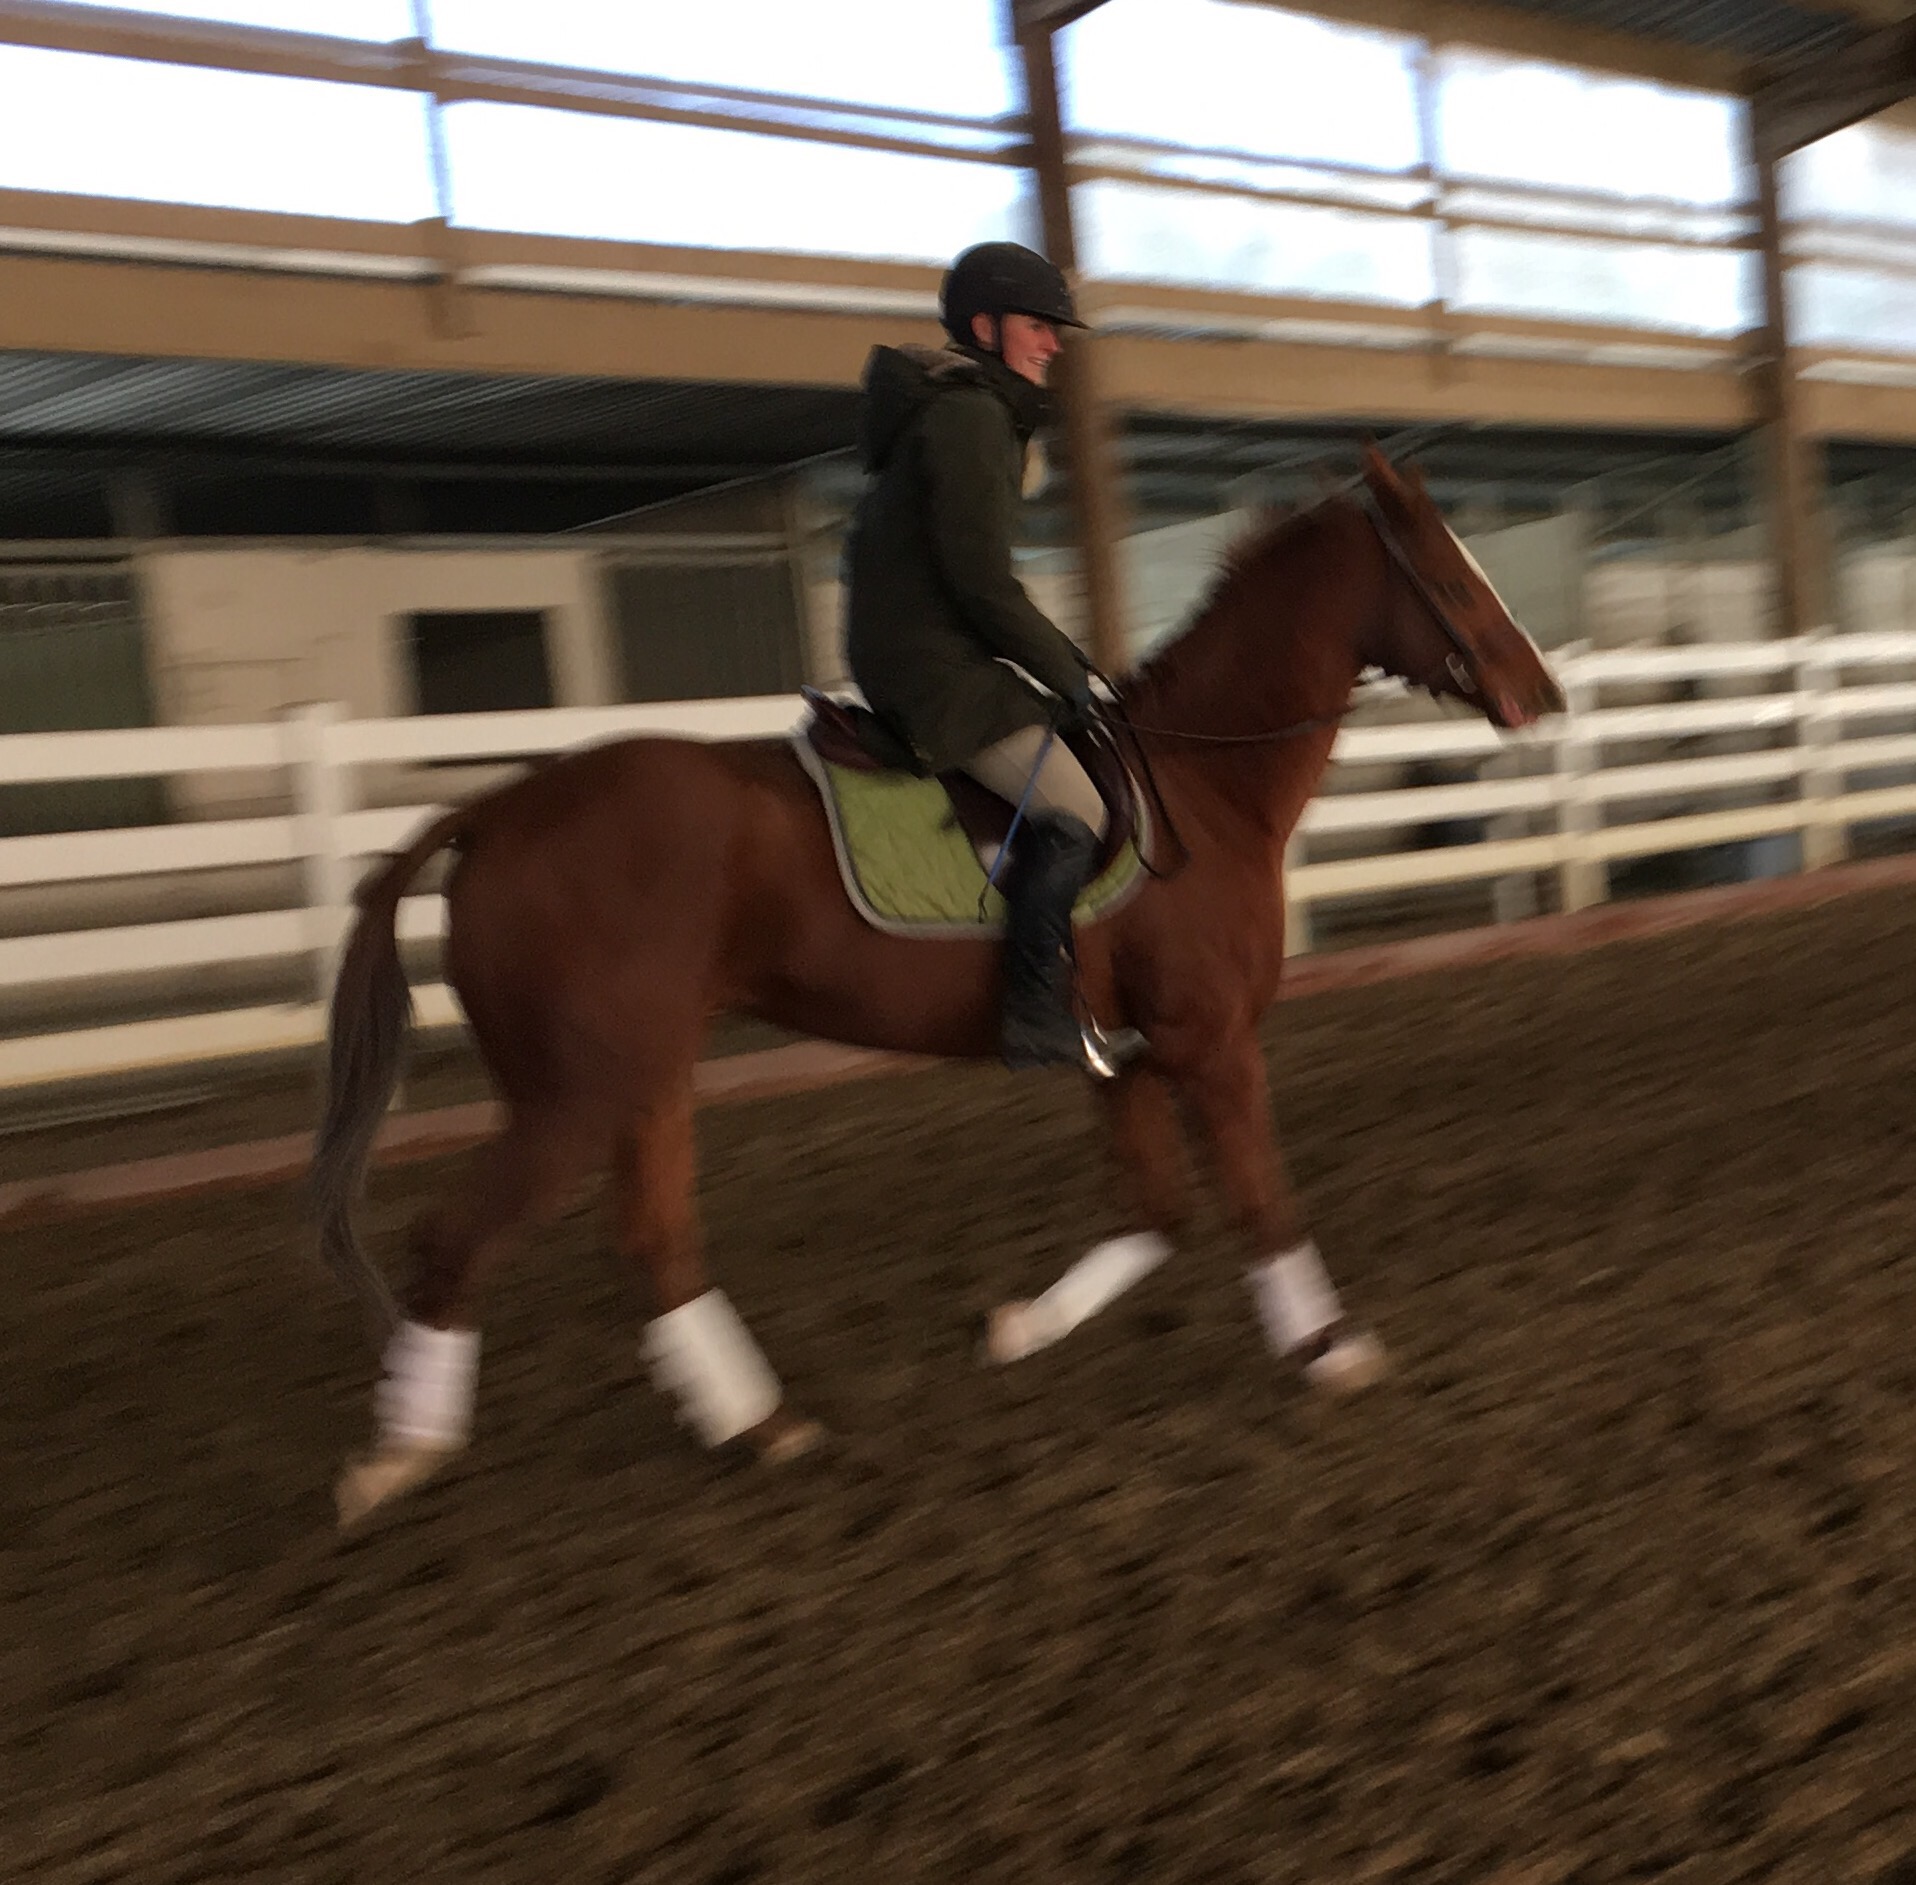
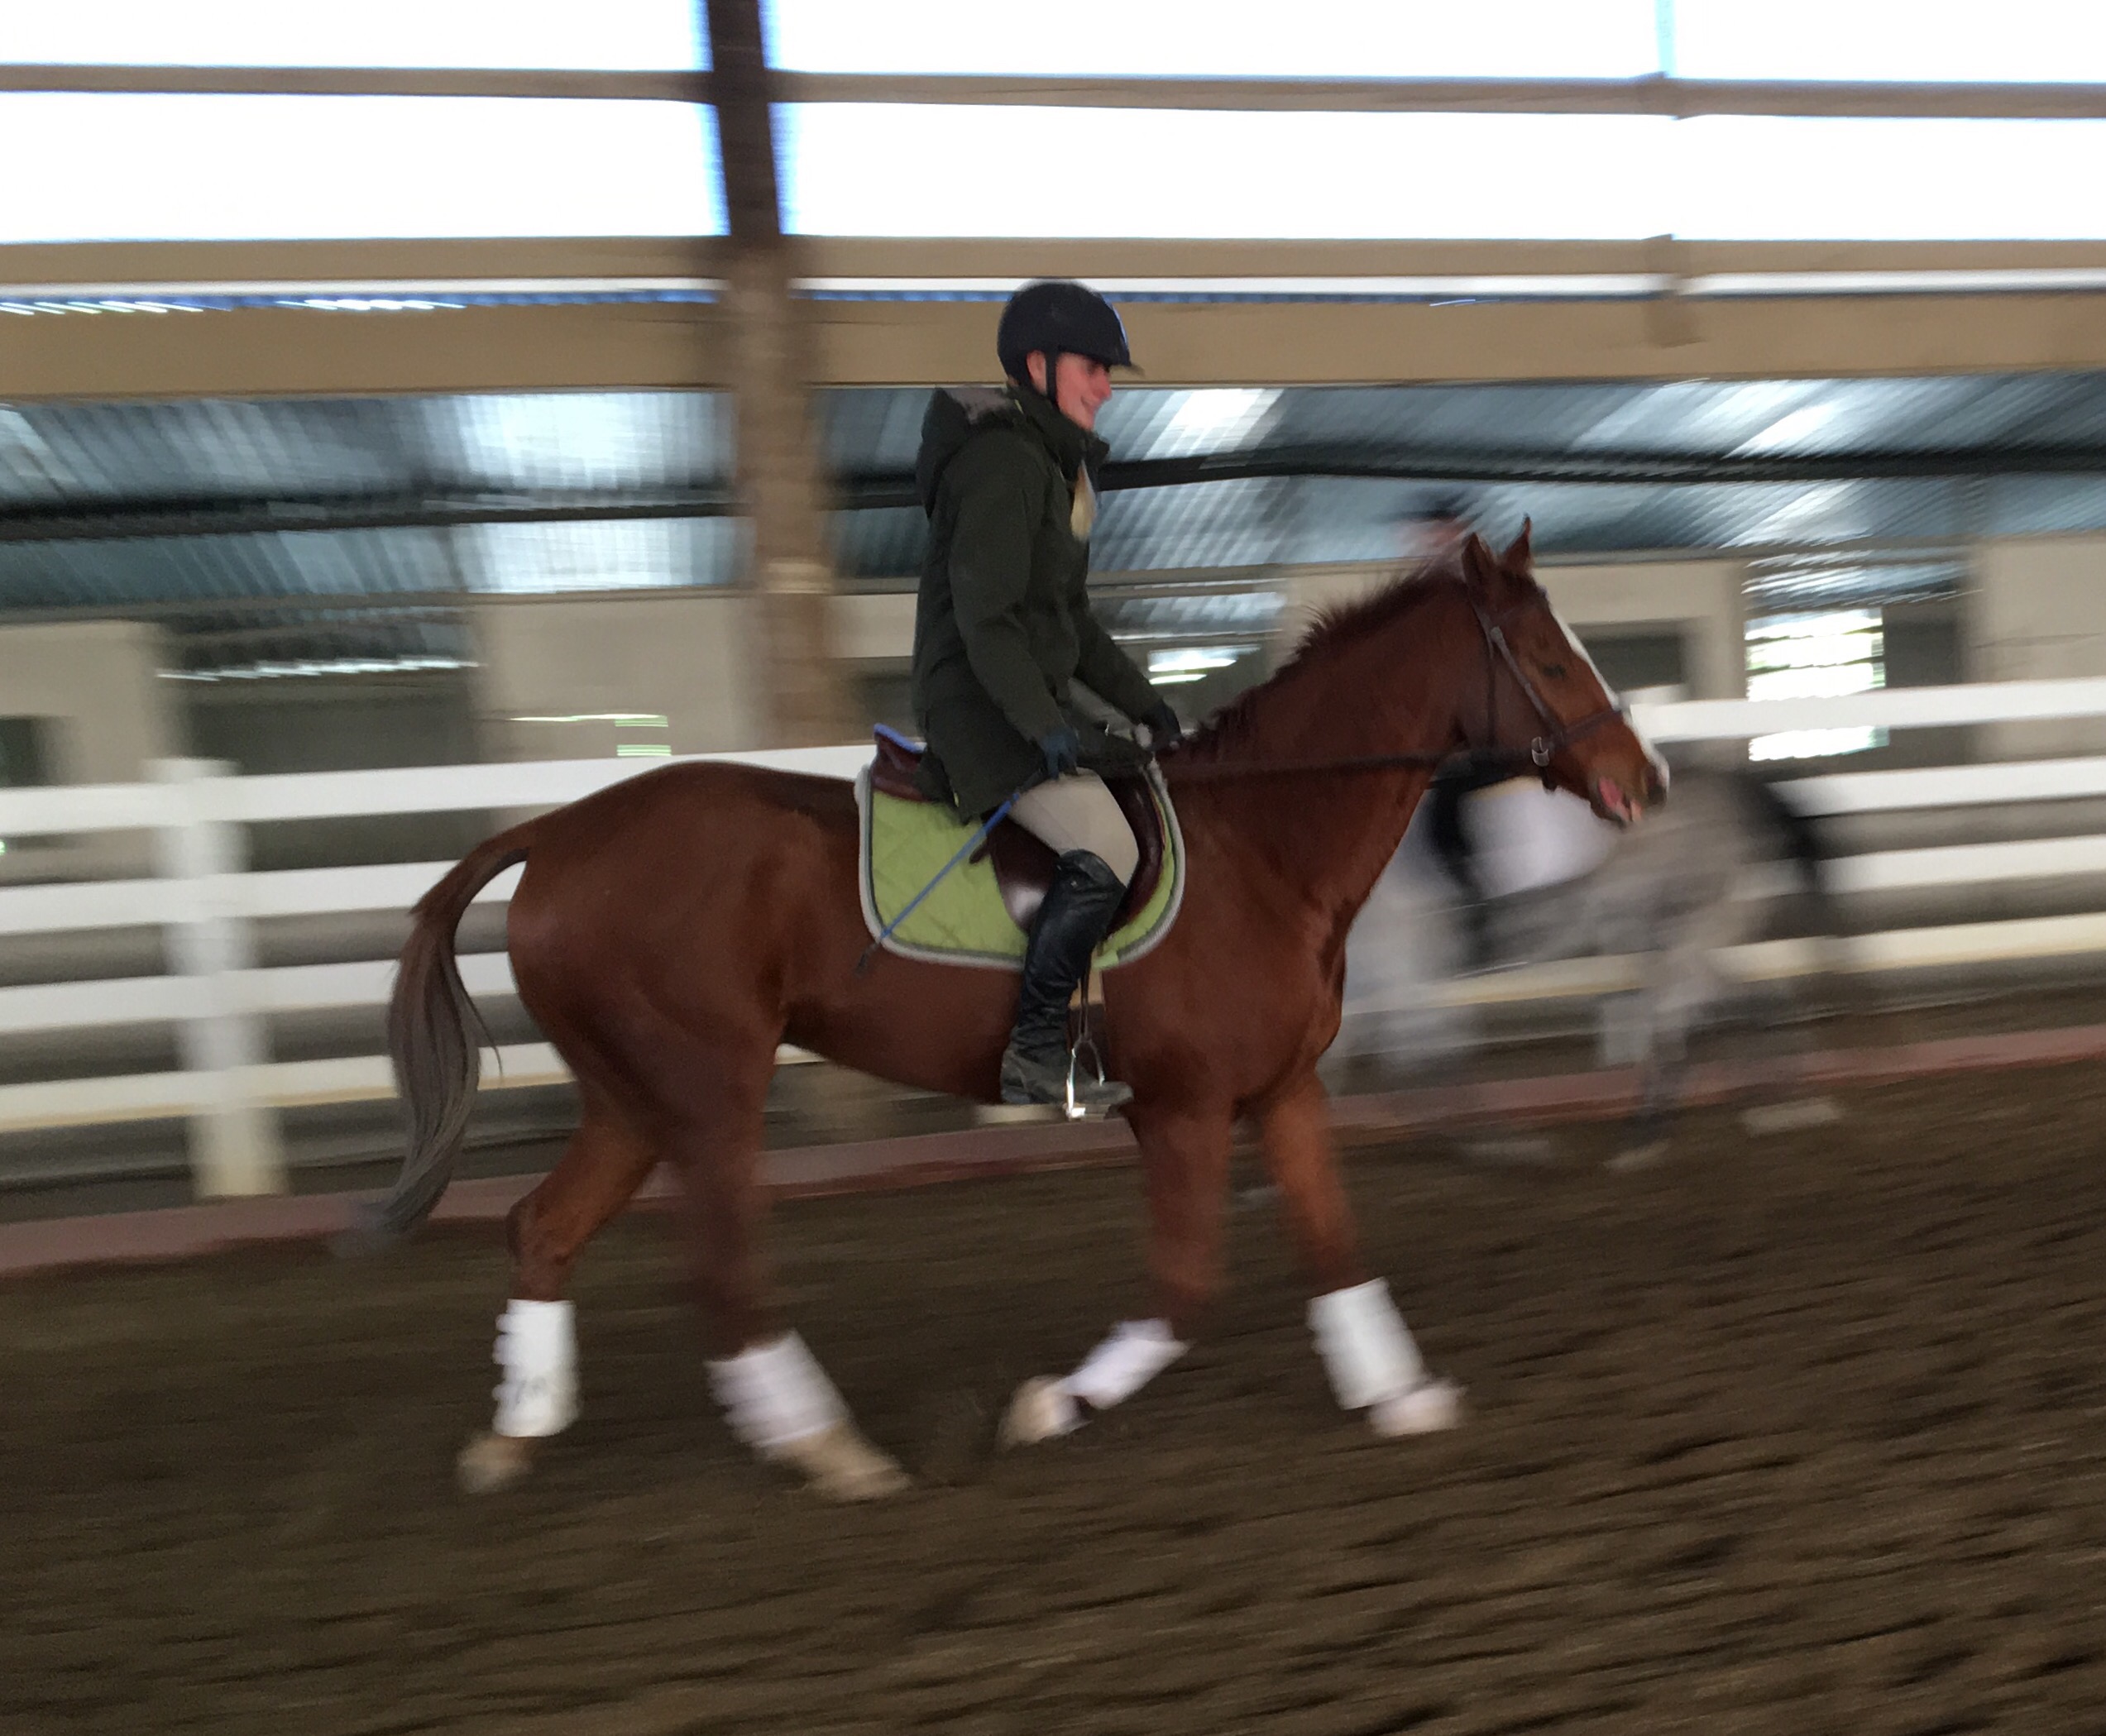
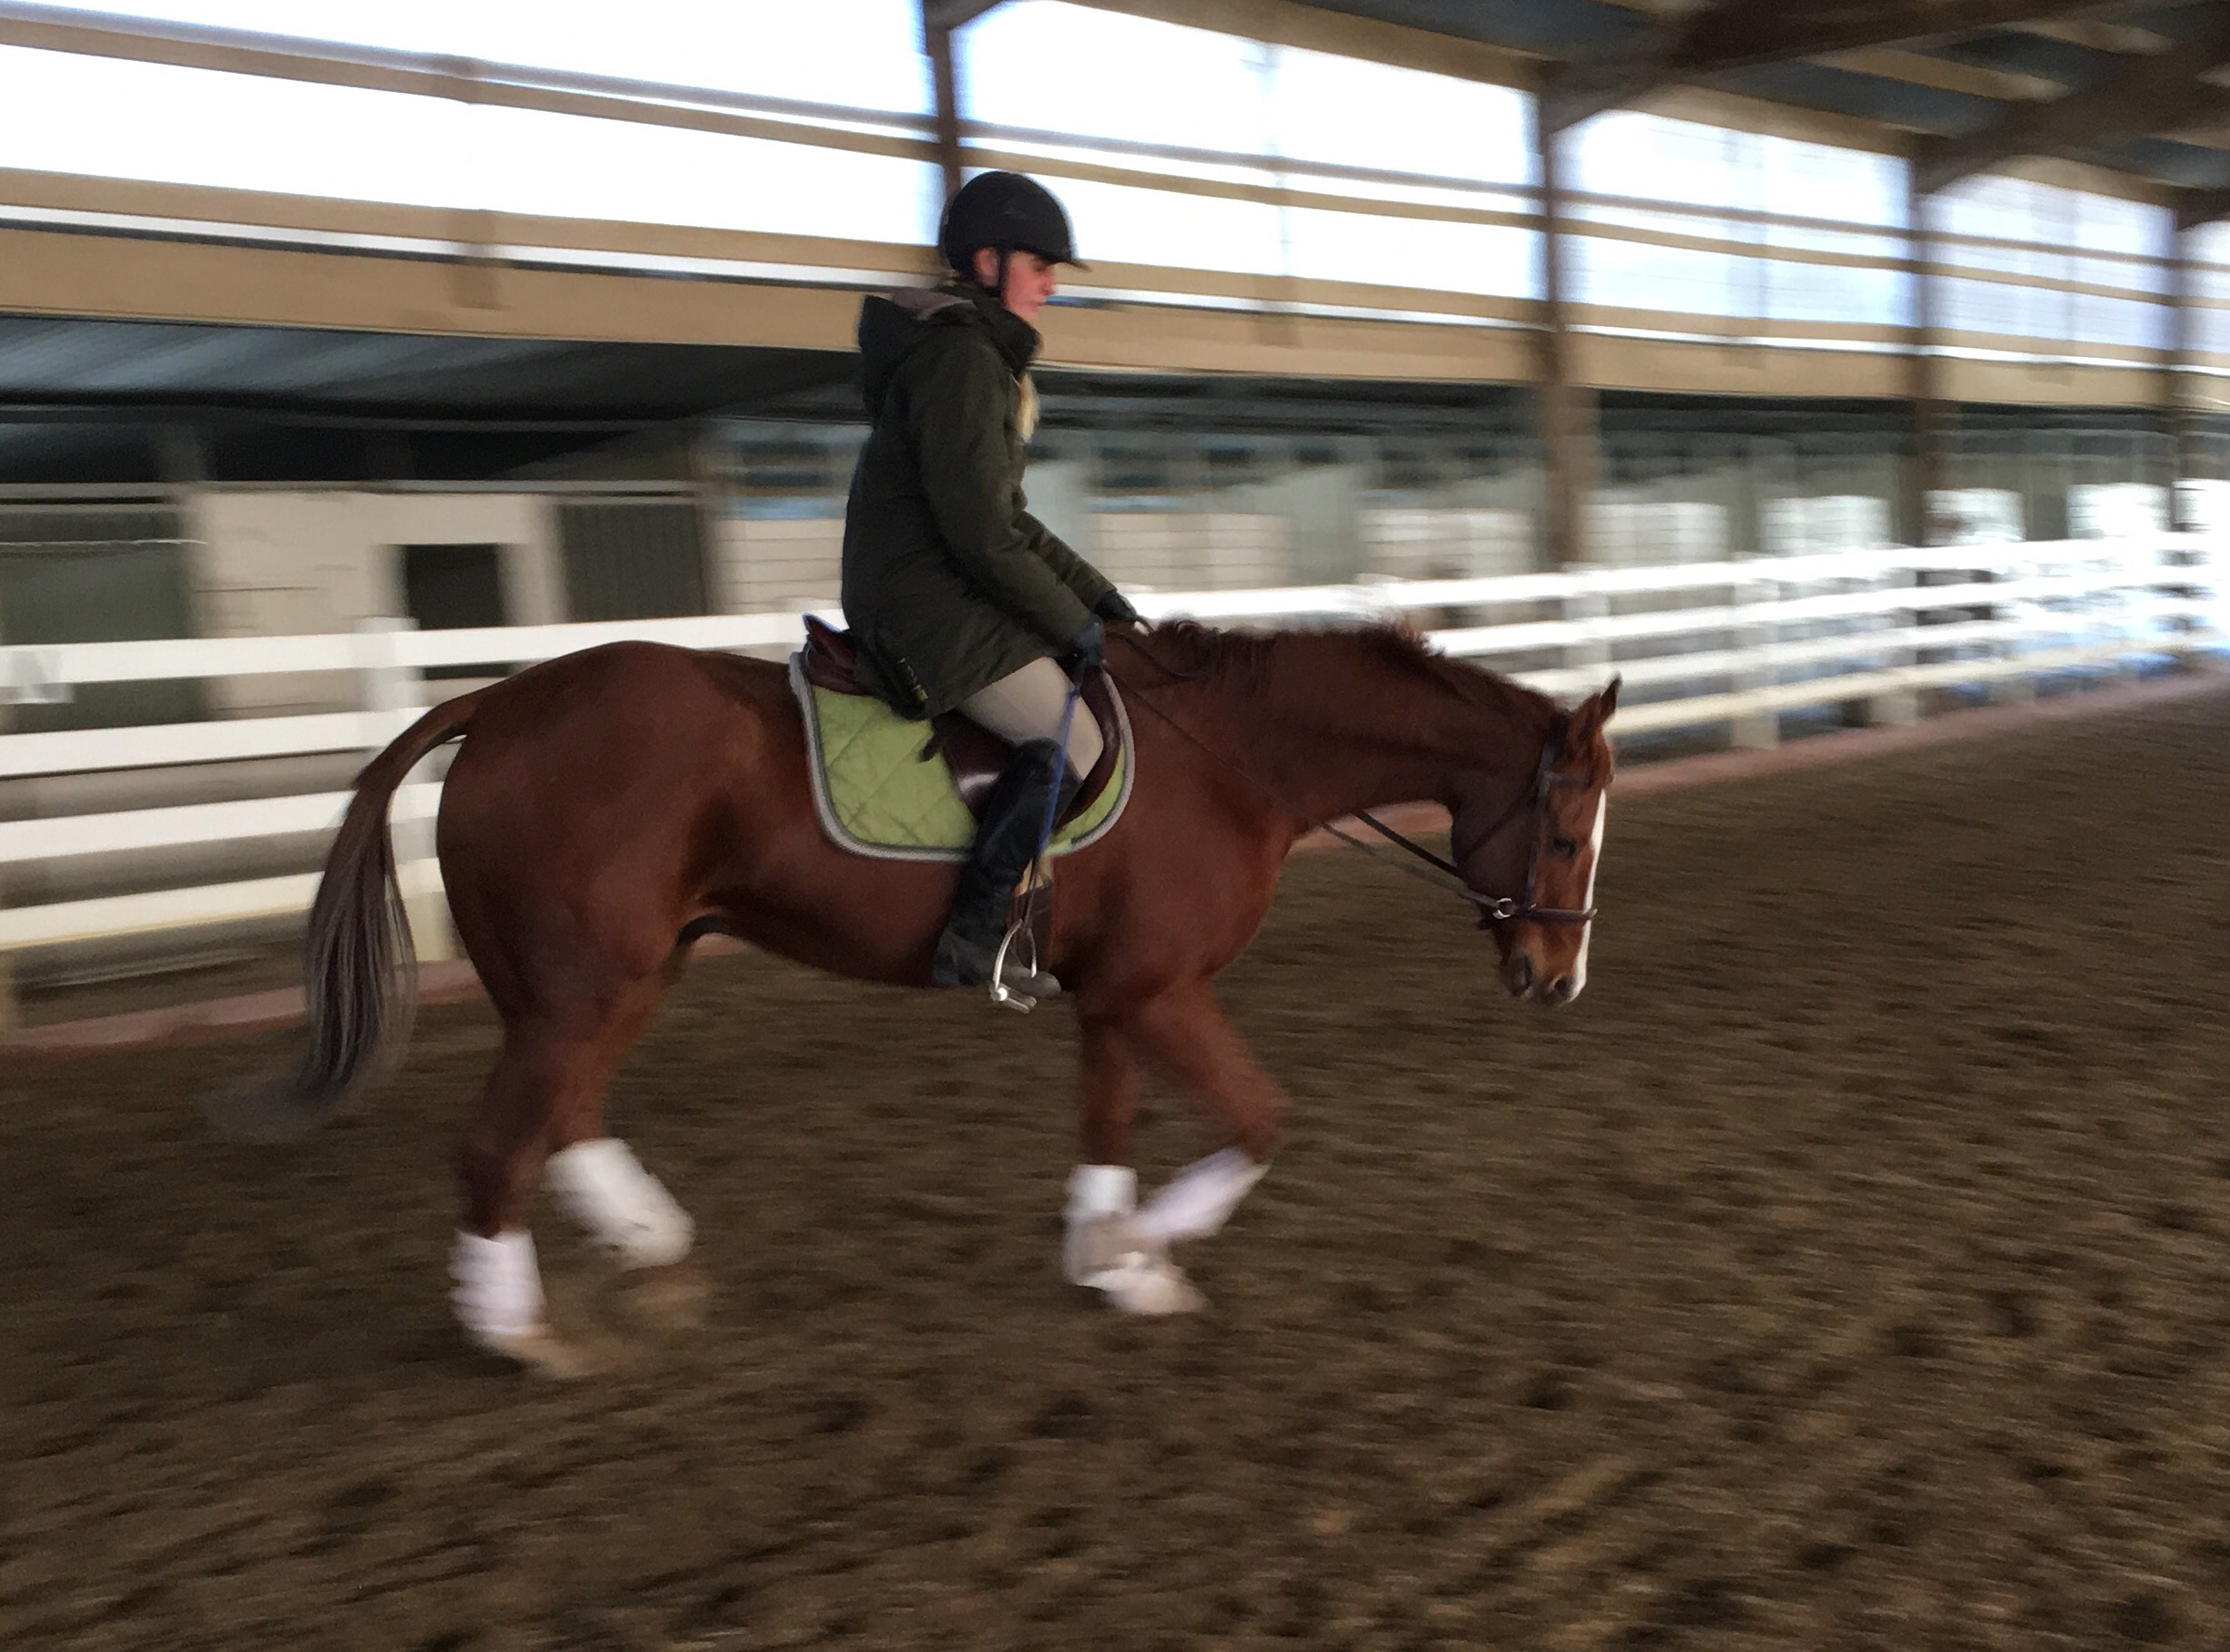
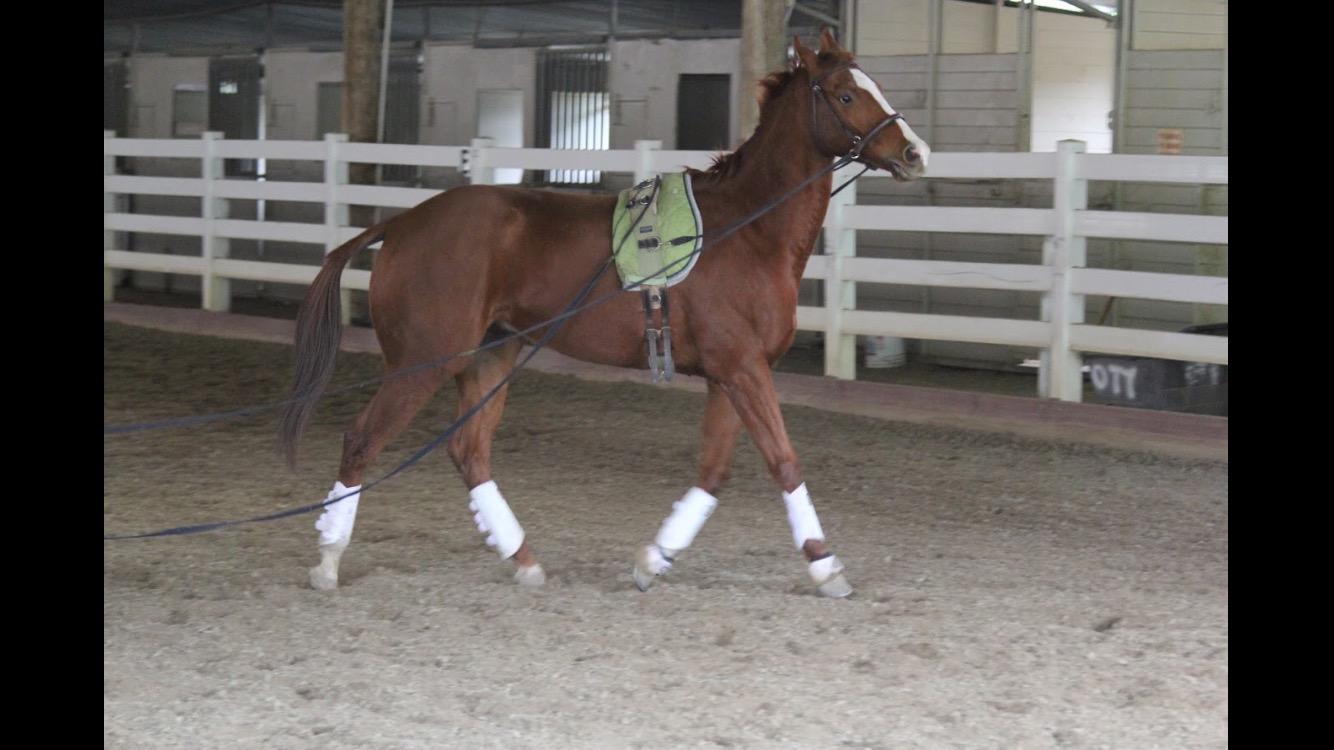
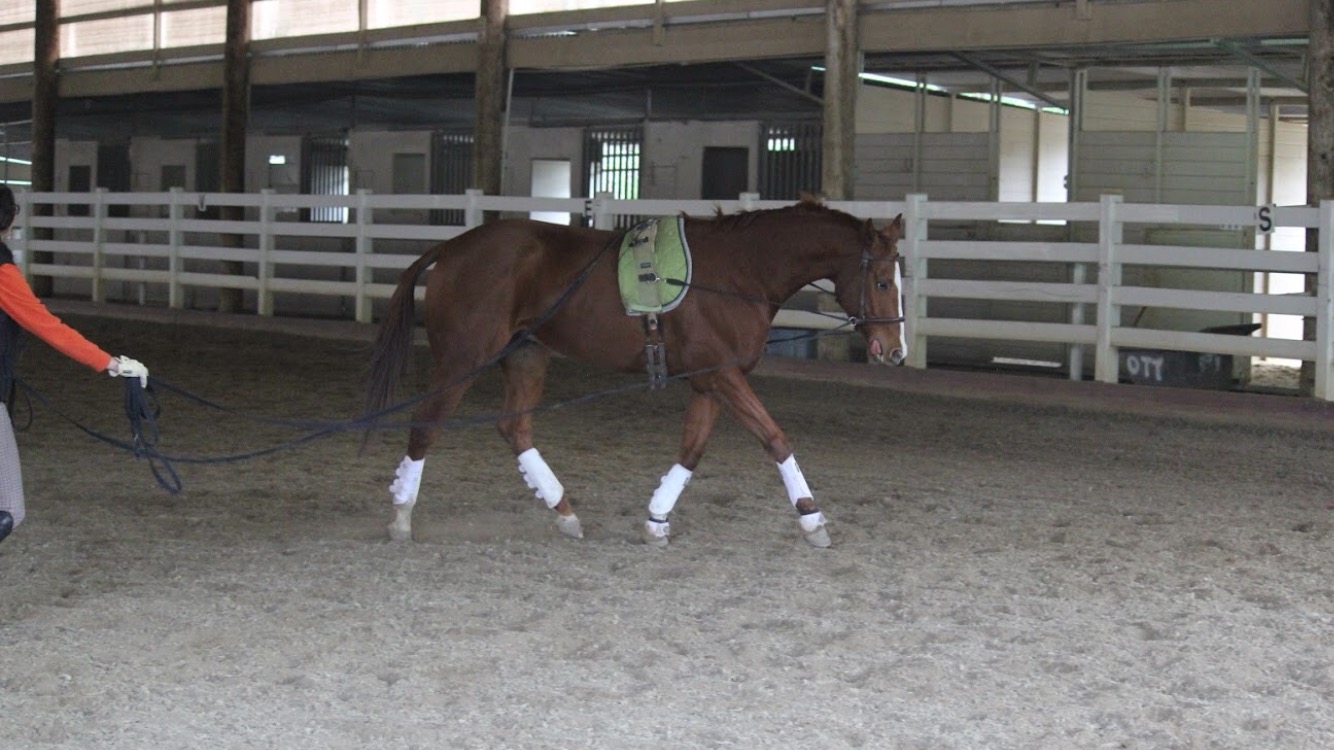
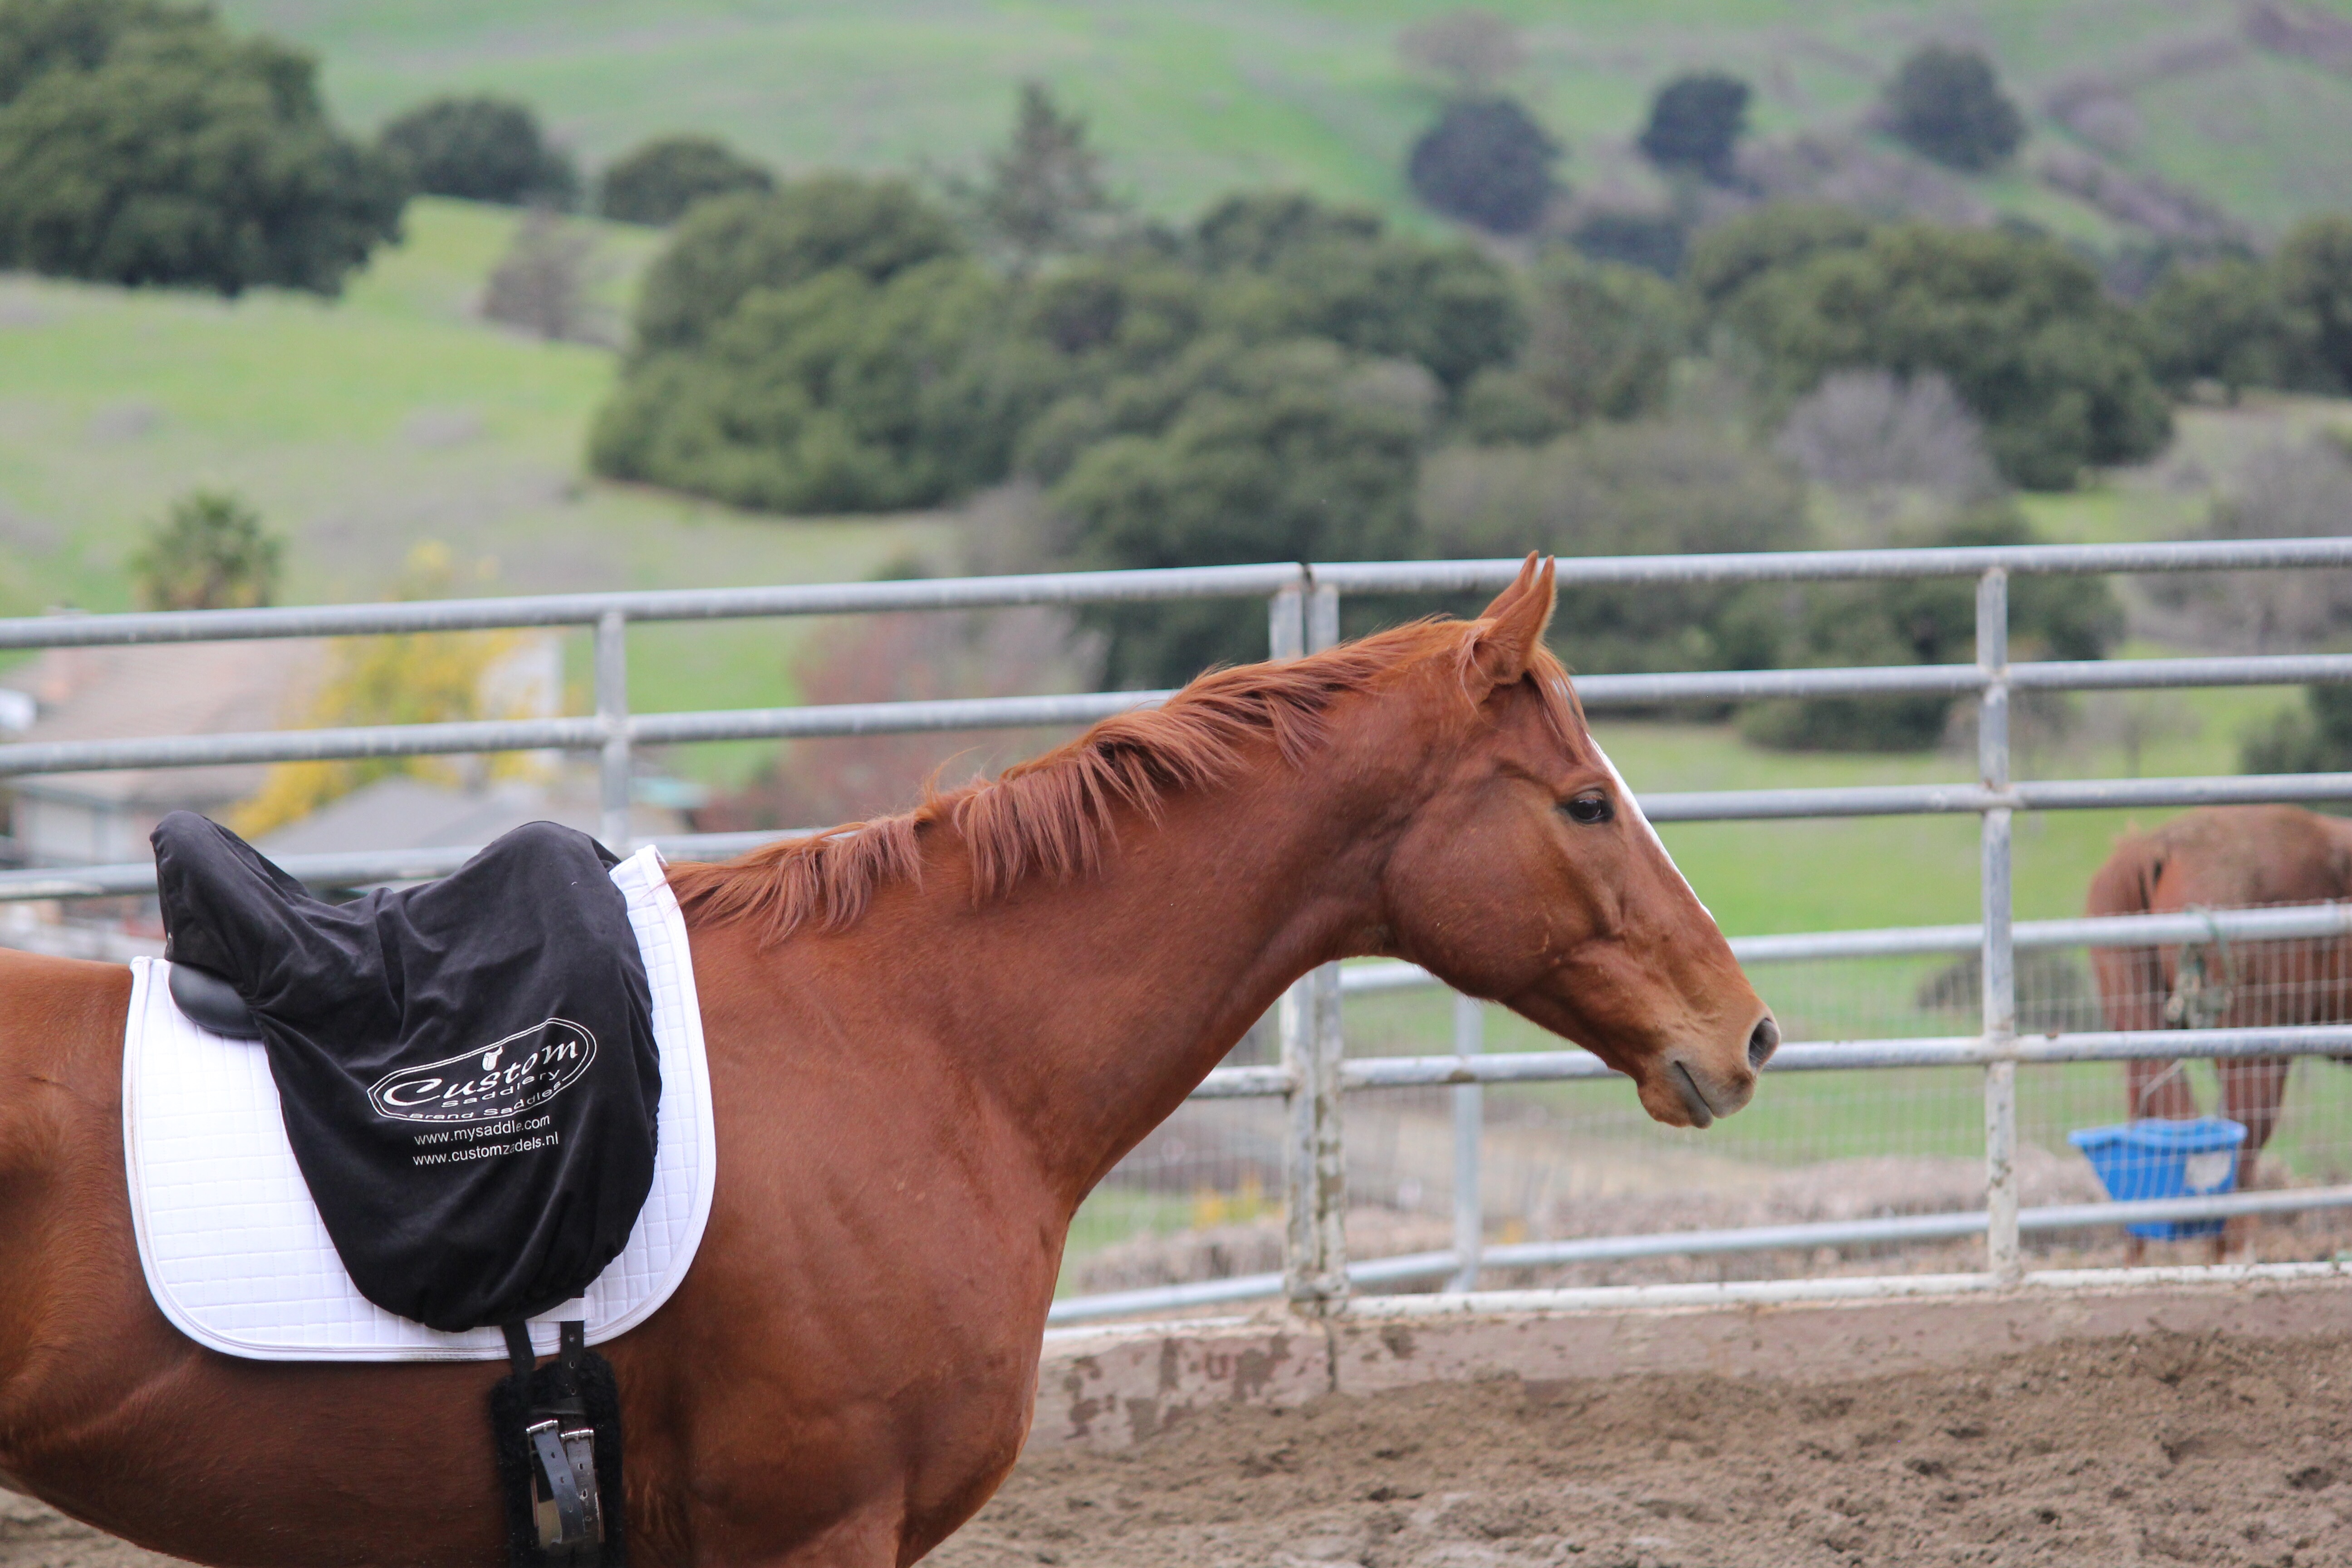
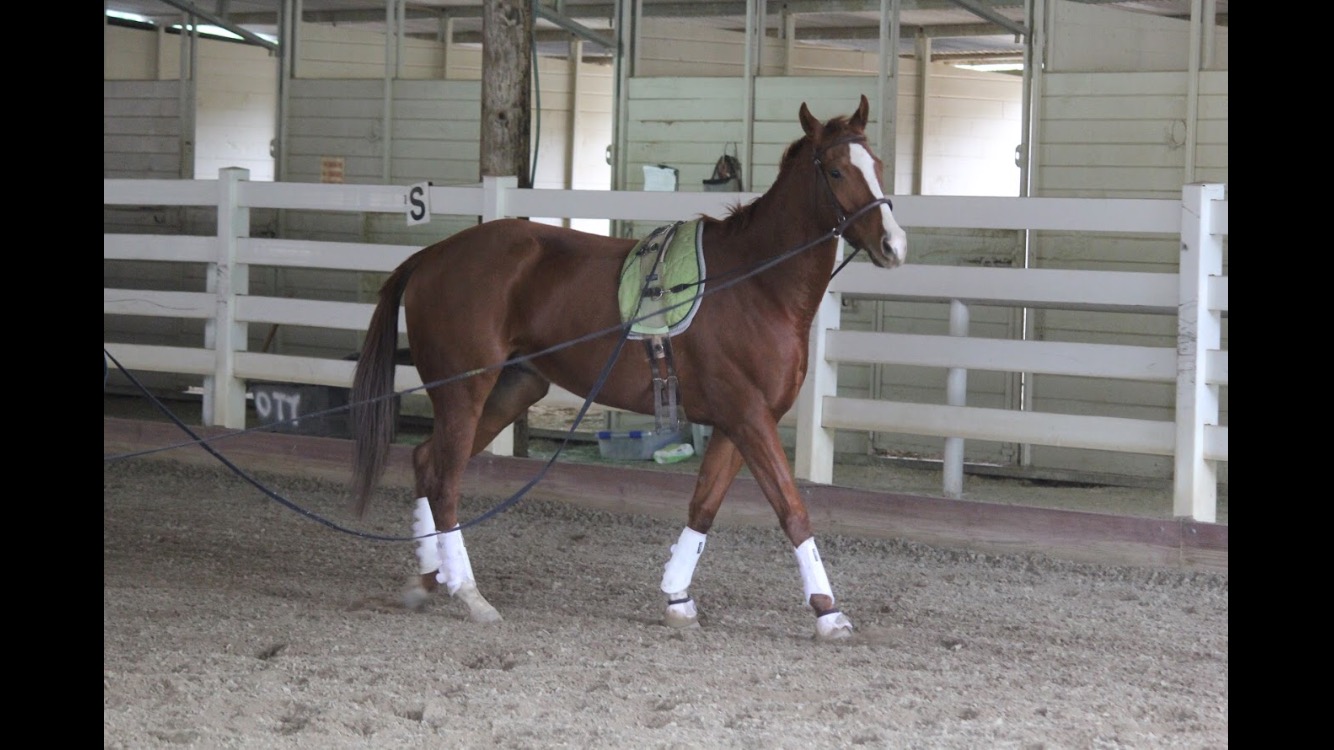
Corny is beginning to experiment by taking his head a bit laterally to yield to the rein pressure Corny’s neck is still constricted, but he’s softened the muscles on the bottom side of his neck Corny has figured out how to stretch down when the inside rein is applied now, but he’s still quite tight in his back muscles Corny has elongated his neck and is moving forward now

Corny is stretching to a light contact with soft back muscles.  This is a good success from when we started the session

Tomorrow’s post will talk about how we take what we achieved on there long lines into a more positive response under saddle.

Teaching a response – Rein Yield

In previous posts, I’ve talked about the rein yield exercise that I’ve been doing with Blue.  The objective of the exercise is for the rider to use one rein to get the horse to move his hind legs laterally. The purpose is to identify and eliminate any areas where the horse is bracing against the cue.  The end result is a horse that understands bending better, and steps under with the inside hind when he feels the inside rein applied.

I’m all for being lazy and getting the horse to do most of the work.  I want the horse to be responsible for himself.  I don’t want to micromanage every part of his body all the time.  

Prior to learning the rein yield, I would use a symphony of aids to get the horse to bend and step under with the inside hind.  I’d probably use my inside rein to flex, an opposing outside rein, and a strong inside leg to get the same result that can be achieved with the rein yield. 

So just like any other training, a proper response can be taught on the ground, then can be converted into an under-saddle cue.

Check out this series of pictures to see the progression of Blue learning the rein yield.

Blue’s first session learning rein yields. He’s bracing against me in many ways.  I’ve taken in the rein and in response he is pulling back on me.  He’s also bracing on his right hind, it is firmly pushing on the ground.

Now he’s got it!  Here you can see that when I picked up the inside rein, he softly turned his head towards me and immediately stepped under with the inside hind.  In the next moment he will step out with the outside hind.  Good boy!

First session doing rein yields under saddle.  He understands the cue already, so he turned his head and stepped over with his hind legs.  However, some of his bracing in his mouth had returned, he’s opening his mouth some to avoid the pressure on the bit instead of yielding to it immediately.  With practice and good timing this bracing will go away.

A horse in any stage of training can learn the rein yield.  When I’m in the saddle, I make sure that I take my rein yielding hand up and away from the horse’s neck.  This helps to differentiate the cue for rein yield and the cue for flexion at the poll.  While the rein yield is easiest to see at the halter, it is helpful in all gaits as soon as the horse understands the cue.

An update on Blue

Olympic Blue is one of the horses I’m taking to next year’s Thoroughbred Makeover Competition in Kentucky.  He’s now been in training with me for 6 weeks, here is an update on his training.

I’m very pleased with the progress that Blue is making.  He’s beginning to see me as a partner and less as his competition.  While he still has many moments of flipping me the middle hoof, they are less sneaky and subside quicker.

Check out this video of our latest round pen session .  While I’m by no means an expert in round penning techniques, I was able to accomplish many goals in this session.  Blue was honest with me about his emotions, and began to turn towards me instead of away from me.  He easily changed directions, and we ended up doing it calmly by the end.  We had been in the round pen for 15 minutes or so prior to this video, and by the end of the video he was with me enough to ride.

Blue’s focus is on me

So I got on, and worked on some of the rein yielding exercises that I did in my groundwork lesson with Ellen Eckstein.  Only now, I was cueing him from the saddle.  After we got a handle on those, I thought it would be good to go for our first trot.  However, someone had turned their fresh horse out in the adjoining round pen, and that was too much distraction for us.

So I headed into the arena, no luck there either.  There were two horses in there, one in the middle of a sprawling ground lesson, and the other galloping on the end of a longe line with her tail over her back.

So I took to plan C for my first trot with Blue… The parking lot.  We’ve had rain recently, and the edges of where I was riding were a bit softer.

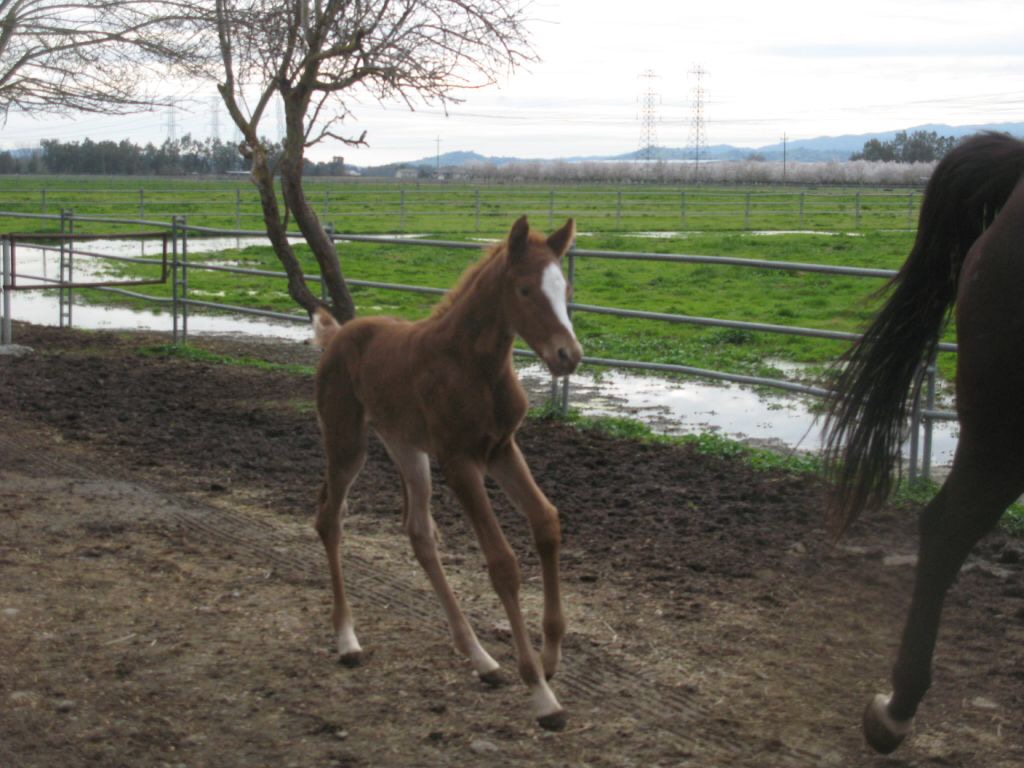
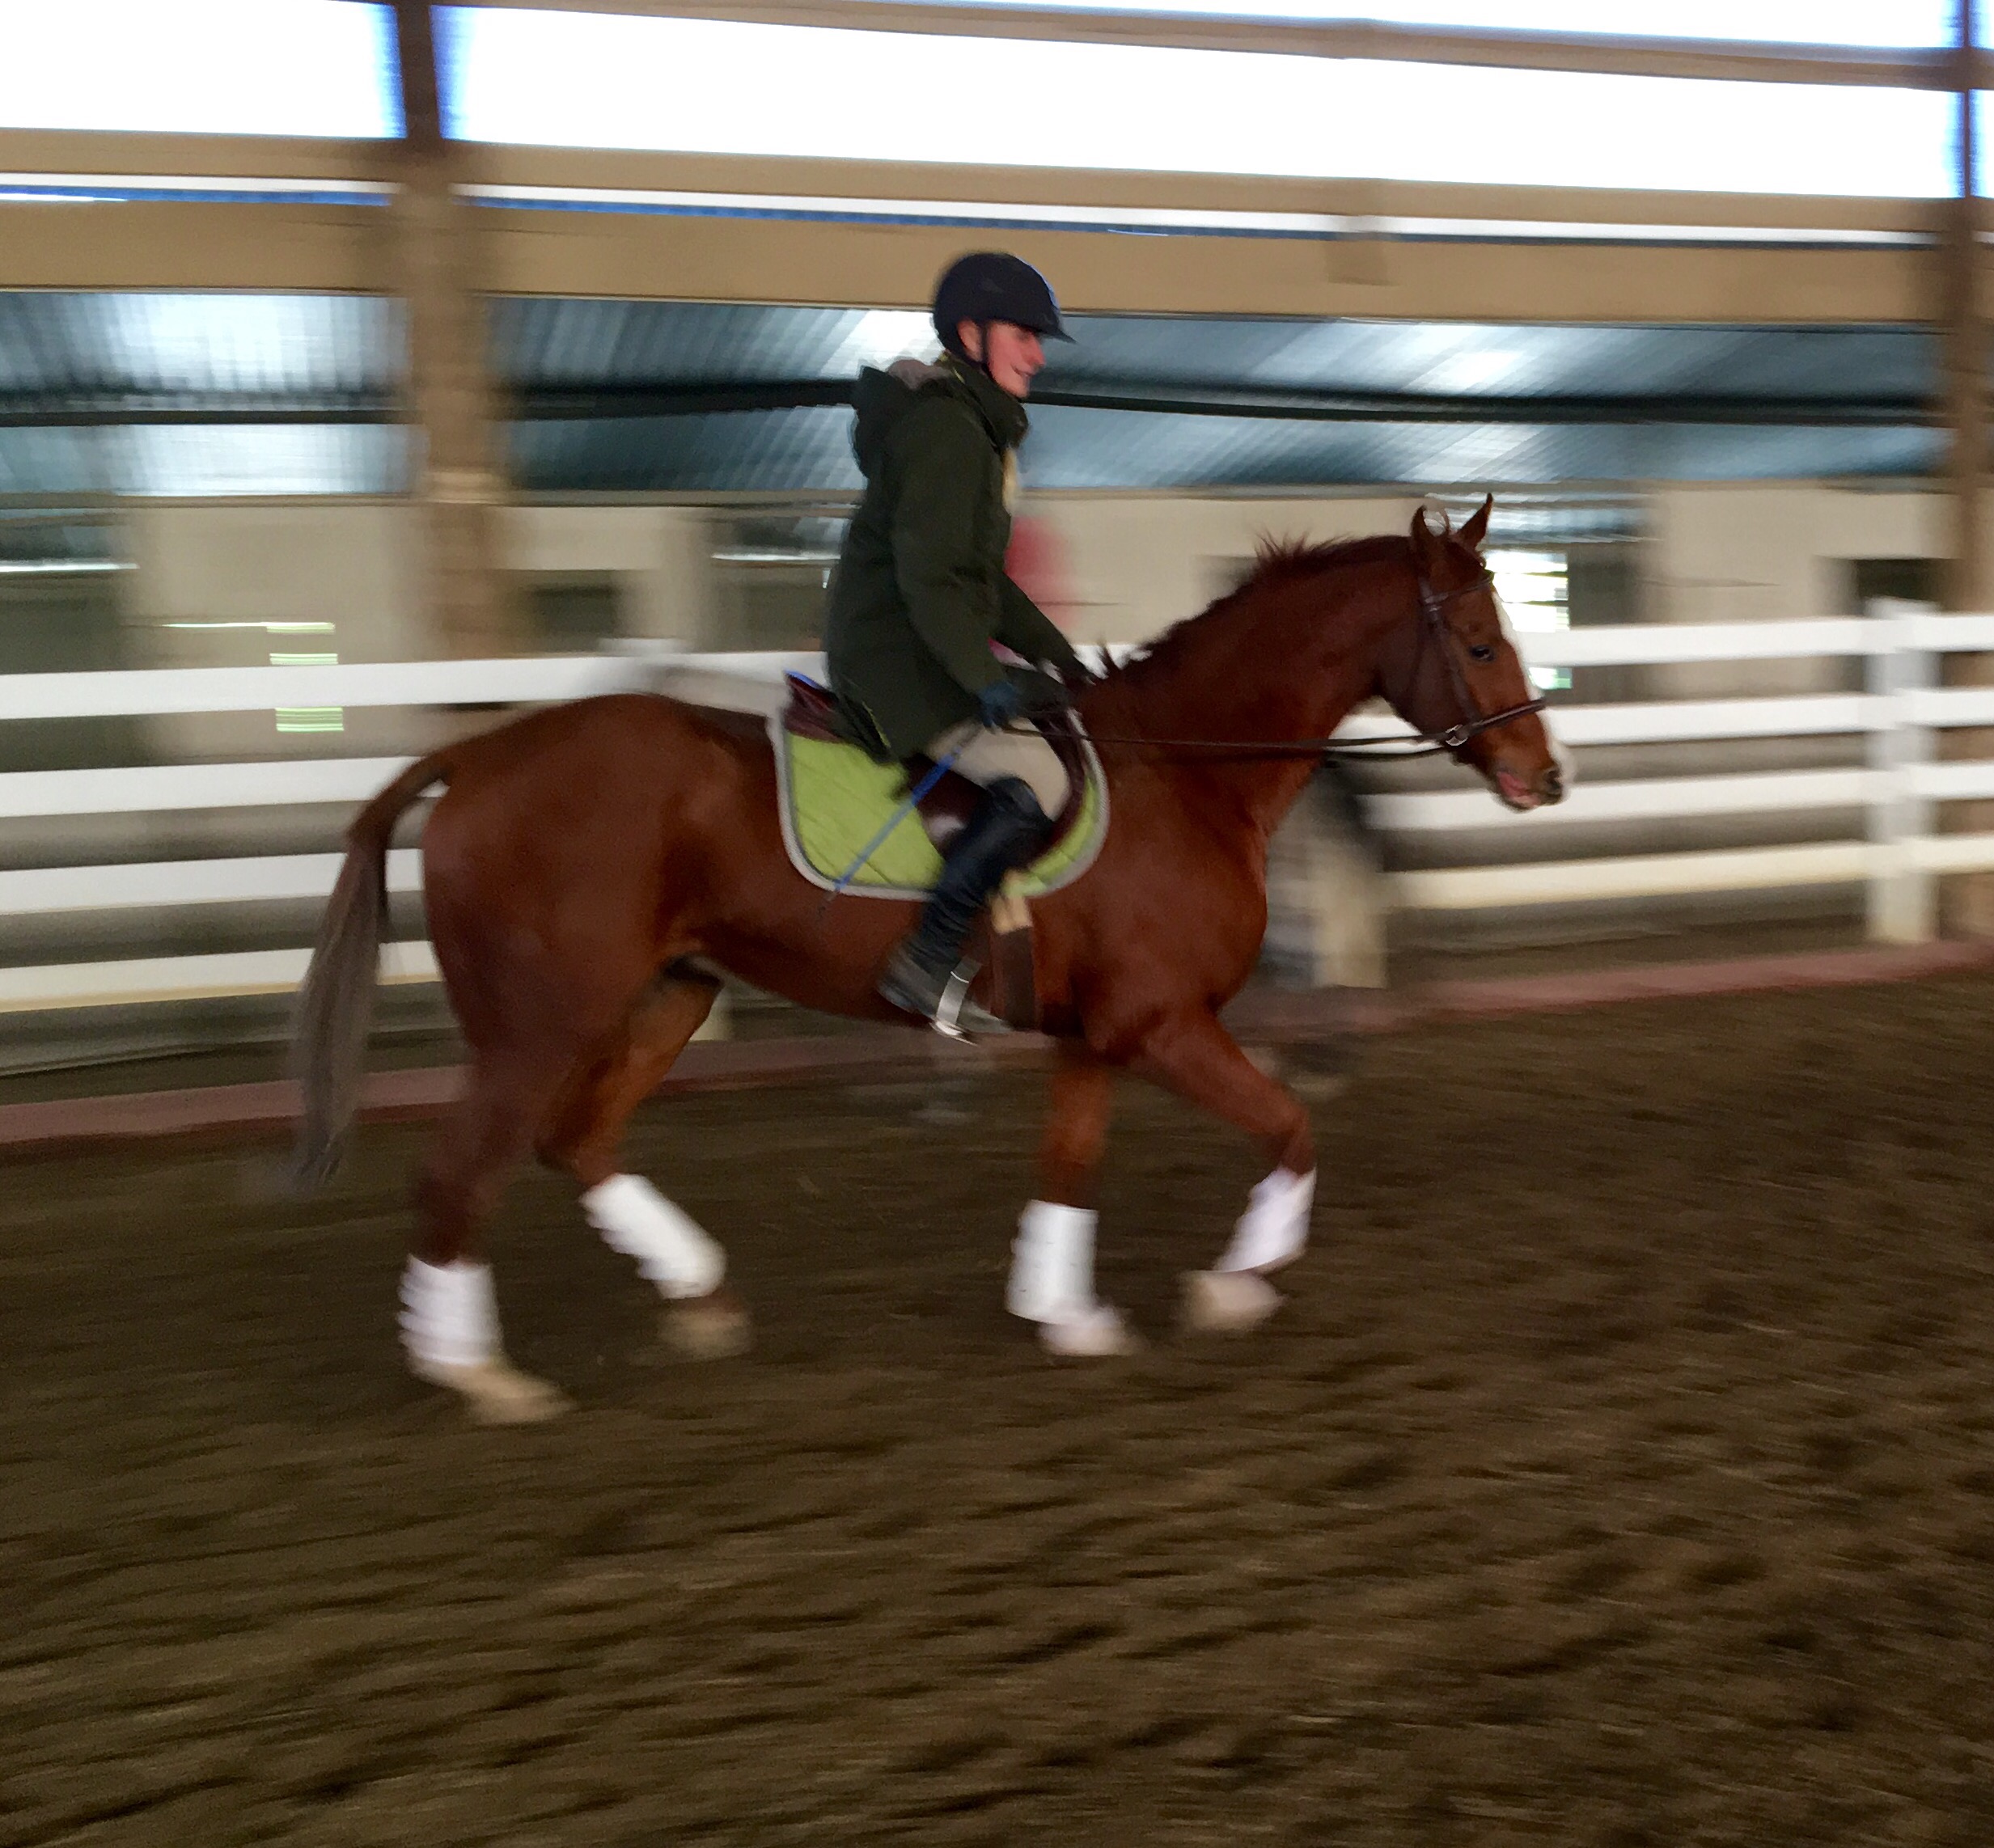
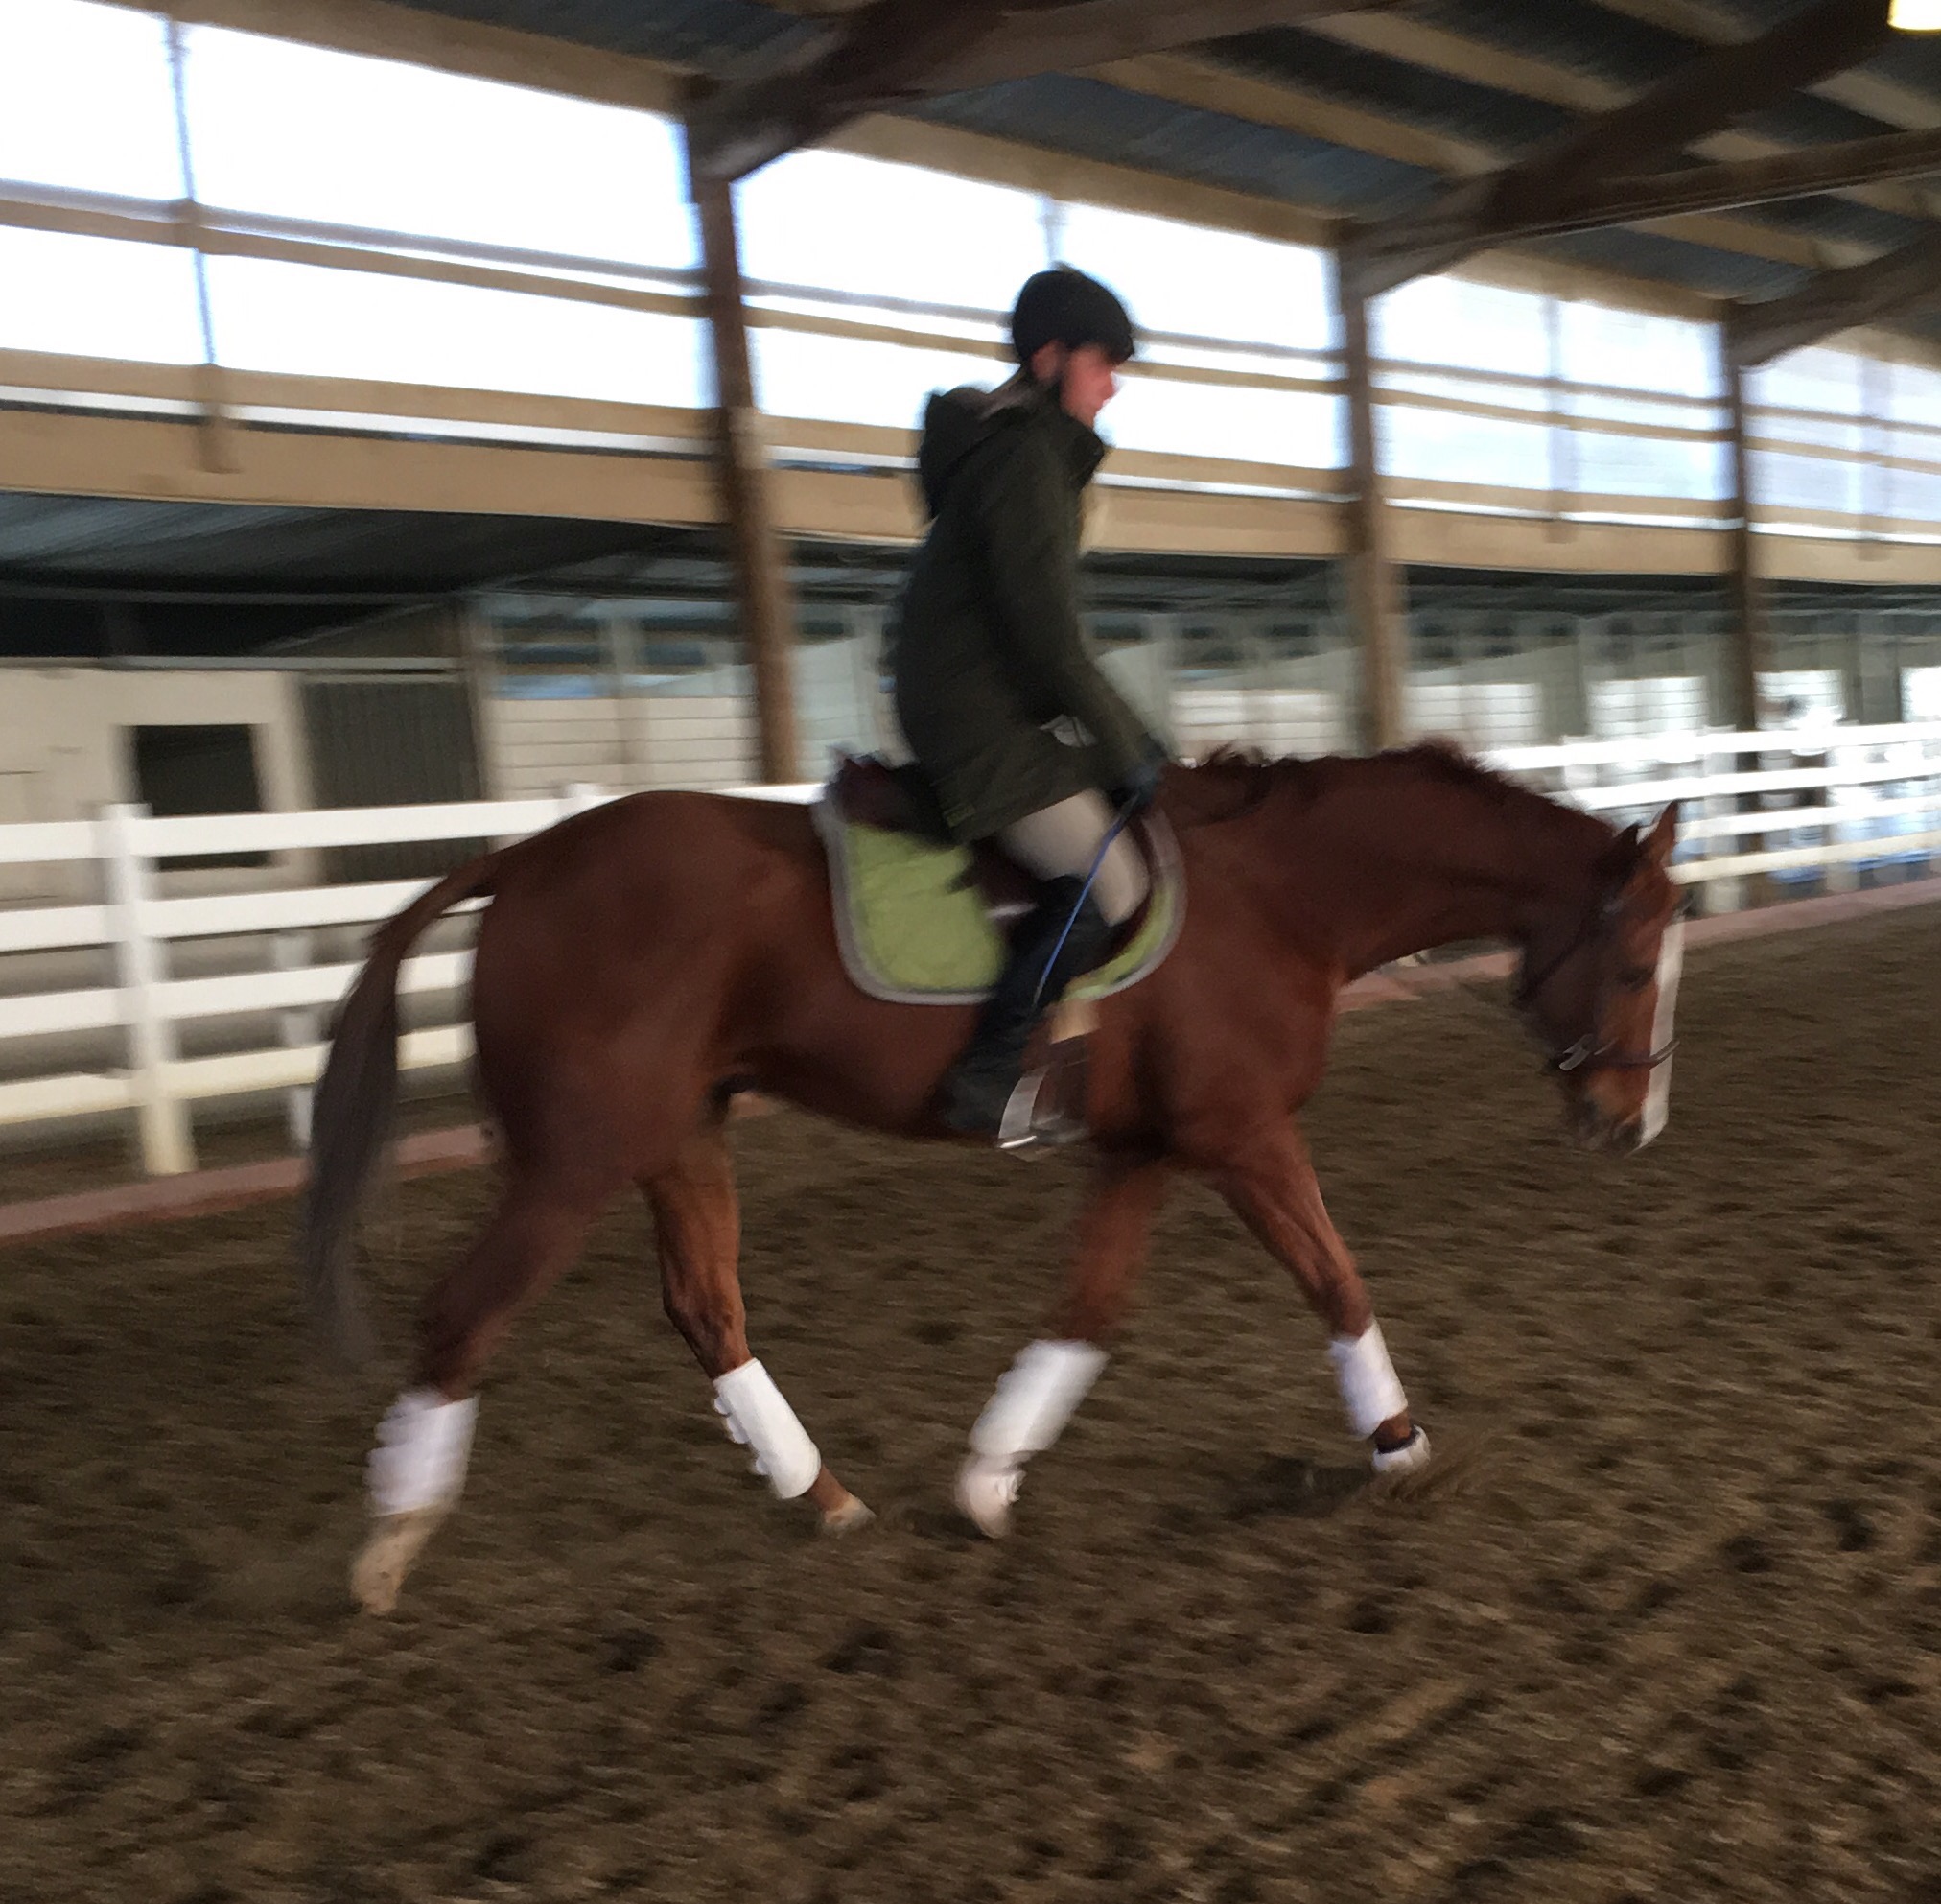
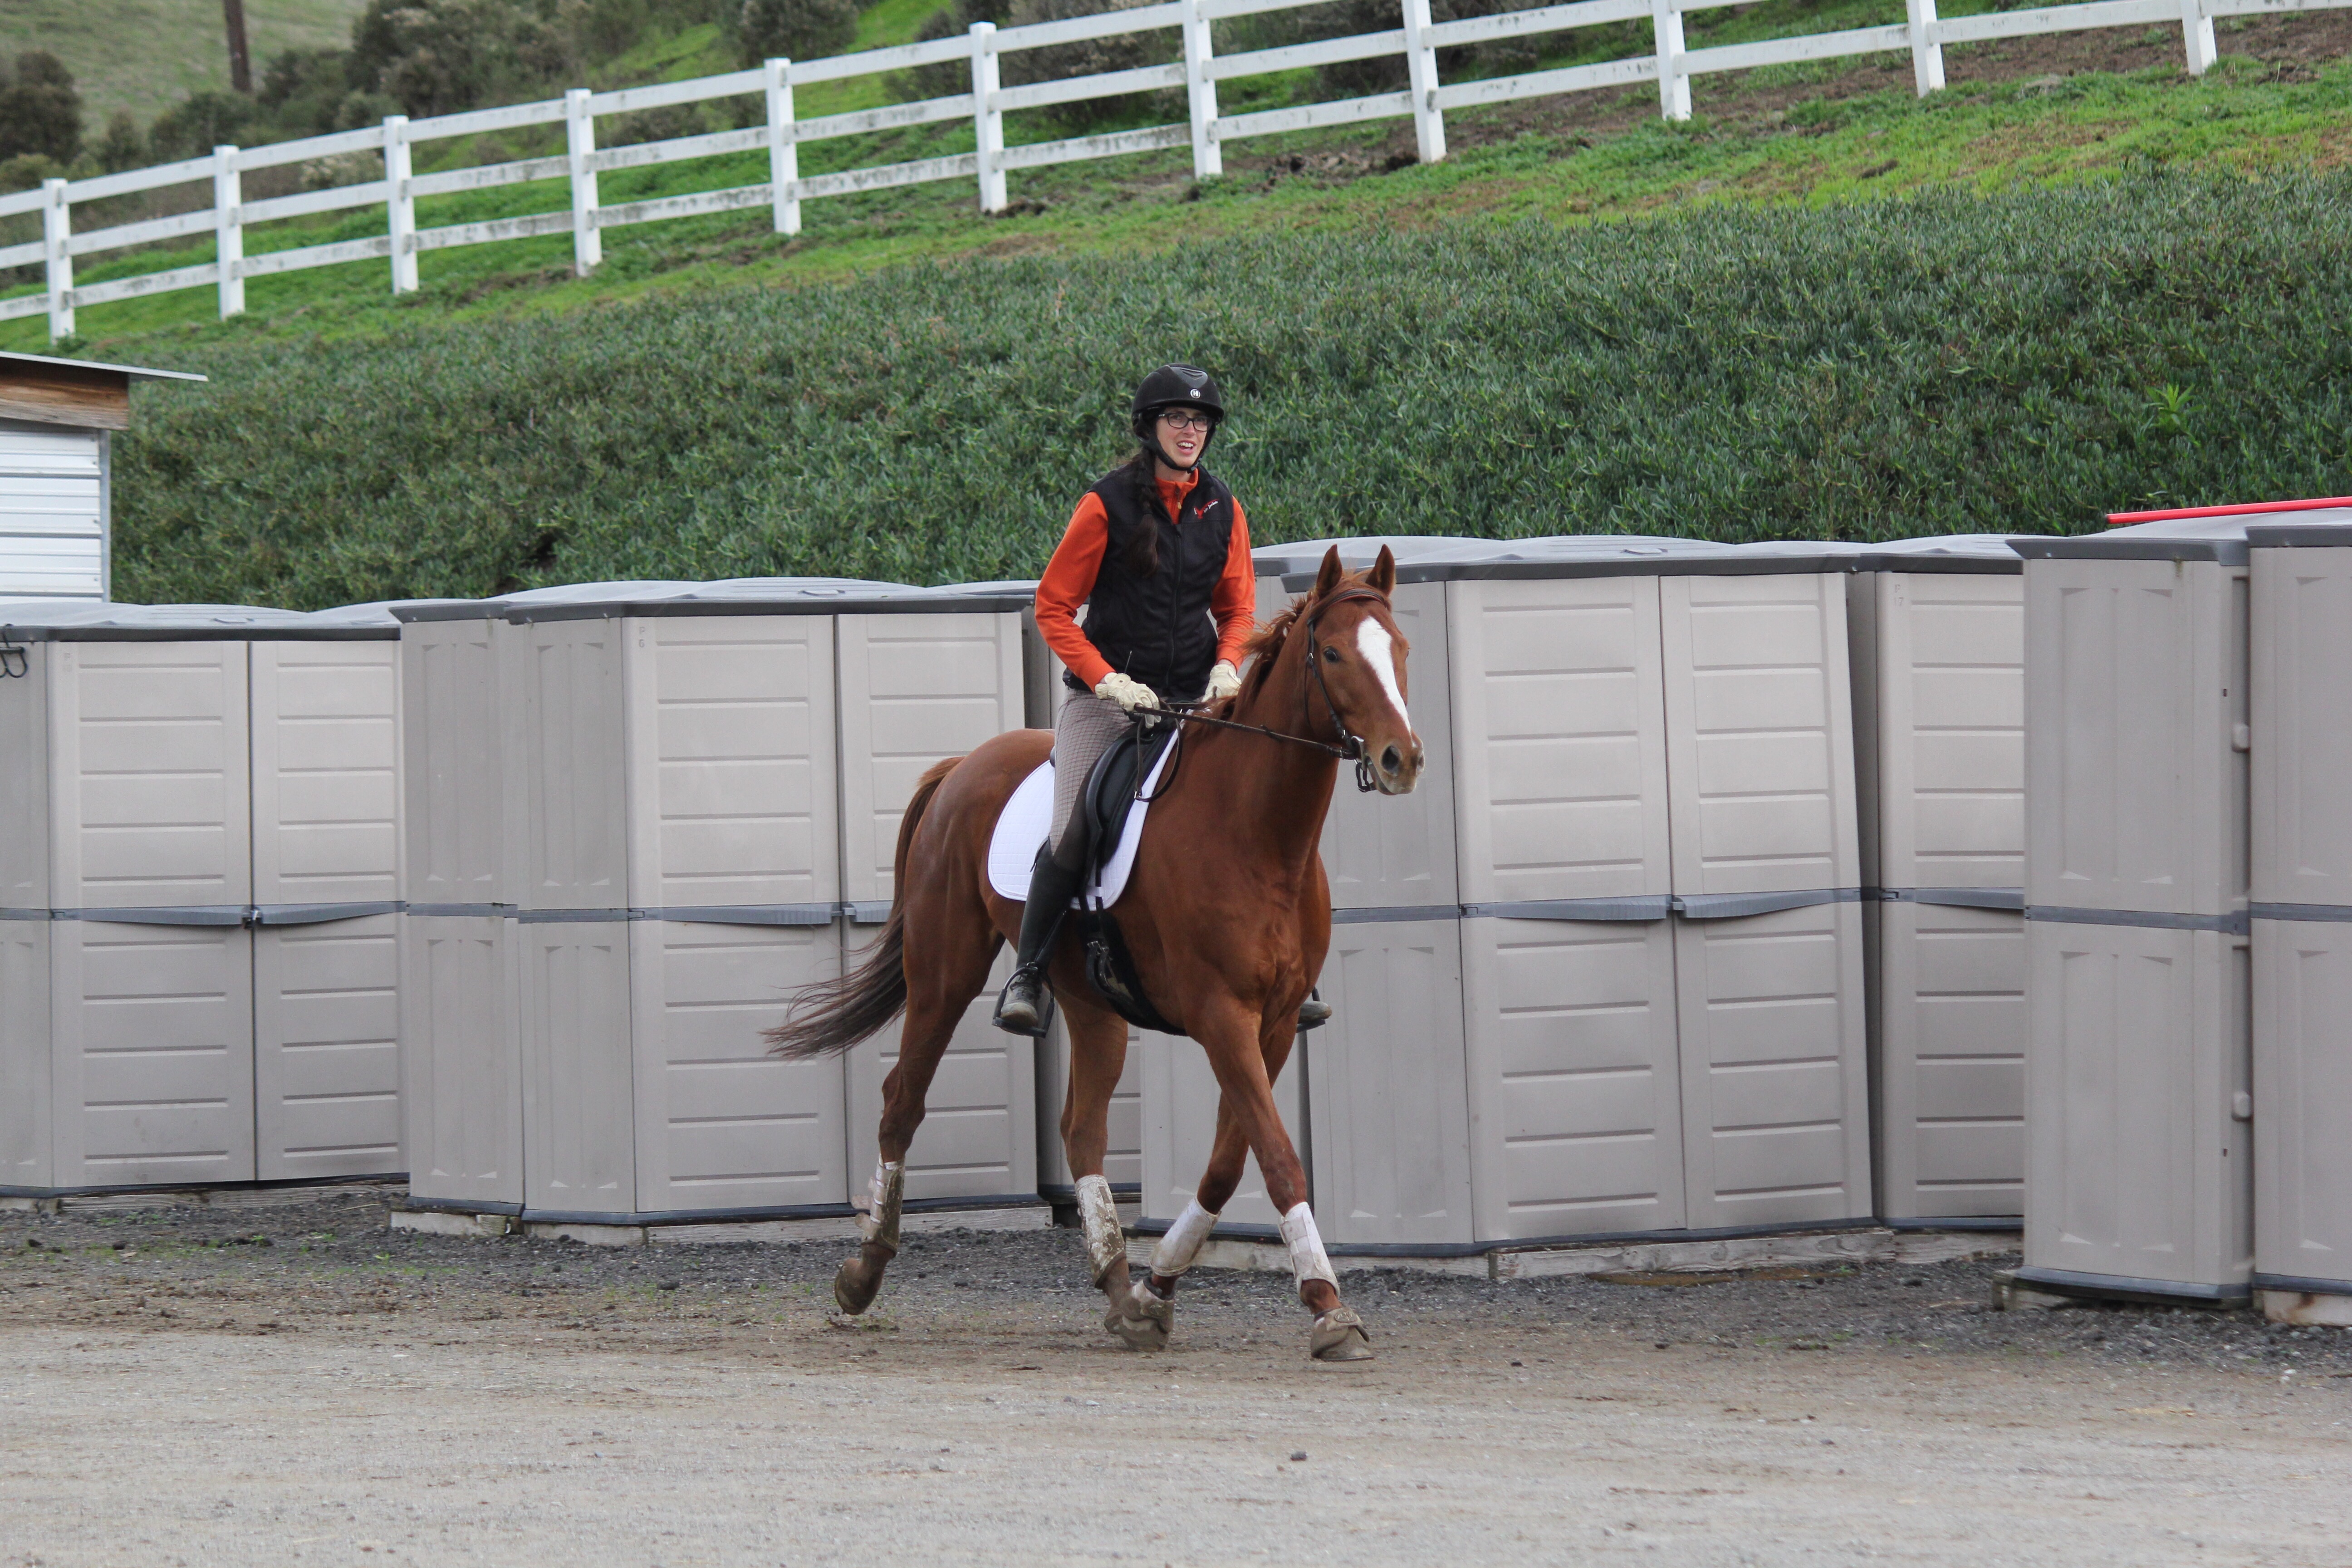
My first trot with Blue

Blue was decent about going and stopping, but steering through a turn while trotting was pretty rough.

“ok Blue, time to turn right”
“for real, we don’t want to run into that tie  rail”“ok, so you have to walk in order to turn.  Got it.”

Blue felt pretty solid, but our next training efforts are going to be to put in the power steering.

All in all, I was quite pleased with today’s session.  We had some lovely moments stretching in both trot and walk.

Stretchy walk

Stretchy trot

And moment where Blue forgot how to horse.

I’m not familiar with this gait.