I wanted to write an article about the importance of keeping a straight line from the rider’s elbow, through the forearm, hand, and rein, to the bit. You know, my usual sanctimonious stuff. I started taking photos of my students in four different positions: hands at the correct height, hands too low, hands too high, and hands where the rider naturally puts them without direction.
My goal was to illustrate the need to take in to account riders’ conformation when determining the proper height of the hands. Riders are often taught to keep their hands just above the horse’s withers. For riders with short arms or long waists, that position might be too low to keep a proper alignment from the elbow to the bit. Long armed or short waisted riders might have the opposite problem.
However, as I began to study the photos, I started to notice other factors at play in the relationship between the rider’s arms and the bit. Let’s take a look.
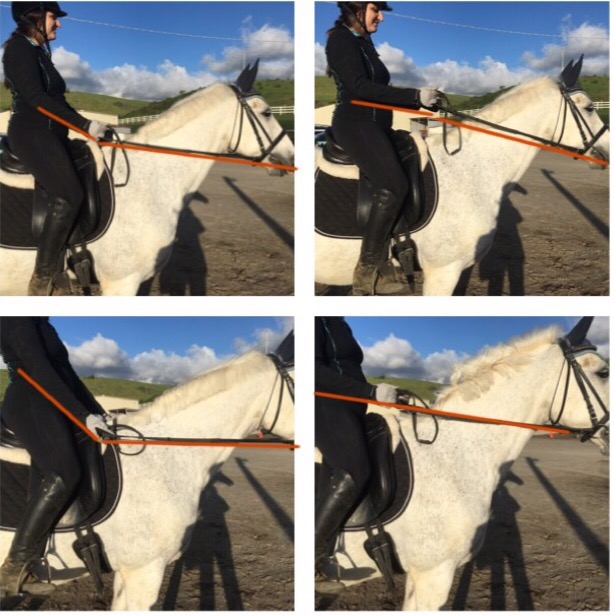 Top left: I’ve added a red line to Diana’s photos so the line from elbow to bit is apparent. Diana’s hand position is too low.
Top right: Diana’s hands are a little bit too high, but not among the clouds as she thinks they are
Bottom left: hands too low, which is where Diana’s hand ends up incorrectly migrating when she’s working to get Pacifico the Iberian warmblood to come round
Bottom right: I put Diana’s hands where they belong. The challenge for Diana is to keep her hands on this plane while she is using them.
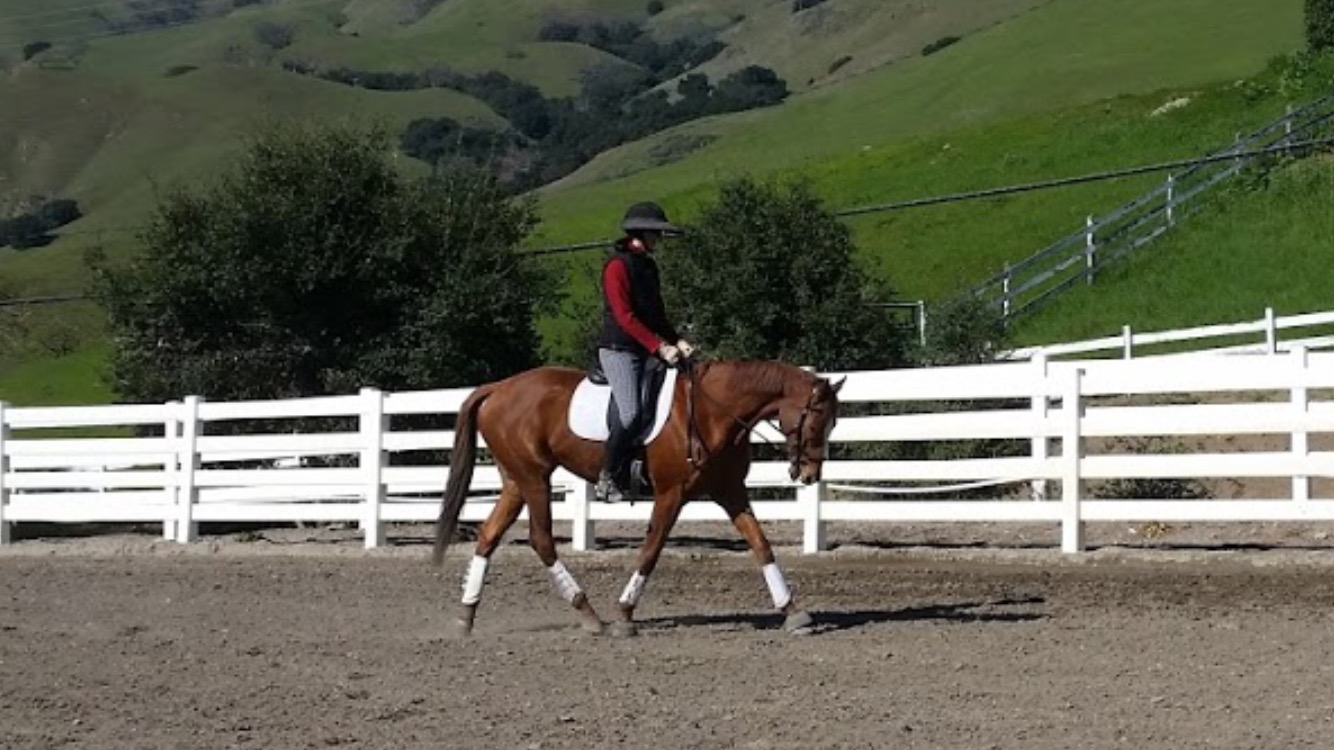
The upper arm also plays a part in the ability of the rider to follow the horse’s mouth properly. Check out Elaine and her morgan, Fancy: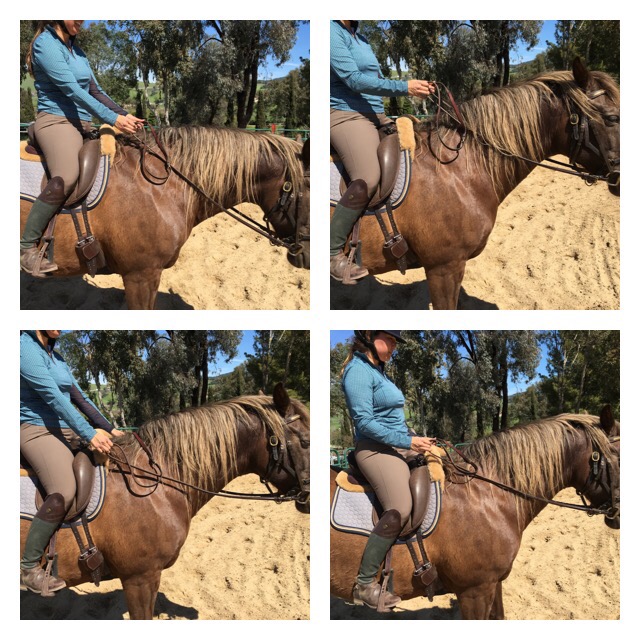 Top left: this is where Elaine naturally carries her hands she does have a straight line from elbow to bit, but no bend in her elbow, which will limit her ability to follow Fancy’s motion
Top Right: Elaine’s hands too high, disrupting the straight line from elbow to bit
Bottom left: Elaine’s hands are too low, again disrupting the line from elbow to bit
Bottom right:. This is where I put Elaine’s hands. Just like her natural hand position, she still has a straight line from elbow to bit, however now she has a bend in her elbow, which will allow her hand to follow Fancy’s motion. This position also allows her to obtain a deeper seat and a more draped leg.
When arms are in the correct position, and moving in the correct trajectory, the motion is similar using a hand saw. In the trot and canter the hand moves towards the elbow, and the elbow moves towards the hand.
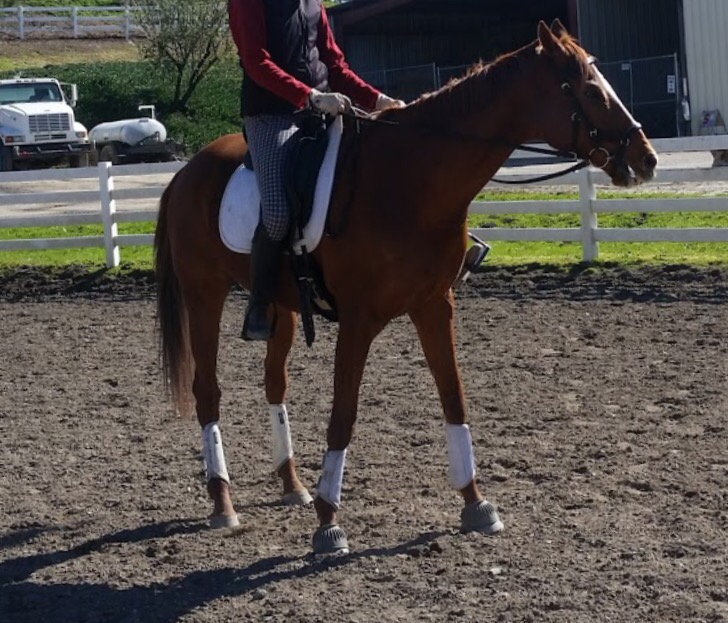
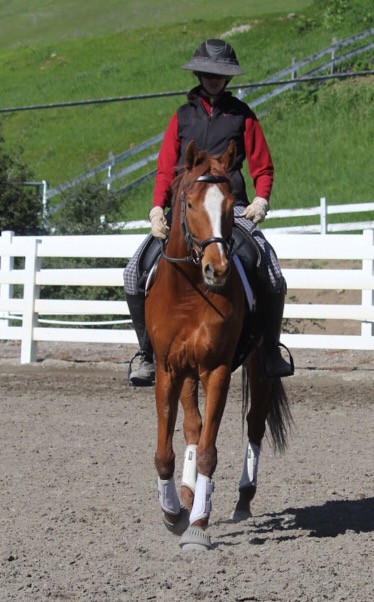
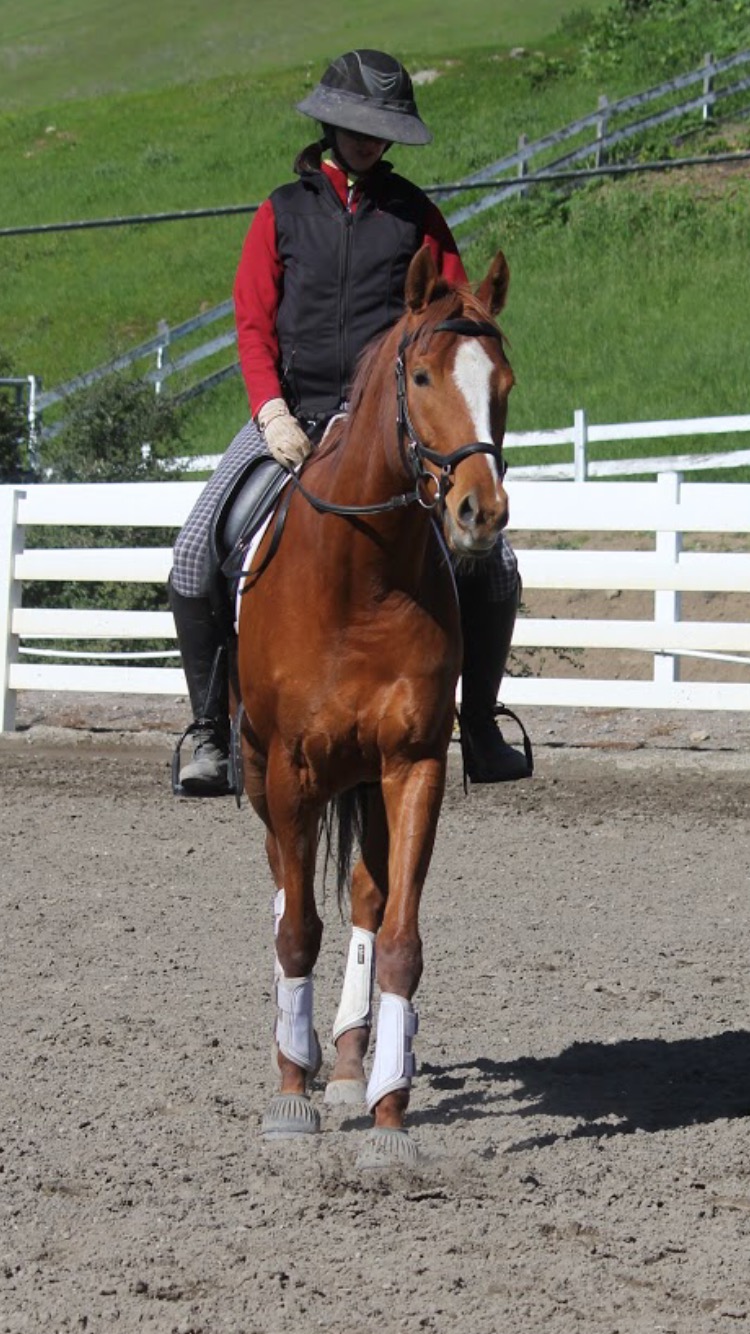
In addition to limiting the ability to follow, hands that are too low can be quite irksome to the horse. Let’s see what happens when Rachael brings her hands too low on her connemara, Crispin: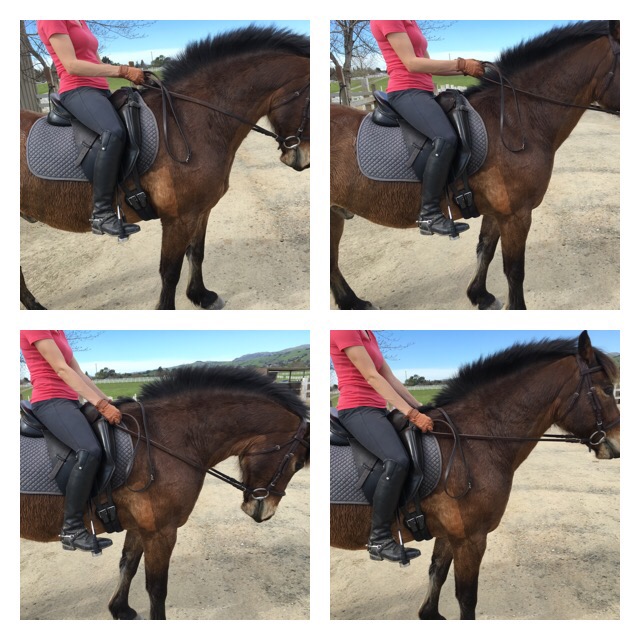 Top left: Rachael naturally carries her hands a little higher than the straight line from elbow to bit.
Top right: Rachael raising her hands a little too high. Crispin responds by bringing his head up.
Bottom left: Rachael’s hands are too low, they still appear to have a straight line from elbow to bit because Crispin is trying his best to follow the connection. However….
Bottom right: when riders put their hands too low, almost every horse will tuck in his head, then after a moment jerk the reins violently forward.
Horses don’t like the rider’s hands getting too low is because of their mouth anatomy. When the rider has proper alignment from elbow to bit, the bit will work on the horse’s lips and tongue. When hands are too low, the bit works on the bars of the horse’s mouth. The lips and tongue are squishy, while the bars are rigid and hard. It is uncomfortable for the horse to take pressure on the bars of his mouth, so he will usually try to duck his head to avoid the pressure, then jerk forward to try to release the pressure.
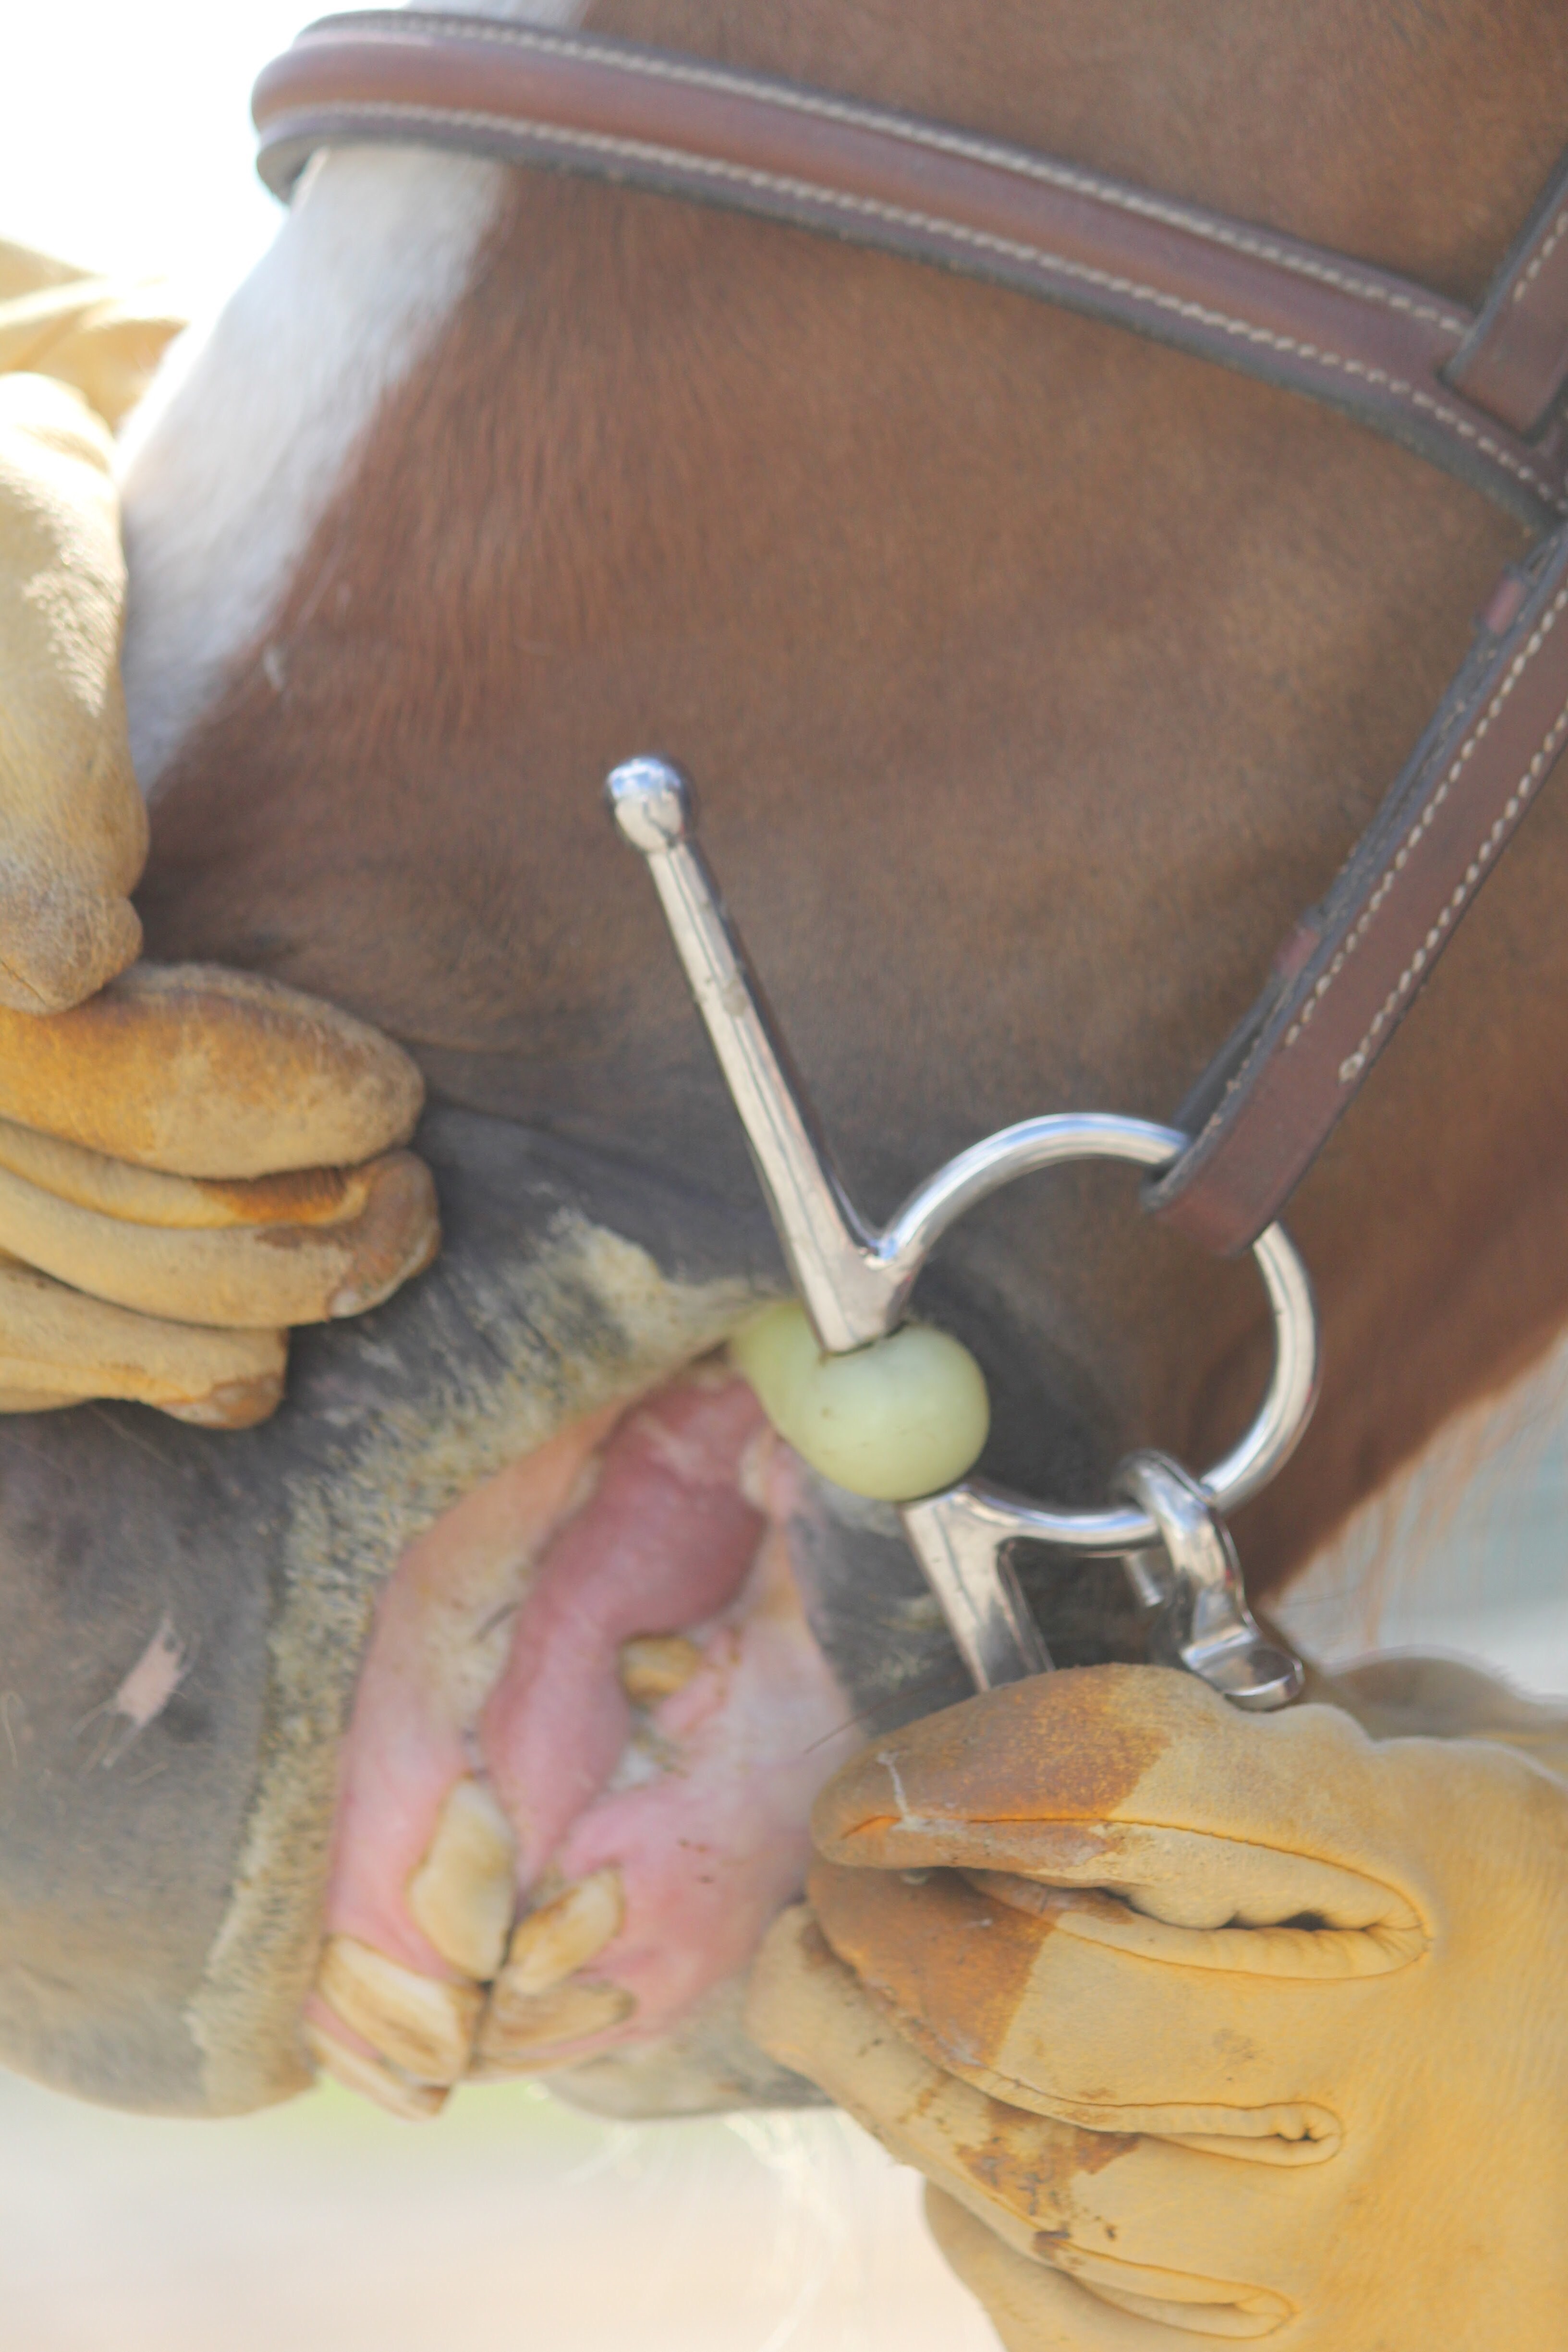 The structures of the mouth that a Mullen mouth or double jointed snaffle bit acts upon are the lips, tongue, and sometimes the bars. The bars are the lower jaw between the incisors, canines, and molars.
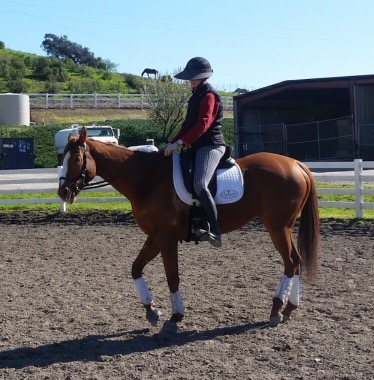
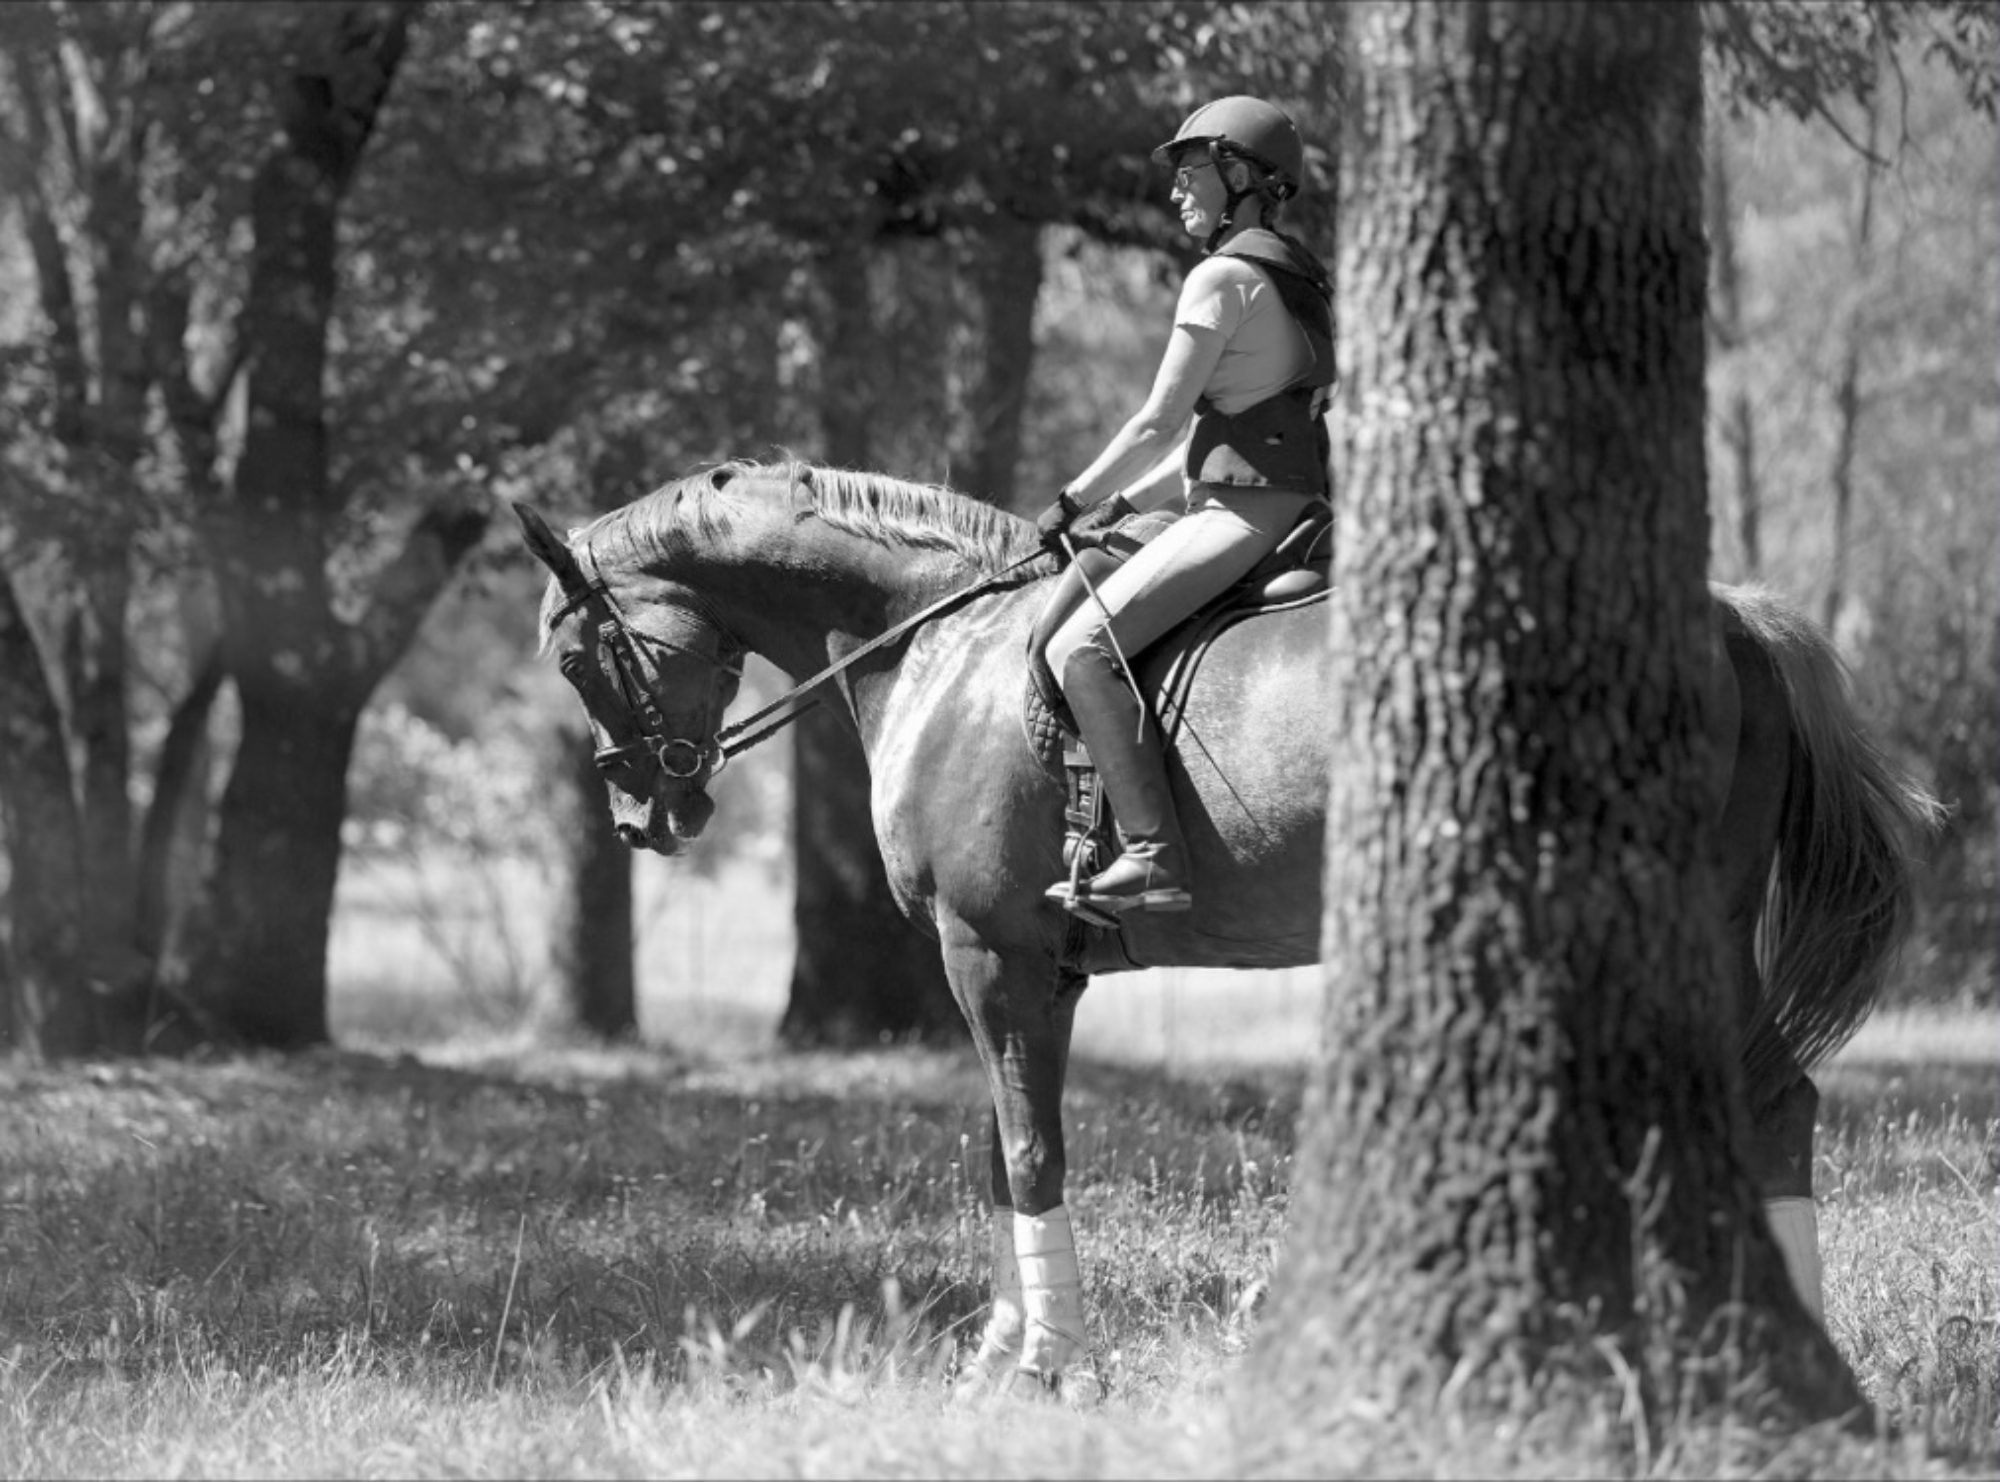
Alair’s andalusian, Corie, reacts similarly to Crispin: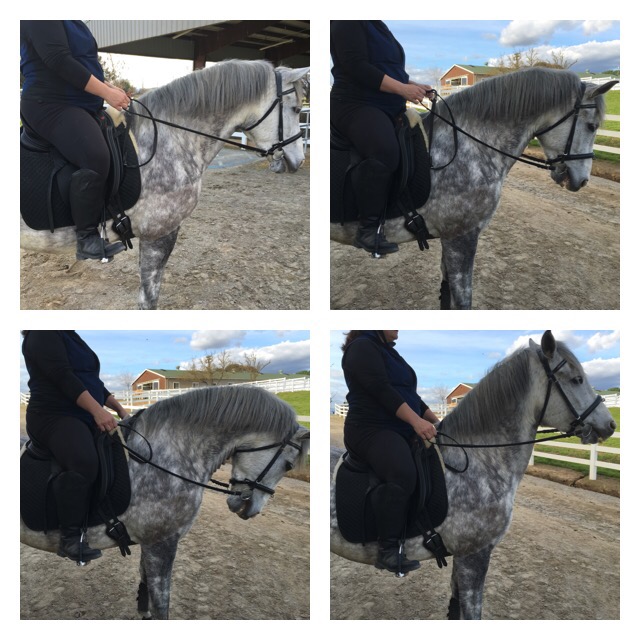 Top left: Alair’s natural hand position is spot on. Her andalusian, Corie, shows a lovely stretch to the bit.
Top right: Alair’s hands are too high
Bottom left: hands to low, in an effort to alleviate the discomfort of the bit in the bars, Corie ducks behind the vertical…
Bottom right: and then he jerks his head forward to alleviate the discomfort of hands too low.
I got a little bit stumped looking at Alair’s pictures. I thought Alair would be the perfect example of hands in the correct alignment that appear too high in relation to the withers. But that is not the case here, she presents a classic picture! Then I realized, I’m used to seeing Alair on her other horse, Kaveat, an Arabian with different confirmation than her current mount. Kaveat’s back was higher, and Alair was using a different pad which set her up higher still. As a result, her hands appeared to be hovering high above the withers when she rode her arabian. But here on Corie, her hands are closer to the withers. I figured out that the difference in appearance is due to Corie’s back being more dipped than Kaveat’s, and his andalusian neck is set higher on his shoulders than the arabian’s.
Alair still has proportionality shortish arms, where I have proportionally long arms. Here’s what I look like on an a variety of horses, the first of which is somewhat similar in build to Alair’s Andalusian.

Top: hands just about right. Your can see how my hands are alongside Brio’s withers when they are in the correct position. In Alair’s correct photo you can see her hands are a little above the withers.
Middle: Hands are about right. They are slightly above Corny’s withers. He is a thoroughbred with a lower set neck and flatter back than Brio.
Bottom: hands about right on Buddy, a Standardbred x Appaloosa
We’ve checked out there same rider on differently built horses, now let’s check out the same horse with differently built riders: Above: Rae’s hands are correct at Poni’s withers and she has a nice vertical upper arm.
Below: Kristin’s arms are proportionally shorter. They are placed well above Poni’s withers. Even though Kristin’s hands are at the right height, they’d be even better if her elbows were further back allowing for greater following potential. At 13.3h, Poni is well suited to Kristin’s proportions, but Kristin may have biomechanical challenges riding big moving horses.
Lastly, when considering hand position and its relationship to the horse’s mouths, the hands should not be closer together than the width of the bit. If hands are too close, the horse may feel the rings of the bit against his cheeks. If you are using a single joined bit, close together hands or hands that cross the wither will push the center joint of the bit into the roof of the horse’s mouth, or pinch his tongue. Riders’ hands should also not stay wider than their shoulders, though they may travel wide on occasion without injuring the horse’s mouth.
Having a ground person, instructor, or even a mirror is great for perfecting the position of your arms. An even better way is to develop a feel for what different parts of the horse’s mouth feel like. Try this while riding to develop your feel: take a contact on the reins, then move your hands slowly up high and down low. You will feel the horse’s spongy tongue and elastic lips, especially if he is moving them. When your hands travel too low and place the bit on the bars of the horse’s mouth, you will feel a distinct rigidity. This is not where you want to be! As you ride forward, make your goal to keep the bit feeling the same to the horse in every moment of every stride. This is the basis of a harmonious connection with your horse. Enjoy the ride!
—
About the author: Ali Kermeen has her training business, HC Equestrian, in the hills east of the Silicon Valley. She’s a USDF silver medalist and L graduate, as well as a USEA certified instructor and CHA master instructor. Ali loves working with all types of horses across many disciplines. She hopes to take two thoroughbreds to Kentucky this Fall to compete in for the Thoroughbred Makeover.
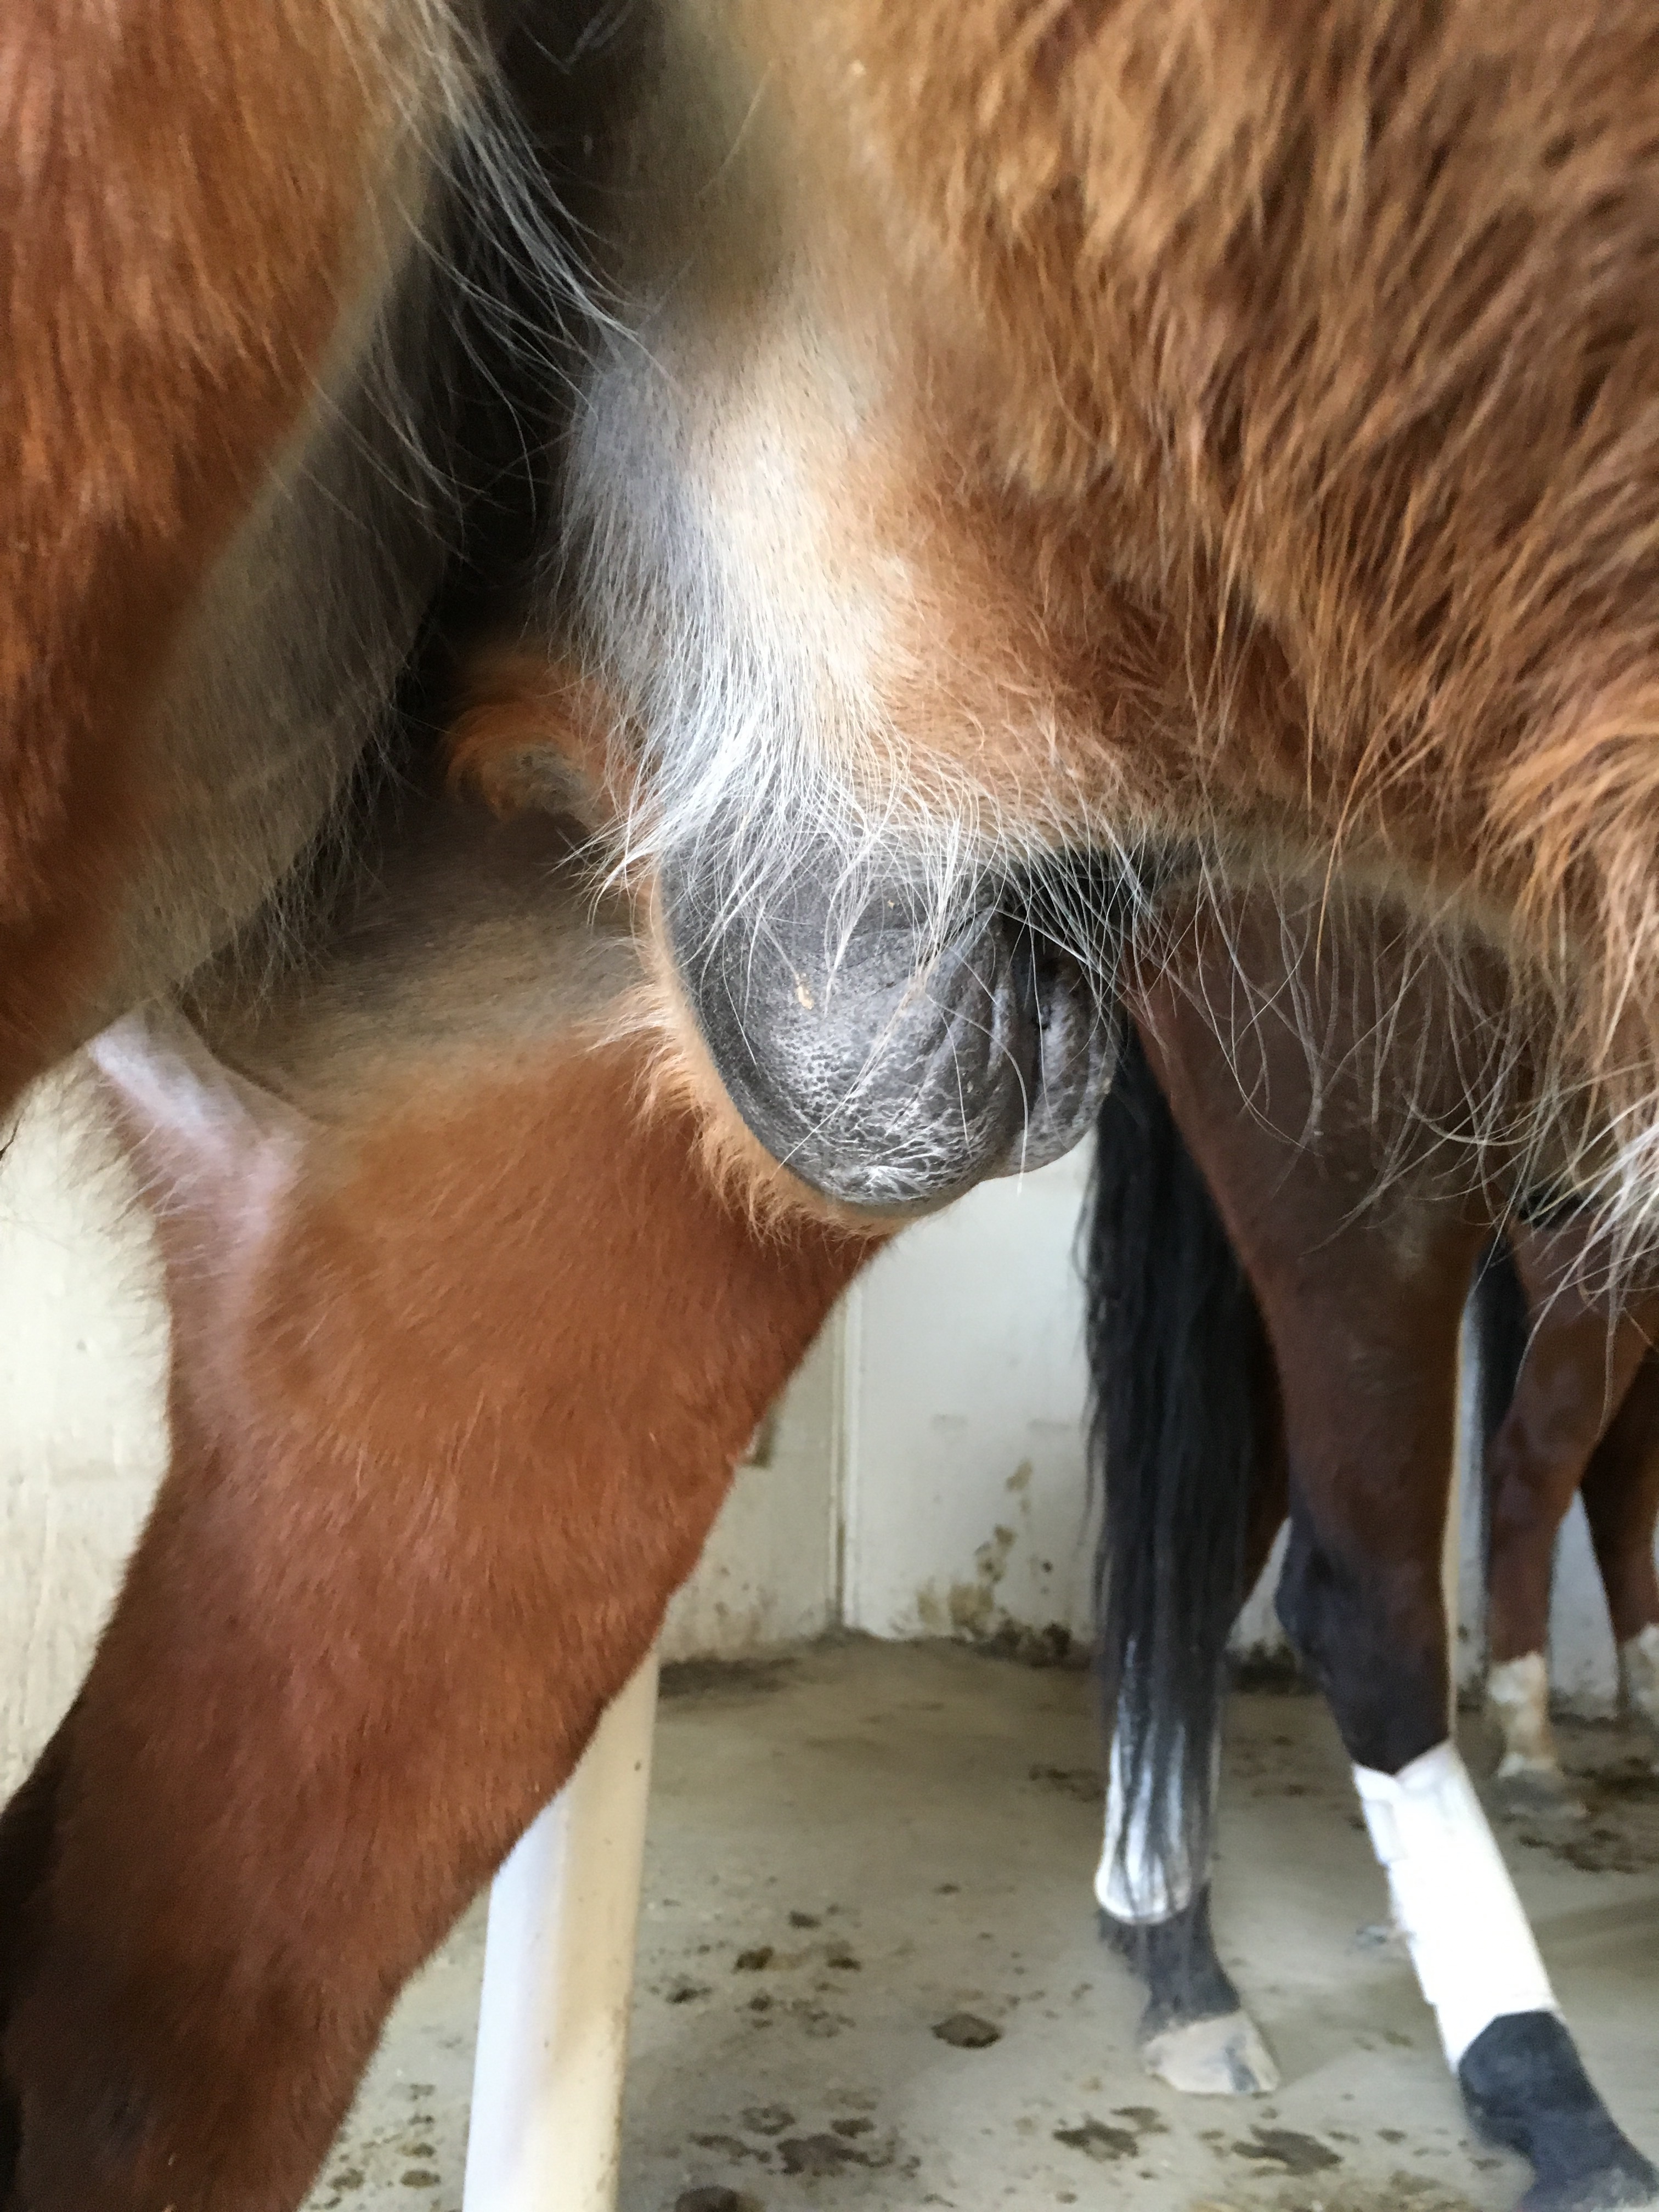
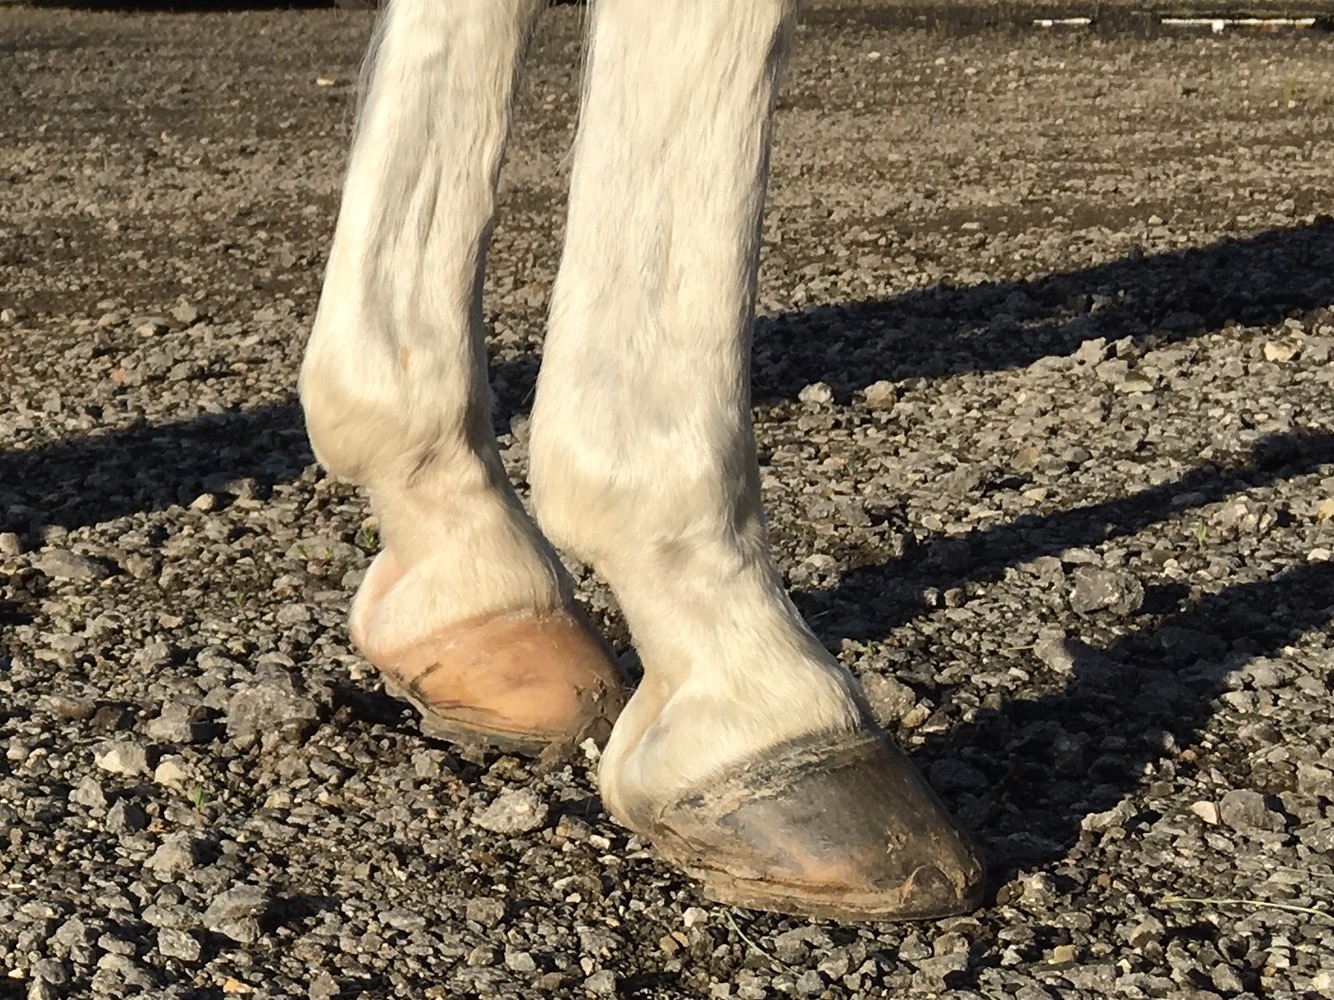 This horse is a grey with a light colored foot, and a dark colored foot. Since grey horses are born a solid color and lighten with age, this tells us that he had a white sock above the light colored foot, but not above the dark colored foot.
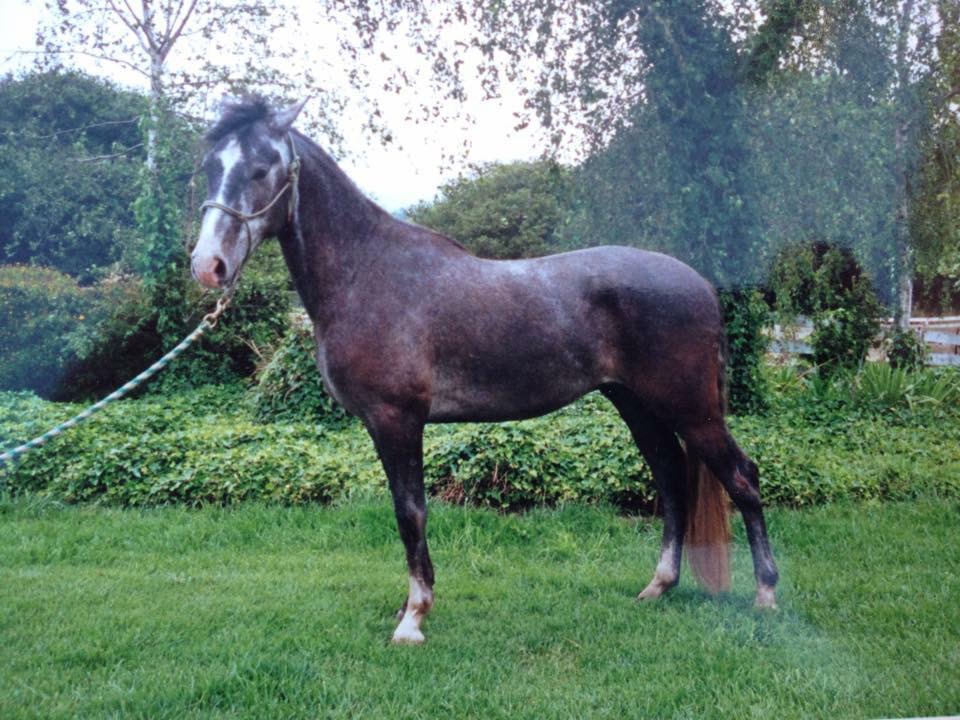 This is the same horse, 16 years prior, and while it’s not the best picture of his feet, if you look hard, you will see the right front is dark.
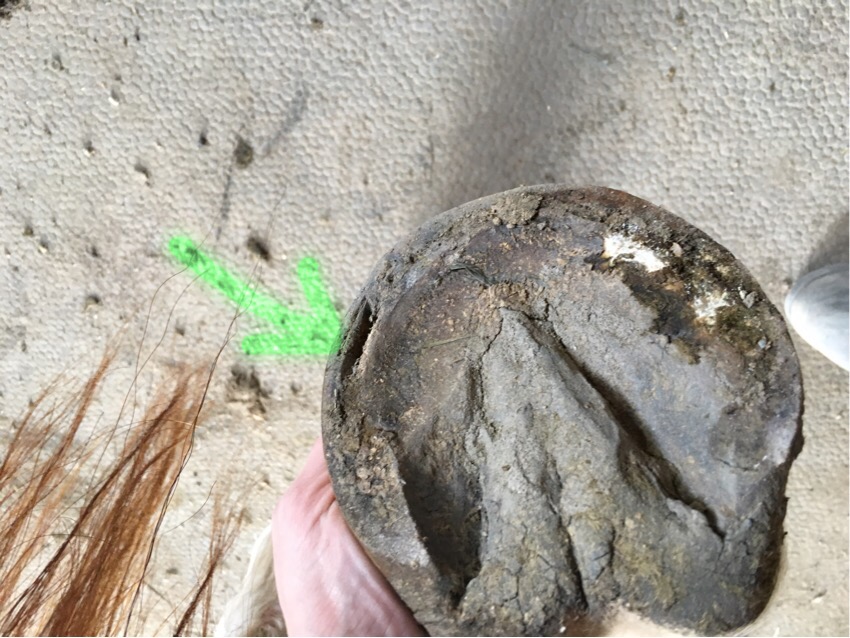
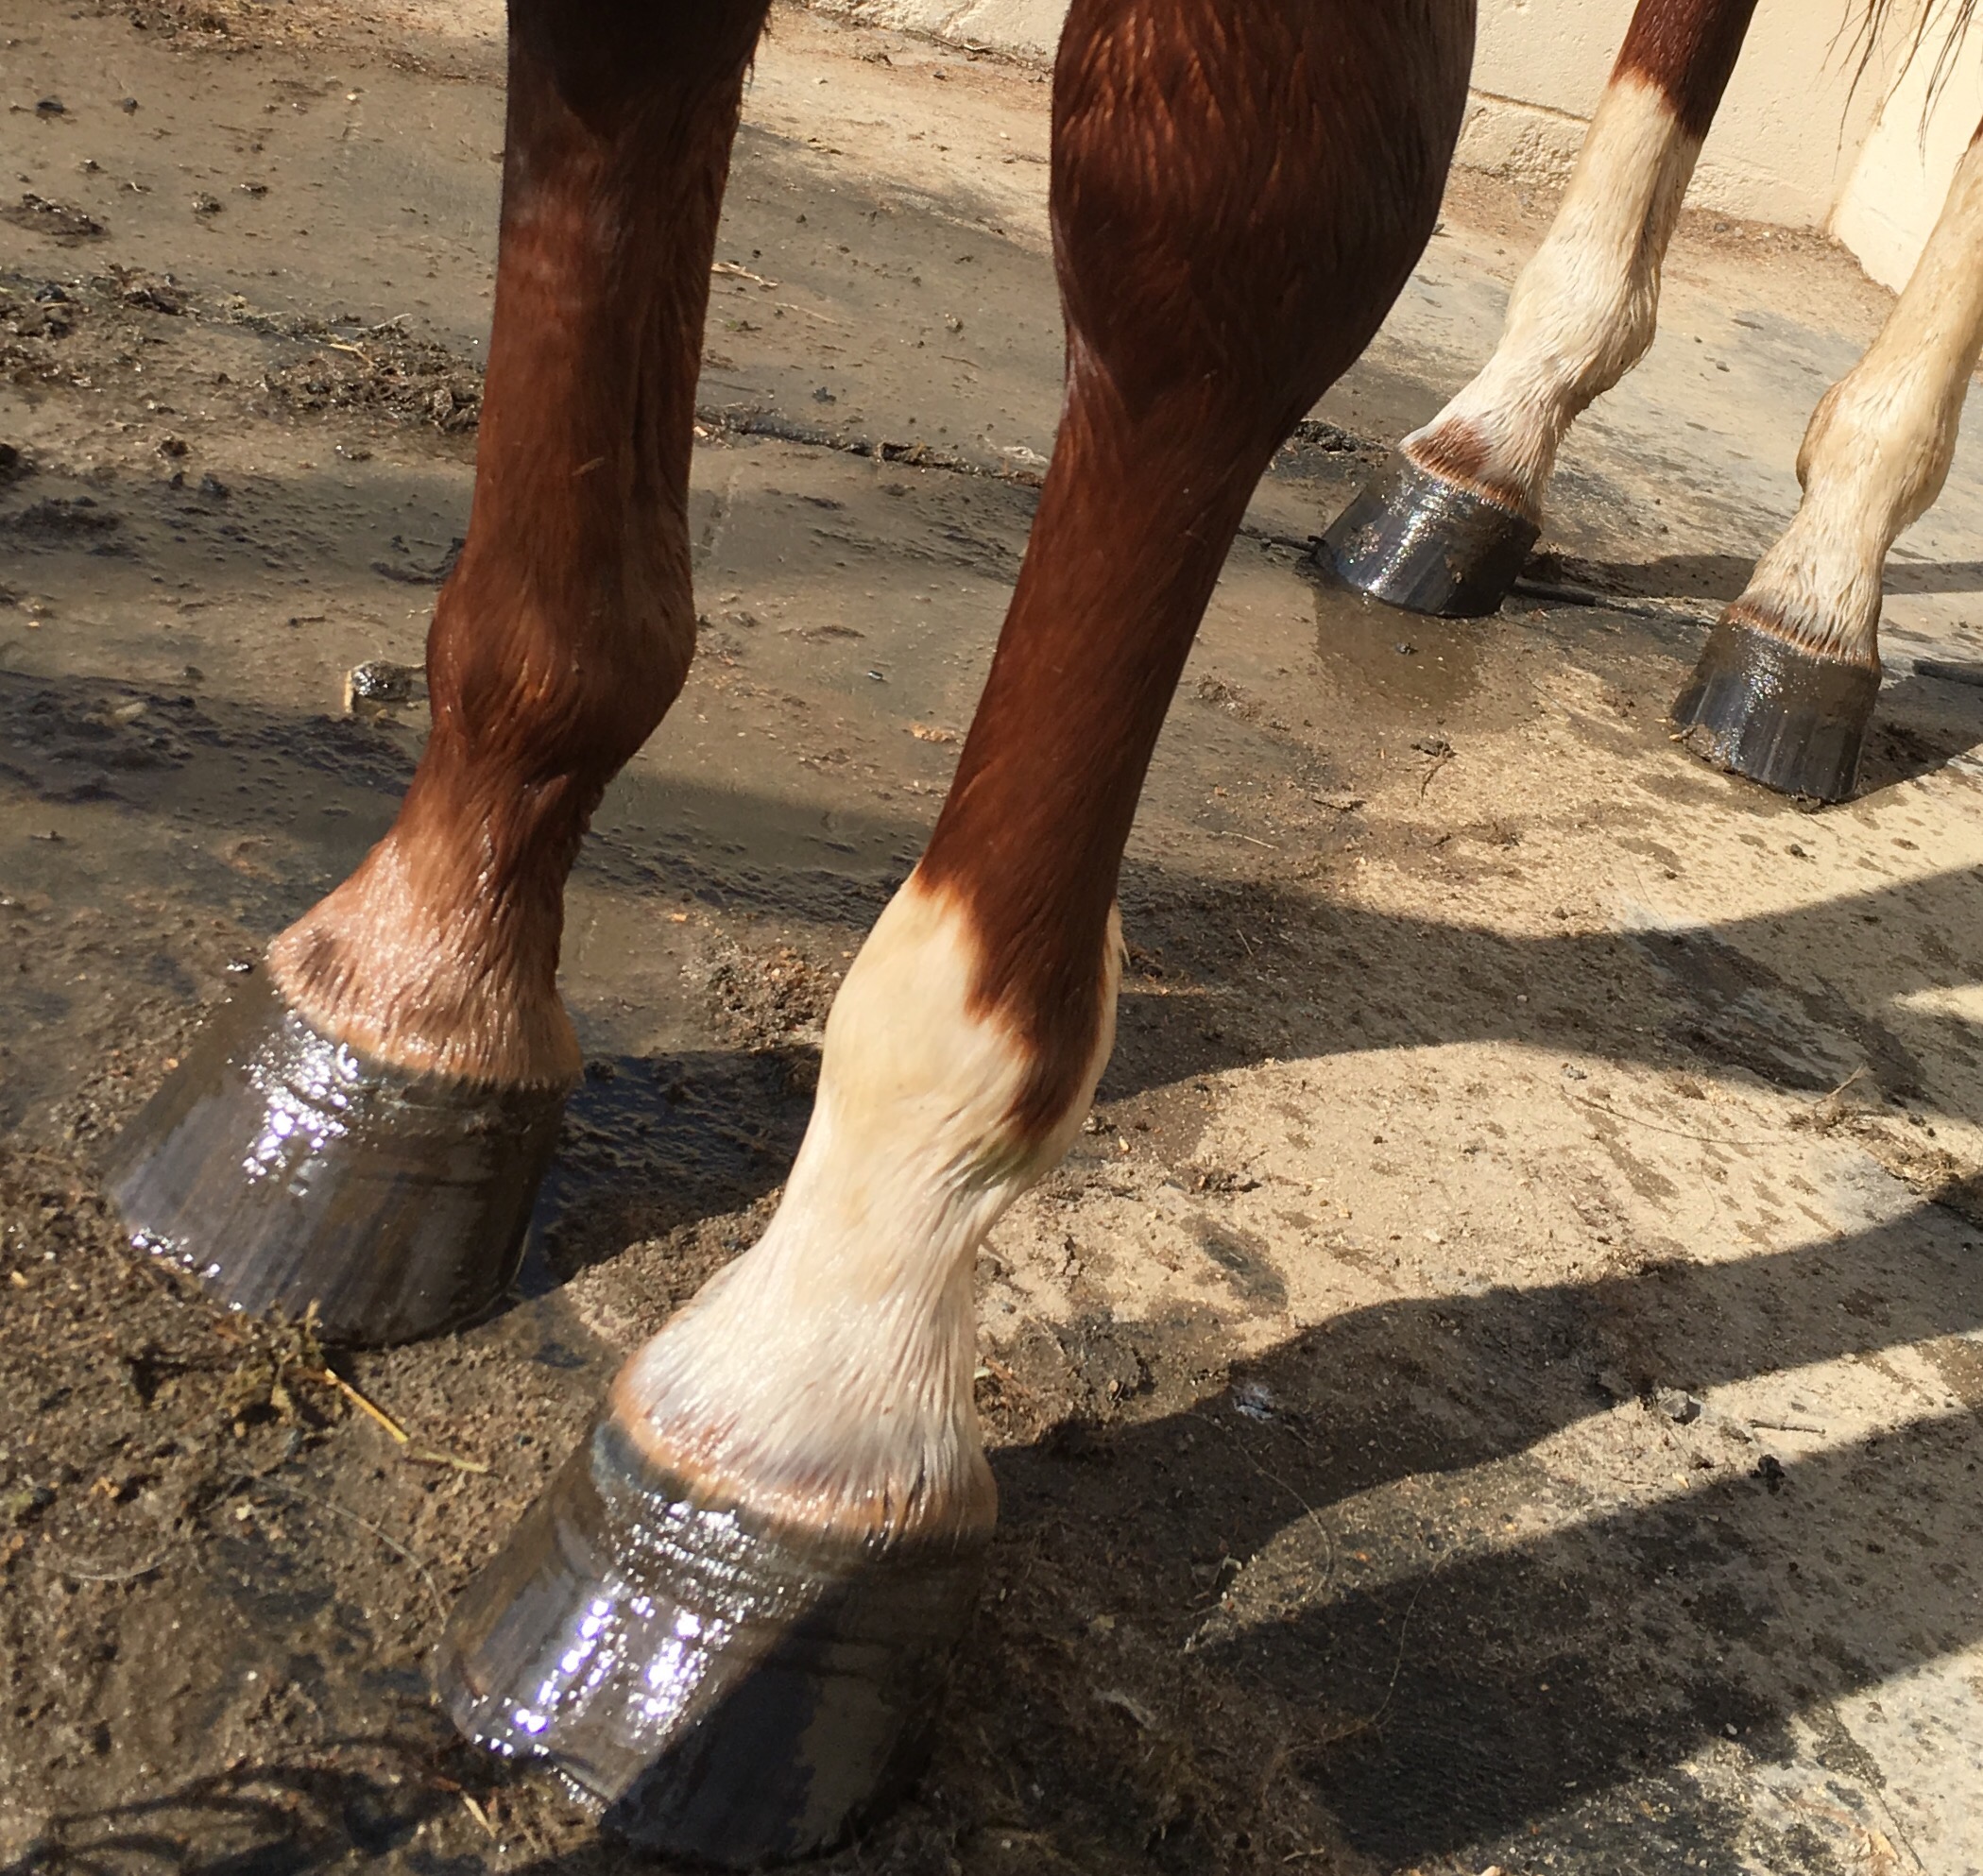 Maybe there is some subtle verticle striping on Suki’s feet? I think we still ought to go with a maybe on the potential Appaloosa sire. Something else is peculiar about her feet though, she has three white legs and four dark feet! It’s like she read the old rhyme and didn’t want to take any chances with white feet! It’s very subtle, but she has a super narrow ring of red hairs on the coronary band of each foot. Weird!
 This foot belongs to a roan Tennessee Walker with four white legs and a bald face. But he only has three and a half white feet, so go get your horse hide elsewhere!
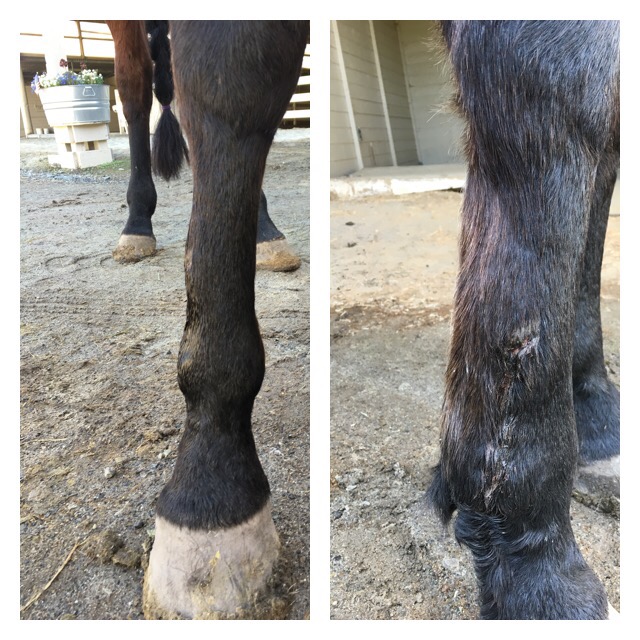

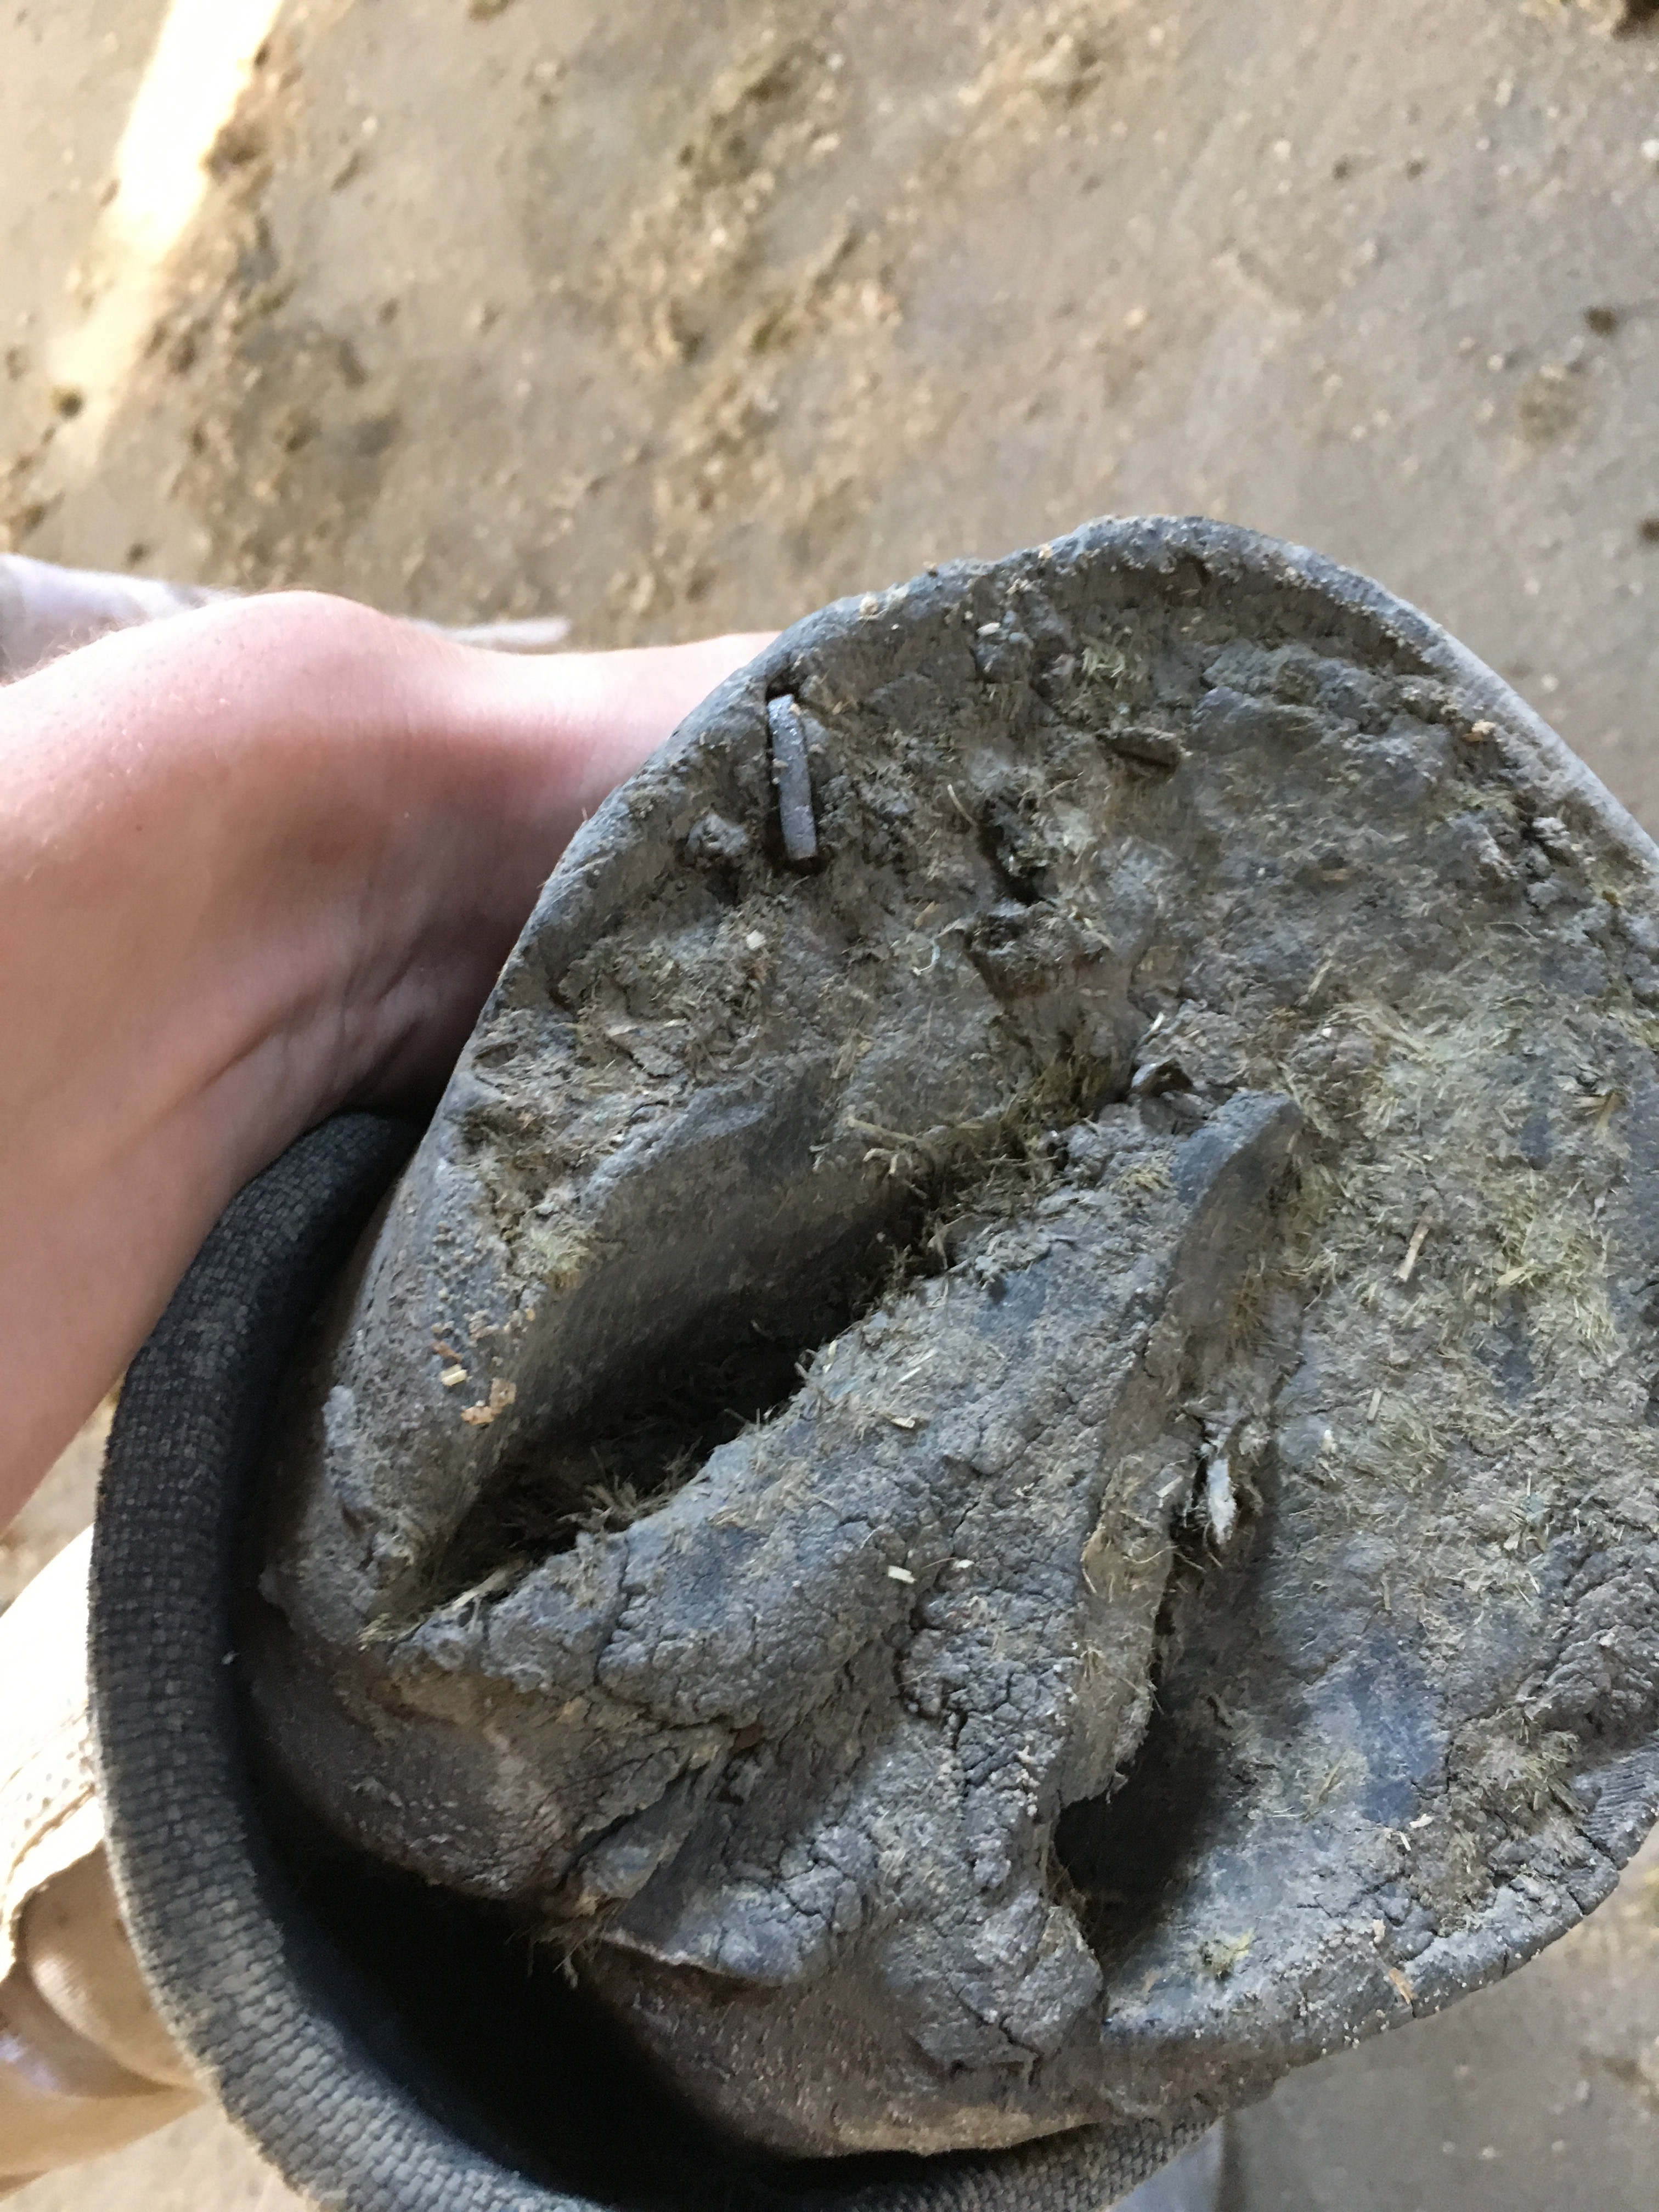
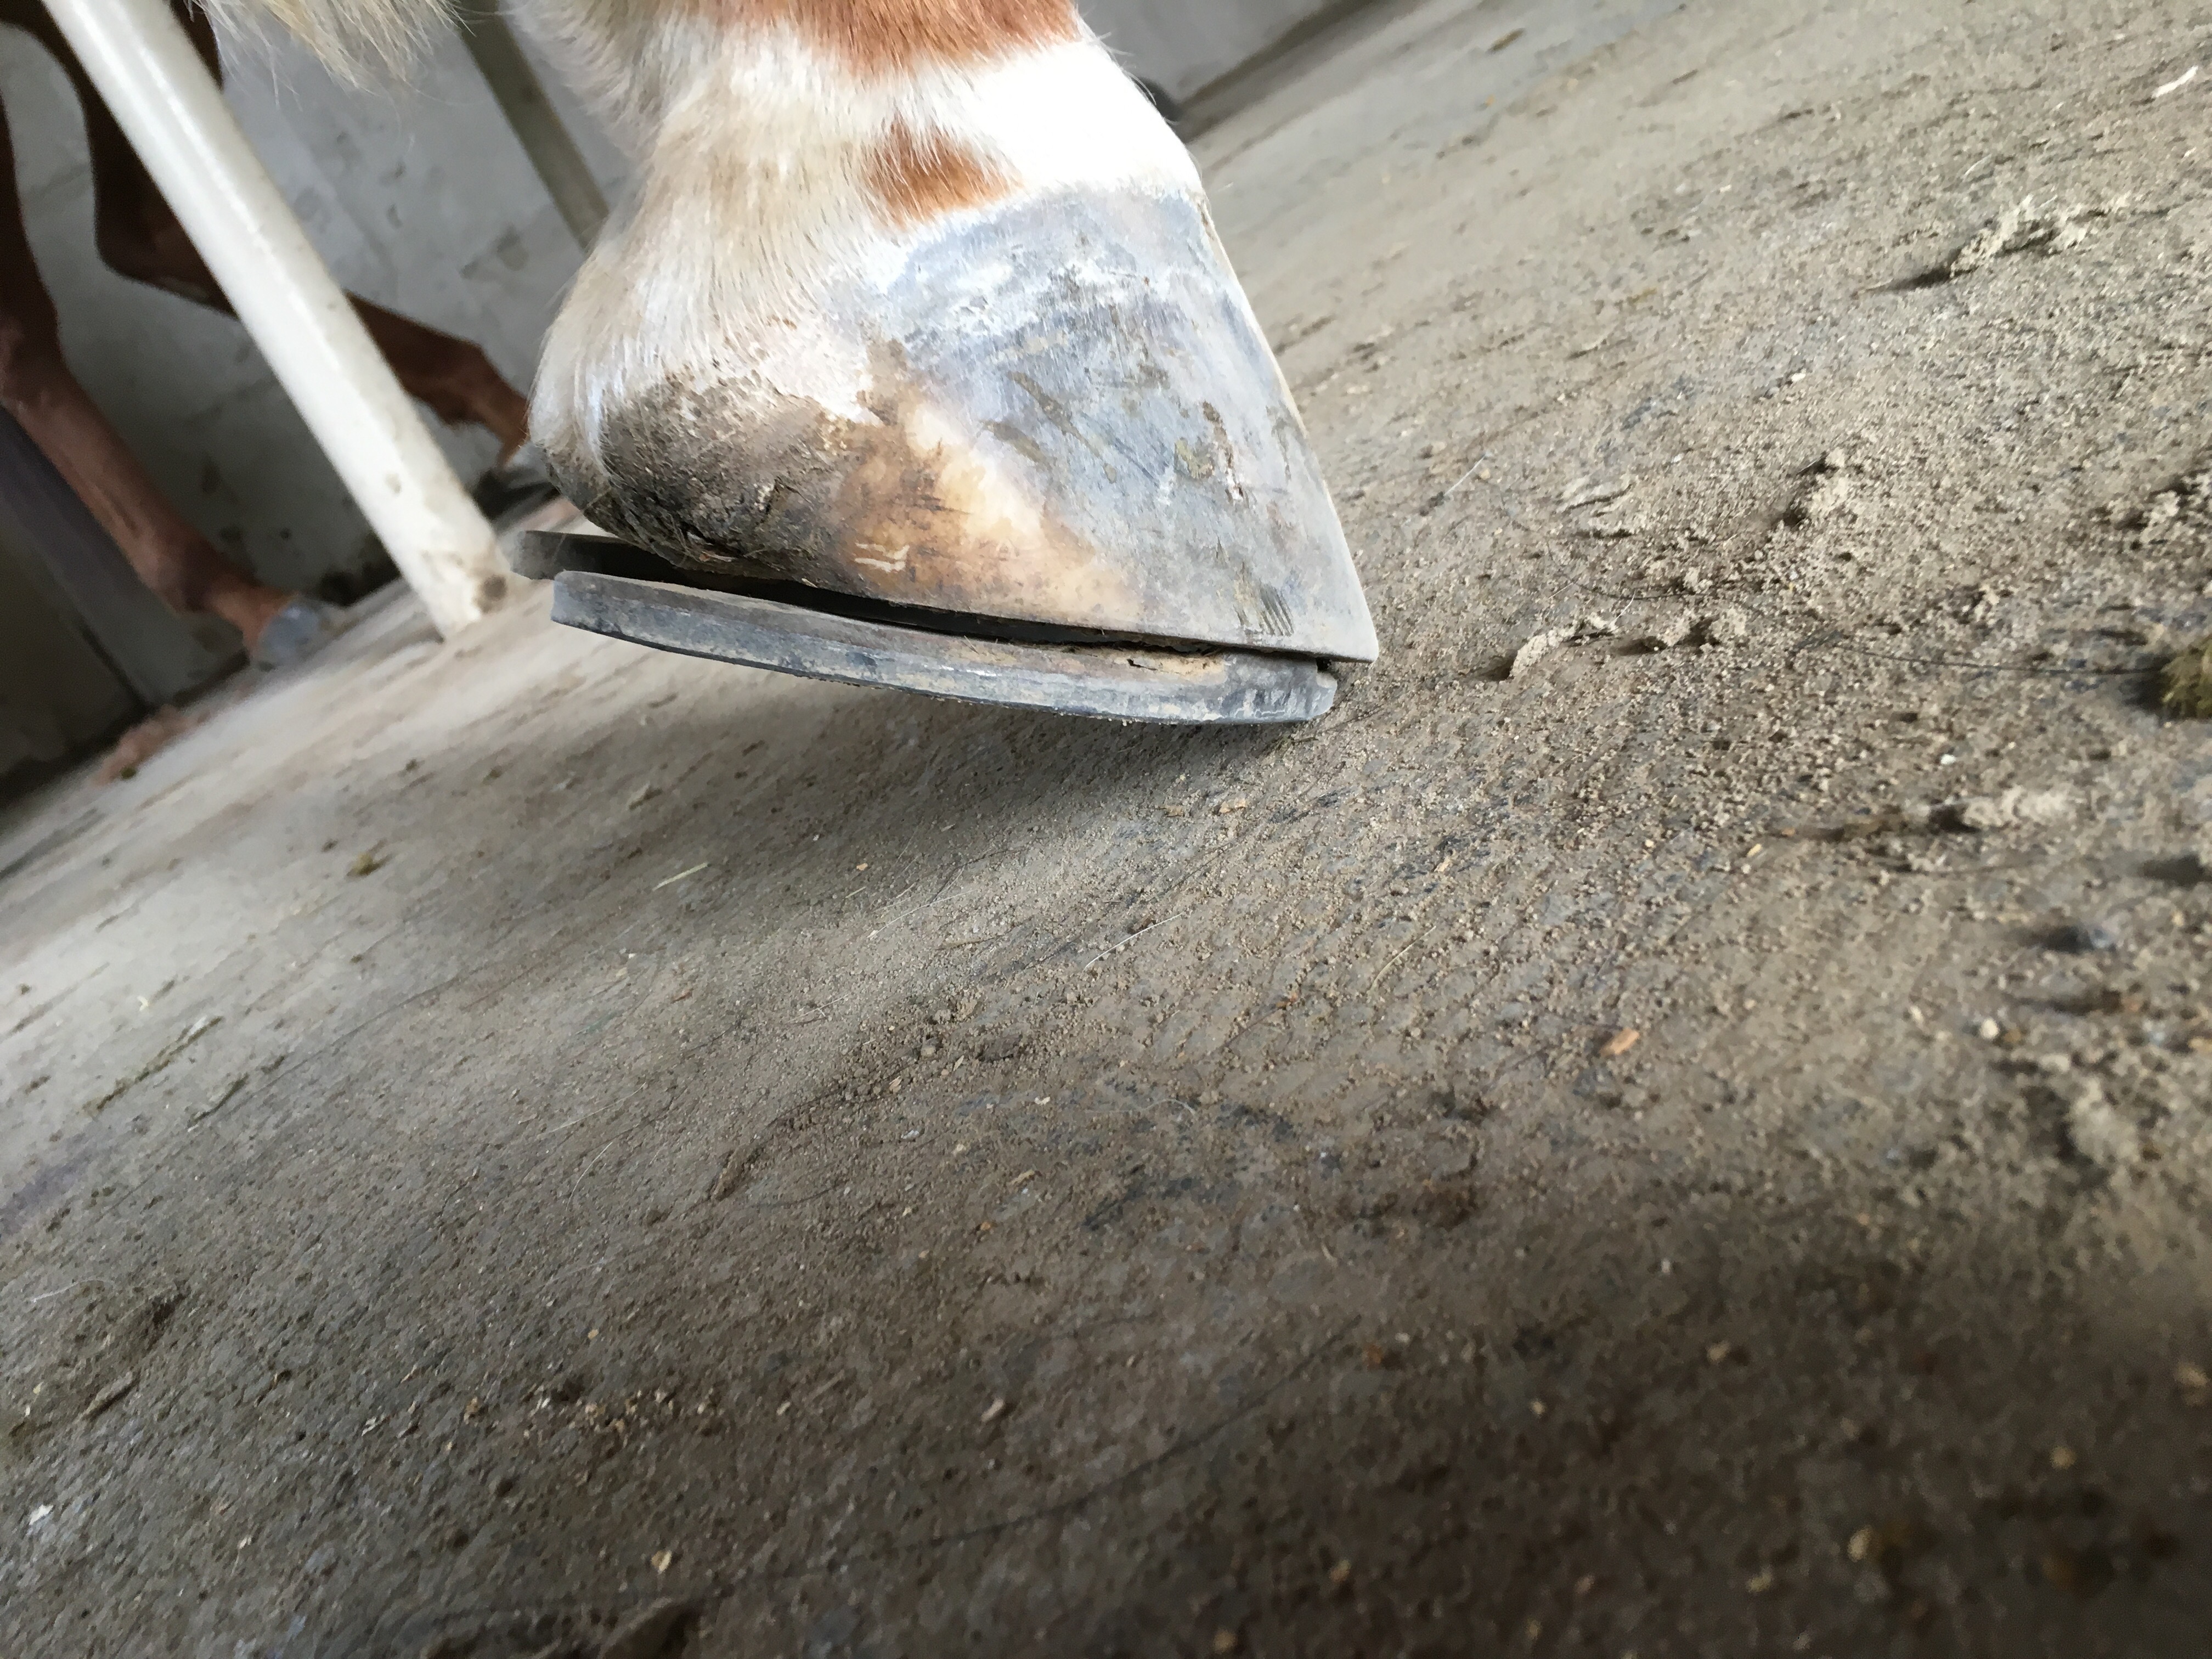
 Corny has quite a dent where the clip was sitting.
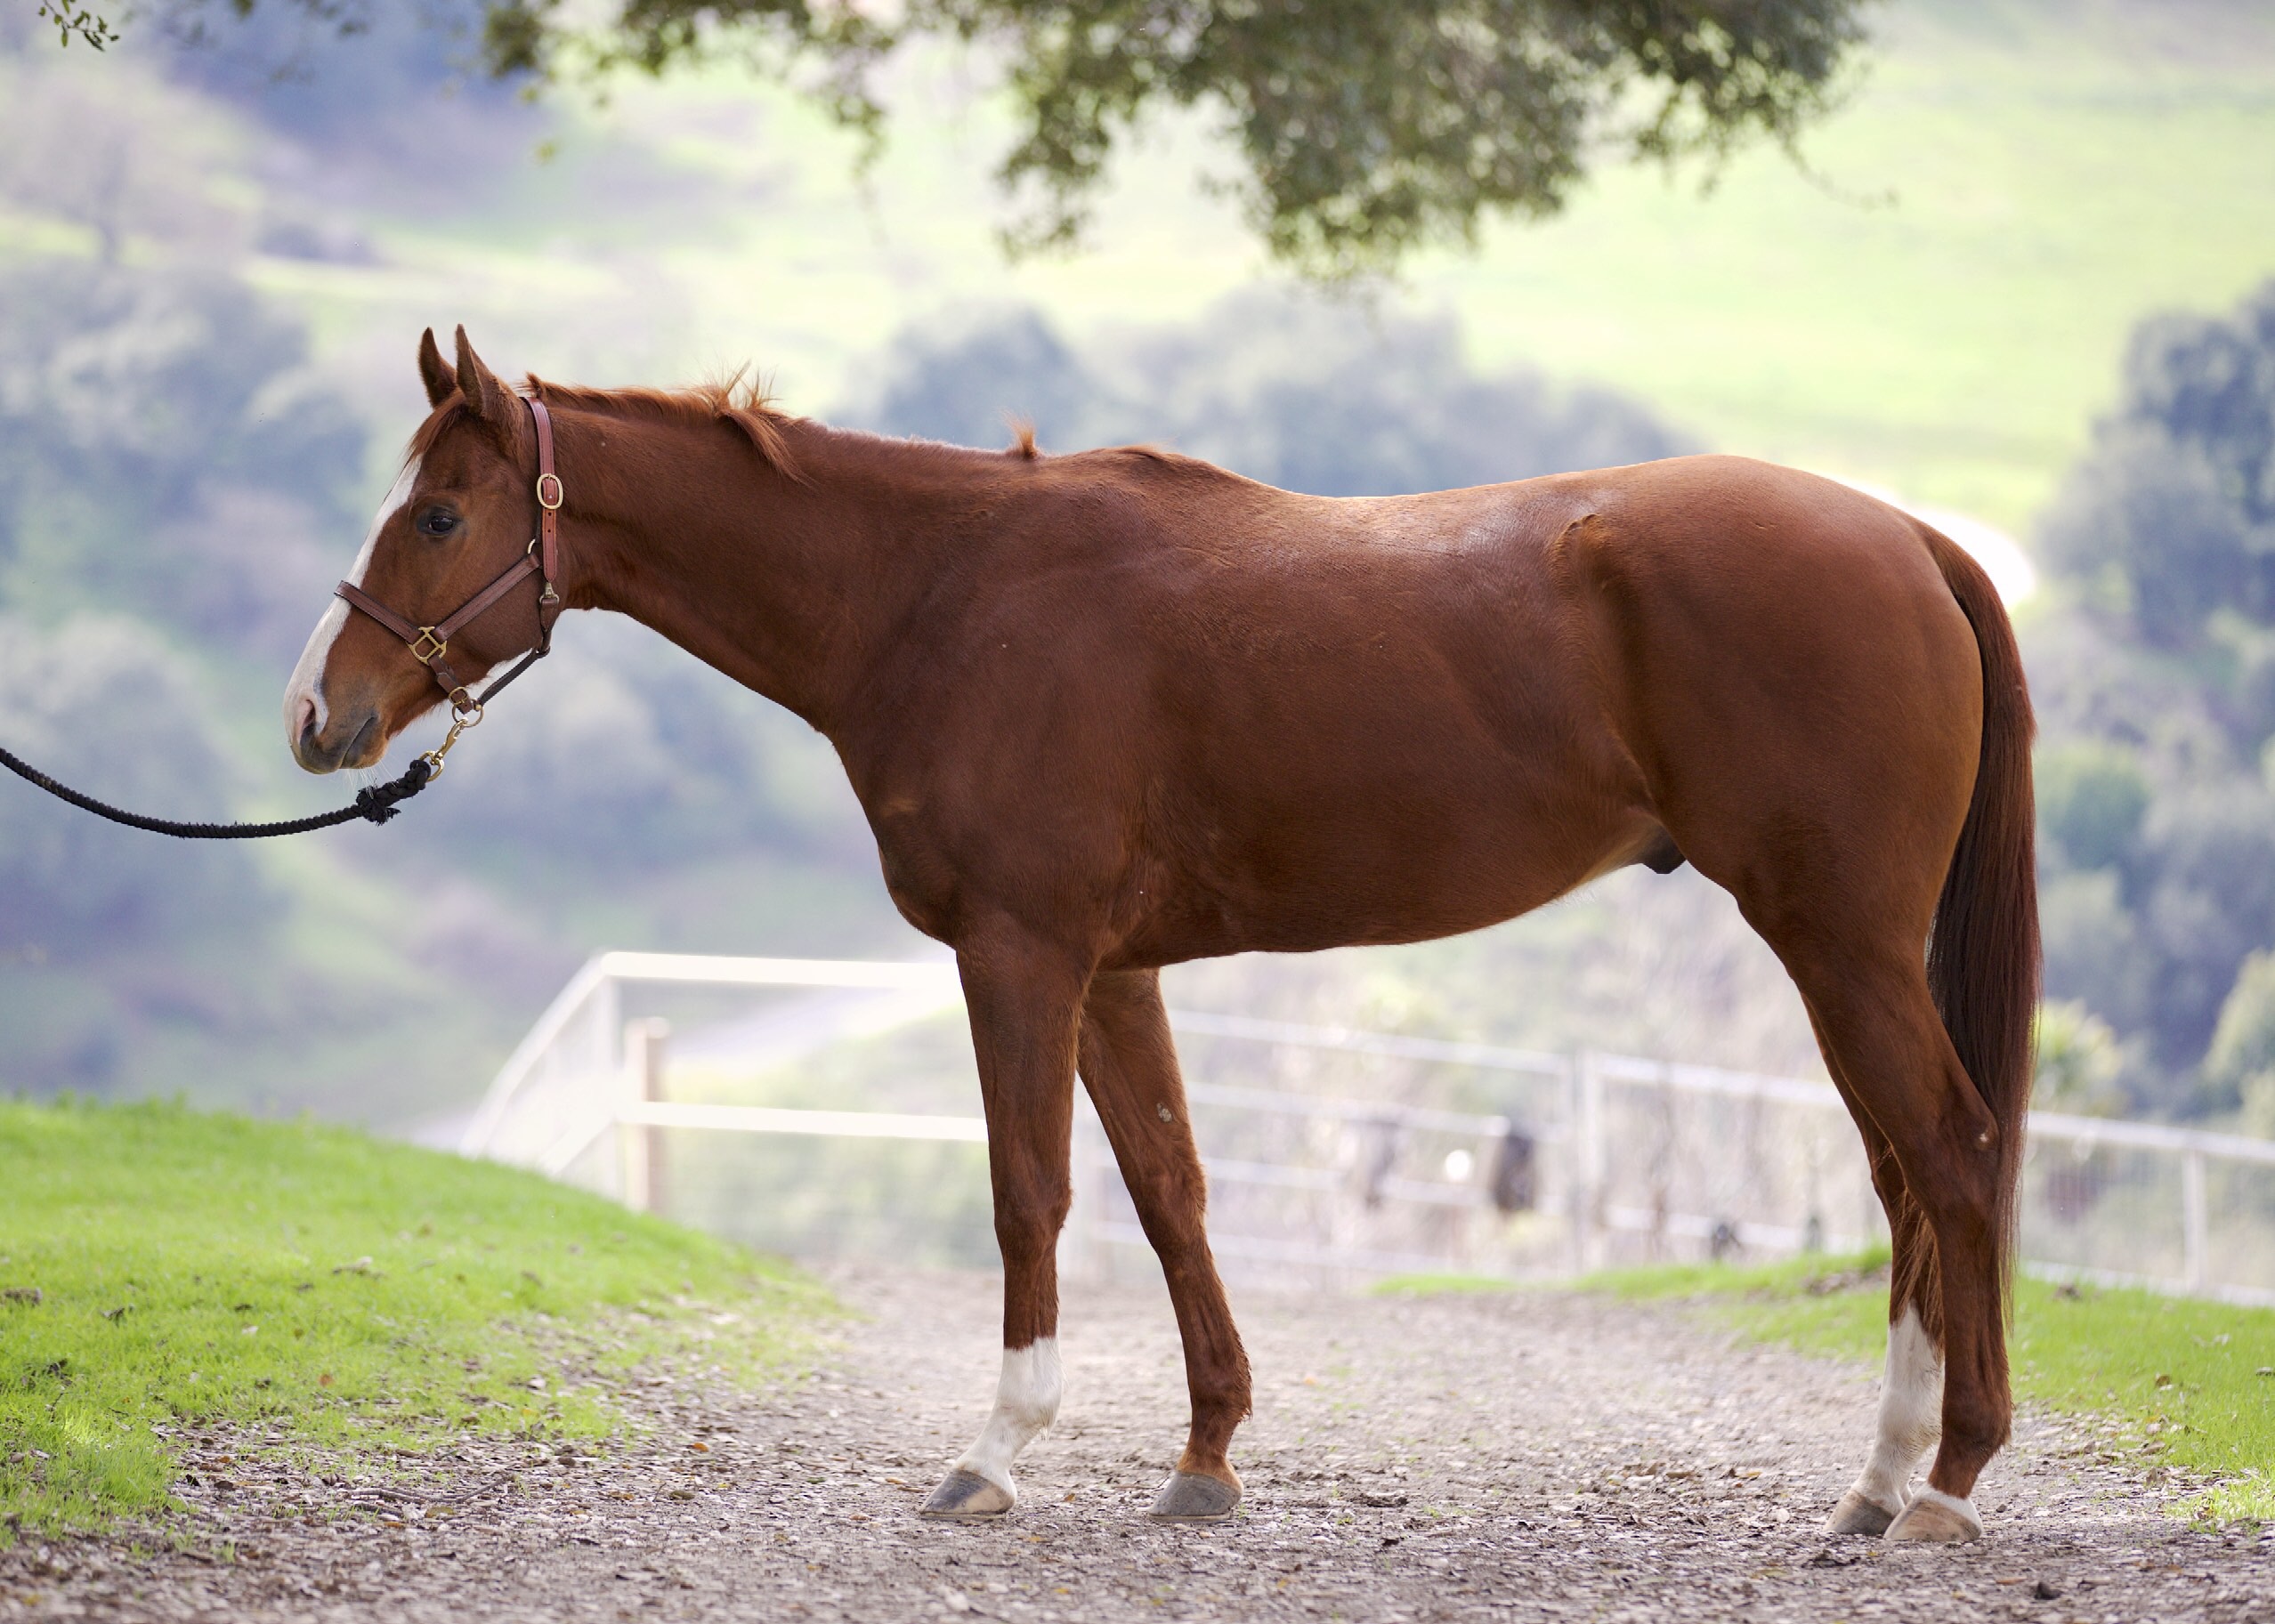


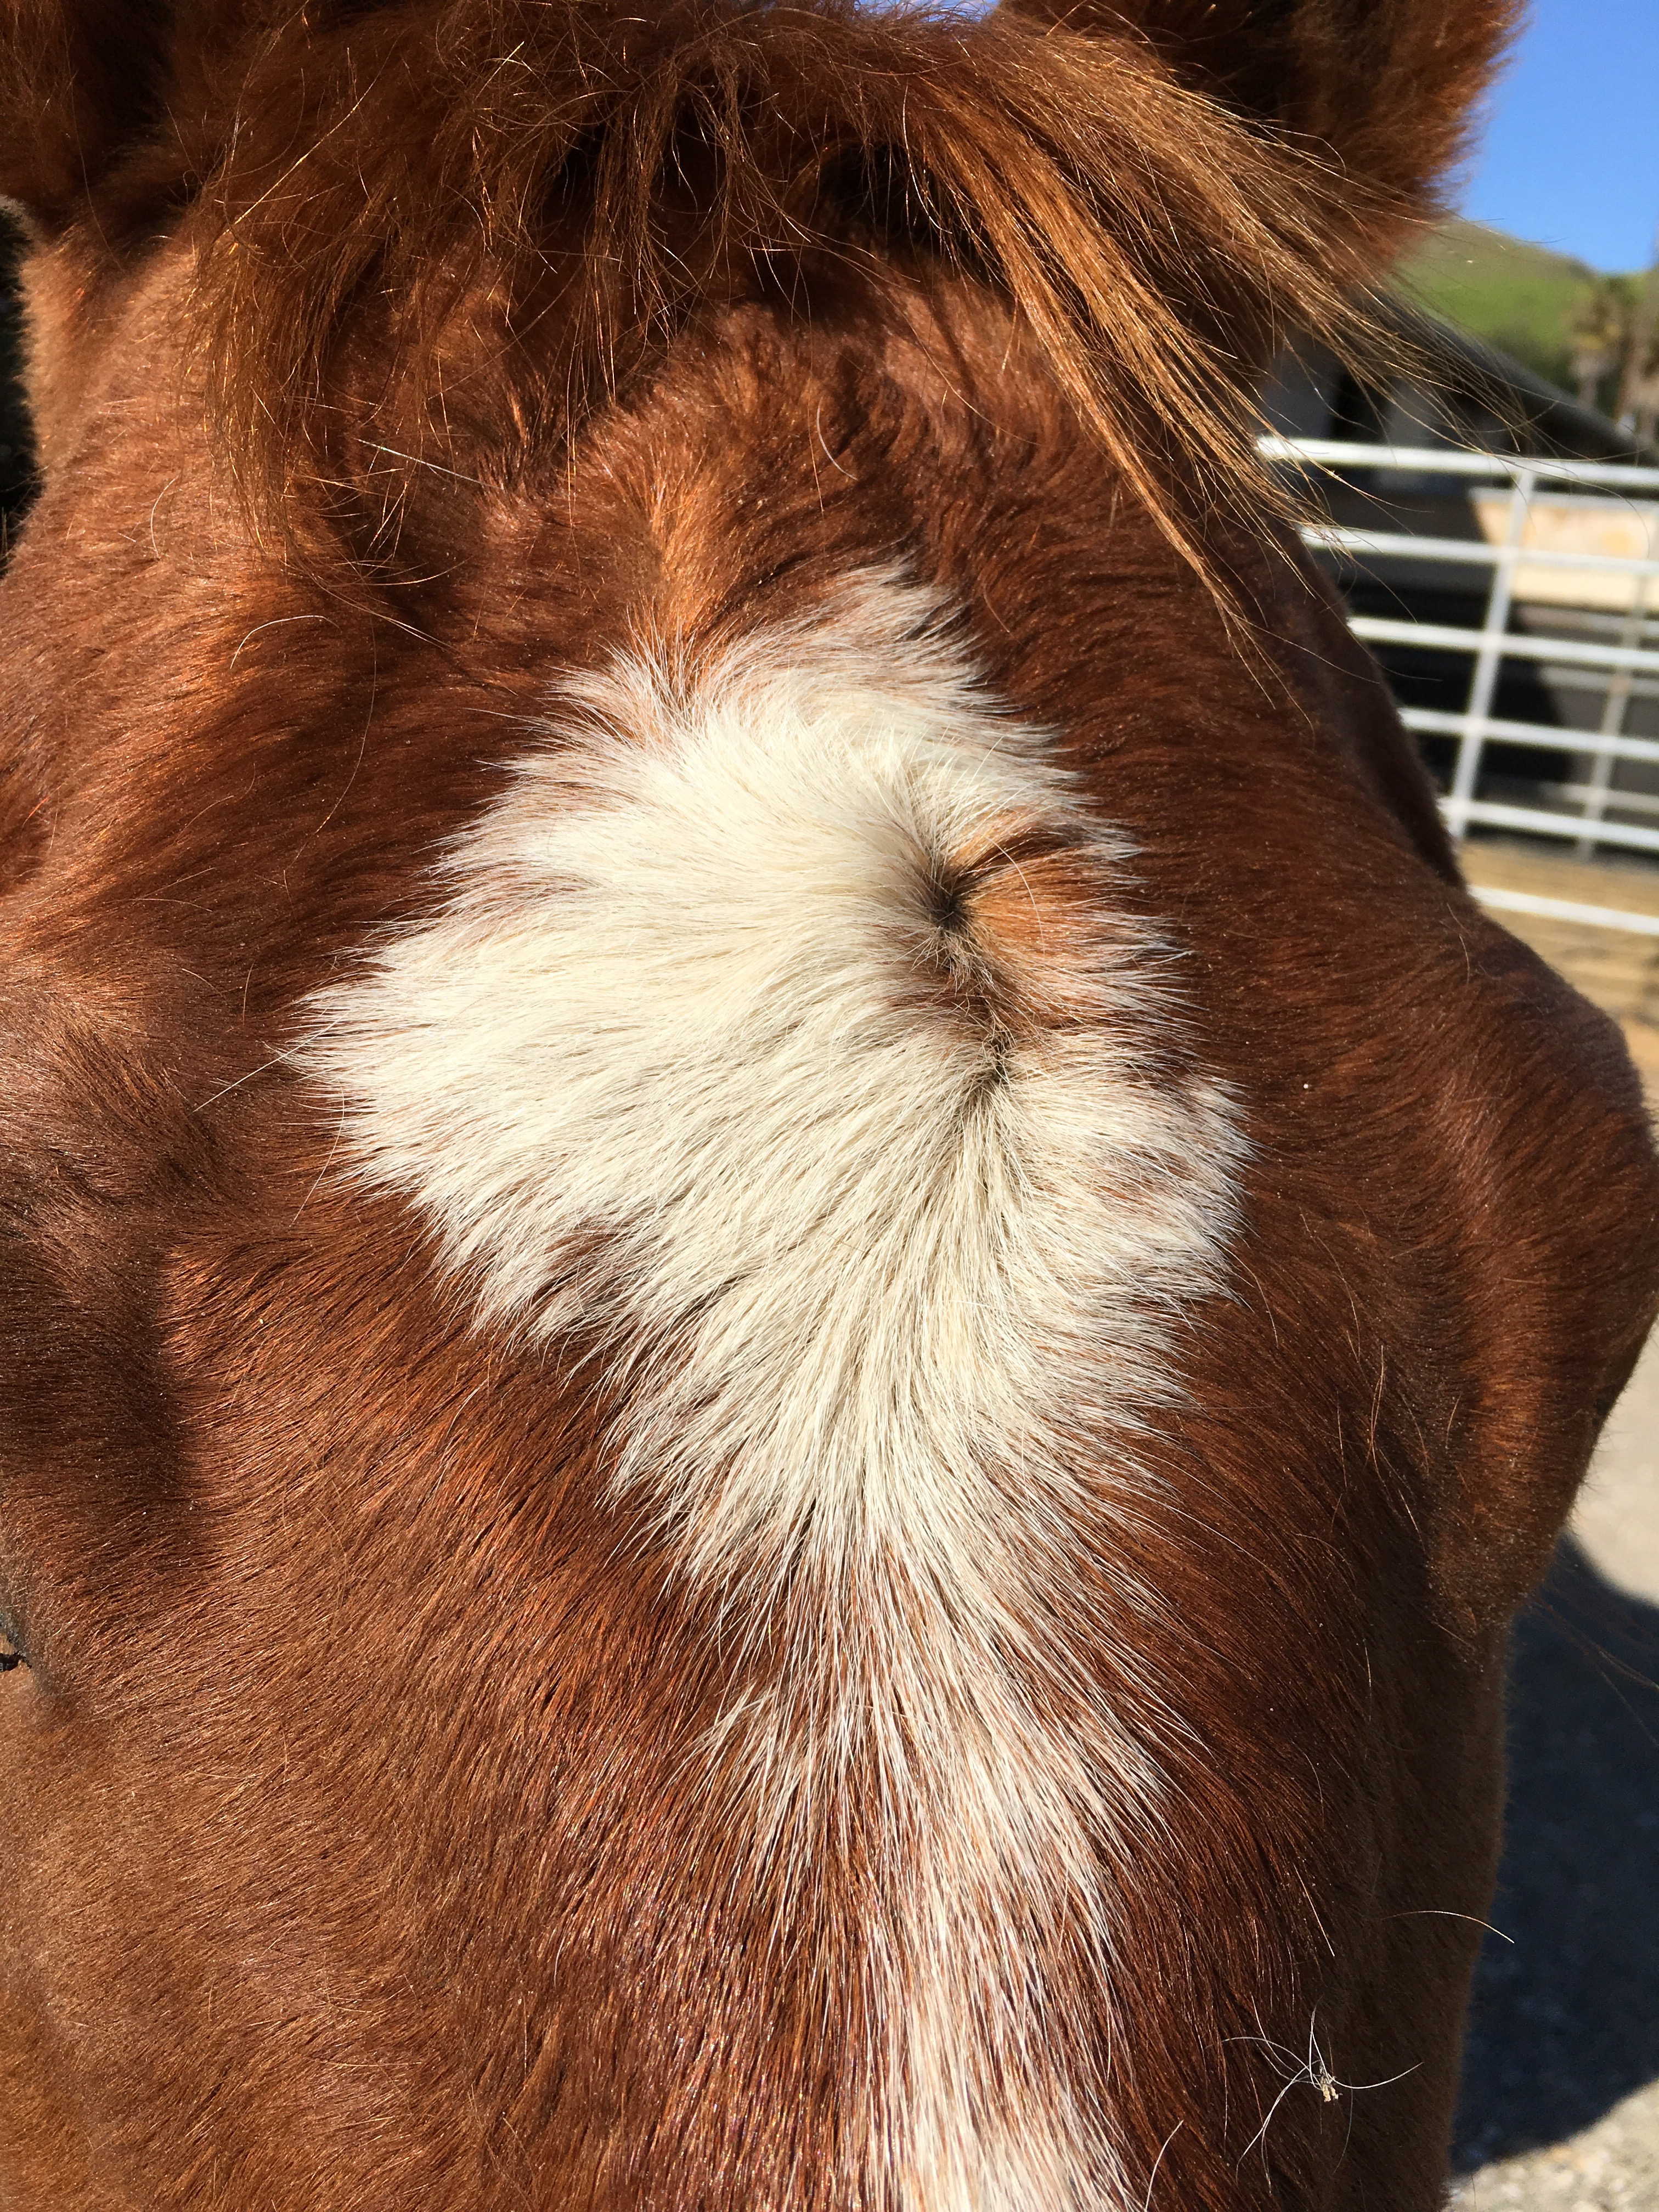
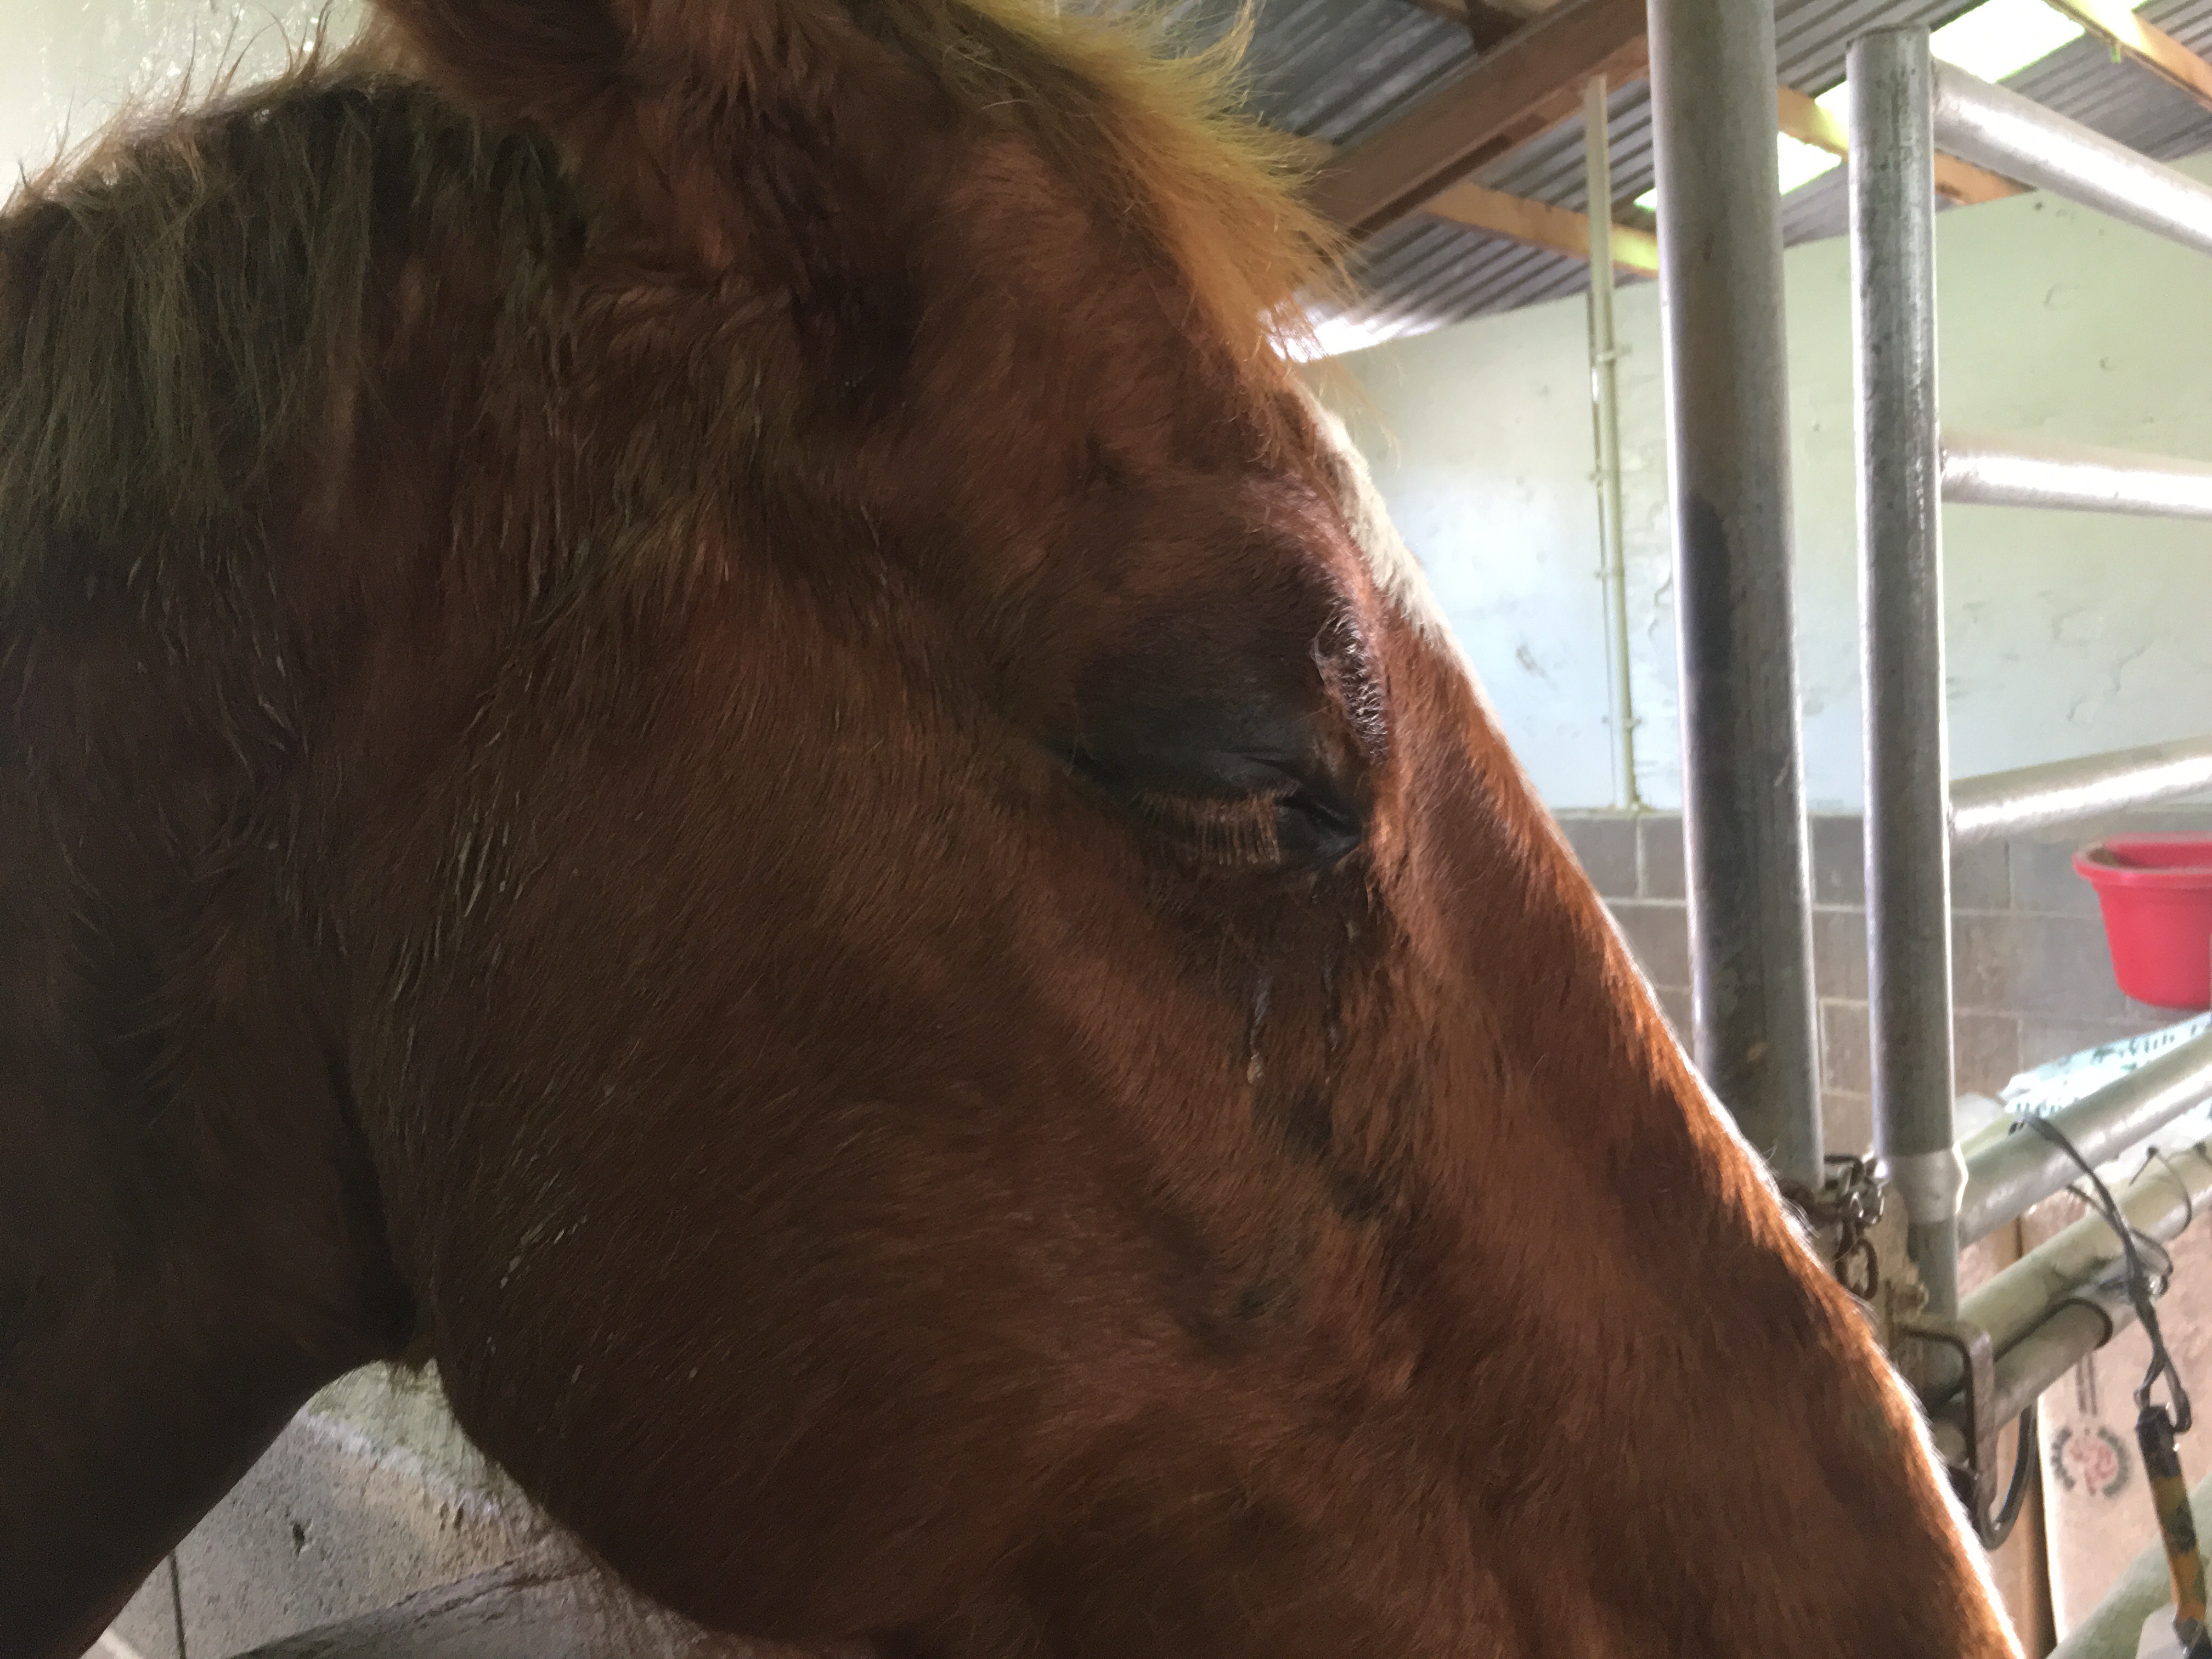
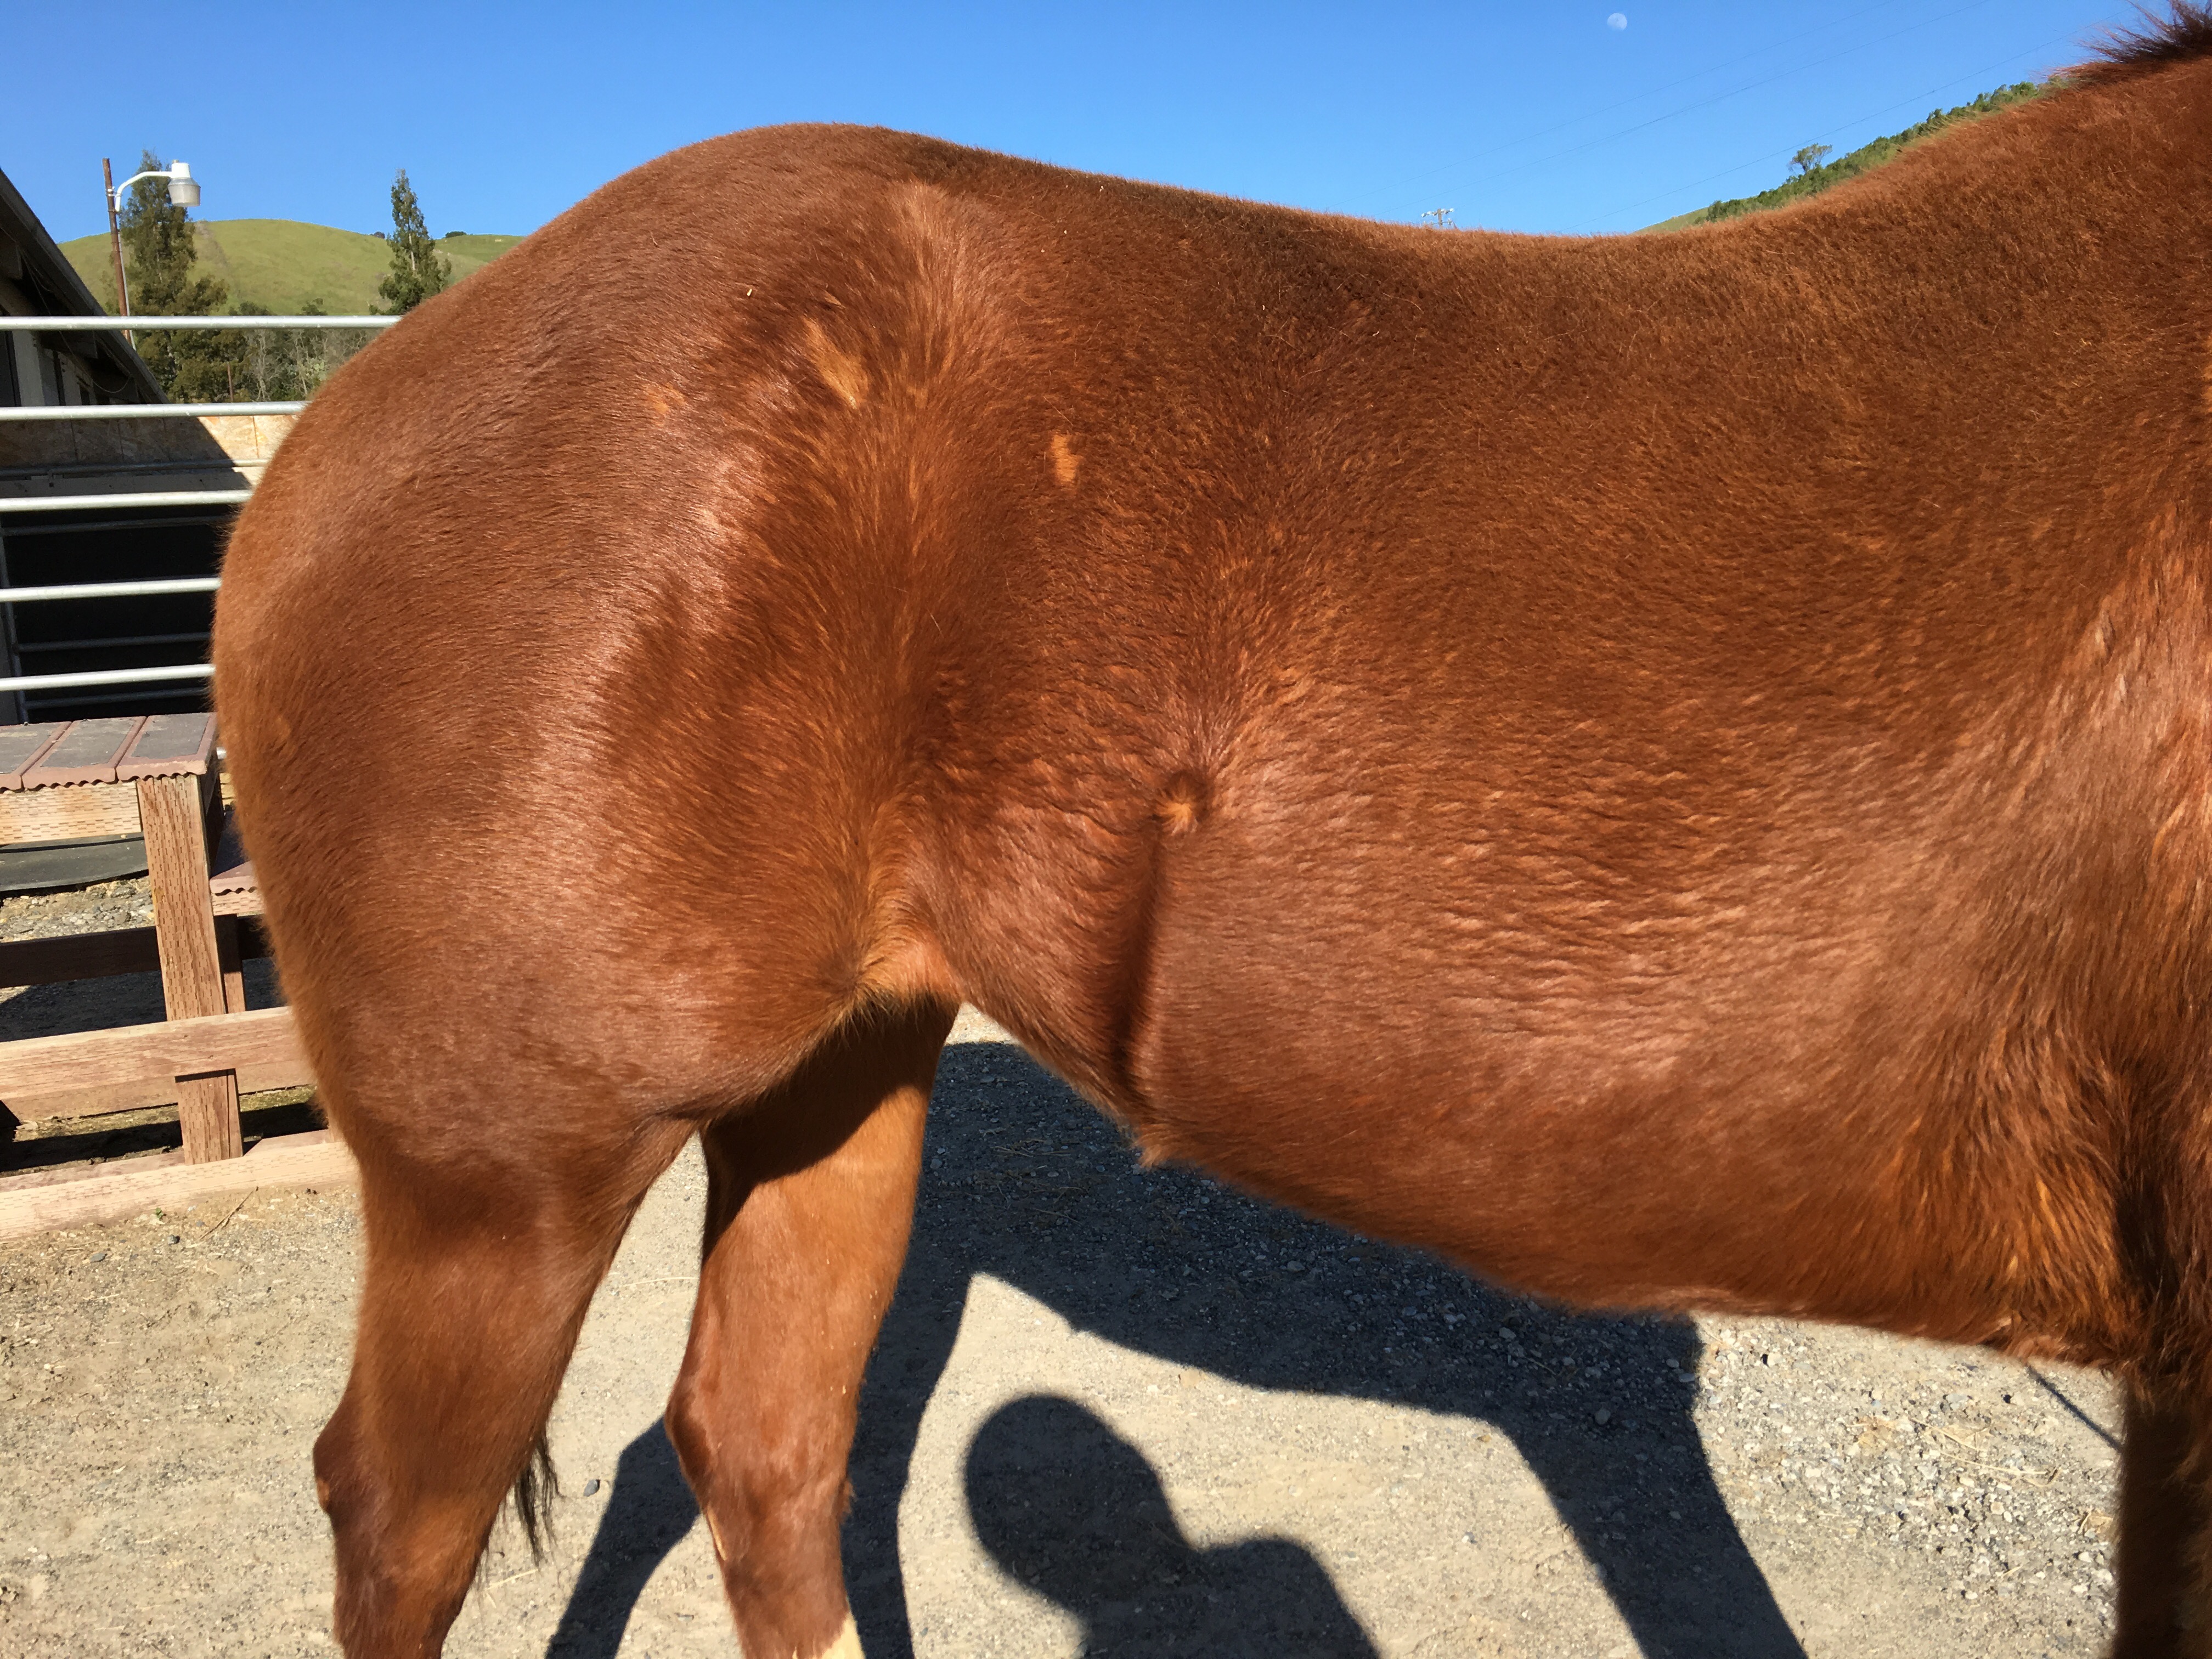 That’s a weird place for a horse to have a giant cowlick. She has a matching one on the other side…thank goodness.